New First Layer Calibration

Description
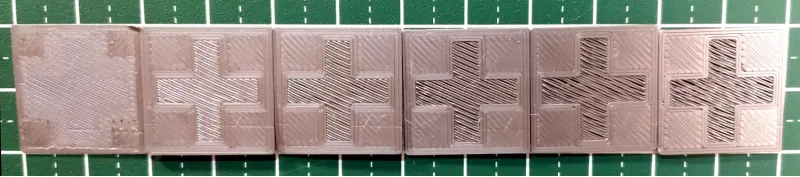
PDFWhile the standard first layer test evaluates the surface, this test evaluates the second layer from the backside.
The closer the nozzle is to the bed, the more the second layer will assimilate with the first layer, and we aim to target for a distance just short of this not assimilating with the first layer. I think it would be easier to understand the specific state to aim for, and easier to adjust.
In images A and B below, the second layer has assimilated with the first layer, and C has begun to assimilate. I think a little before C is best. (In a typical Fast Slayer calibration test, everything from B-E is in the proper range).
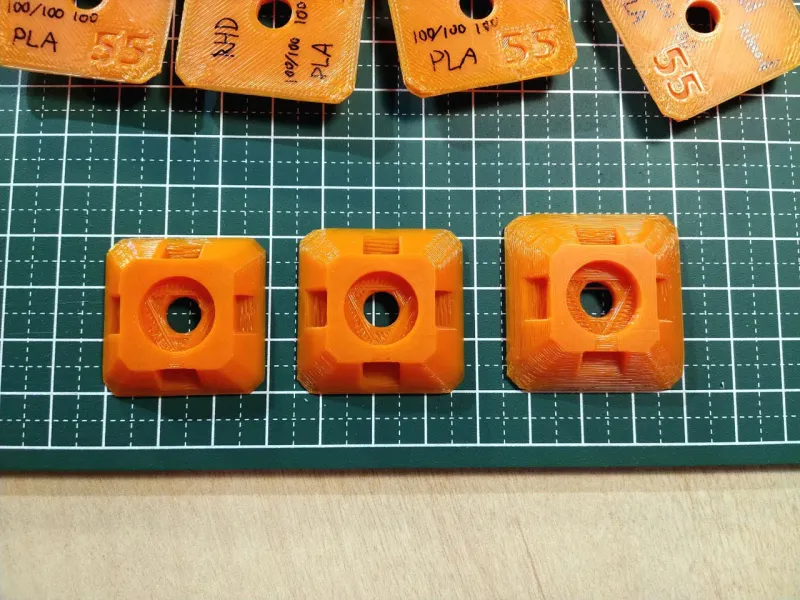
The goal of this test is to get the same results in all 9 spots.

Print instruction
- Print settings: 0.20 QUALITY
- Filament: PLA
- Sheet: Smooth PEI sheet recommendation
Notes:
- Do not do this with filaments other than PLA, the state of the 2nd layer will change.
- This test is aimed at those who wish to pursue the z calibration. For others, we recommend testing as before.
My Other Test Model:
Practical Overhang Test - https://www.printables.com/model/327913-practical-overhang-test
Tags
Model origin
The author marked this model as their own original creation.