LED Infinity Cube


Description
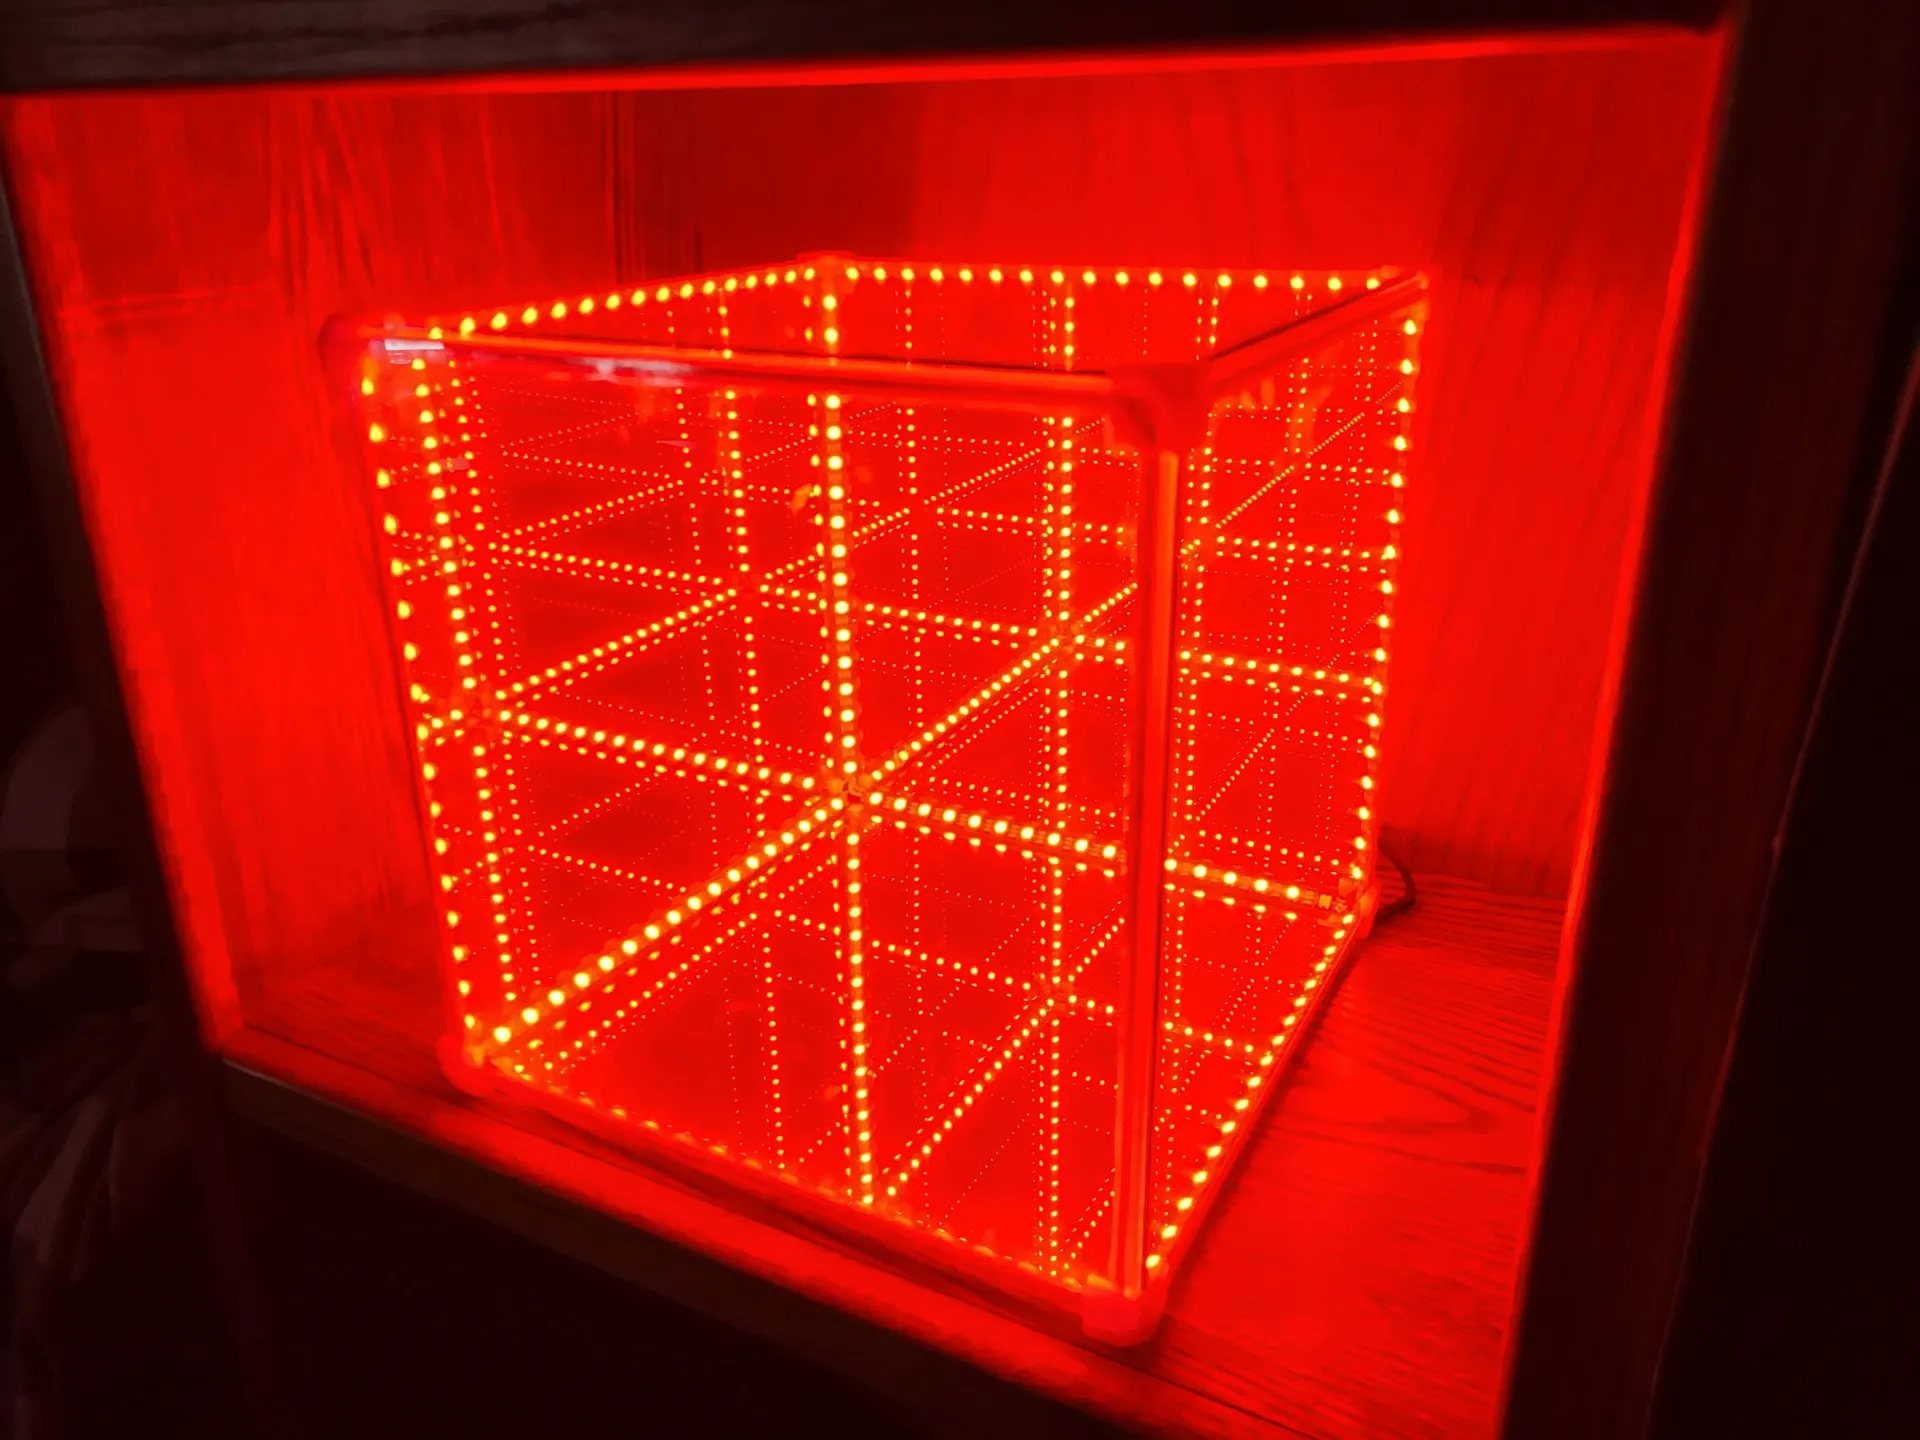
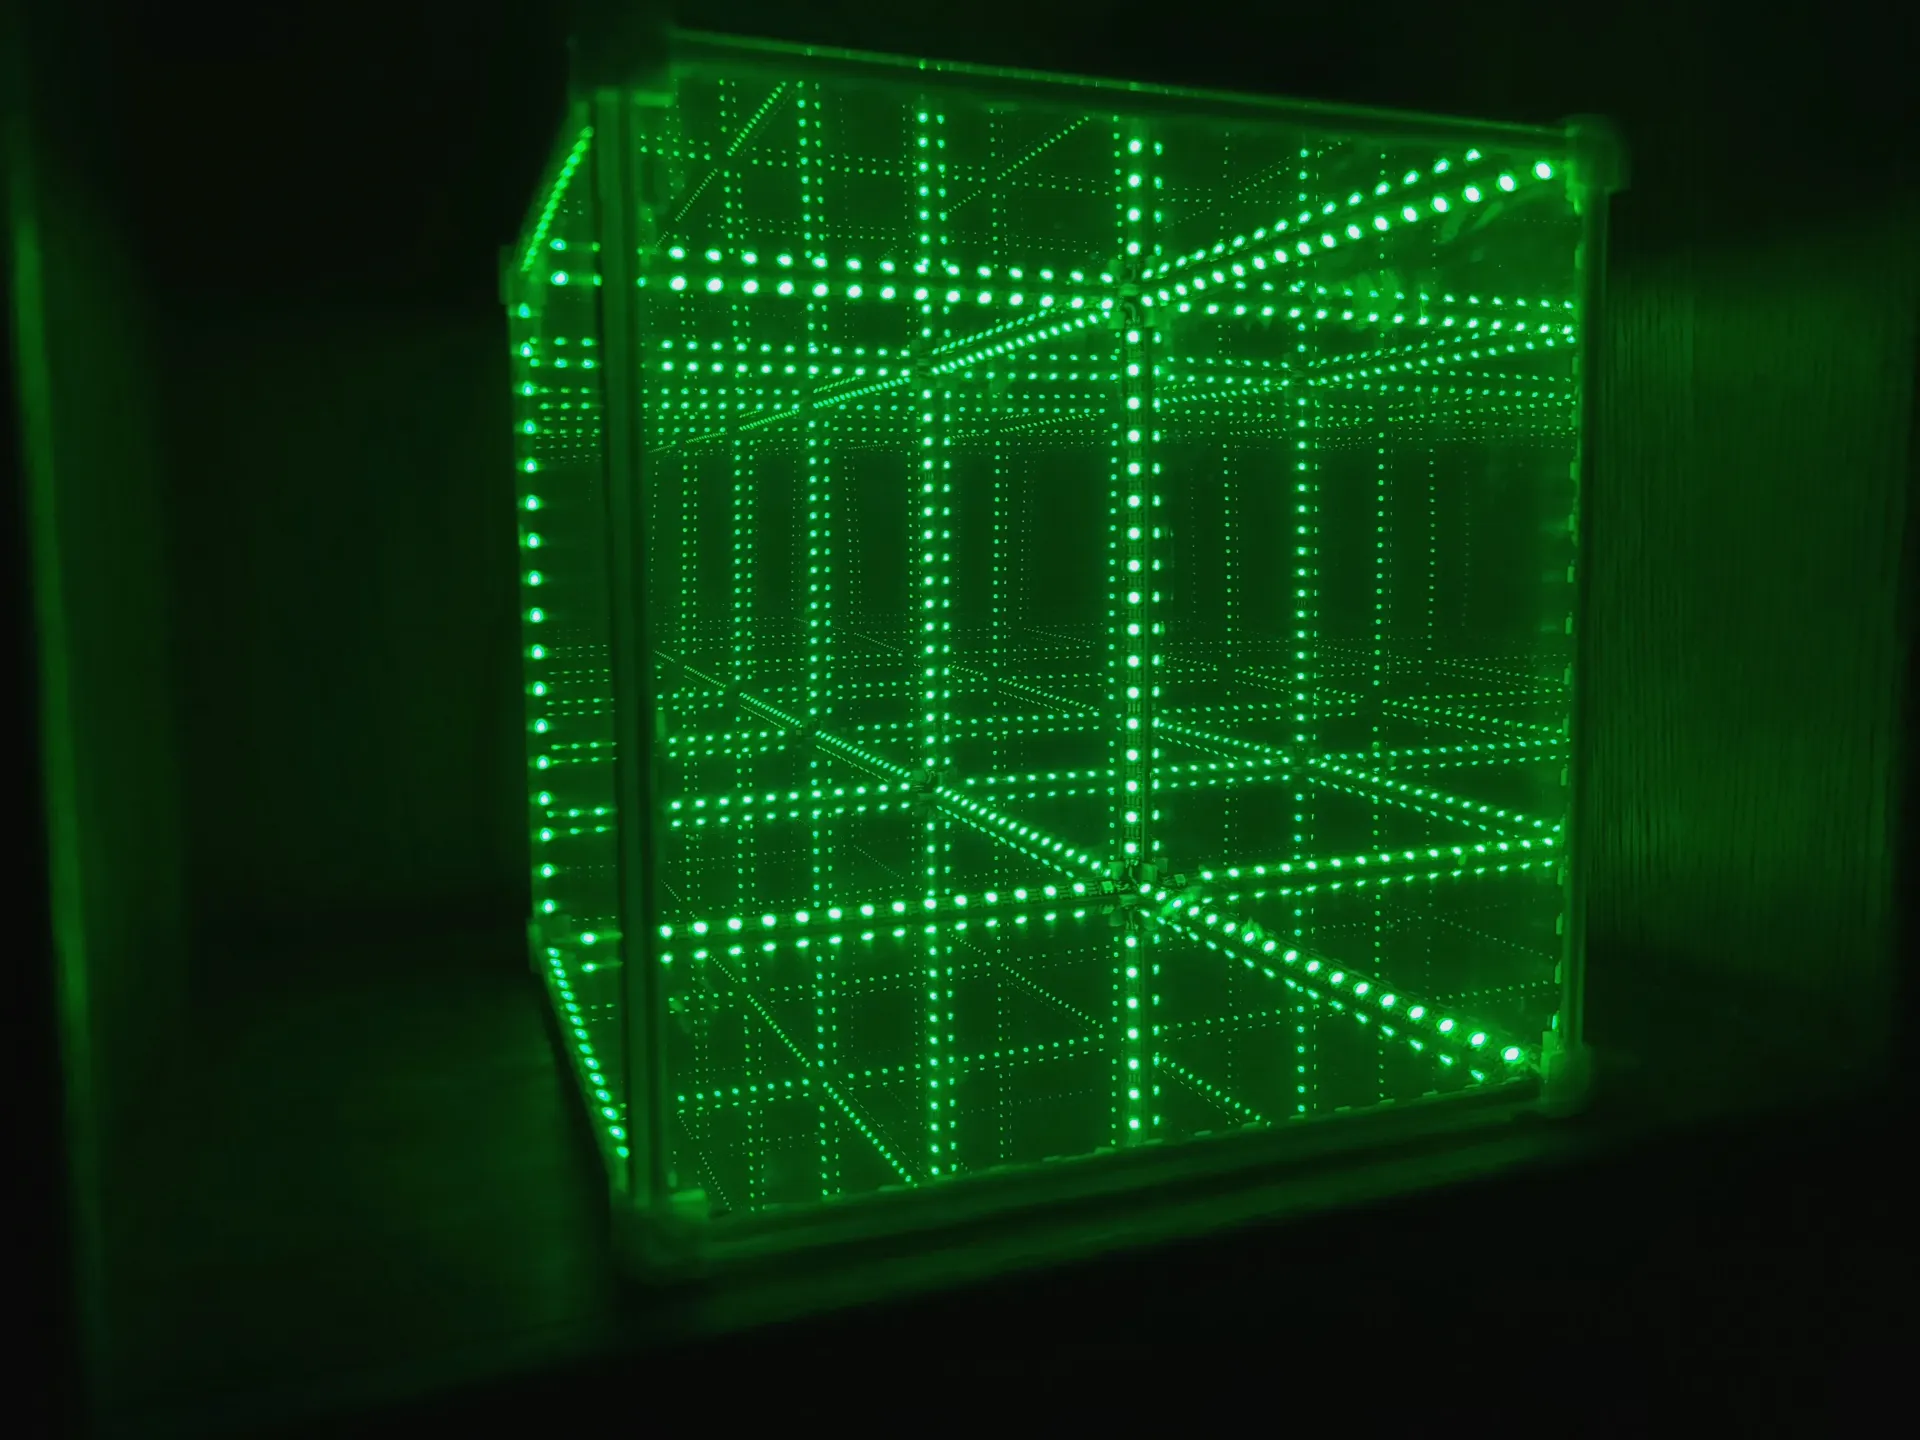
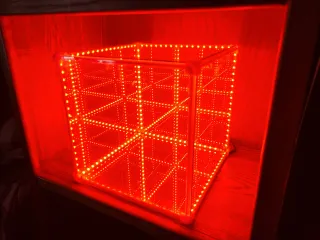
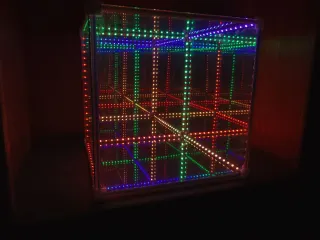
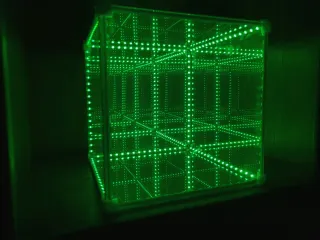
PDFHere is my Glass Infinity Cube.
I designed the Corners to hold standard 2mm glass you can find at Home depot\Lowes. One Corner has a hole for a power cord. Controller box with house the D1 mini and run the power cords through with option for a switch.
6 - 2mm Glass - https://www.homedepot.com/p/12-in-x-36-in-x-090-in-Clear-Glass-91236/202091044 (cut 3 from one sheet)
Mirror Film - https://a.co/d/08IubKk (you will have PLENTY for mistakes)
WS2812 LED strip - https://a.co/d/dJj3rUK
D1 mini - https://a.co/d/6FC7ssP
5V 15amp power supply (most effects in Wled will draw less with 200led, but better to be safe)- https://a.co/d/3ENSHgZ
DC Power Connector - https://a.co/d/6vZWFML
Mini Rocker switch - https://a.co/d/0X44Ecy
WLED mobile\pc app to control Leds - https://install.wled.me/ (install to D1 mini , control from PC from there or download mobile app)
Many of these items i already have, i'm just linking for convenience.
INSTRUCTIONS:
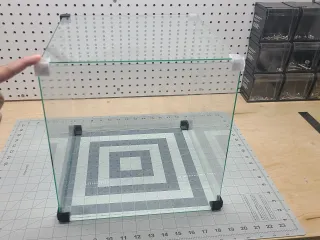
Construction is fairly straight forward. Figure out what size you want your cube to be and cut glass accordingly.
Cut and apply mirror film to glass carefully. Air bubbles, dust and fingerprints WILL show through (i missed 2 fingerprints on mine before i sealed it. use gloves before when doing final cleaning)
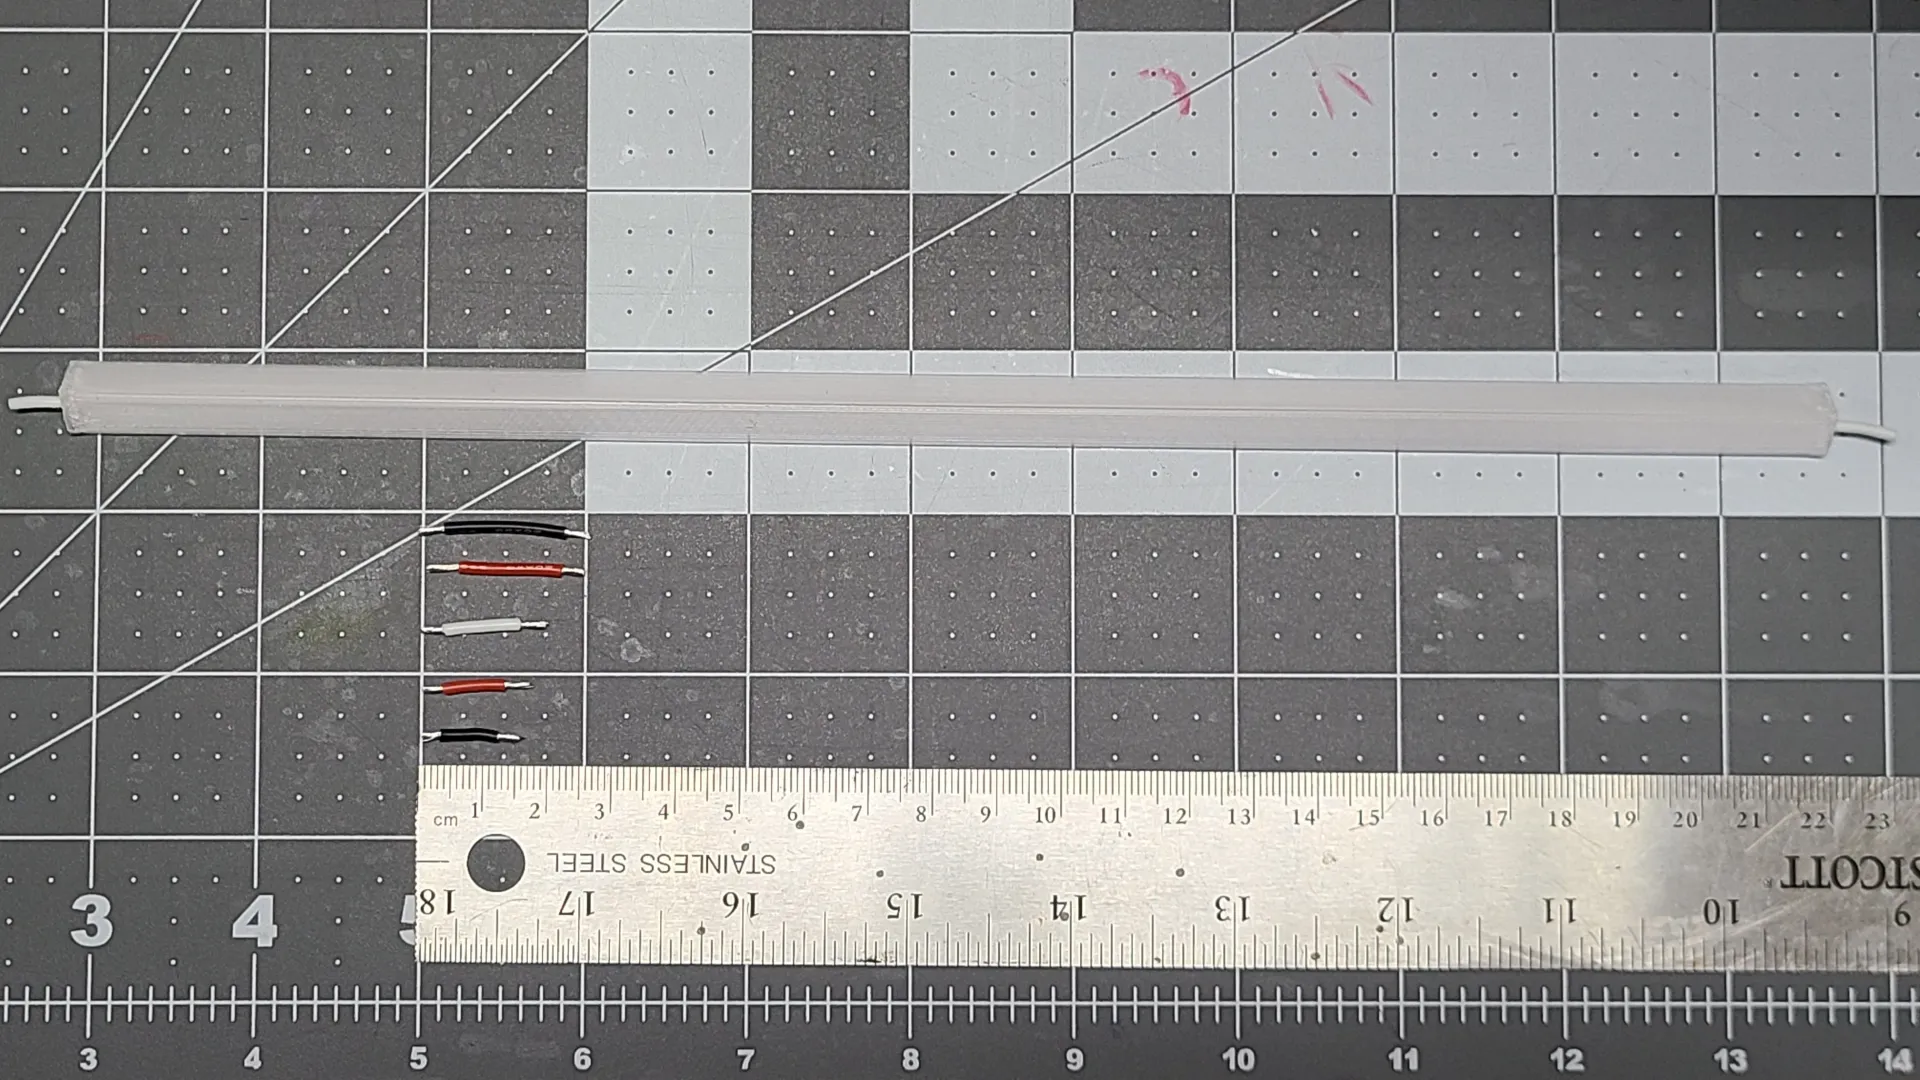
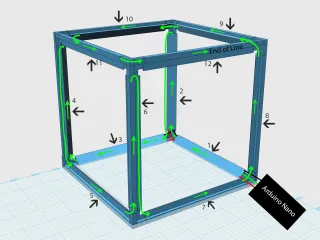
The Led Edge Mount are designed with a hole through them to run the DATA line out of sight and back to next strip in sequence. (see sequence diagram). Print the Led Edge Mounts in CLEAR for best affect, otherwise use whatever color you'd like.
THIS IS IMPORTANT: If you're not experience in cutting glass, it's fairly easy to learn (watch youtube) but the trouble is cutting EXACT measurements consistently by hand even with a straight edge. All mine were off by 1-2mm of each other. Because of this, after you get all your pieces cut. Print the corners and test fit and LABEL your glass panels. Then measure the distance between each and SCALE the Led Edge Mount to fit each section and label which # in sequence it will be for later reference. I ended up with 3 total different sizes. My cube is not perfectly 12'' cubed, but 1-3mm isn't noticeable.
Once all your Corners and Led Edge Mounts are printed and labeled, It's time to cut the strips to match their lengths. A few mm won't make a difference in how many LED each strip will have.
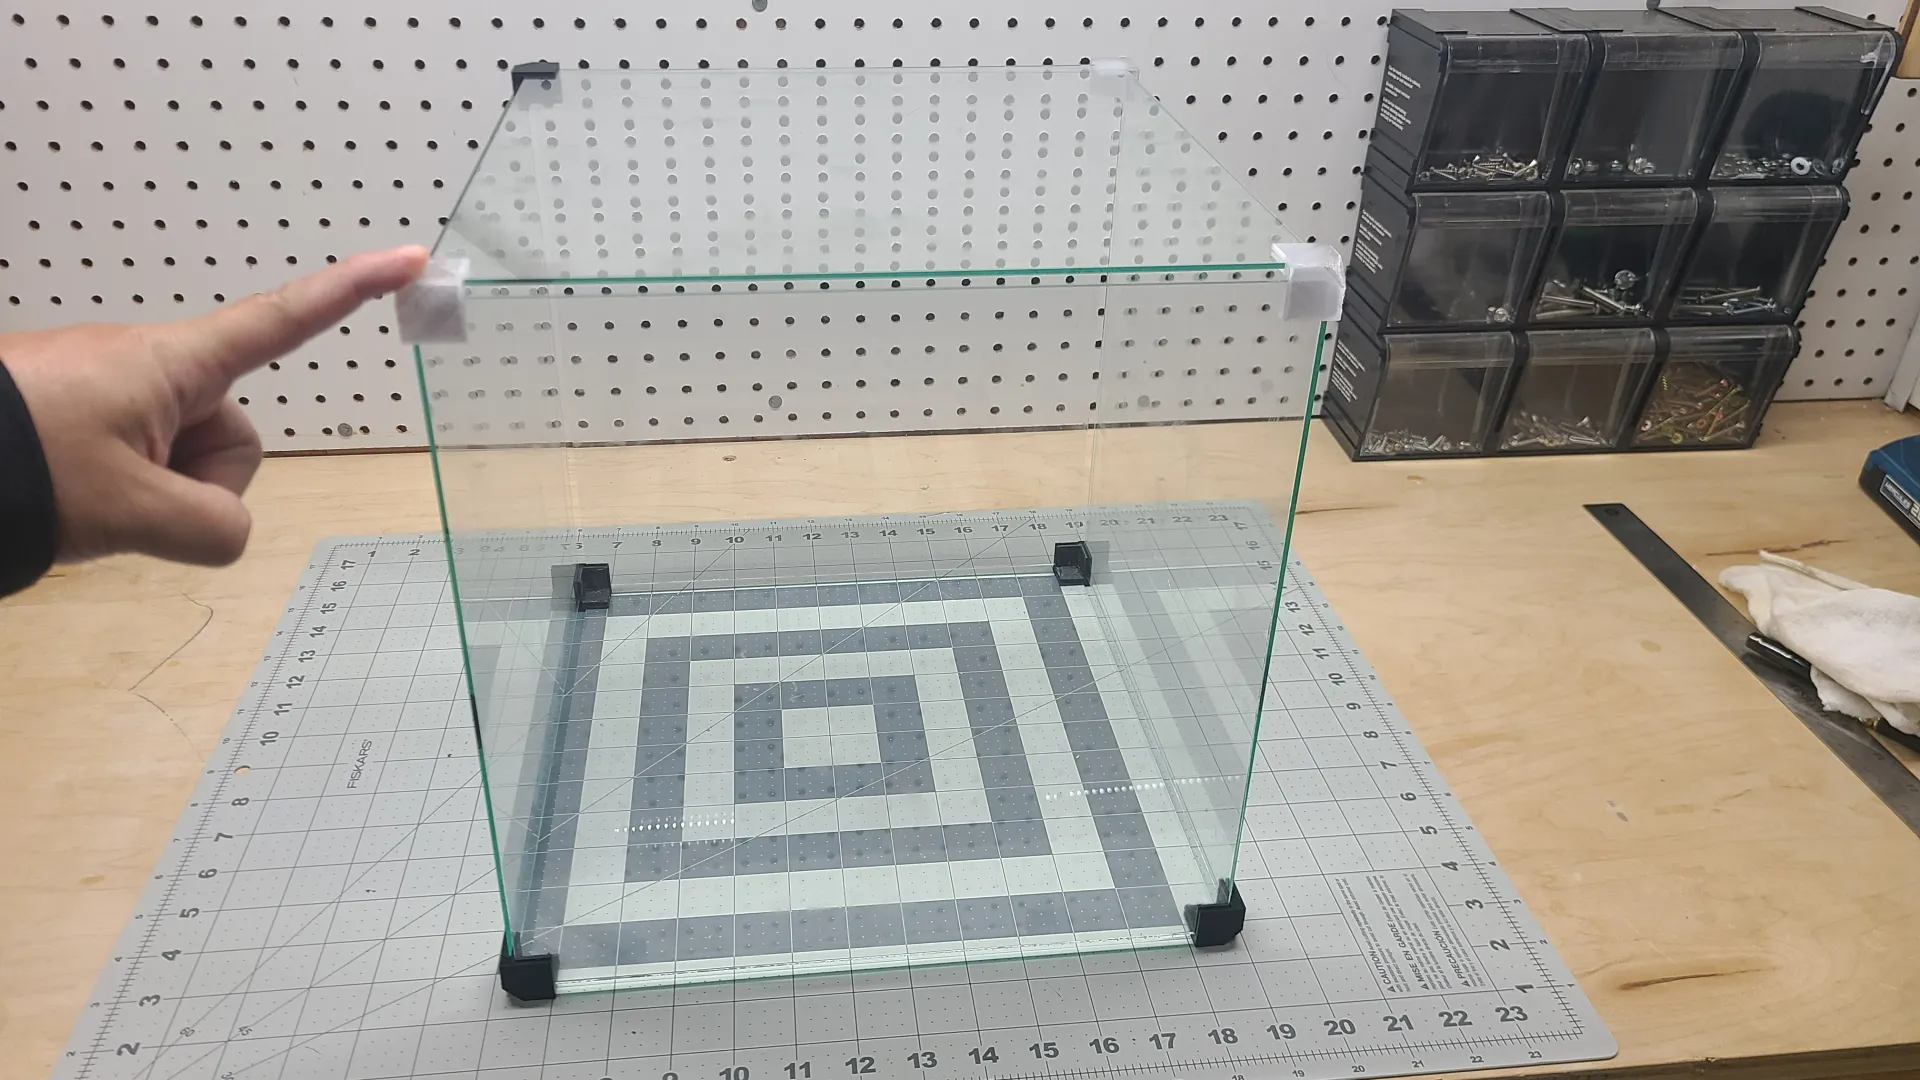
I started with the BOTTOM panel and 4 corners glued on and top corners on to hold everything. DO NOT GLUE THE TOP CORNERS ON YET.
I inserted 2 upright panels (in sequence)to the bottom and glued them in. From here i started the LED soldering. It's easier to get inside with the soldering gun without all the panels in place, especially if you make a smaller cube than i did.
TEST THE LEDs AFTER YOU WIRE UP EACH SECTION!! Don't wait till the end to test them all.
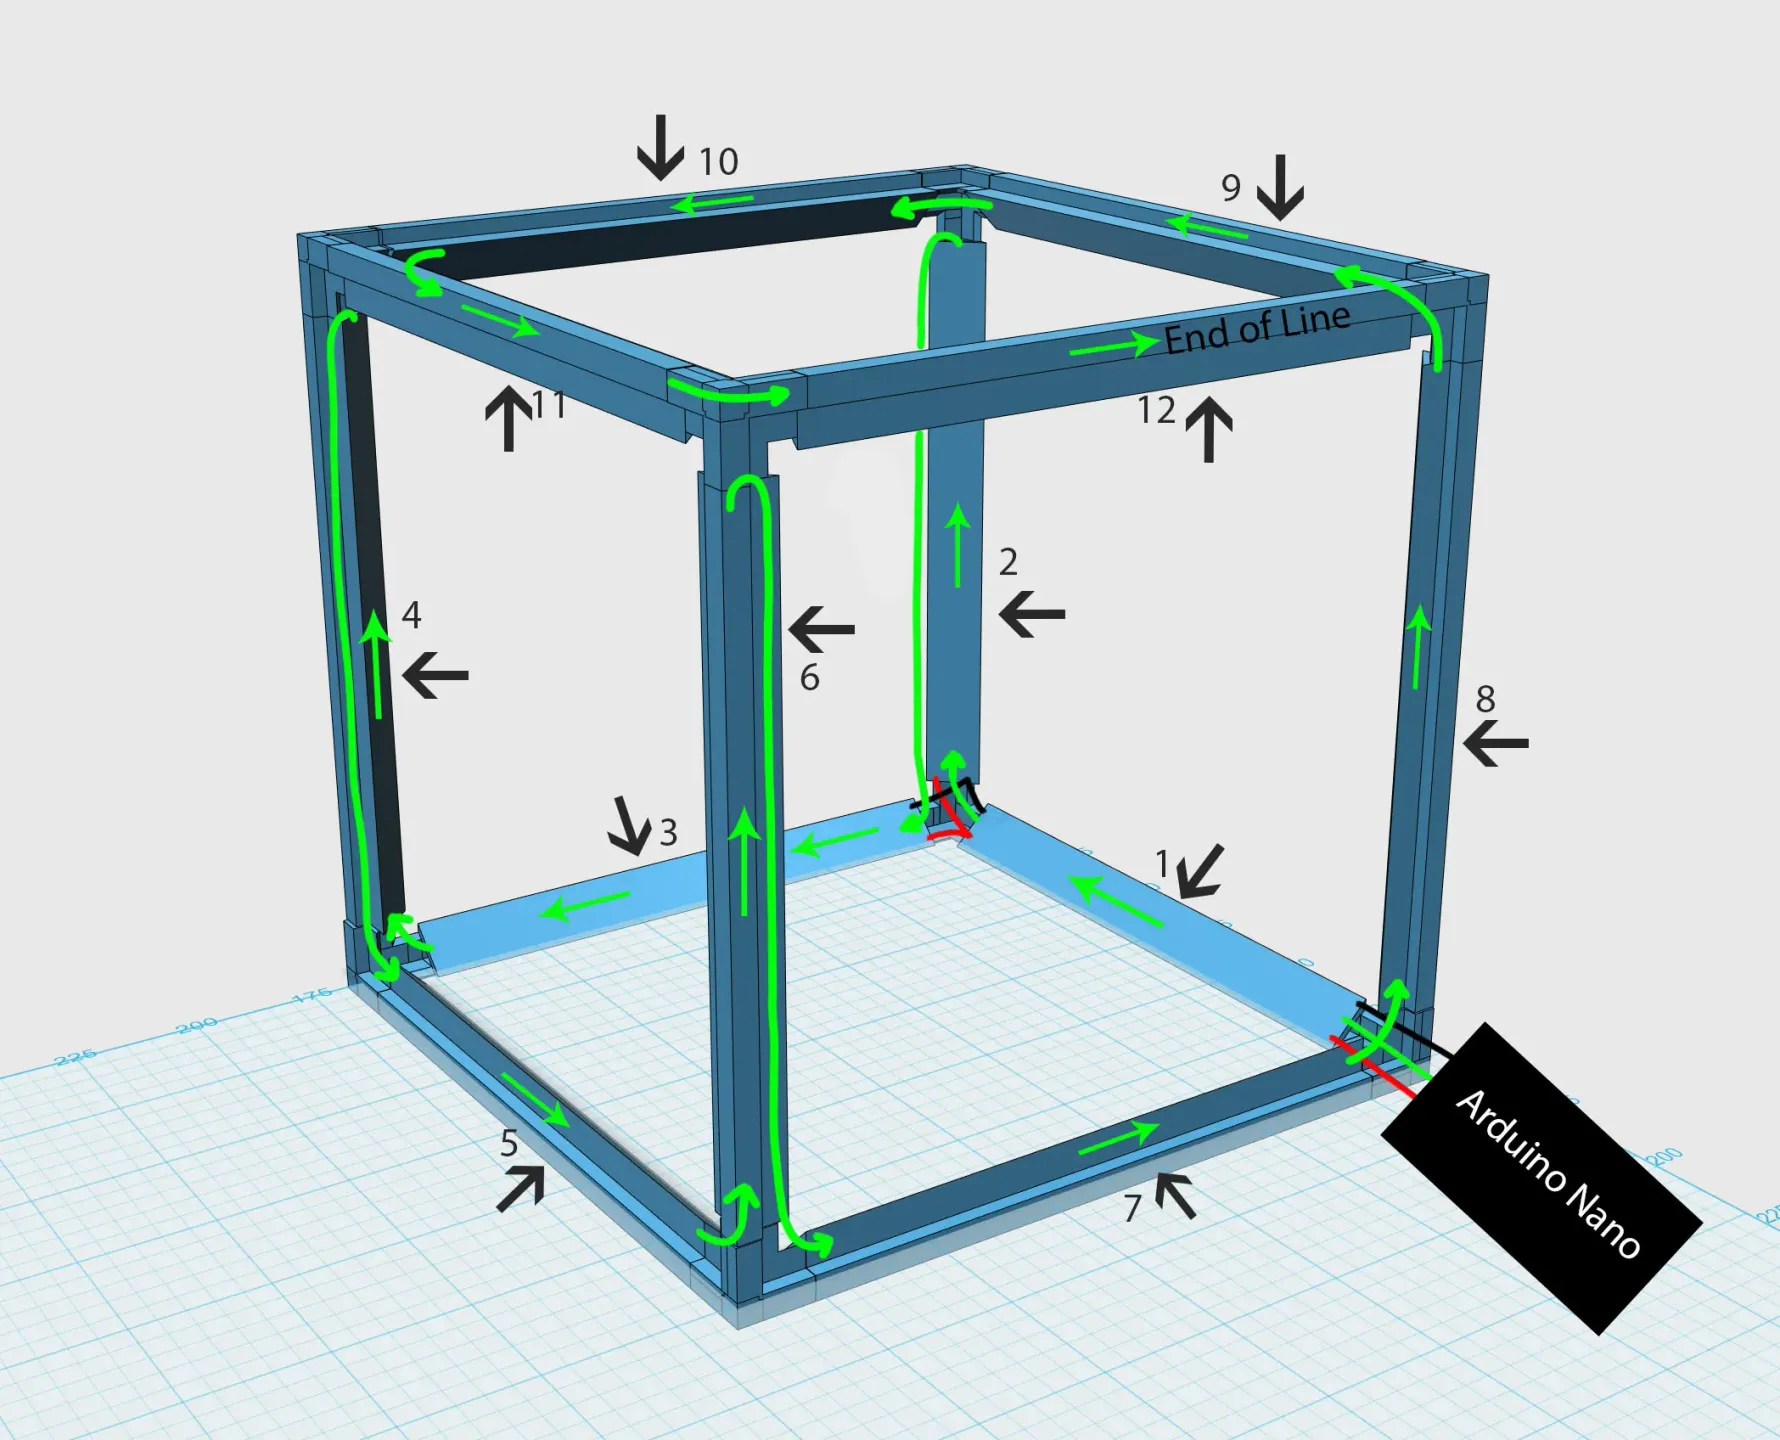
Start with strip #1. Feed your power cord through the corner with the hole and Solder your power cord to it. You can either hot glue the cord to hold it, or if you use a thin cord, tie a tight knot on the INSIDE of the corner to prevent it being pulled through. Then, work your way around the cube in sequence. All Positive and Negatives between all 3 strip in each corner get connected in parallel. Connect the DATA in sequence, (GREEN ARROW SHOW DIRECTION) routing it back through the HOLE in each edge piece to the next strip in sequence.
I worked up to strip #5 then placed the 4th upright panel in place with top corners, to temporarily fit and glue edge #6 7, and 8 in place (to space them correctly). Remove panel and proceed until strip #8 is wired.
DO NOT GLUE panel #5 in place yet. You need to now fit edge # 9,10,11 and 12 (top) in place first. Once you glue these four in, you can glue panel #5. Now work on connecting strip 9-12. Since these last four are straight forward in sequence, connect Positive, Negative and Data directly to the next (no back routing of Data needed).
Once ALL strip are connected. TEST it once more. If they all work you're doing great.
I strongly encourage using gloves while cleaning the film inside the cube. I did, but after words my hand bumped inside without feeling it, left a large print after sealing the cube. Sucks.
Pull all the top corners off. Apply glue i used GLASS super glue so it would be optically clear. I wanted the light to shine through the clear edges too for effect. Anything else and you'll see the glue through the glass. Glue 2 corners down onto the cube. The other 2 will attach to the last panel, You will slide the panel into the first 1 glued corners first. The corners should bend slight enough to allow pulling the other two panel outward, to be able to glue the last two corner down. I was able to move my panels 1 inch outward so it fit fairly easy. Smaller cubes wont' have as much play.
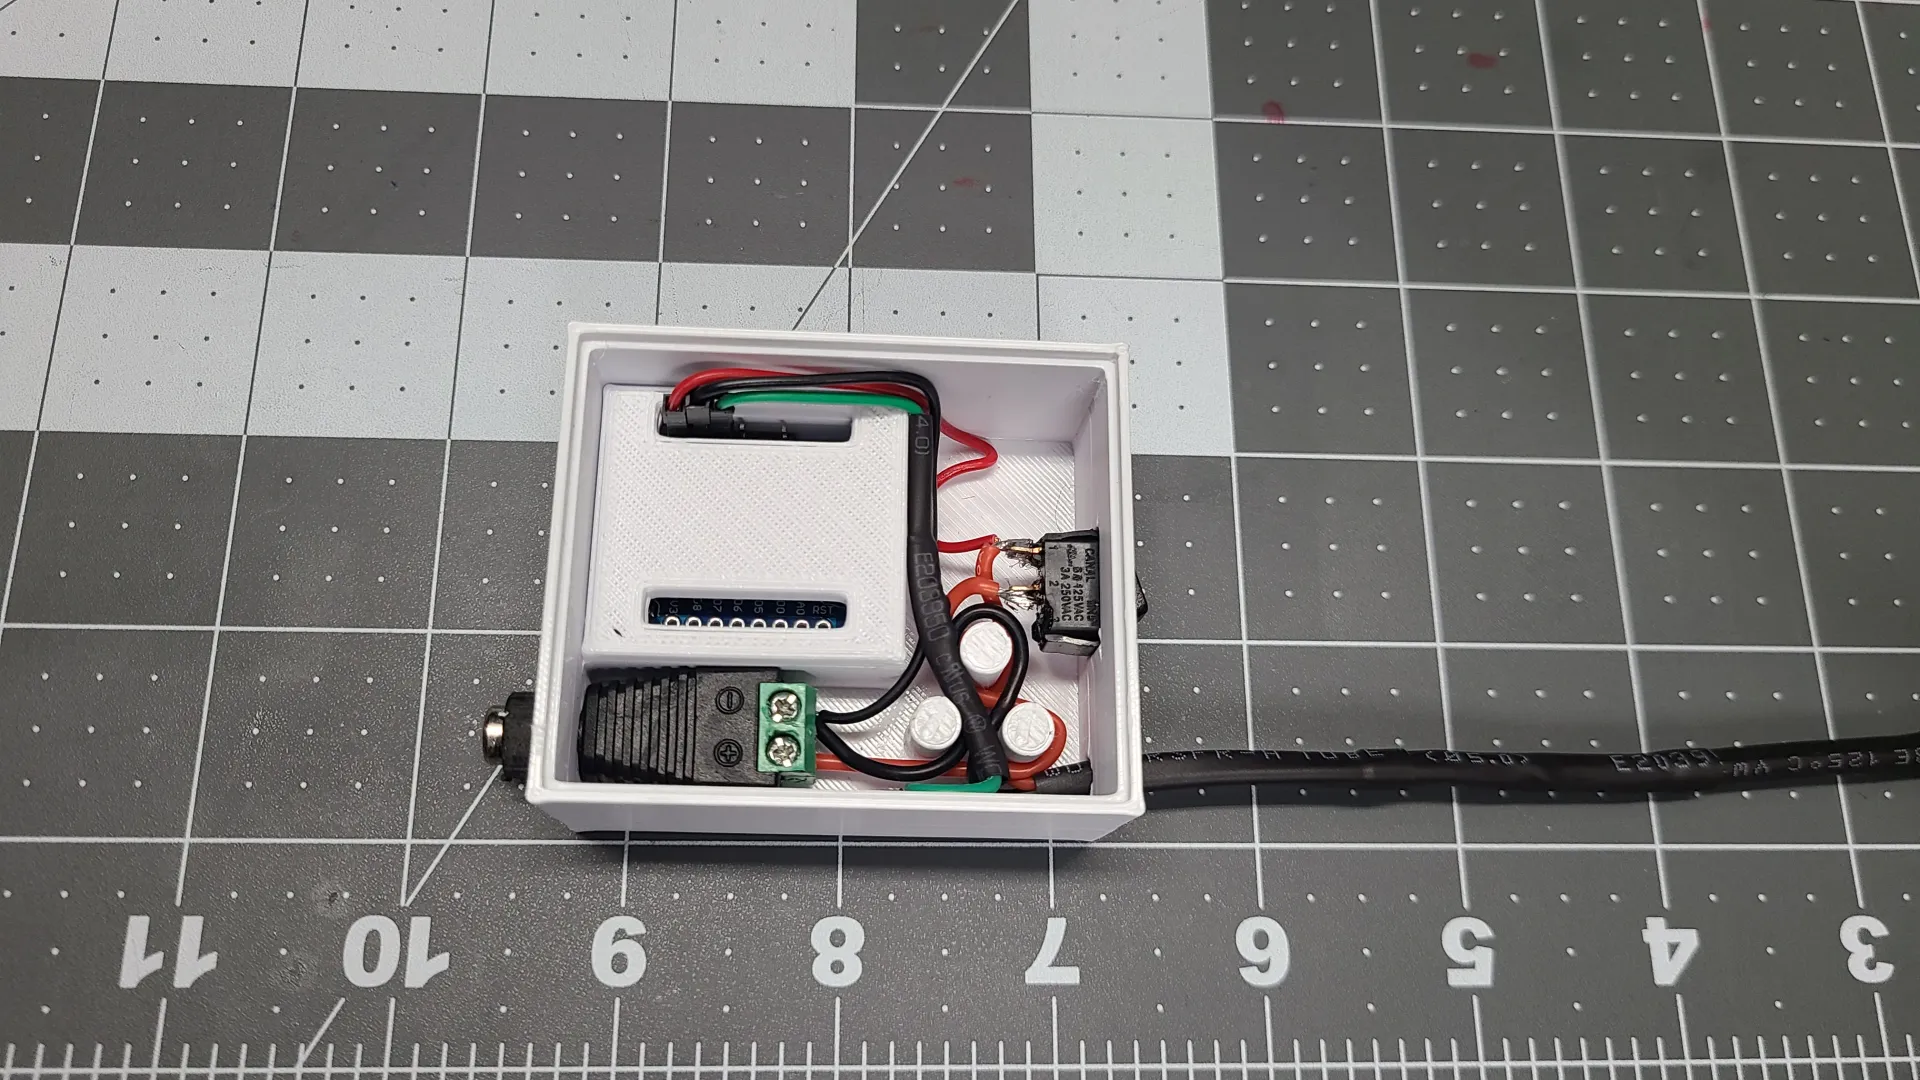
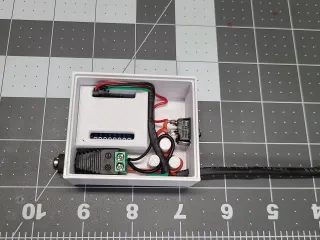
Controller box is pretty straight forward. Fit the D1 Mini. DC power plug, wrap power cord lead around the posts to prevent cord from being pulled through, or tie a knot in the cord if it's thick enough. Wire positive to switch, the switch to positive on D1 mini. ALl negatives from LED strips, D1 and power supply wired together. Data line from GPIO 4 to LEDs data.
Watch youtube video on setting up Wled -
Tags
Model origin
The author marked this model as their own original creation.


