Millright Mega-V CNC Router Fixed Height Dust Shoe

Description
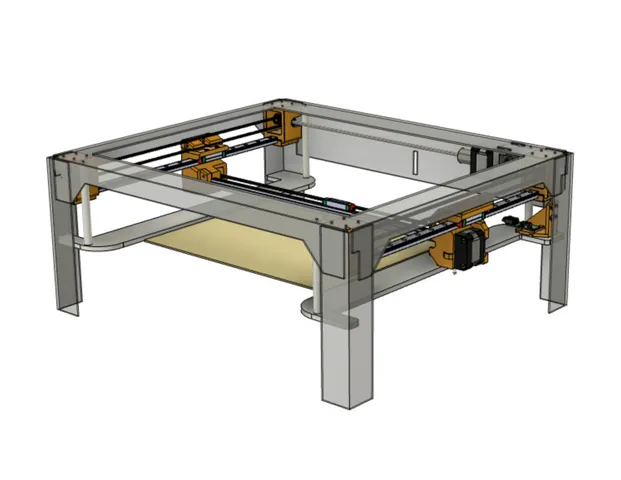
PDFA dust shoe for the Millright Mega-V CNC machines that stays at fixed height with relation to the build surface.
Most dust shoes are fixed to the router or spindle body such that the dust shoe rises and falls with the Z-axis motion. This up and down motion causes the shoe to collapse the brush against the material, often times to the point that the brush material gets caught up in the bit tearing out the bristles or melting them together. Also, as the bit is raised raised suction is often lost allowing dust and cuttings to escape.
A shoe that stays at a fixed height with relation to the material optimizes suction and eliminates the possibility of the bristles getting caught up in the bit. This works well because most routing operations are on relatively flat boards with only ¾” of cutting range.
Another feature of this design is the use of weather stripping instead of brush bristles to create the vacuum area. The weather stripping is inexpensive and easily replaced in the event of damage.
The shoe can be rotated in 45 degree increments relative to the base to facilitate various vacuum hose arrangements.
There is an optional insert that can be fitted into the shoe to improve suction, but it may limit router Z-axis travel.
Currently only 2.5" duct size is available. I am working on 1.25" duct and clamp setup. There are no plans to accommodate a Shop Vac hose because the hose should be reinforced with spiral steel wire to facilitate grounding.
- 2.5" Flex Hose: https://a.co/d/fOKvL52
- 1.25" Flex Hose: https://a.co/d/9lKbMpn
Printing:
- All the files are designed to be printed as orientated without supports, except for the Hose Clamps, which do require supports for the hinges.
- Warping for some parts can be a problem unless brims and/or adhesives such as Aqua Net Hair Spray is used.
- Enhanced PLA works well but PC, PETG or other stiff filaments will also work. CF enhanced filaments are not necessary. I do not recommend Nylon filaments, with or without CF. They are too flexible and prone to deformation with applied pressure, i.e., holding the weight of the shoe and vacuum hose.
- I used 4 walls, 4 top, and 4 bottom layers with 30% Cubic Subdivision Infill and Infill Overlap at 40%. All other setting adjustments should be based on flow cubes and temp towers.
Assembly:
- Two taped ¼"-20 holes in the steel stationary Z-Plate are needed to install the Corner Mount. Use the mount as a location template. There is not enough room on the front of the back plate for a bolt head or nuts, so taping is really the only good option. No need to disassemble the CNC, just make sure to catch/cleanup metal shavings.
- The Post is attached to the Corner Mount using four M3 cap head screws and brass inserts: https://a.co/d/1ef5sm and https://a.co/d/39xmG28
- Two ¼"-20 Carriage Bolts are used to secure the riser to the post. The squares on the carriage bolts fit into the riser's slot. The bolts need to be no longer than 1.25 inches or you risk a collision with the left side Gantry End Plate.
- The knobs are made up of two parts. A ¼"-20 nut is placed into the inner knob and the inner nob is glued into the outer knob.
- 16 Neodymium-Iron-Boron Rare Earth Magnets are used to hold the shoe to the base. the dimensions are 0.25" Diameter X 0.1" Thick: https://www.magcraft.com/magcraft-nsn0601
- When inserting the magnets, it is best to align all the polarities in the same direction. You might need to use a 0.25" end mill to enlarge to holes so the magnets fit. Twist the end mill between your fingers. If it is sharp it will cut the plastic like butter so be careful about making the hole too deep. The magnets can be pulled flush by placing the Shoe and Base on a metal surface such as a drill press table, then add a drop or two of super glue from the top to fill any gap and hold the magnet in place.
- To create the ‘brush’, the shoe is wrapped with Weather Stripping Silicone Door Seal tape. I cut the tape to length and then trimmed the adhesive side so that 12mm of adhesive is available, The other side can be trimmed so that about an inch extends beyond the adhesive. Slots about every half inch allow for moving over clamps and other protrusions: https://a.co/d/hTHbnf6
- The Hose Clamps use M3 cap head screws and nuts for both the hinge and clamp.
BoM:
| Description | Amazon U.S. | Image |
| M3x5.7mm, OD4.6mm Threaded Brass Insert | https://a.co/d/6rNIbp1 |  |
| Stainless Steel M3 Hex Socket Head Cap Screws and Nuts Assortment | https://a.co/d/1ef5smv |  |
| Rare-Earth Disc Magnets, 0.25 in. Diameter x 0.1 in. Thick | https://www.magcraft.com/magcraft-nsn0601
| 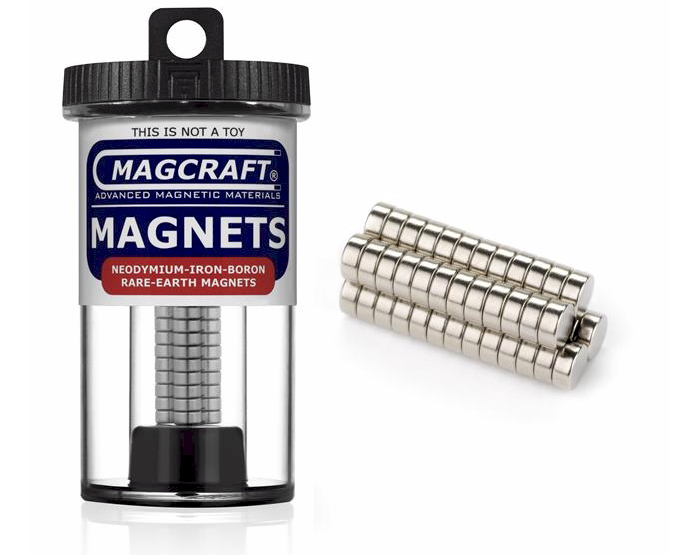 |
| 1.8” W, 33' L Silicone Weather Stripping with Sticker Adhesive |
|  |
| 2.5 Inch x 10 Feet Dust Collection Hose |
|  |
| ¼"-20, 1/14" Long Carriage Bolt with Domed Head and Nut | Local Home Store or Hardware Store |  |
Tags
Model origin
The author hasn't provided the model origin yet.