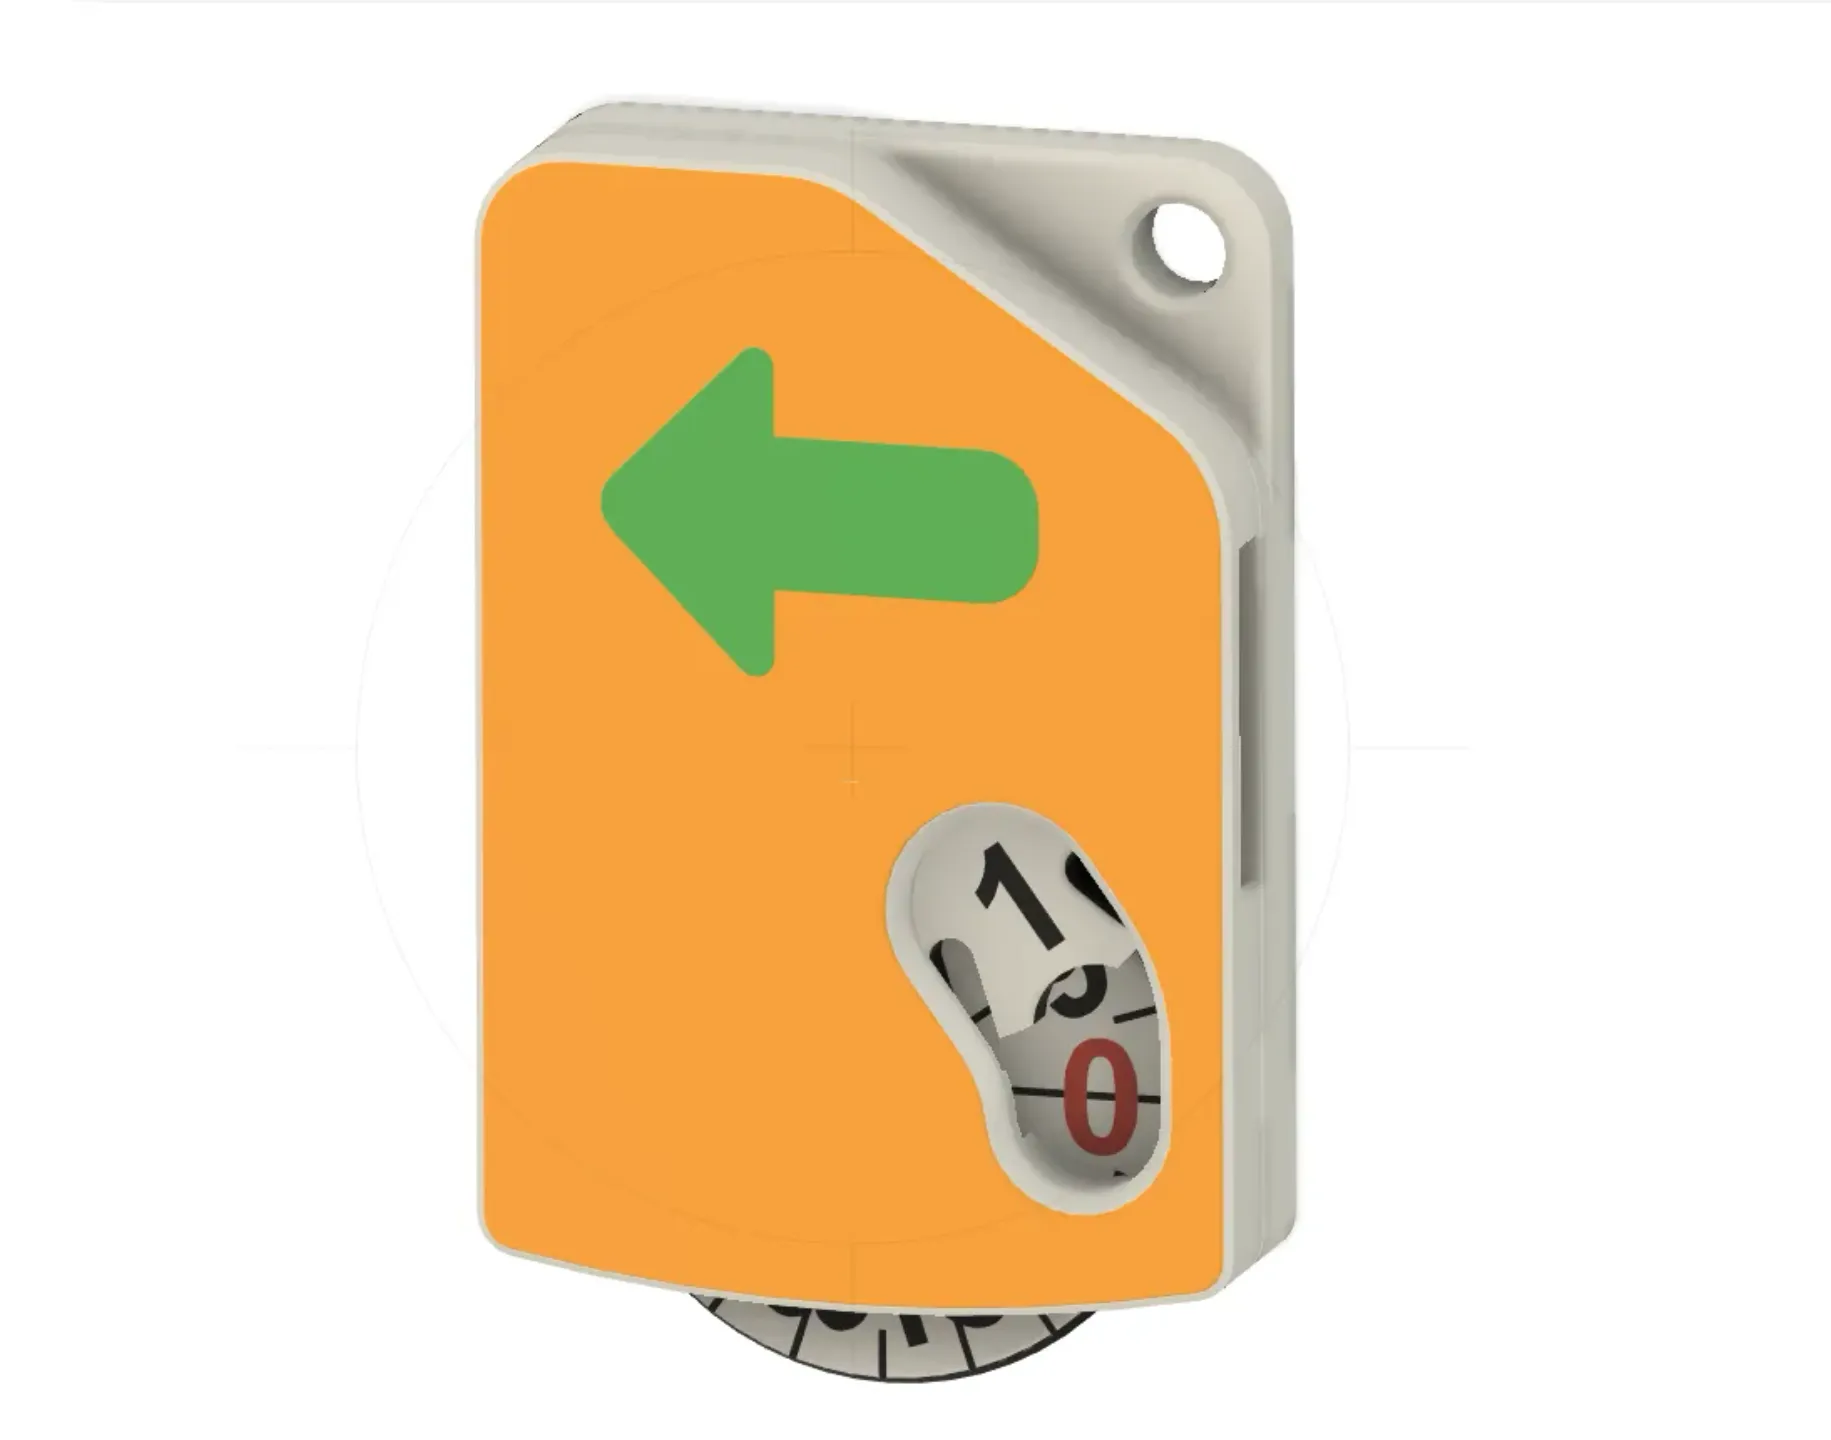
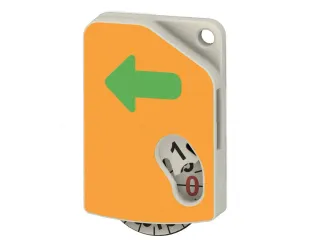
Geneva Measuring Wheel


Description
PDFparts required 1x Ø2mm toothpick
I love the Geneva Roller Ruler by MechEngineerMike from Thingiverse. It has a geneva wheel that count from 0.1 to 0.5m. But I wanted one that count from 0.1 to 0.9m, so I designed one.
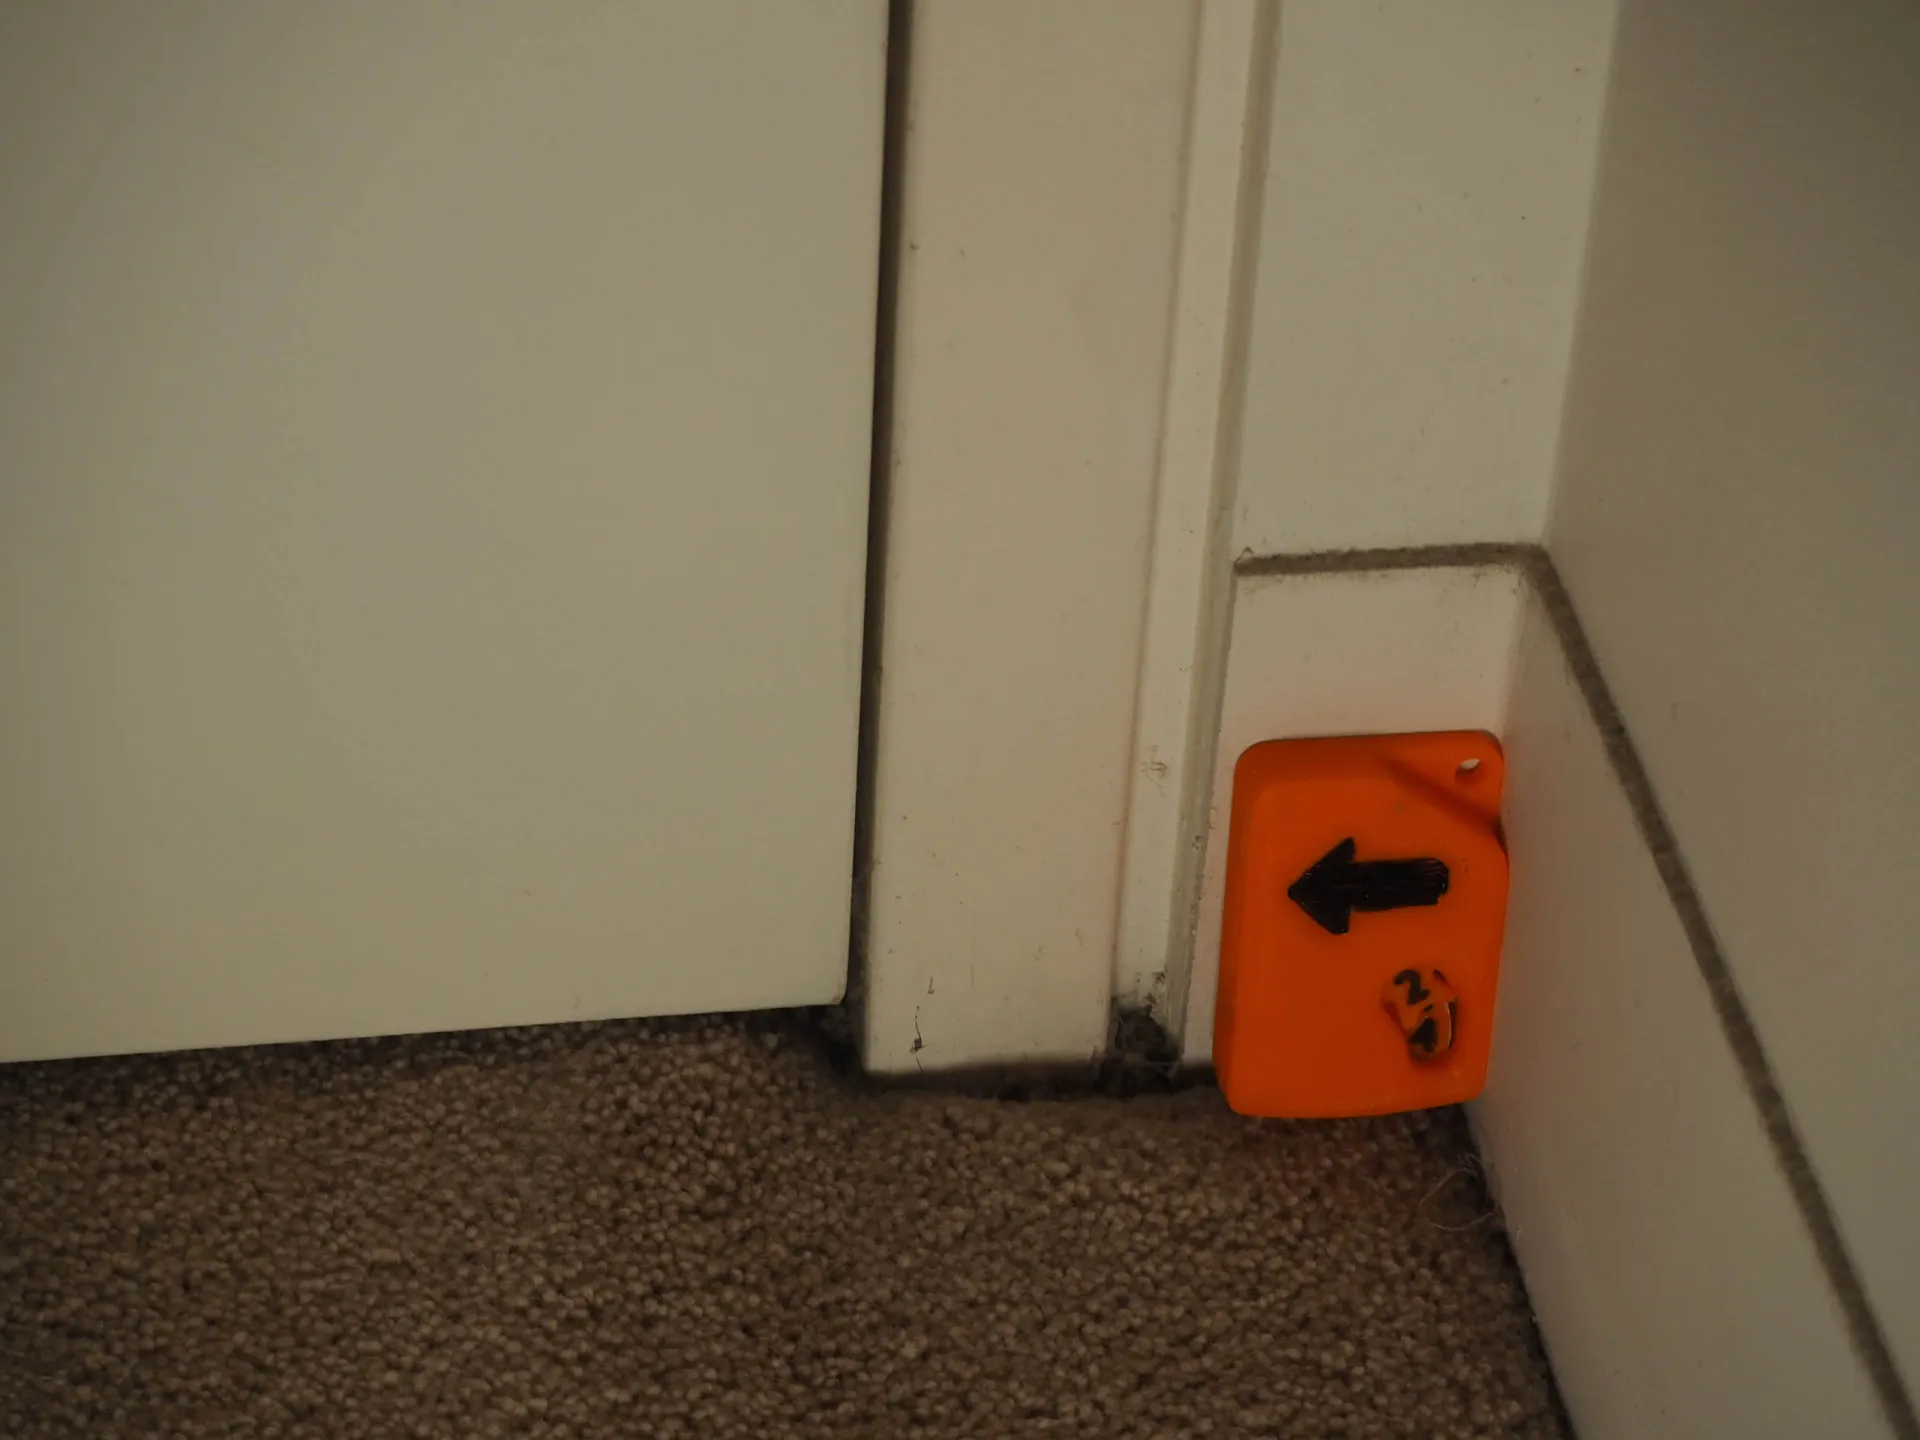
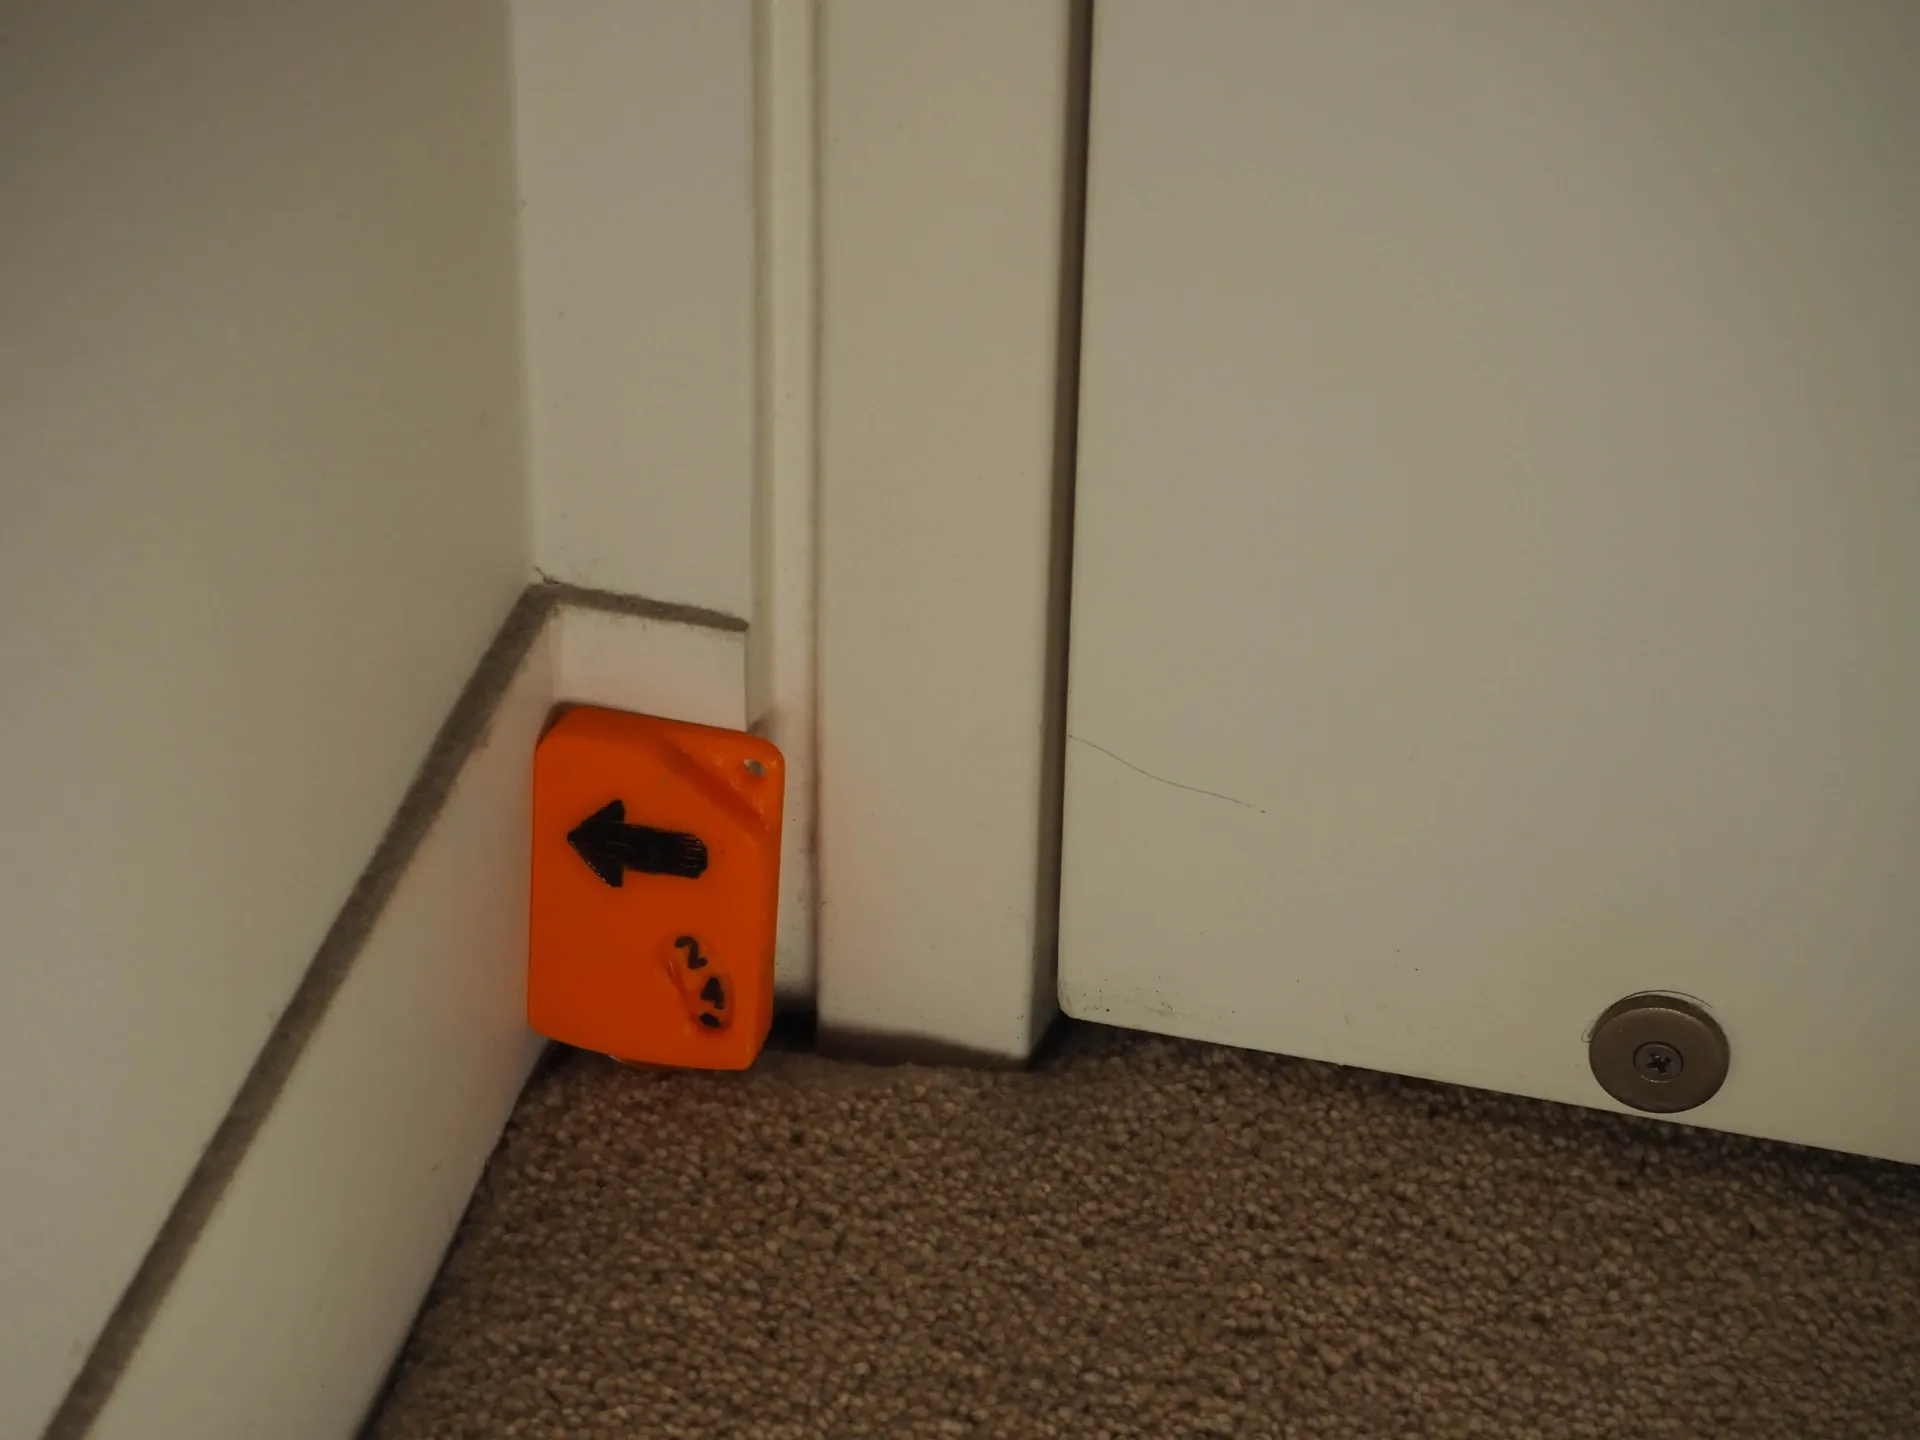
I also design this trundle wheel to easily measure internal lengths. The width of the unit is 40mm wide. So you start the wheel on one end touching the wall and run it until it touch the other wall; read the final measurement and add 40mm to it. If you don't want to have to add 40mm, you can just initialize the counter at 40mm instead of 0mm.
Like MechEngineerMike's, this trundle wheel doesn't perform well on glass surfaces. Will need to work out a way to overcome this.
Printing Notes
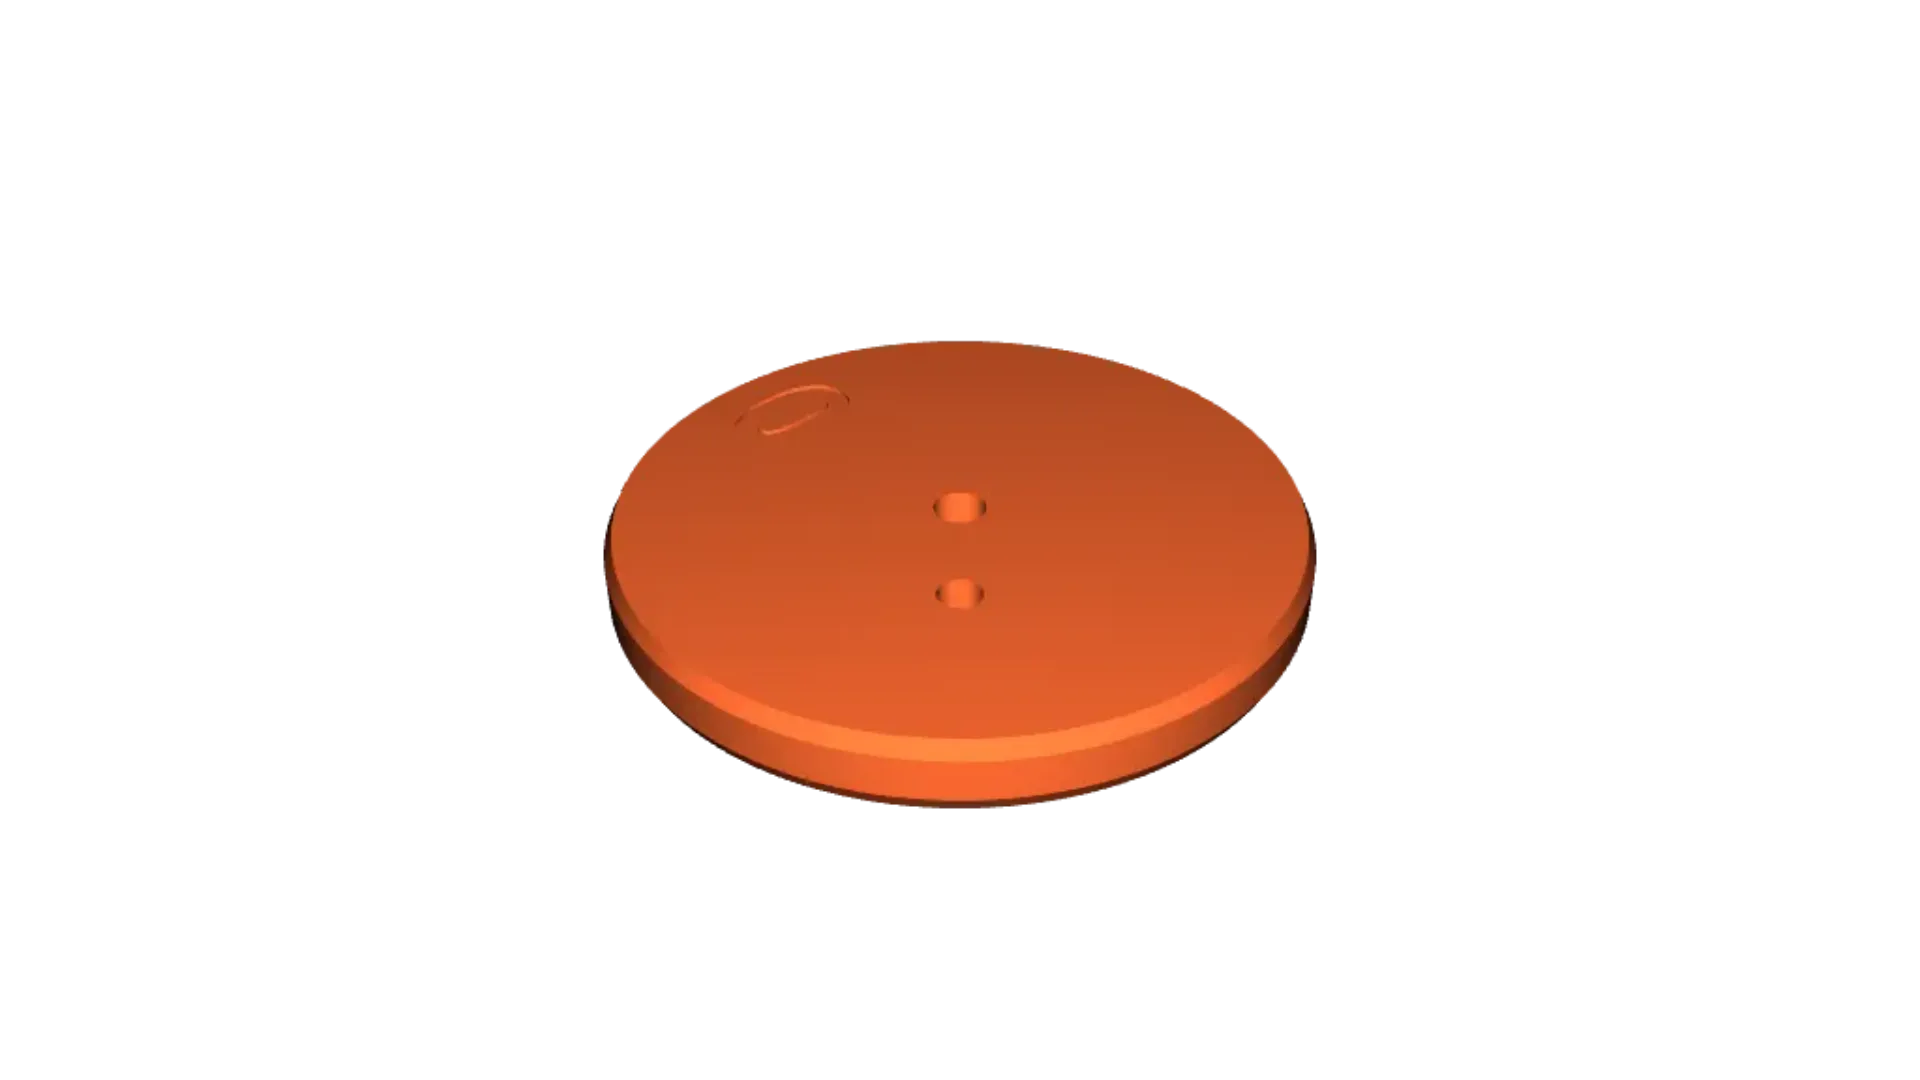
Print the Top facing downward for better print quality.
The model is deigned in multi color. forum.prusa3d.com has details on enabling printing multi-color with manual filament change.
In prusa slicer, to print in single color without enabling the above (i.e. using slicer default setting). You need to add first file from the part (via import), then add the other files for the same part (on right side, right-click the part->"Add part"->"Load…"). It is recommend that you import the bottom file for a part first, so you don't need to adjust the elevation of the object afterward. Here's the load order for each parts:
- “Import” DriveWheelBottomFace. Then use "Add part" in the following order: DriveWheel, DriveWheelTopFace.
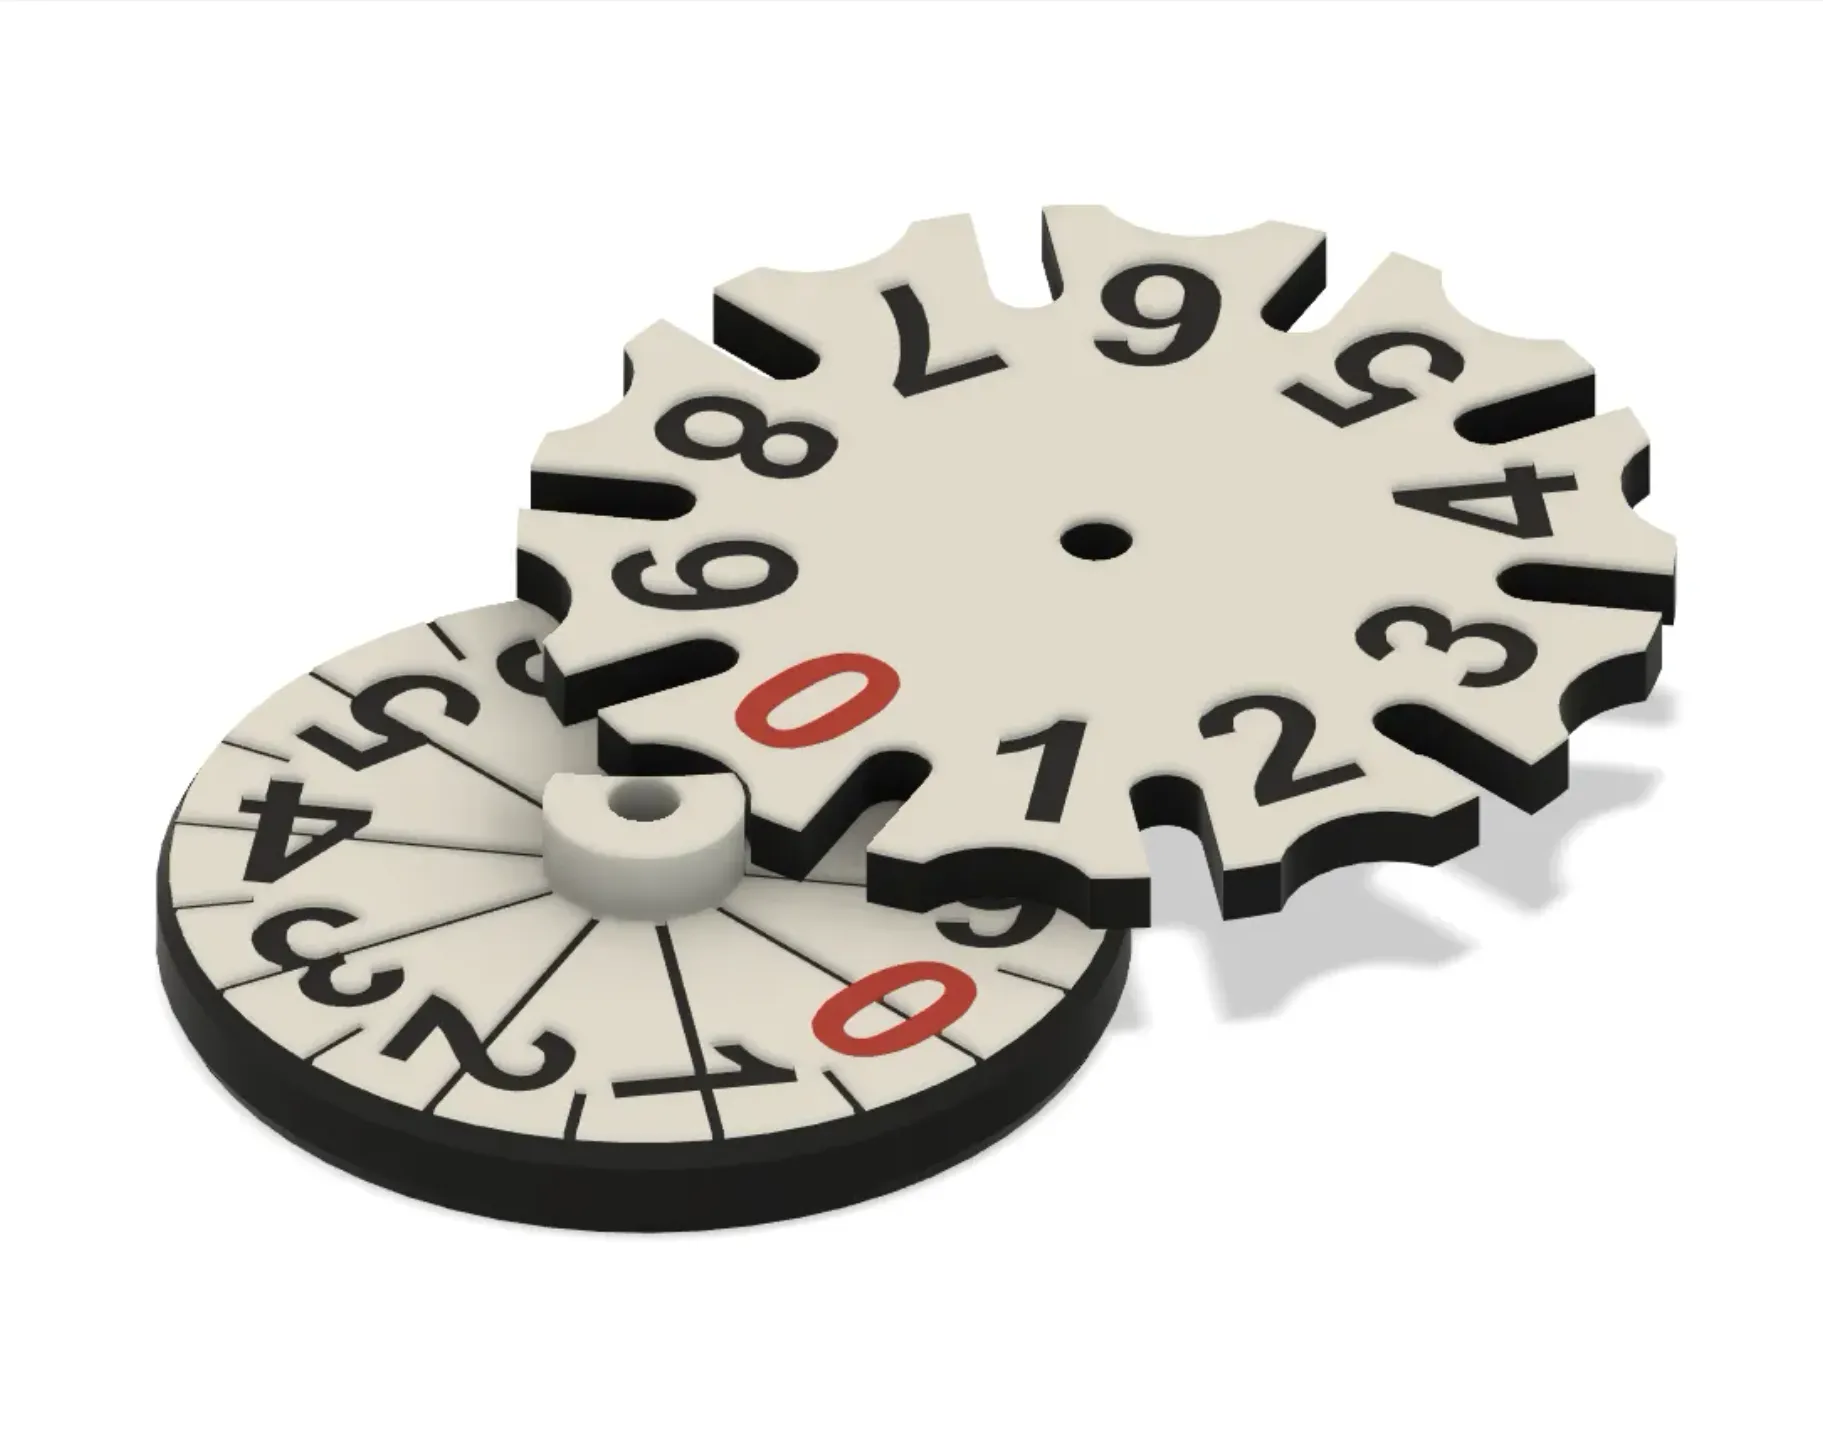
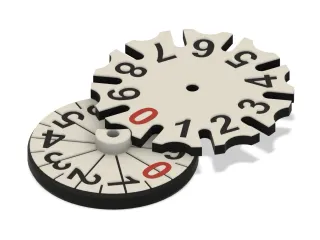
- “Import” GenevaWheel. Then use “Add part” to load GenevaWheelFace
- “Import” Top. Then use “Add part” to load TopFace. Finally, remember to select the whole object and flip it upsidedown (using “Place on Face” function)
- “Import” Bottom by itself.
Assembly Notes
Cut the Toothpick into 2x 11mm (wheel axles) and 6mm (drive pin) length.
Insert the shorter drive pin onto the drive wheel. The pin should be flush at the bottom and exposed on the numbered side. The pin should be tight, otherwise add some glue to secure it.
Insert the two longer axles to the bottom unit, then add the geneva and drive wheels. The numbering on both wheels should be facing upward. The wheels should be freely rotating; if not, you can drill the holes on the wheels a bit larger.
Optional filament for aligning top and bottom halves: Cut some filament (<10mm) to fill the rest of the holes. If you have problem inserting the filaments, you can try chamfer the holes with a drill bit.
Finally glue the top and bottom halves together.
You can check out my other prints at https://www.prusaprinters.org/social/76585-highrise-workshop/prints. And don't forget to click the “Like” button.
Tags
Model origin
The author marked this model as their own original creation.