Nexus Pro 100 FPS and 180 FPS Endcaps

Description
PDFIncluded are custom FPS end caps for the Adventure Force Nexus Pro; previously sold on Etsy and now shared for free.
Details
EDIT: Newer batches of Nexus Pros appear to be using a slightly different spring supplier, so we now recommend a 31mm endcap instead of 28mm.
The 31mm endcap is an FPS reducing endcap, and corresponds to almost no spring precompression. It shoots approximately ~95-105 FPS using short darts; perfect for HvZ club events with lower FPS limits.
From the dozen or so Nexus Pros I've tested, most stay just under 100FPS, but some manufacturing variances cause slightly hot readings. Though, on average, I've found it to be slightly less than the retail Out of Darts 100FPS end caps (which tend to average closer to the 110FPS figure). Naturally, however, with the reduced pre-compression you will see increased dart velocity variance than when you go higher power.
The -16mm endcap is an FPS increasing endcap; I generally keep this in my stock as a violent way to unjam stuck darts. As such, I don't have much chronograph data on it, and I think we saw ~175-185 FPS. Given the uncertainty of this figure, I have not included a labeled endcap for this variant.
The 40mm endcap is a joke; the spring rattles as your run around, as there is about 1cm of airgap between the uncompressed spring and the back of the endcap. It'll shoot 60 - 85FPS, and is much more prone to jamming in anything but pristine darts. Consider this as an emergency option for a club with weird FPS limits, or a strict/faulty chrono. It's here for those that may find a use for it.
Installation
De-prime the blaster and use a phillips-head screwdriver to remove the screw from the stock endcap; twist clockwise and pull. Do the opposite motion to attach the 3D printed endcap; a hole is provided in the 3D model to secure via a screw- I consider this optional and tend to use no screw on the lower FPS endcap.
Update:
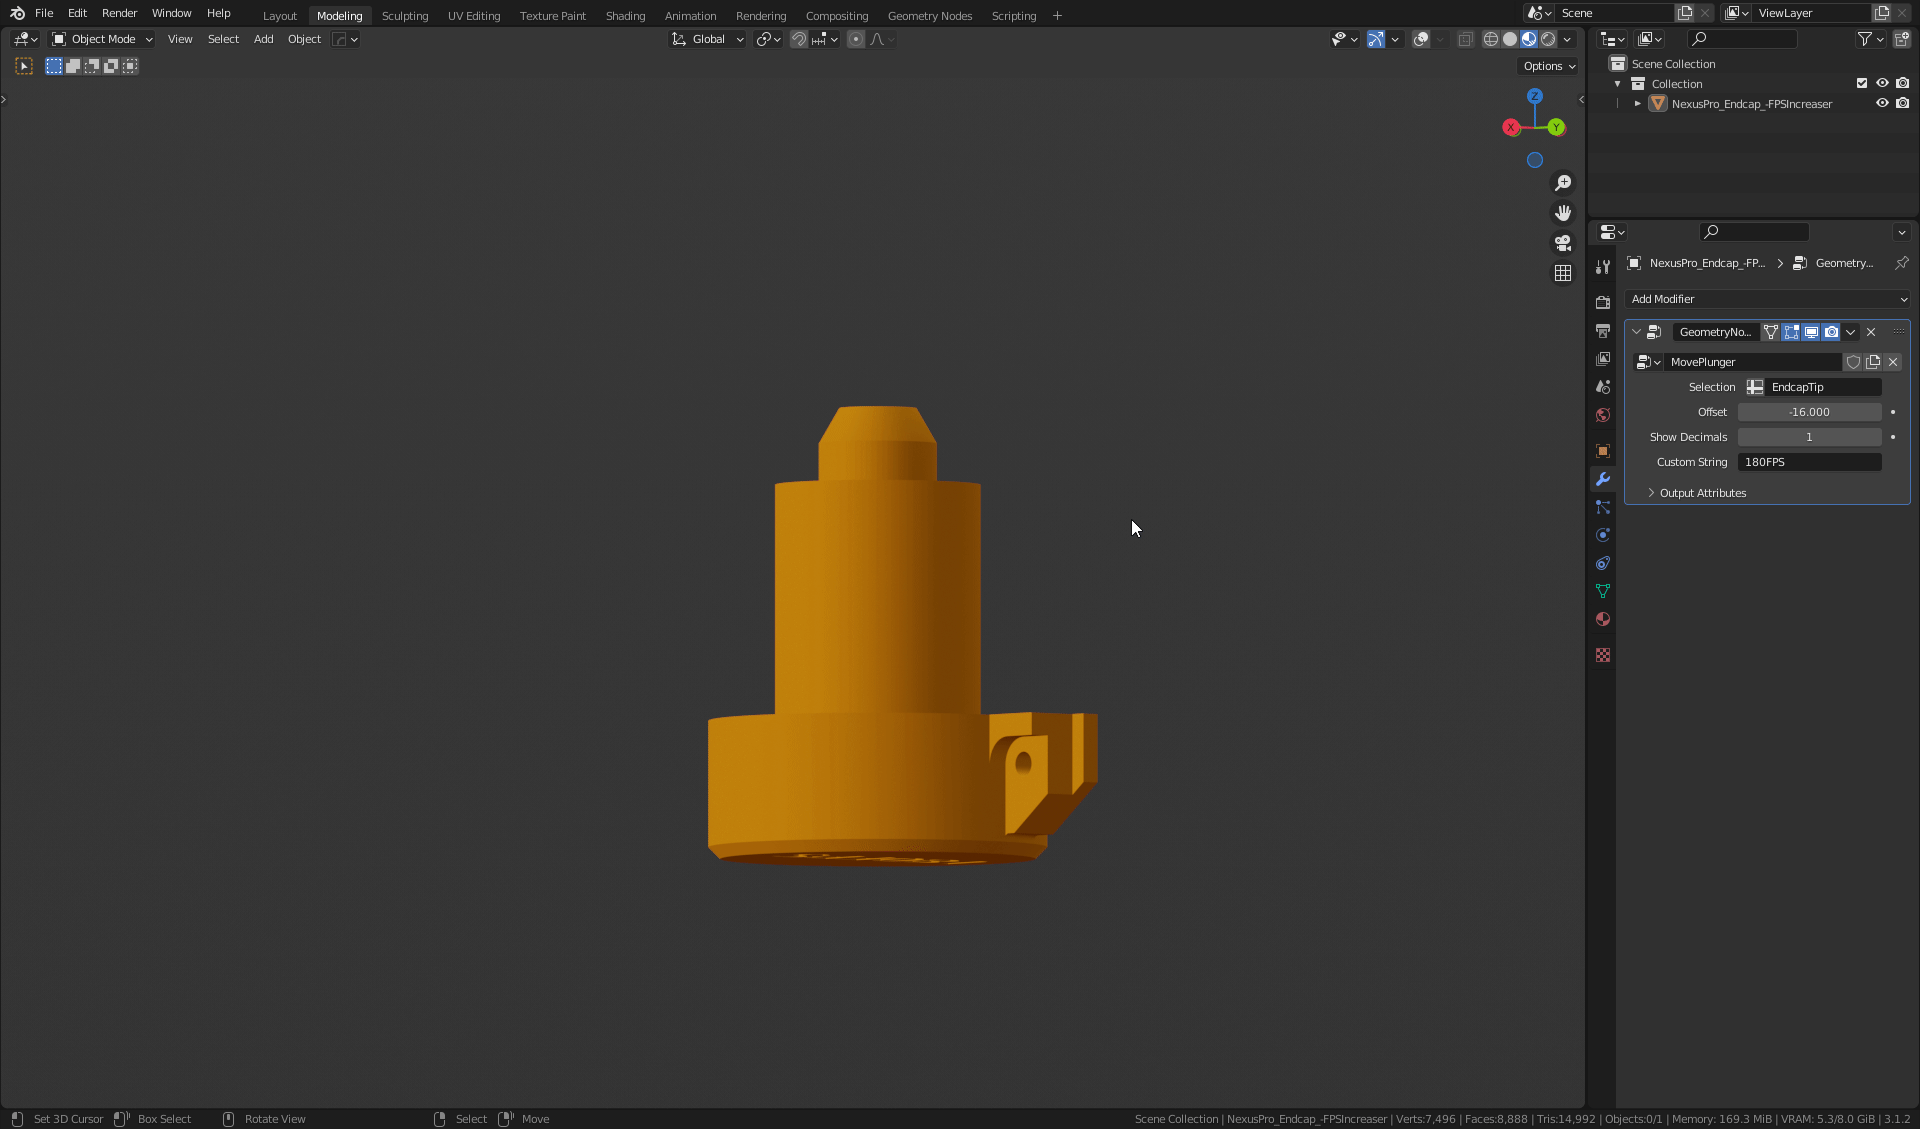
Added Blender files to easily generate custom endcap lengths and bottom texts. Download Blender here.
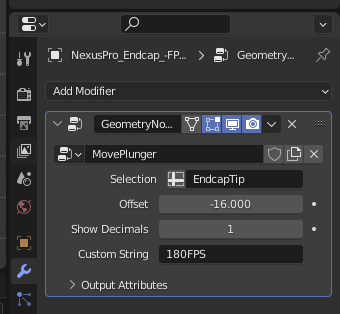
On the right panel, is the modifier stack, change the offset to your desired height; set “Custom String” to have a customized name or leave it blank to use the offset value.
When done; go to the top-left corner, select File > Export > STL (.stl), and use the default export options.
My Settings
[Amazon Basic's Translucent PETG]
Layer Height 0.30mm
Infill 20% (Gyroid) - use more walls for increased strength, not infill
No Supports
No Raft/Brim
Extruder Temperature 225C
Platform 60C
Note: Despite the layer line orientation, I have not seen a catastrophic failure due to the spring weight on either endcap design. Perhaps with PLA (PETG is my preferred material), you may desire to increase the your wall count for a stronger part.
Tags
Model origin
The author marked this model as their own original creation.

