YET ANOTHER BATTERY DISPENSER FOR AA & AAA SIZES


Description
PDFYET ANOTHER BATTERY DISPENSER (for AA & AAA size batteries)
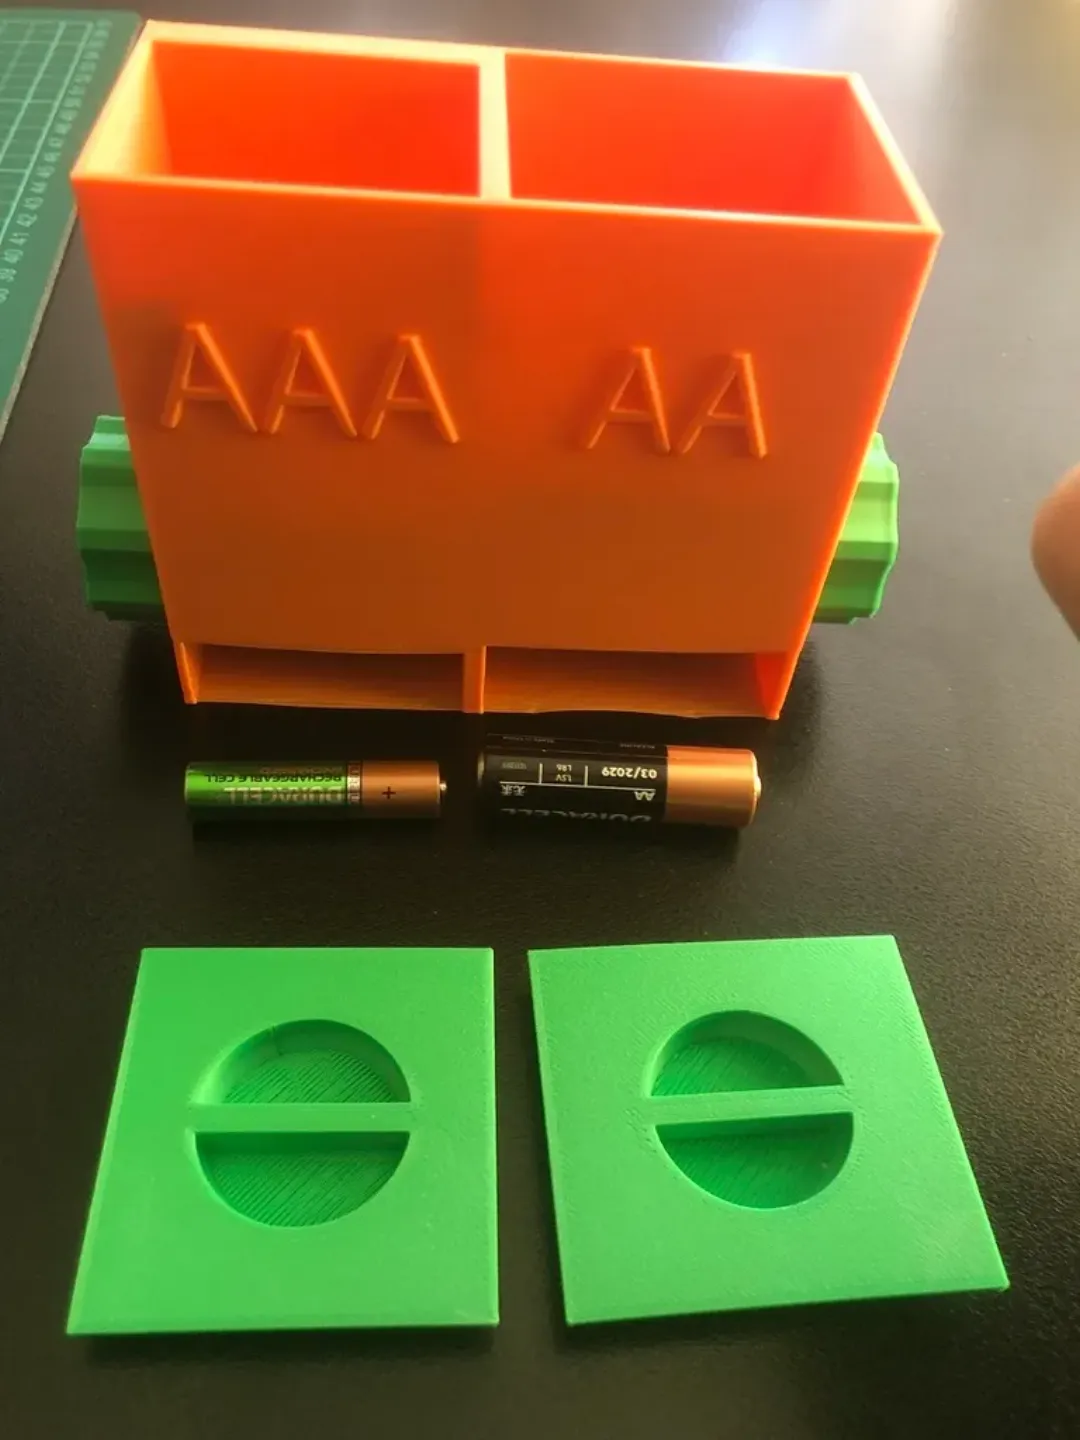
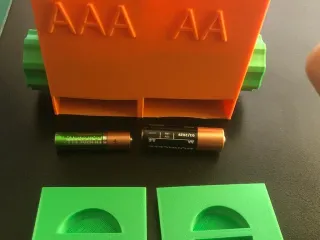
The model dispenses one battery each time you turn one of the knobs (either on AA Side or on AAA Side) 360 degrees (clockwise or anti-clockwise). It's designed to hold AA and AAA size batteries in seperate containers. Please watch the video below:
PRINTABLES:
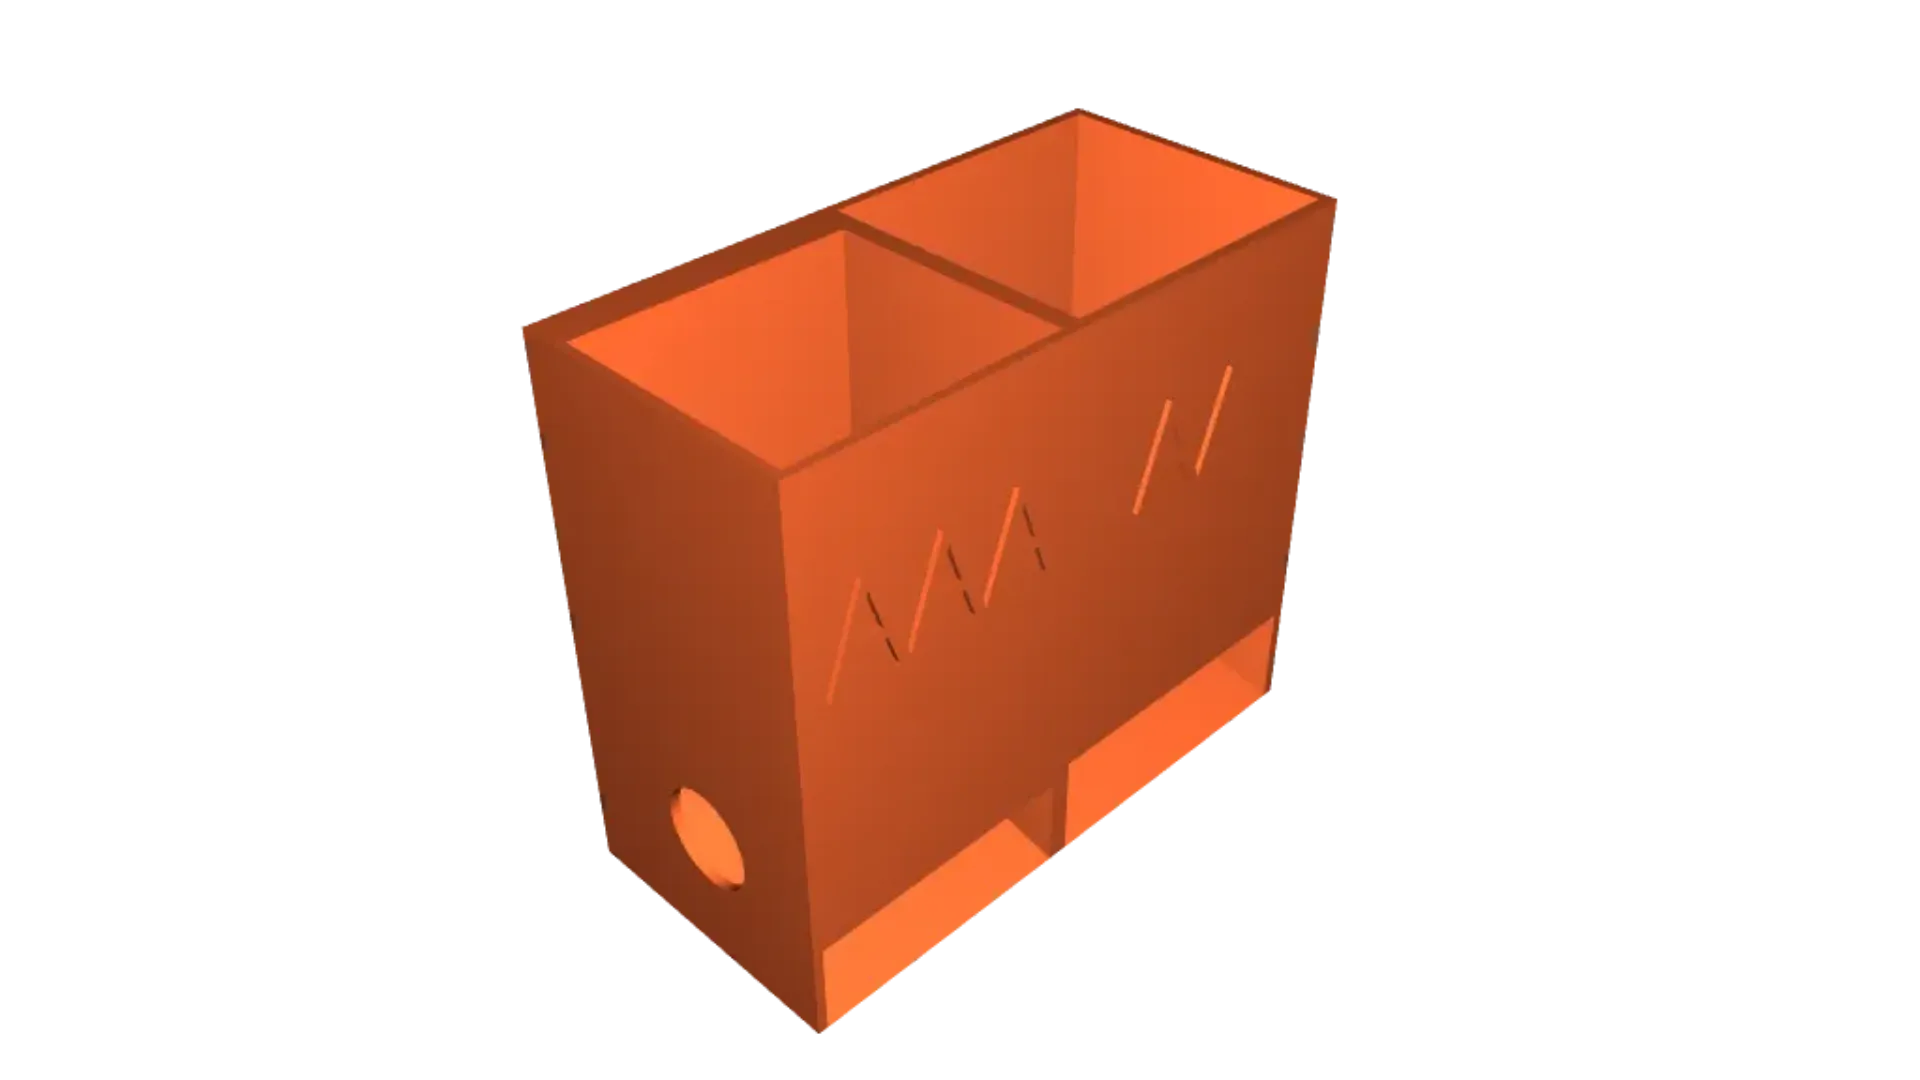
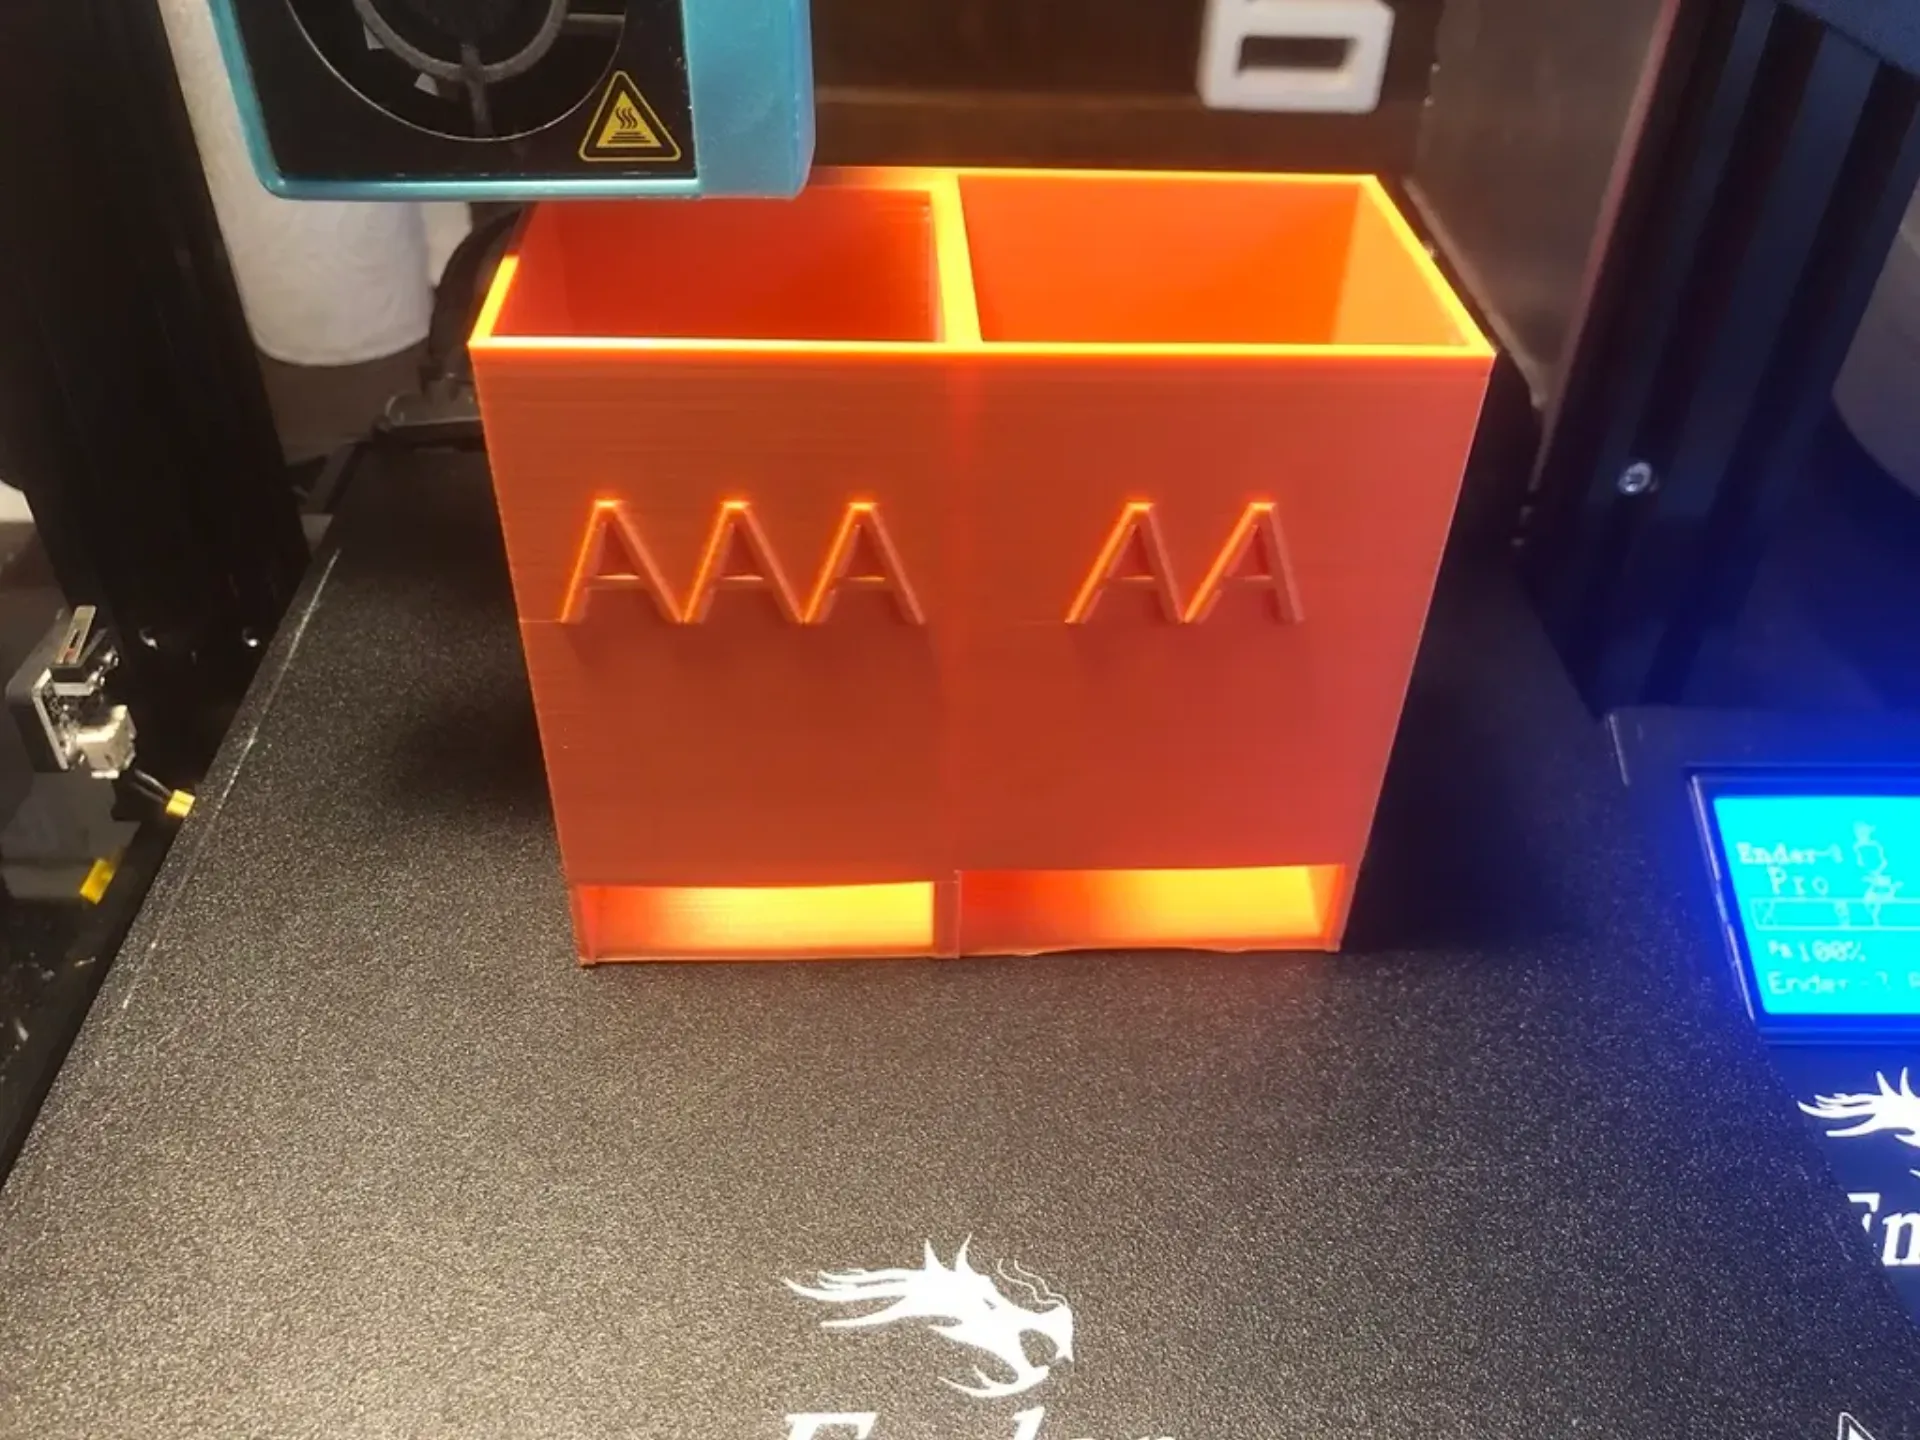
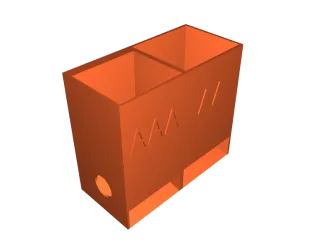
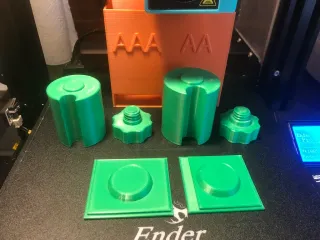
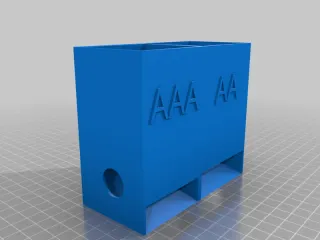
Container (holds both AA & AAA size batteries in seperate boxes).
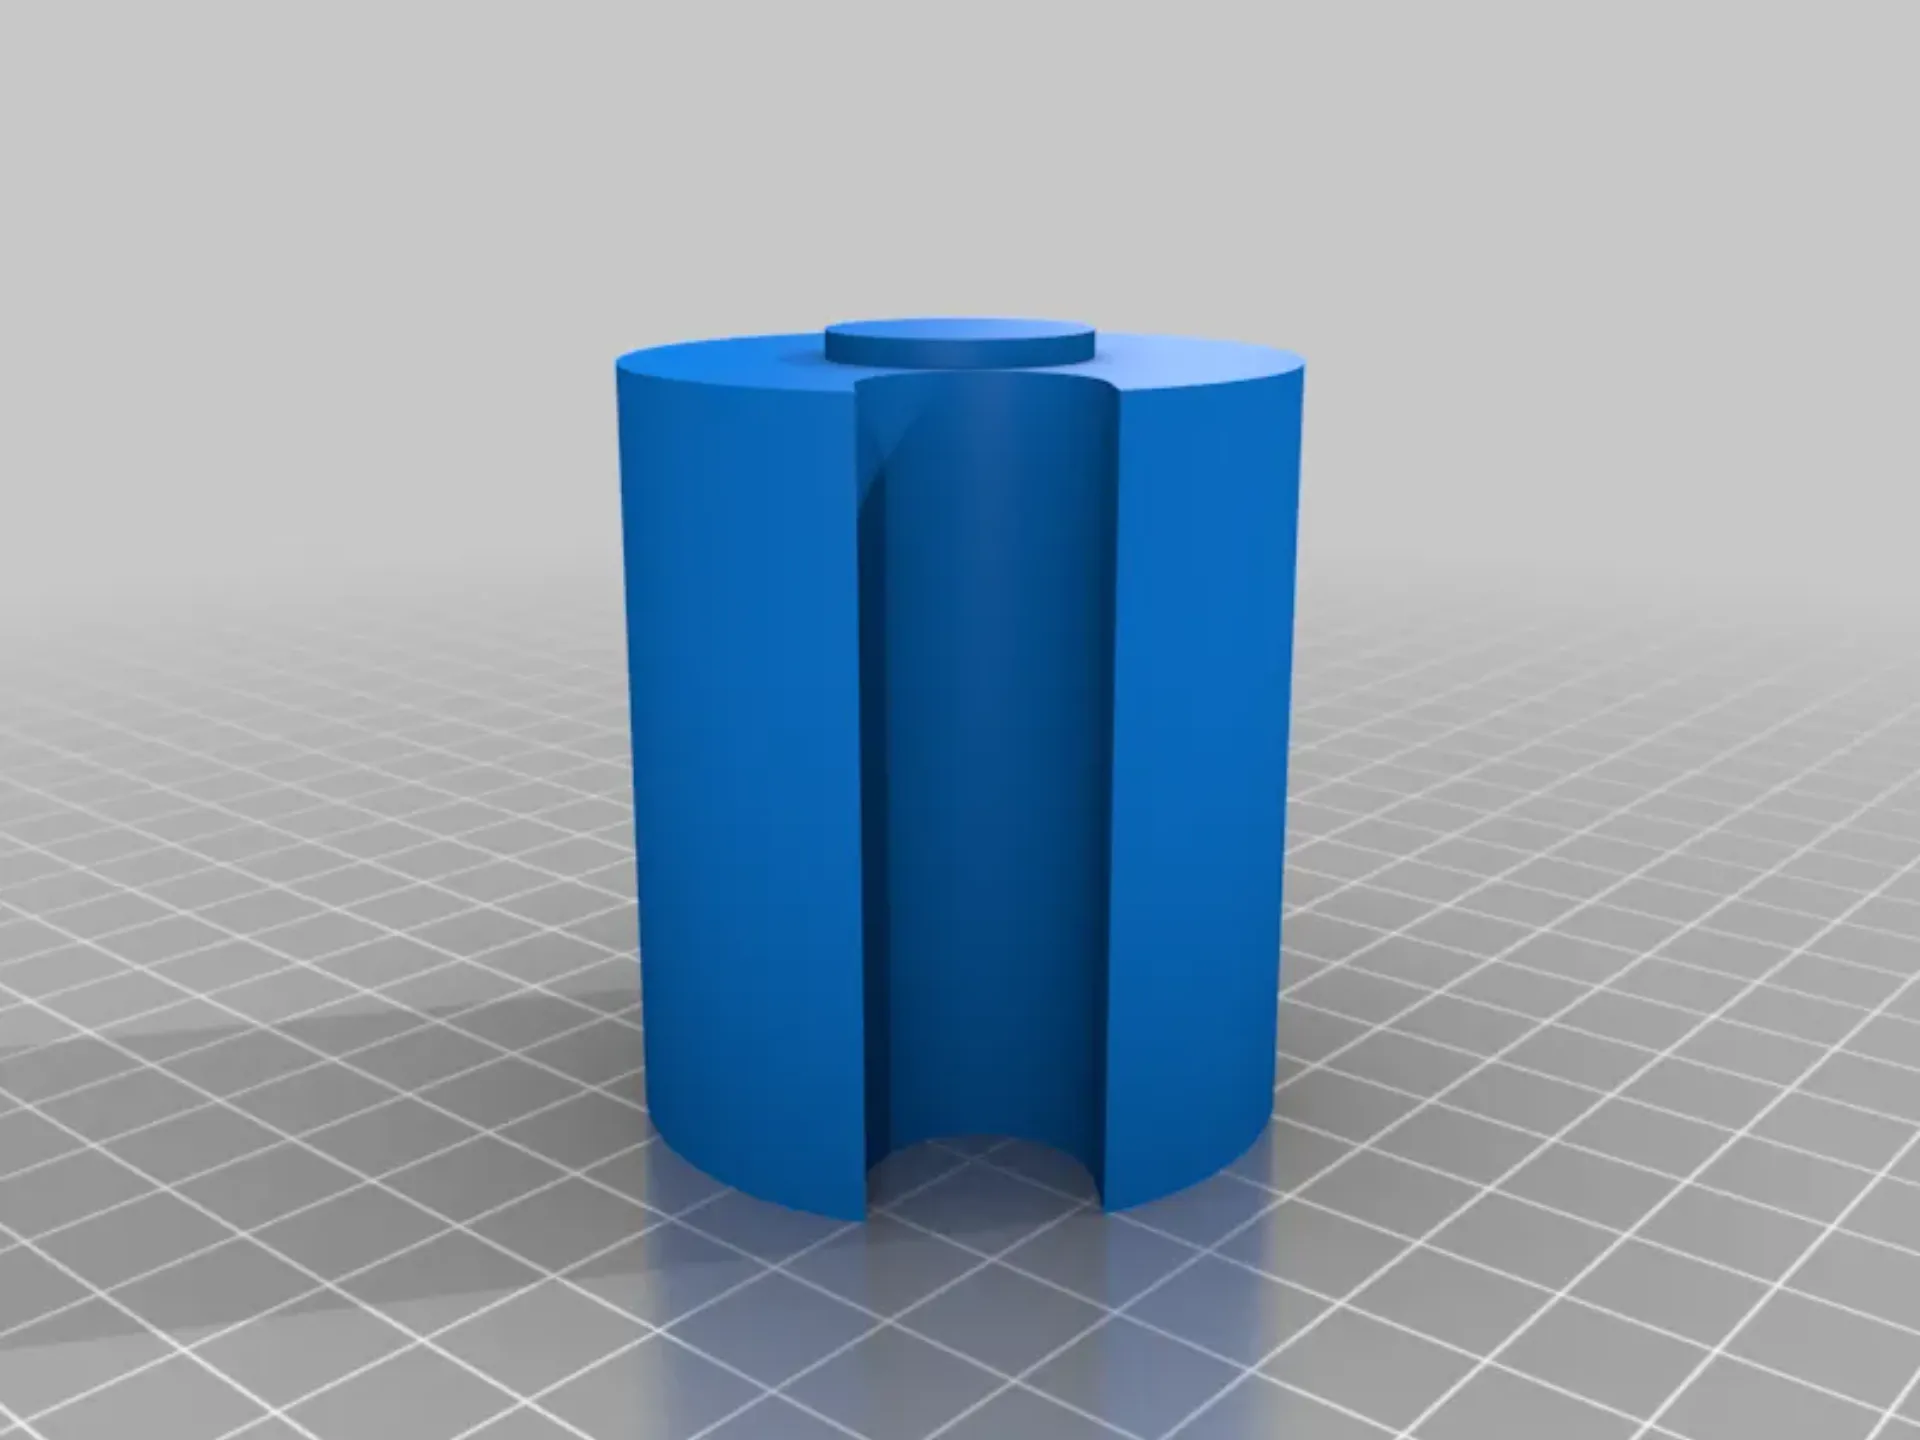
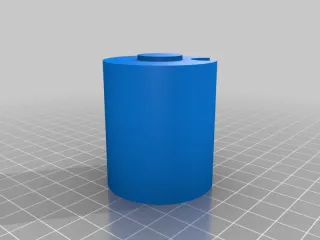
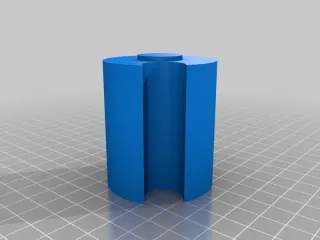
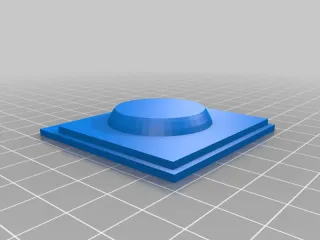
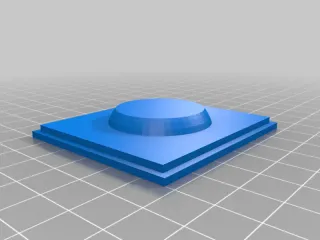
Cylinder for AA size batteries
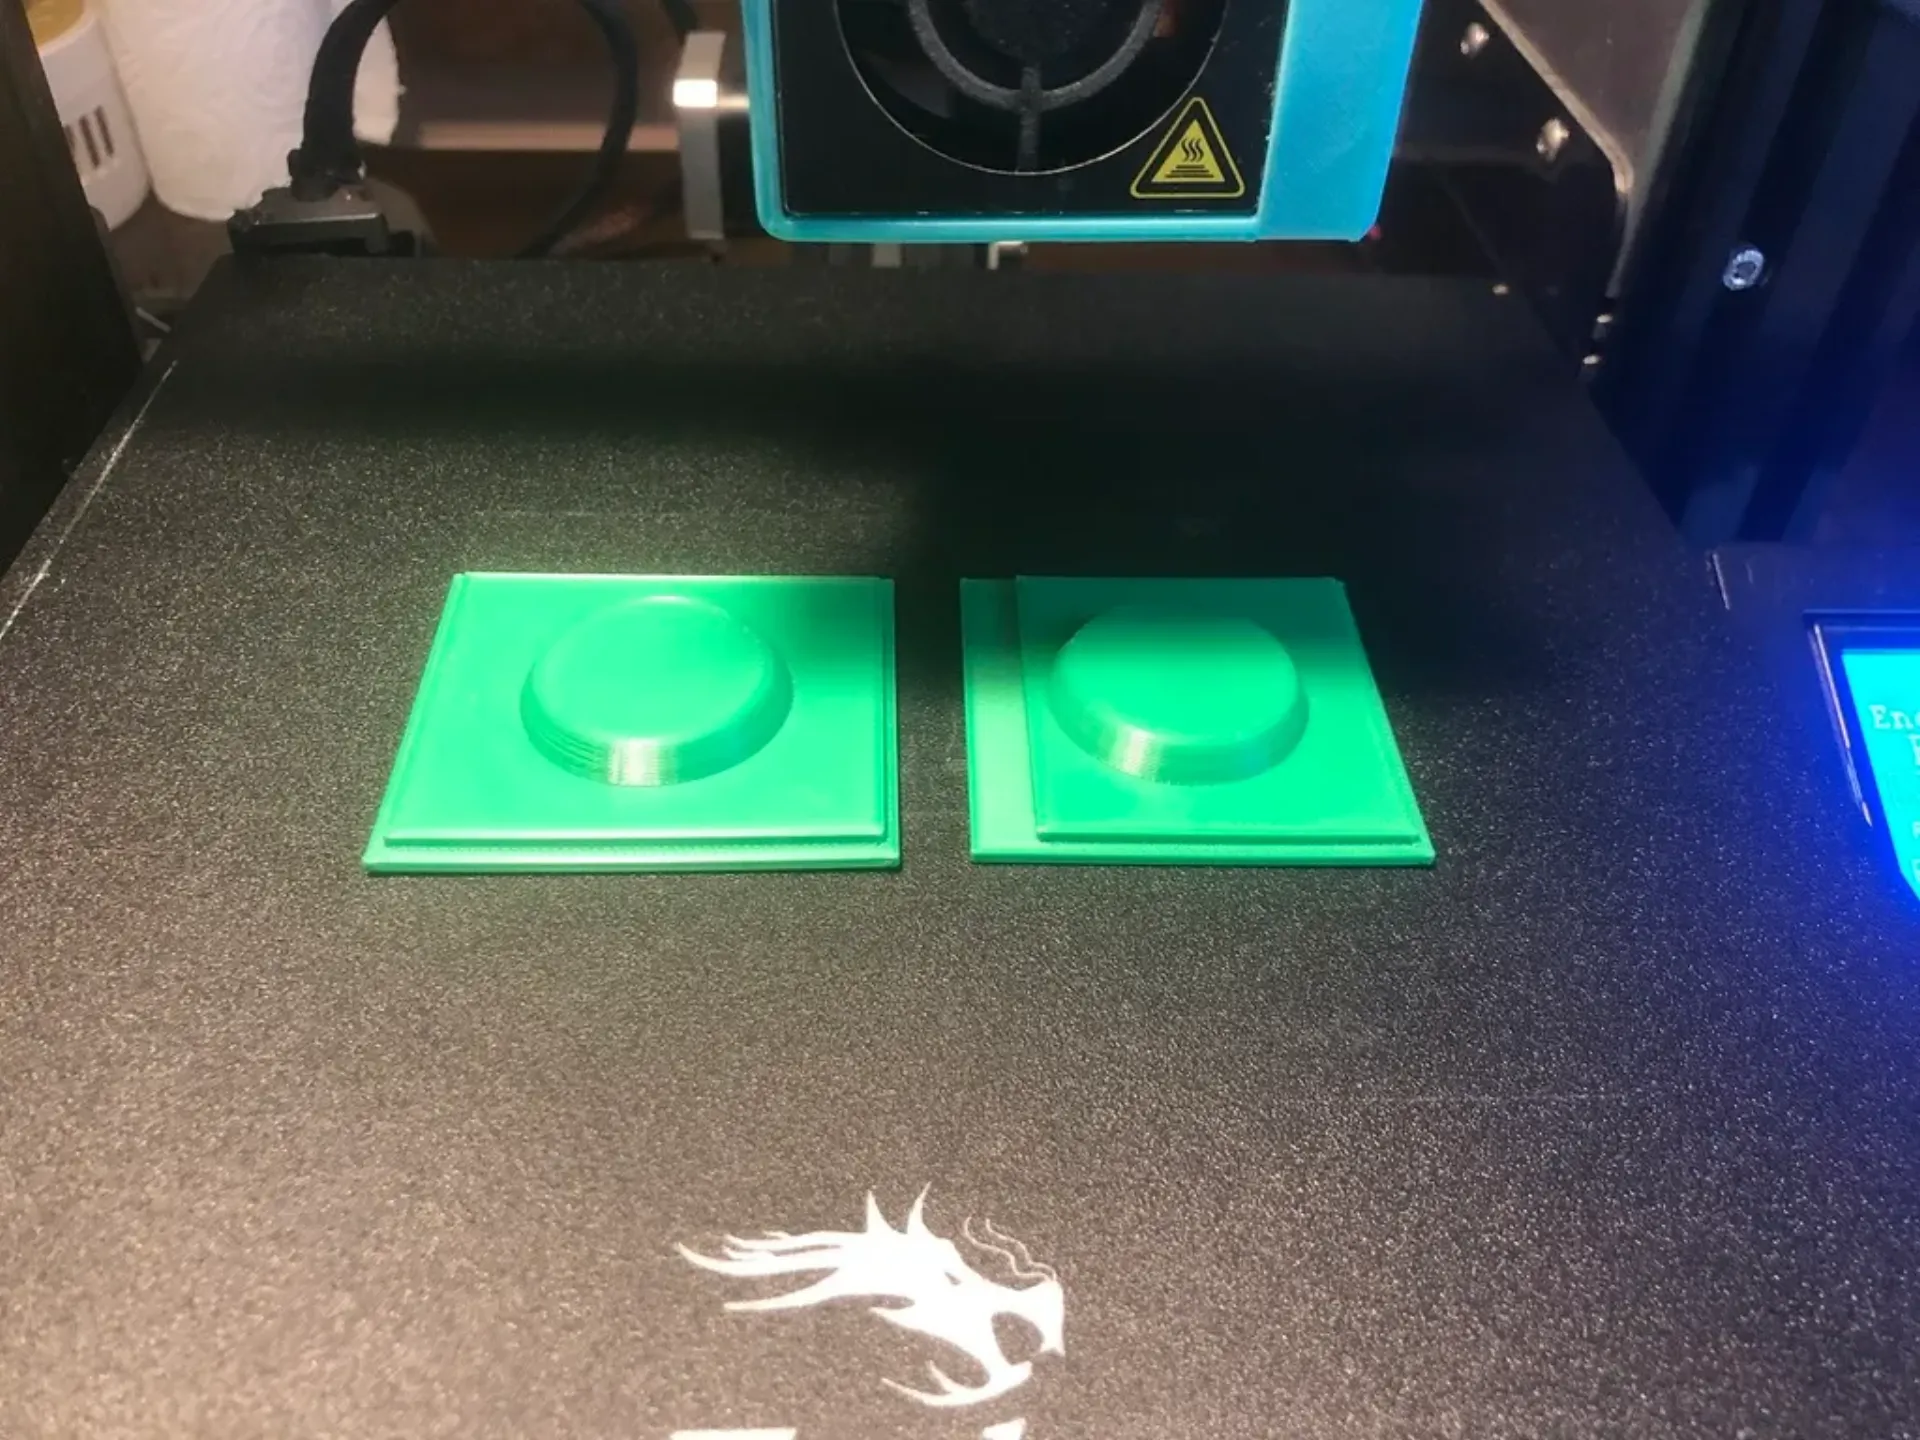
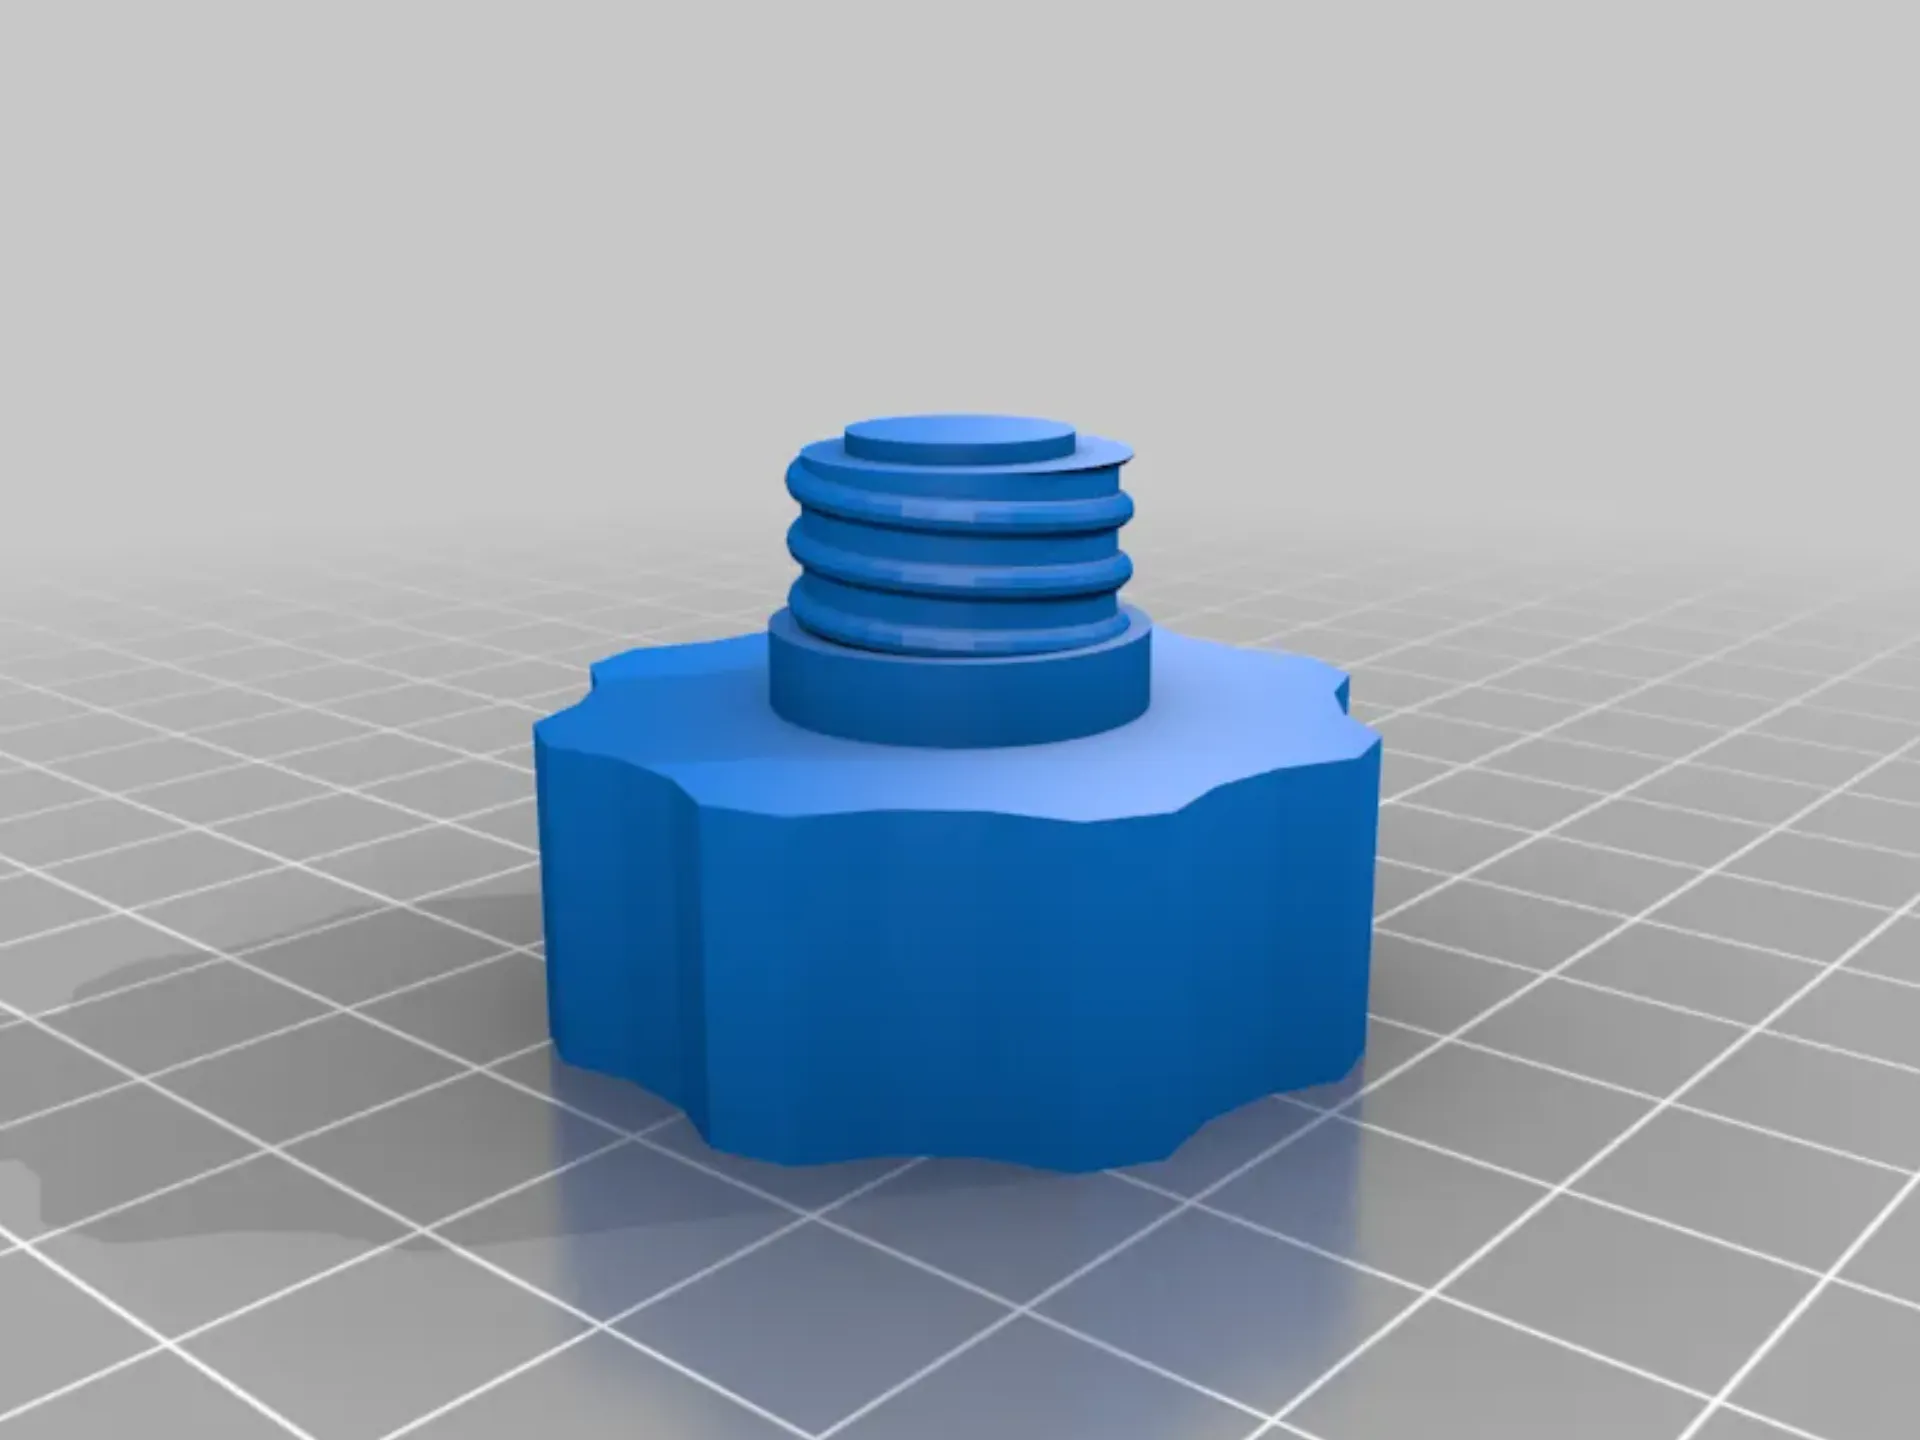
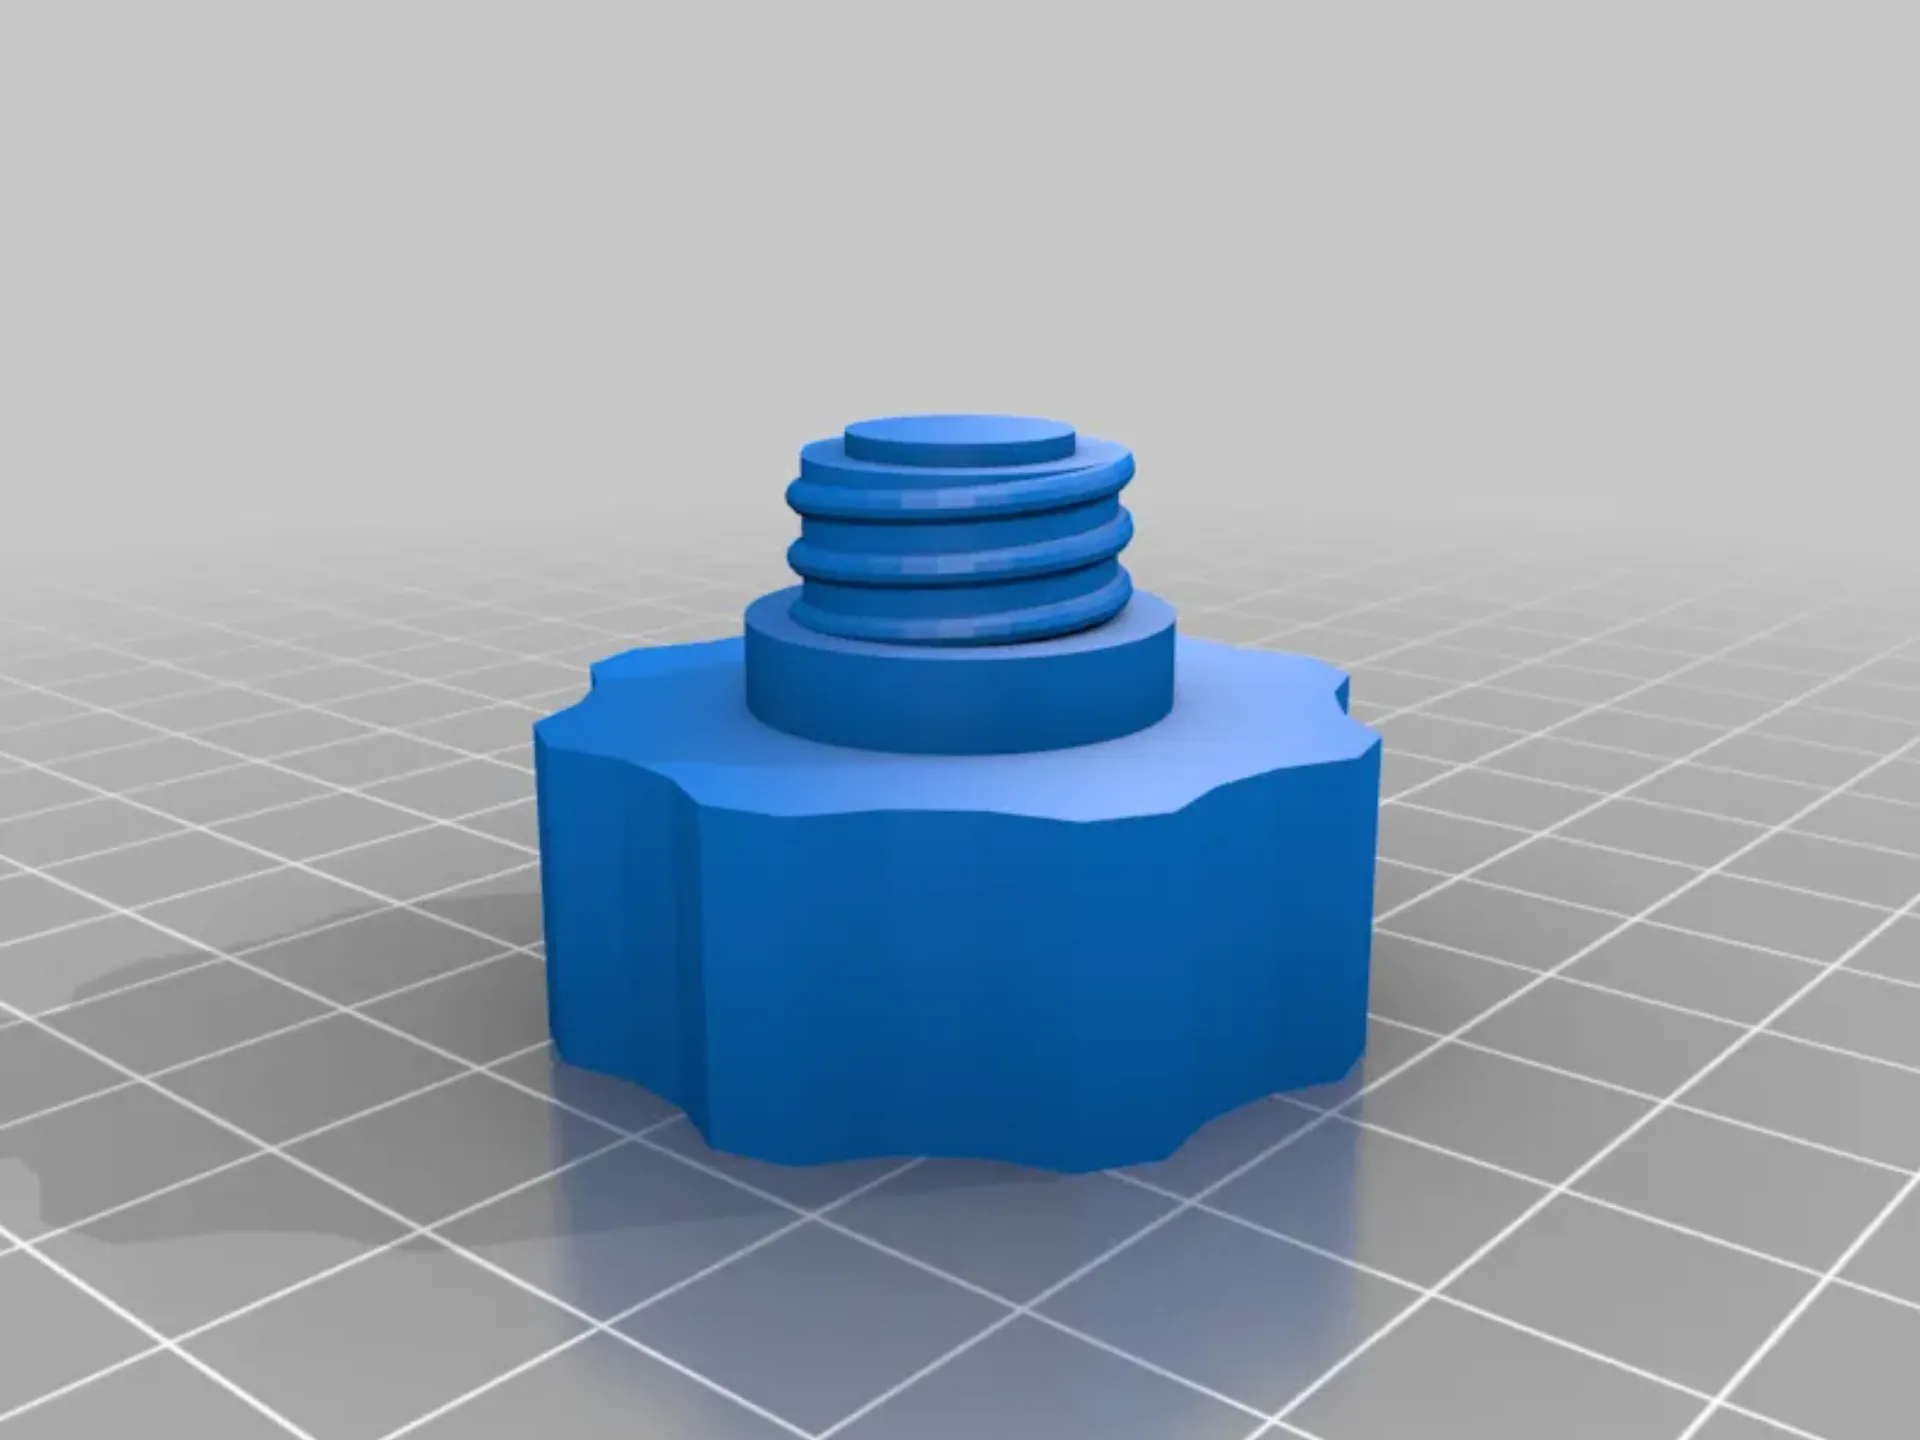
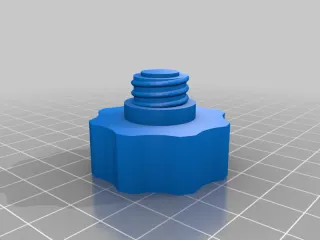
Knob for AA size batteries
Cylinder for AAA size batteries
Knob for AA size batteries
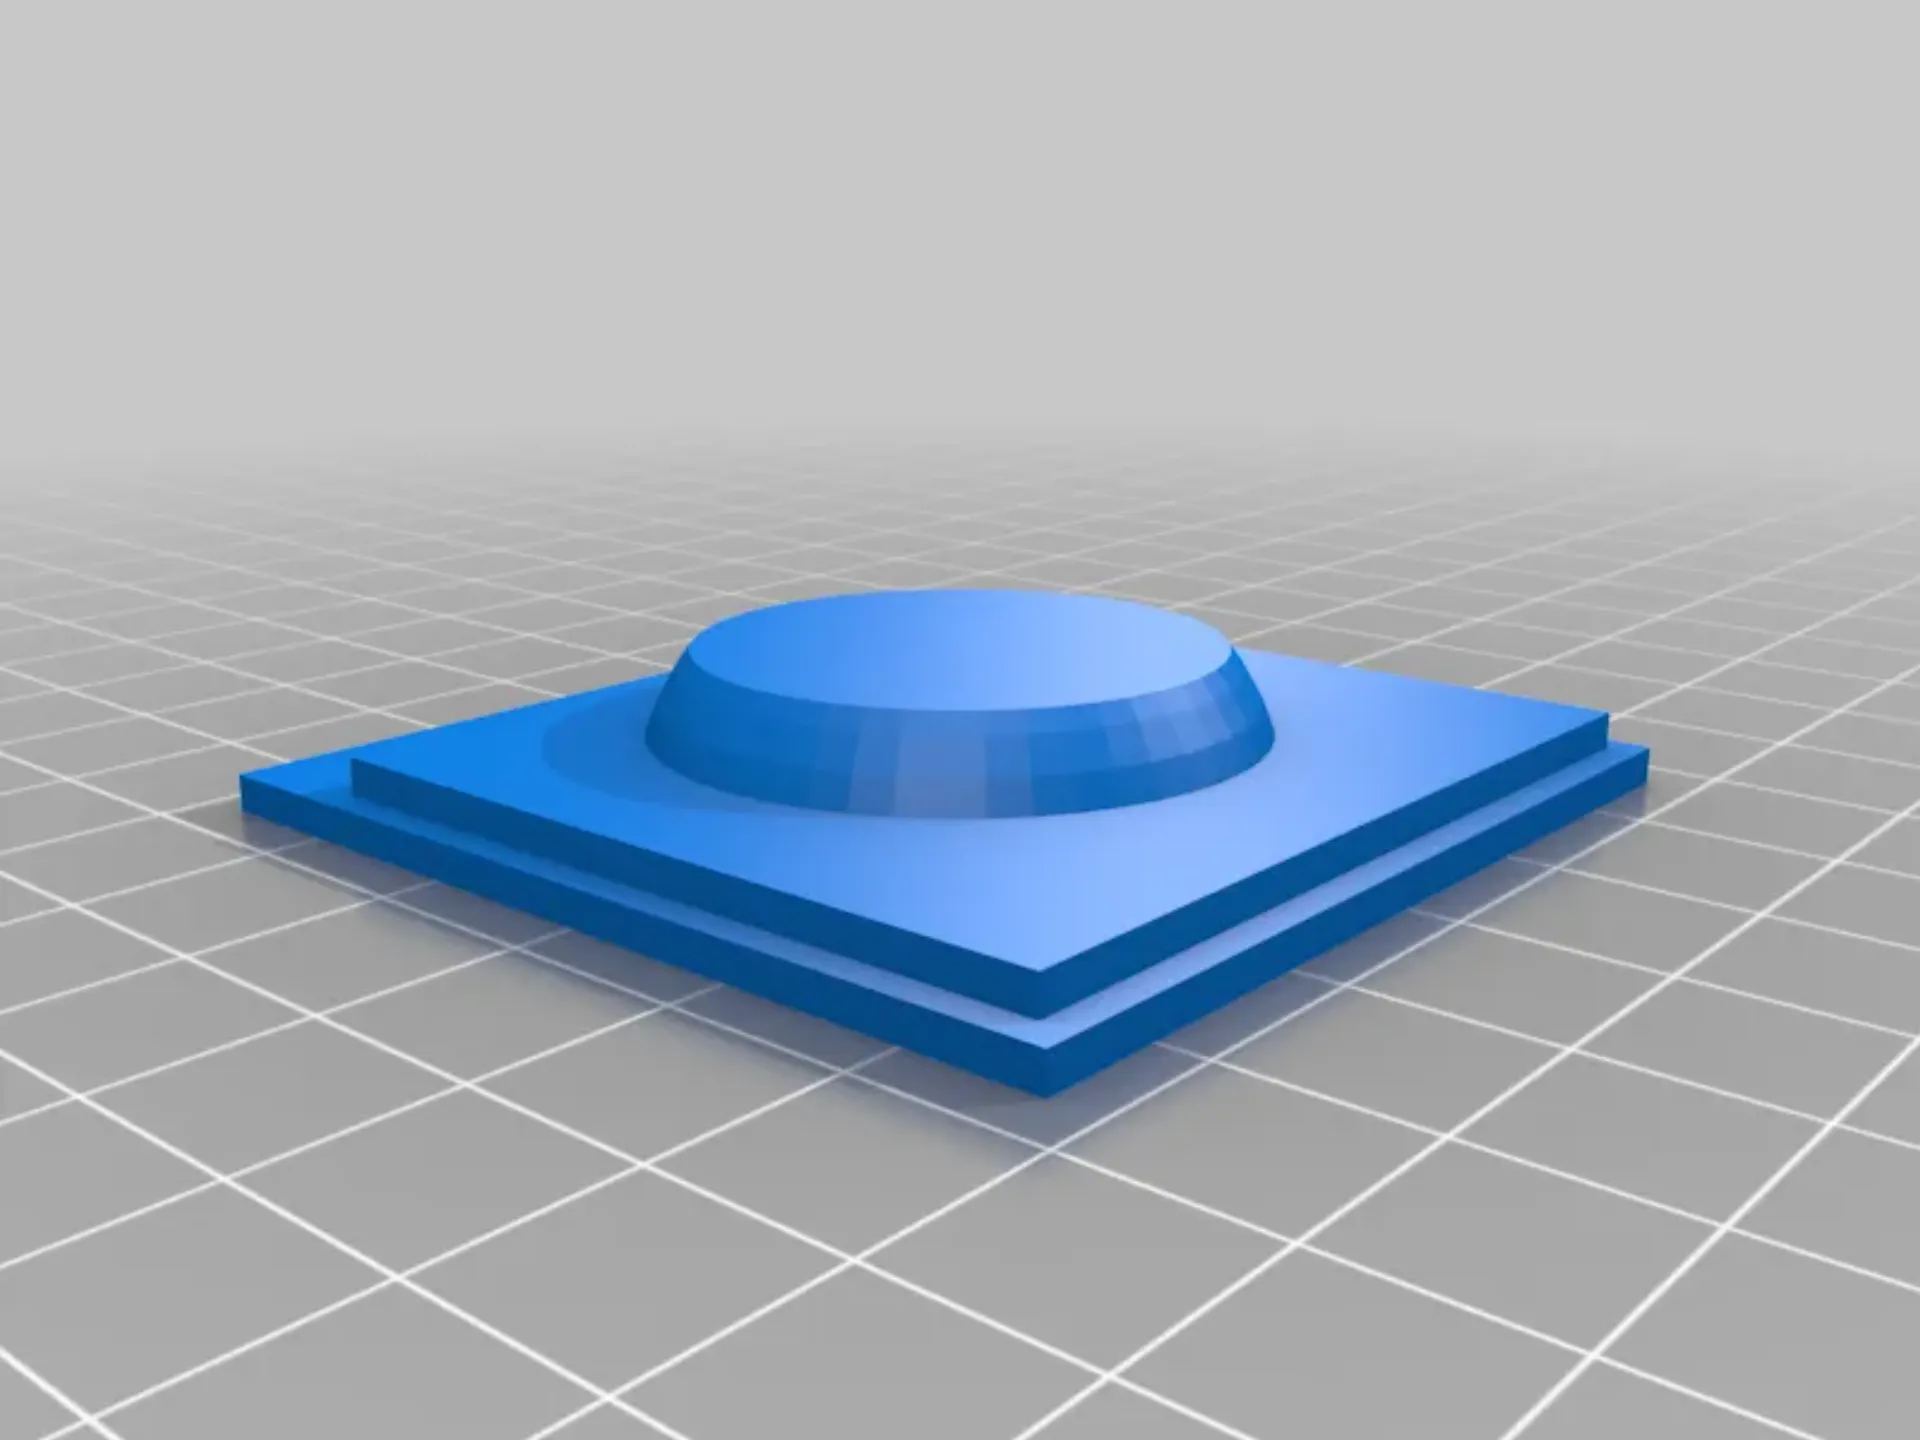
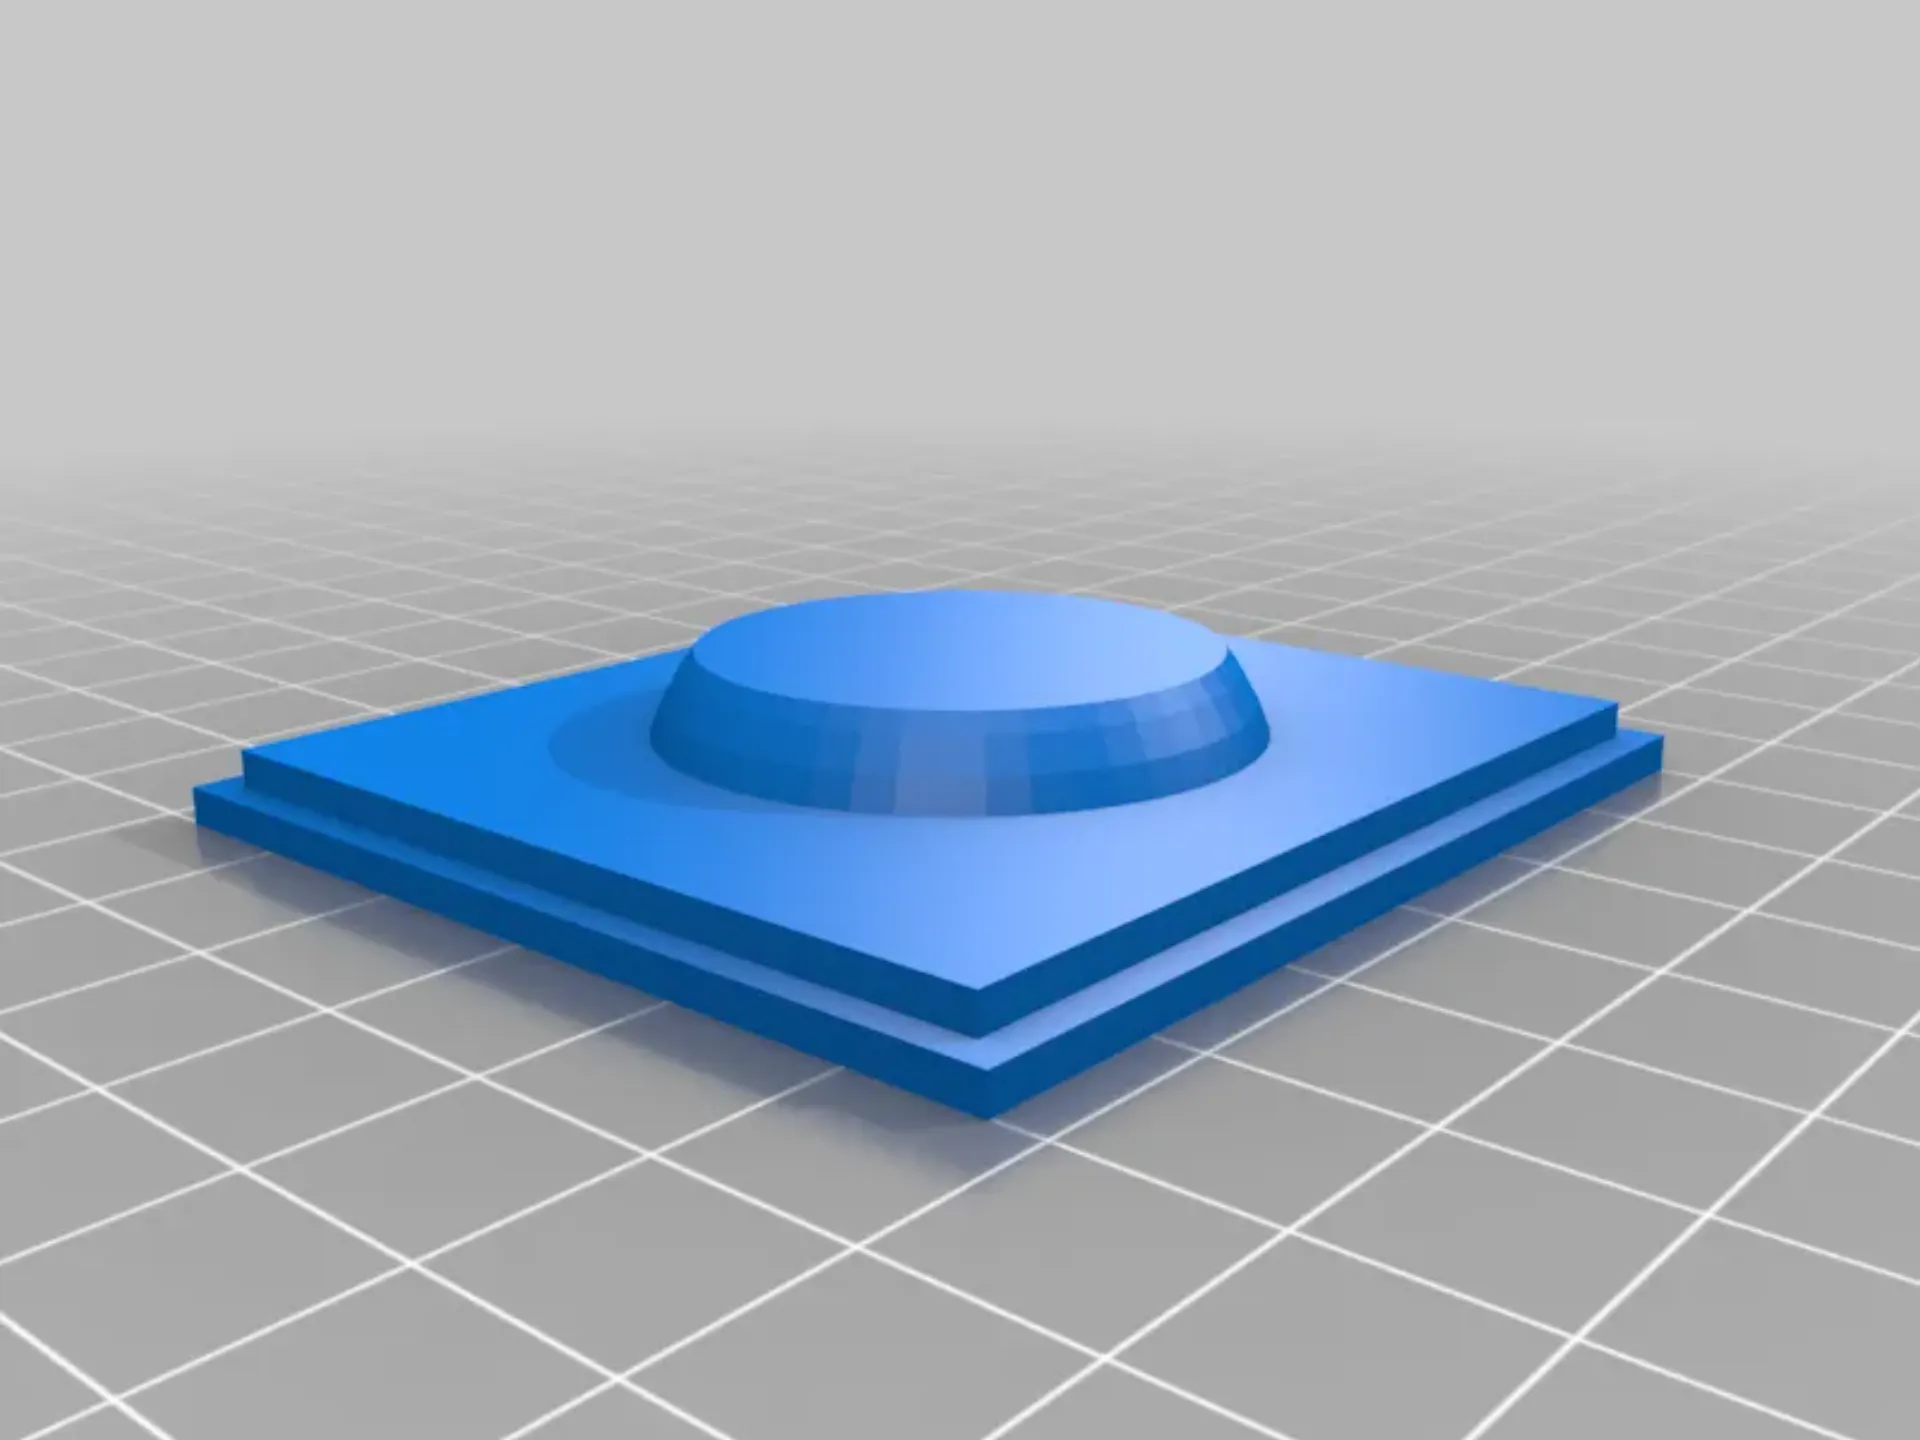
Lid for AA size box (optional)
Lid for AAA size box (optional)
PRINTING INSTRUCTİONS:
In order to save time, I printed ALL above parts with 0.28mm layer heigth and 5% infill except for nut and bolt parts (of the Cylinders and the Knobs, respectively) where I used 80% infill in CURA to give more strength to these parts. Also no support is needed (all overhangs are automatically bridged by CURA). Finally, no build plate adhesion is required.
With these settings it took 6:30 hrs to print the Container and 3:30 hrs for the rest (except for the optional lids which take approx. 1:30 hrs for both). Total 10hrs +lids= 11:30 hrs. All parts can be printed at once. But I would advise the container to be printed seperately.
PRINTING ORIENTATIONS:
The Container: Vertical/Straight
The Cylinders: Vertical/Straight (Nut sides down)
The Knobs: Vertical (Bolt sides up)
The Lids (optional): Horizontal (upside down)
ASSEMBLING:
Watch the video: https://youtu.be/on6lYp9dVZE
- After printing all parts and before assembling the dispenser, first lubricate all moving parts including shafts/axels, nut and bolt parts and the edges of the lids with dry soap.
- Although the knobs seem to be similiar to each other, they are not. Use the correct Cylinder with the correct Knob (the Knob with smaller ring around its bolt is for AAA size Cylinder, and so).
- Try fitting the bolts (so as the lids) to their correspondent nuts several times until they squeez to the end smoothly and firmly (but do not oversqueeze bolts to avoid worn).
- While inserting the cylinders in to their corresponding containers, push them hard with your fingers until they slip and fit to their holes.
- Be very carefull inserting the cylinders in the correct position. For each cylinder, their nut sides should be positioned with the side walls (outher walls). If you insert them in opposite position, once they fit in holes, it's not easy to take them out again (but possible because I did this mistake).
- AAA size Knob (only) screw-in its cylinder anti-clockwise on purpose, so that it will not loose during use, considering that you will always turn both knobs (AA and AAA knobs) clockwise in use. Of course you can also use adhesives to fix the knobs with their cylinders to avoid loosing them in use.
- You can use double-sided tape to fix the dispenser on your desk to avoid slipping of the dispenser in use.
Please feel free to comment or ask questions.
Happy printings :)
Print Settings
Printer Brand:
Creality
Printer:
Ender 3 Pro
Rafts:
No
Supports:
No
Resolution:
0.28mm
Infill:
5% (except for nut and bolt parts (80%)
Filament: Local PLA PLA
Any Color
Notes:
- See the pictures and watch video for print orientation.
Increase infill of the nut and bolt parts connected to the Cylinders and the Knobs (respectively) to 80% in CURA.
- Don't forget to lubricate parts before assembly
- Check orienation of the Cylinders before inserting them to the container..
Tags
Model origin
The author marked this model as their own original creation. Imported from Thingiverse.


