Type 2 EV charging plug holder

Description
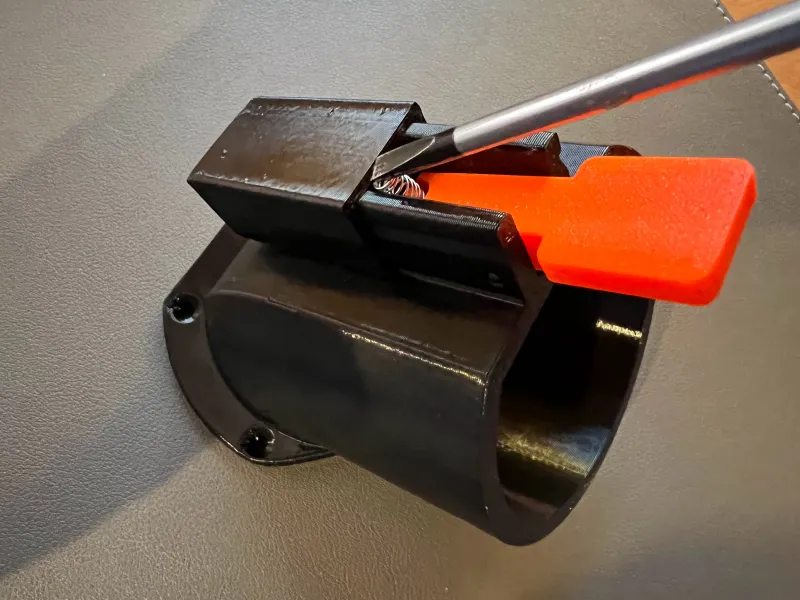
PDFThis is a remix of SplinterPrinter's Type 2 charging plug wall holder. I've kept the plug release mechanism the same, but removed the cable collar since I keep the cable just hanging straight down. I also reduced the size of the wall mounting plate because the original wouldn't fit on the wooden beam in my carport.
What else you need
In addition to the printed parts you'll need a 3 mm wooden or metal axle (e.g. a nail) and a small spring (e.g. from a ball pen). You'll also need four countersunk screws (3.5 mm diameter) to mount the whole thing to the wall.
Part versions
Print the closed version of the holder if rain water might get into it. Otherwise print the open holder to save some material.
The original design calls for a 5 mm spring which I didn't have at hand. The ball pen I disassembled had a spring with a 3.4 mm inner diameter. I've included both versions of the lever.
Print settings
Print the parts in this orientation:
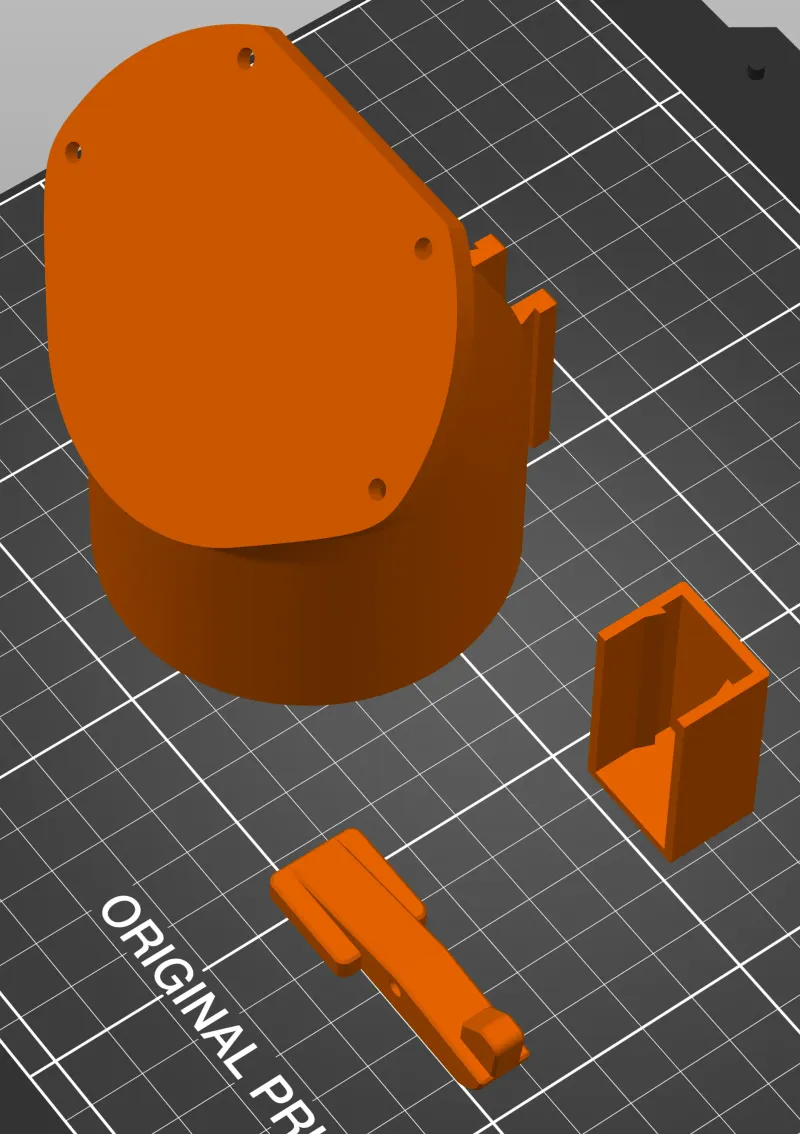
I printed them in Prusament PETG (holder & cover) and extrudr PETG (lever). PLA is probably fine too if the holder is used indoors only. Use UV resistant filament (like ASA) if it is exposed to direct sunlight.
nozzle size: 0.6 mm
layer height: 0.3 mm
infill: 15%
supports: no
brim: no
buildplate: heated, textured
Assembly
Cut the 3 mm nail (or whatever else you're using for the axle) to a length of 18 mm. Cut the spring to a length of about 15 mm. Stick the spring on the lever. Put the axle through holder and lever. Slide the cover over the holder while pressing the spring together using a flathead screwdriver. Mount the assembled holder to the wall using four countersunk screws with a diameter of 3.5 mm.
Modification
I've included STEP files for every part. And also the Fusion 360 file. There are three parameters that control the mounting holes and the lever spring. On every tab you can click Modify > Change Parameters in order to change the values.

Afterwards you can print the changed files by right clicking on a component and select Save As Mesh, choose STL or 3MF, set Refinement to High and hit Ok.
Alternatively you can also select Export…, choose the STEP file type and hit Ok. PrusaSlicer 2.5.0 onwards can read those files as well.
If you like this model, you can  or
or  . Thank you.
Tags
Model origin
The author remixed this model.