Talaria Sting L1E - Break Light relocation bracket V3

Description
PDFUpdate 02.07.2024 - V3 Model with no blinkers.
I saw that there were a couple of request regarding a model with no blinkers, new model added ;)
Update 28.06.2024 - V3 model released!
Updated the design so its easier to install the lid.
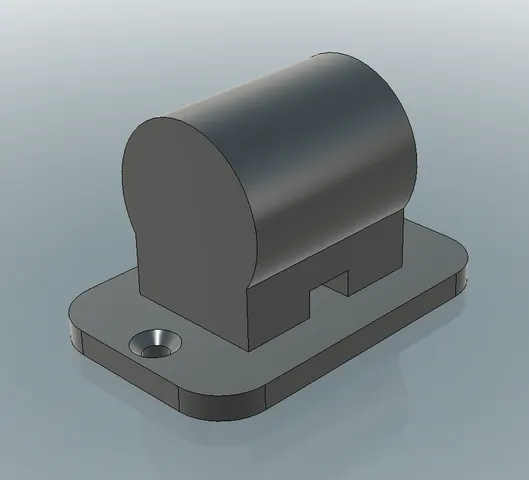
Update 21.04.2023 - V2 model just released!
This time i re-maded the whole bracket so it has a lid and is more enclosed.
While driving in the rain, the breaklight was acting up and causing a shortage making the bike break on his own because of the break sensors. Hopefully the new enclosed bracket will solve this issue.
PS: You will require a M5x20mm hexagon bolt to install the lid.
V1: i let the old model still be downloadble for those that want that.
After having owned my Sting for two months, i decied to relocate the breaklight away from the extended tail guard to the oem guar. Looks heaps better and follows the line of the bike.
To be able to install this bracket, you will have to remove the seat to be able to pull out the cables going to the rear lights.
1. Disconnect the battery and remove it from the bike.
2. Disconnect the plug and cables that are hidden, under the plastic where the locking mechanism is(remember to mark which cable goes where).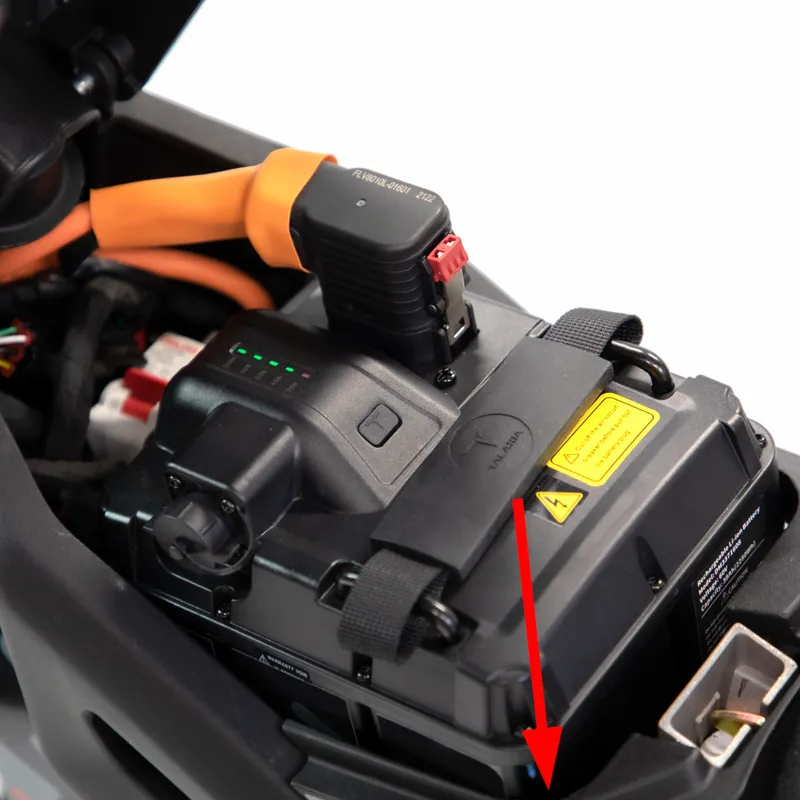
3. Remove these the screws from both sides of the bike.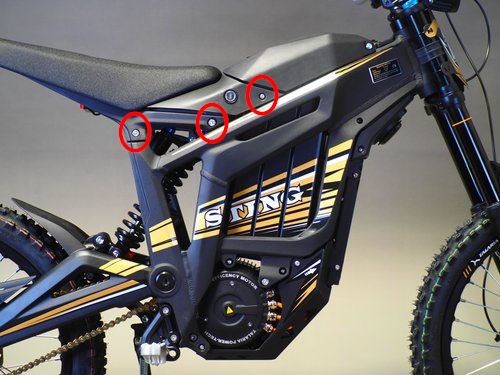
4. Carefully lift the seat and make sure cables arent stuck, from there you can guide and pull out the cables and have the whole seat module loose from the bike.
5. Remove all plastic covers on the tail section to pull the cables further out to the lights to be able to remove the lights from the extended tailguard.
6. Once the lights are dismanteled from the extended tailguard, you can remove the extended steel frame that connects to the seat.
7. Install the lights to the newly printed bracket and install it where the extended frame used sit. Route the cables back to where they were before installing the seat again. Remember to connect the cables again and tuck them under the seat before fastning the seat frame back to the bike.
You should now have relocated the lights, make sure they are working before taking off on an new ride.
Enjoy!
Printed on an Creality Ender 3 S1 Pro.
Material: PETG
Layer hight: 0.24
Wall Line count: 3
Top/Bottom Pattern: Lines
Infill: Gyroid 20%
Tags
Model origin
The author marked this model as their own original creation.