Dust Collector Fan intake Bellmouth WIP

Description
PDFSmooths the transition between the cyclonic section of a Thien Baffle and the intake of the fan, giving better flow characteristics, and therefore better separation performance. The model is sized to use North American standard 4" ABS DWV pipe; modifications will be needed for other standards (PVC/ European pipe sizes) or corrugated or metal ducting.
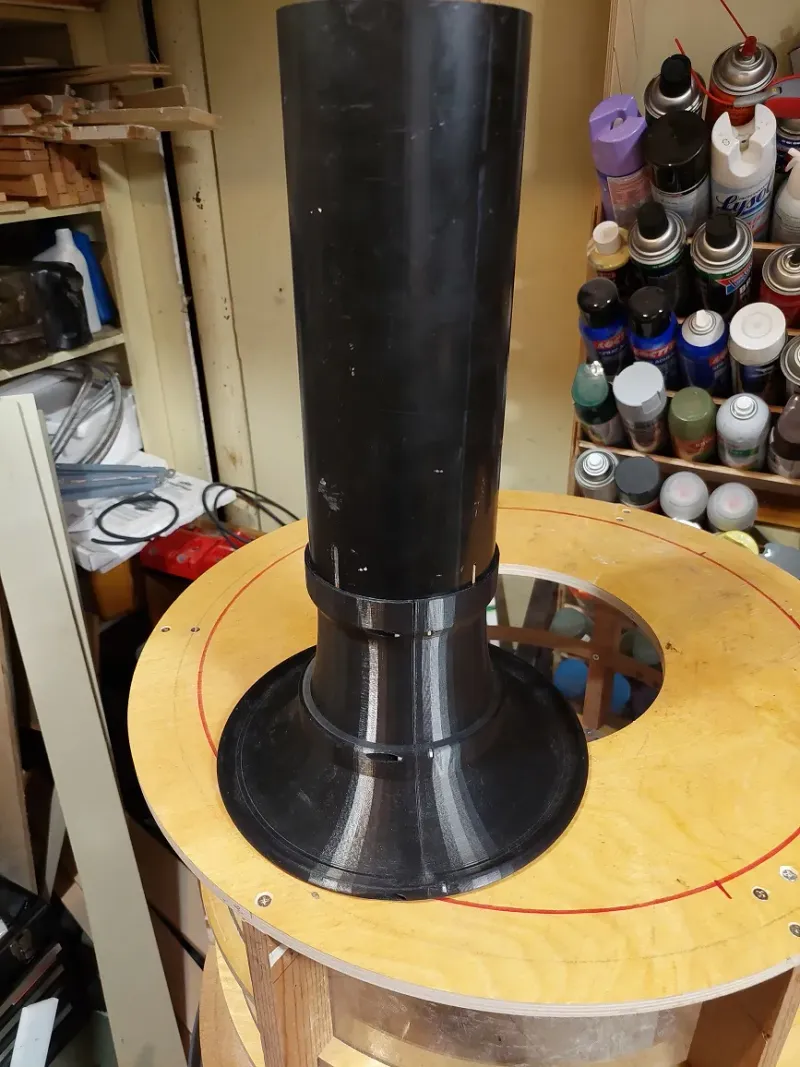
Print this twice; PLA will be strong enough with moderate (15-20%) infill. Depending on your printer, you may want supports but no brim or skirt; it's JUST possible to print on a vanilla Mk3S without either.
The included gcode has PLA supports auto-generated by PrusaSlicer. MMU users will want to slice the model themselves to use non-PLA supports. I was able to print a matching pair without an enclosure, but a drafty room might be a problem.
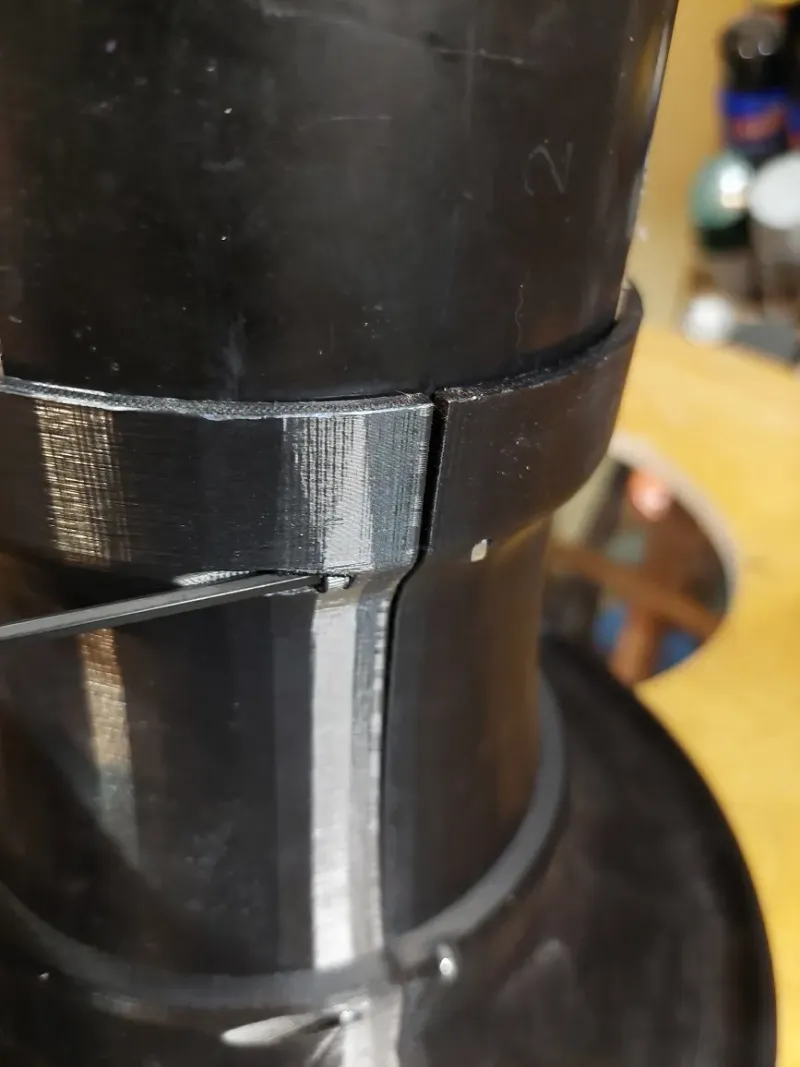
Some sanding required where the support interface snaps off.
If you paint it, don't paint the socket where the pipe connects.
Assemble with 6 of M3 x 0.5 - 20mm Socket Head Cap Screws and mating hex nuts. The nuts are a deliberately tight fit, but they will go in flush if you're patient. Use long-nose pliers or hemostats to get them started. If your printer likes to string, scraping in the slots with a dental pick or jeweler's screwdriver might help.
( US readers: Hardware available from McMaster Carr: if your local hardware store can't help )
https://www.mcmaster.com/90128A204/
https://www.mcmaster.com/90591A250/
(Builders who live in places with rational systems of measurement will want to make sure the nuts are 5,5mm across the flats, 2,4mm thick, and the bolt heads 5,5mm in diameter. Those seems to be the usual sizes, but . . .)
Deburr the pipe before starting assembly; breaking the inside edge very lightly will give better flow than an aggressive chamfer. Assemble the two halves loosely, insert the pipe, then tighten the middle two screws first.
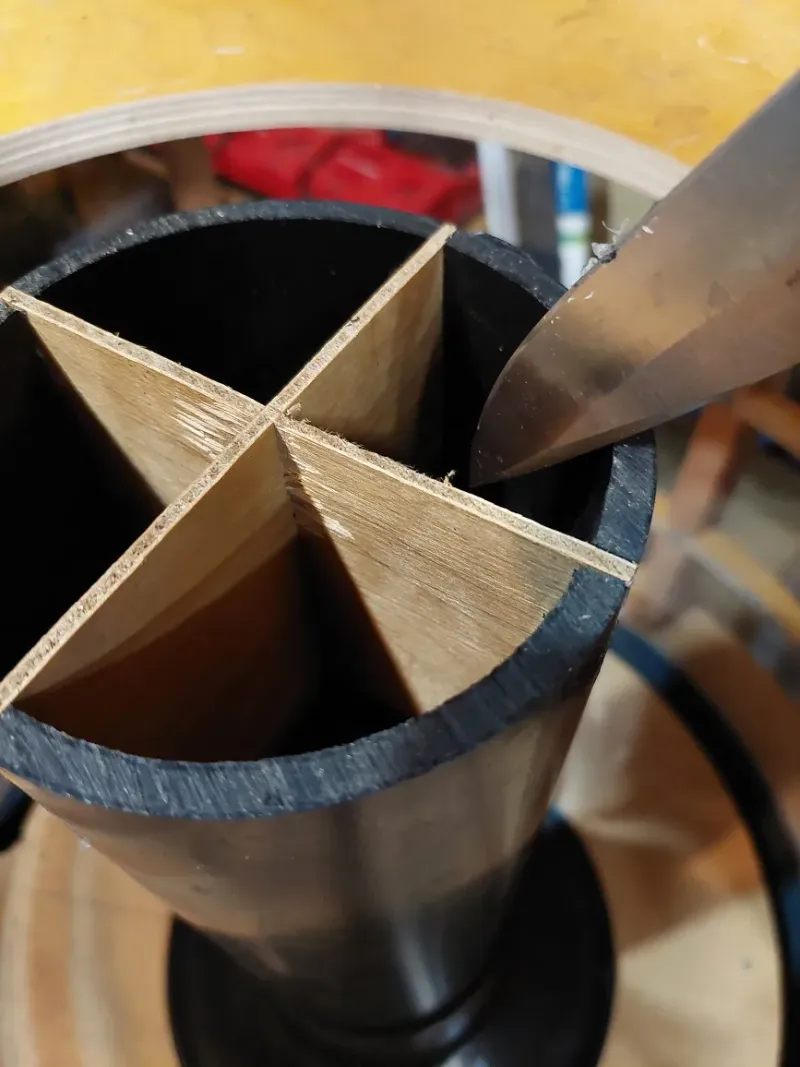
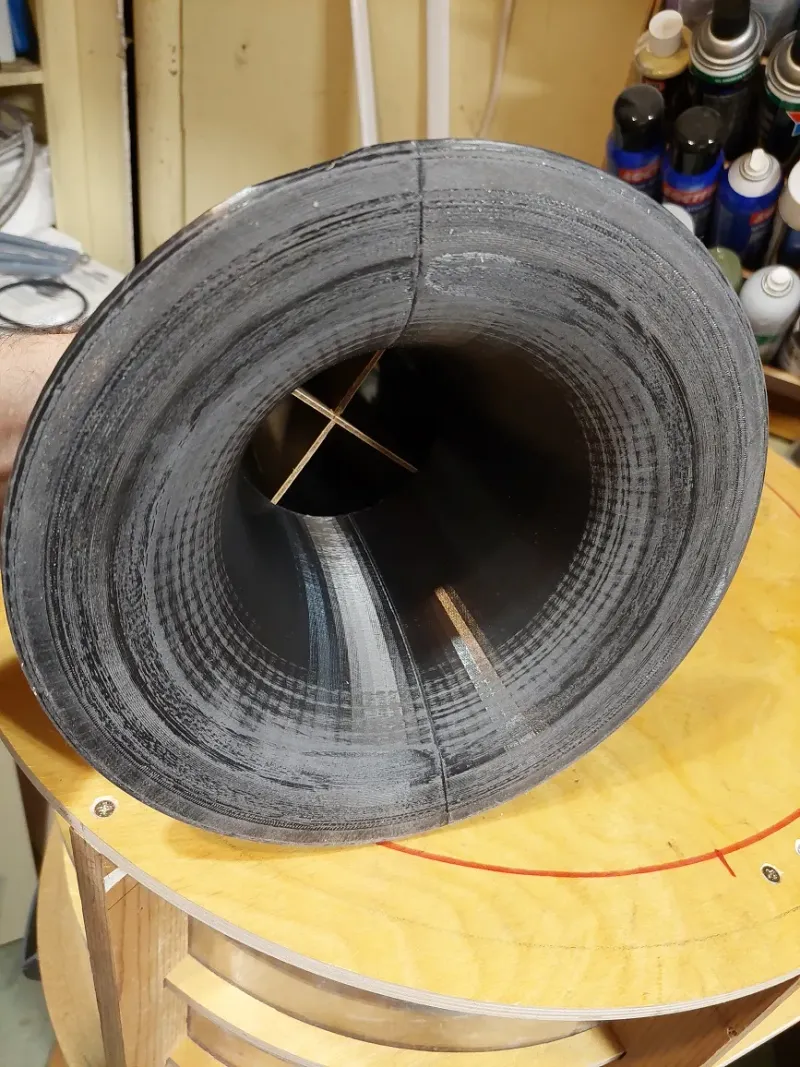
(I added ‘flow straightening vanes’ to the pipe. See below)
Discussion board about construction of the Thien Baffle and variants:
http://www.jpthien.com/smf/index.php?PHPSESSID=630082542b4934581831efe521ba06b3&board=1.0
Additional performance can be gained by adding flow-straightening vanes to the inside of the pipe. V2 might provide that option, once I do some tests.
Solidworks2022 and .STEP files included for the remixers.
Tags
Model origin
The author marked this model as their own original creation.