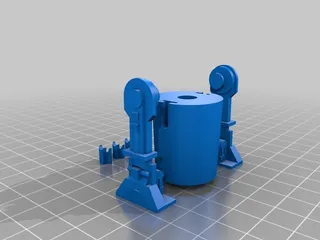
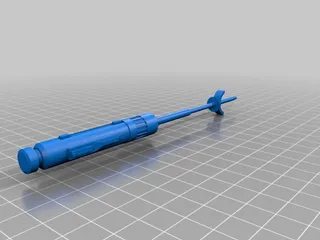
Raspberry Pi 5 inch DSI Touchscreen case for Ender 3 V2/S1/S1Pro
Description
PDF5 inch Touchscreen and Raspberry Pi Case for mounting to Creality Ender 3 V2/S1/S1Pro (and possibly others)
This replaces the stock screen on your compatible Ender series printer. This allows a 5" DSI TouchScreen and Pi 3b/4 to mount to the original screen bracket.
I designed the case for the following Ingcool 5" DSI Touchscreen from Amazon.
https://www.amazon.co.uk/gp/product/B0B4W7TB9J/ref=ppx_yo_dt_b_asin_title_o01_s00?ie=UTF8&th=1
Parts required as well as the 3D printed parts are;
- M6 x 20mm Hex Bolts (x 2)
- M6 Nuts and Washers (x 2)
- 3mm x 10mm self tapping Screws (x 4)
- USB-A to Micro USB 90 degree L shaped Cable (to power the RaspPi)
I used a Juicebox Cable - https://www.ebay.co.uk/itm/272622085300 (also pictured) - USB-A to USB-C data cable (for connecting the Pi to the Printer's USB-C port) - I also got a Juicebox 90 degree angled cable for neatness.
Print all the parts out and assemble as follows.
- Mount your Raspberry Pi to the back of the screen as per instructions with the screen. This includes connecting the DSI ribbon cable
- Remove self adhesive stips and drop the Touchscreen/Pi into the case and connect the USB power cable before sticking the screen down.
- Insert the M6 bolts into the Back Cover and snap on the bolt covers.
- Screw the Back Cover to the case using the 3mm wide self tapping screws
- Slip the rectangular spacer over the exposed Bolt threads.
- Mount to the Original Screen bracket and affix with the M6 Washers and Nuts
- Connect the USB-A to C data cable to one of the USB ports on the Pi through the Socket/Vent hole in the case. Connect other end to the Pi USB-C port.
I then installed Mainsail OS and Klipperscreen onto it and configured it for my Printer (an Ender 3 S1 Pro). Here is a link to the guide I used online which is specific in some instances to my model. https://3dprintbeginner.com/install-klipper-on-ender-3-s1-pro/
Link to Tinkercad if you want to modify for yourself
https://www.tinkercad.com/things/i2vGdHxb15i
Tags
Model origin
The author hasn't provided the model origin yet.


