Ender 3 Raspberry Pi 4B + 3.5" TFT Touchscreen Mount/Enclosure

Description
PDFA case designed for the original Ender 3 a Raspberry Pi 4B and a 3.5" TFT screen that connects via the GPIO pins. It also comes with a holder for the stylus that comes with most of these screens. The holder snaps onto the stylus and holds it securely.
Compatibility
This was designed for 3.5" screens that connect via GPIO pins (all of them are pretty much the same so they should all work). This might work for other similar screens that use HDMI but I'm not sure, you will have to try it out.
This was also designed for the Raspberry Pi 4B, other Raspberry Pi models have different port arrangements/locations so you will have to modify the case, CAD files have been attached for your convenience.
Finally, this was designed for the original Ender 3, which has the mainboard SD card reader and micro USB port at the bottom right of the electronics compartment. This case will probably block the SD card reader and micro USB port on the Ender 3 Pro, and V2, which have the SD card reader and USB port at the top towards the left of the electronics compartment. However, it would be very easy to just move the mounting holes on the back of this Pi case so that it mounts a bit further to the left to avoid this problem. You can either do this yourself (CAD files provided) or if you want this, leave a comment and I will maybe upload another version for the Ender 3 Pro/V2.
Printing
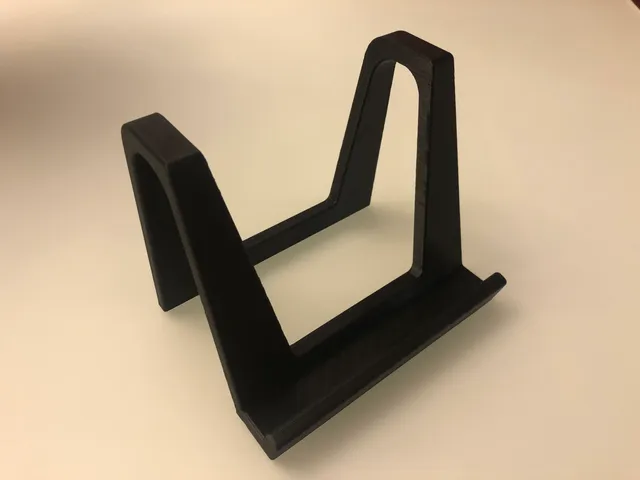
See printing orientation in the image. No supports are required; the top bezel can be bridged.
Assembly
- Assuming you are using OctoPrint, set up the screen and get it working first. I tried TouchUI and OctoScreen but ended up using OctoDash (https://github.com/UnchartedBull/OctoDash) as it was super easy to set up (just connect to the pi with SSH and it's just a single command, on the Github), and it also works really well.
- Unscrew the two screws attaching the electronics case to the end of the aluminum extrusion. Then put the case in place and use the same screws to attach the case. The screws can be accessed through the top opening of the case or through the cutouts for the Pi's USB ports.
- Turn off your Pi and unplug everything.
- If you are using a Raspberry Pi camera, feed the ribbon cable through the cutout on the left side of the case and then plug it into the Pi
- Place the screen support part onto the Pi and plug the screen in on top
- Carefully slide the whole Pi and screen assembly into the case, it should be a snug fit.
- Screw on the cover using two small screws (the hole is 2mm, I used screws that come with micro servos). Alternatively, superglue would also work.
- Plug everything you have back in. There is a slot underneath where the Pi sits where you can hide any excess wire for wire management.
Notes
This case uses the screen support part from Tronnic's case: https://www.thingiverse.com/thing:3030160. I included a copy below for convenience.
Tags
Model origin
The author hasn't provided the model origin yet.