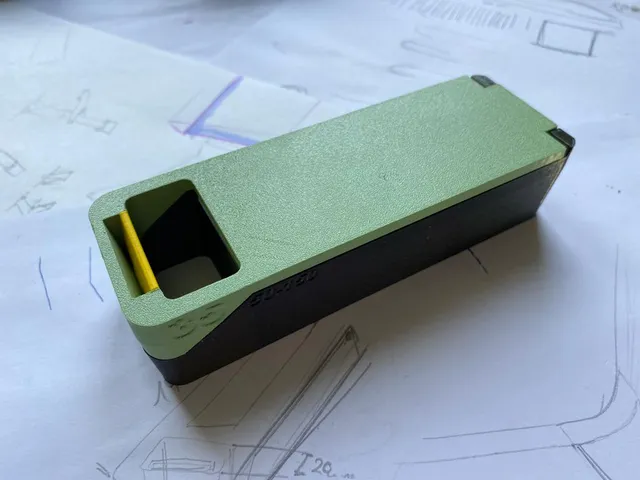
Lens Cap 49mmØ

Useble for 49mmØ lenses. This lens cap has a good grip on the lens, is easy to assemble and print.
29
187
6
1012
updated July 3, 2023
Description
PDFHey there :)
Step 1: Load the files into the slicer
- Or you use the prepared gcode, just look at the requirements
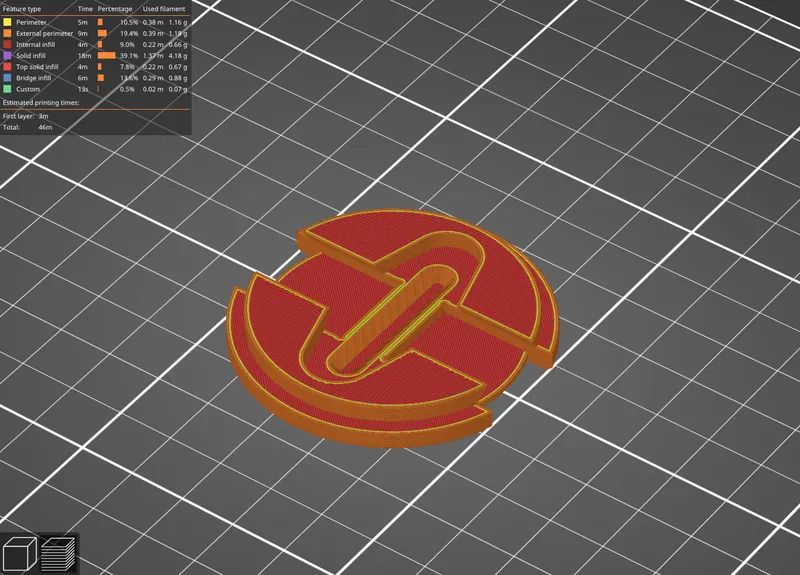
Step 2: Correct the orientation of the models:
- The FRAME is printed with the Logo facing down and the bridging should be from top to bottom ( I printed it with no supports)
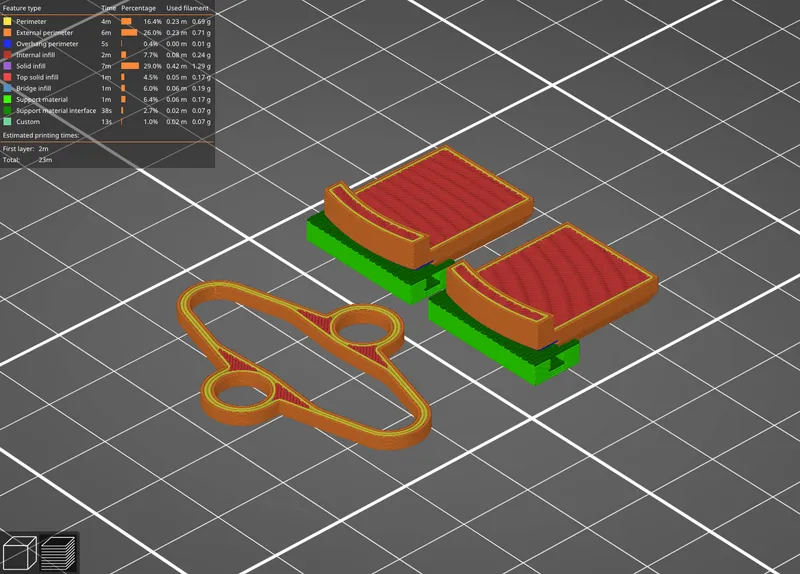
- The L-R BAR is printed 2x with supports and support-blockers over the grooves!
- The SPRING is printed just flat and with no supports
Step 3: Slice
- Add supports if you haven't yet
- 0.2mm Layerhight (0.4mm nozzle)
- 15% Infill (Gyroid)
- PETG preferred
- Bridging-angle is changed to 10 degrees (try it but you don't have to)
Step 4: Assembly
- Remove all supports
- insert the bars into the frame and now the spring into the grooves of the bars
- Depending on the filament, you may have to manipulate the BARs for optimal fit
Happy end
Tags
Model origin
The author marked this model as their own original creation.