Raspberry Pi timelapse camera case


Description
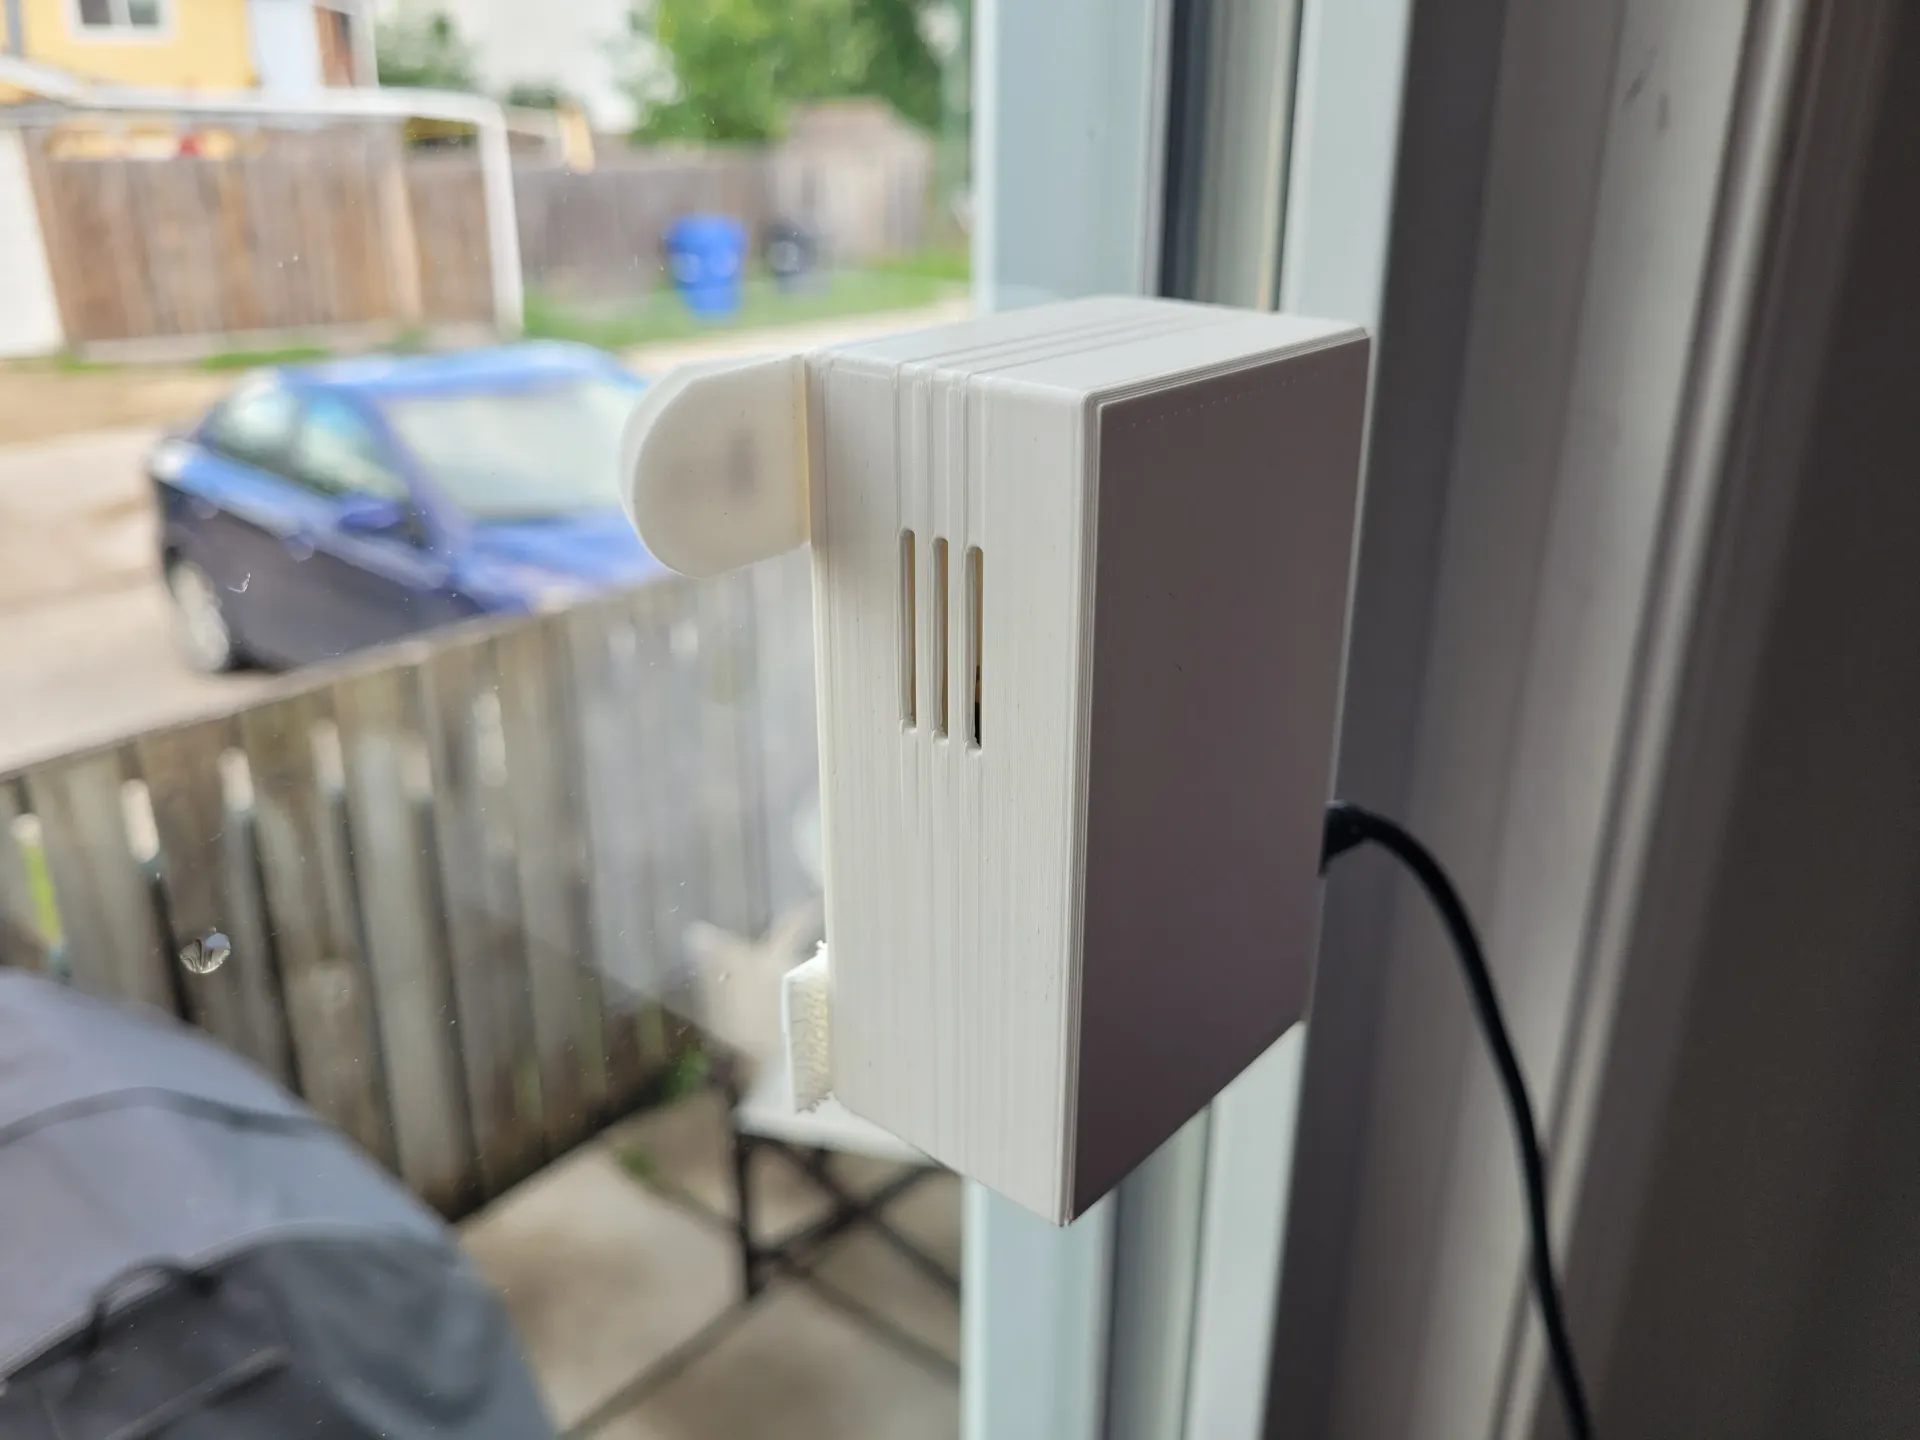
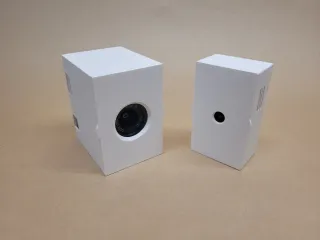
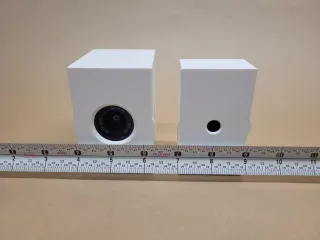
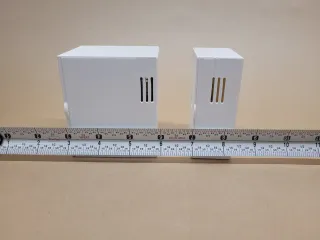
PDFThis is my setup for a window-mounted Raspberry Pi Zero 2 W timelapse camera.
The hardware assembly (Raspberry Pi & camera mount) is attached to the window mount with screws, allowing you to tinker with the hardware and re-mount the camera in exactly the same spot, to prevent the timelapse from shifting.
Clone this Git repo for the scripts mentioned below:
capture.sh– Useslibcamerato take a picture, using date/time format file namegenerate-timelapse.sh– Usesffmpegto combine images into a timelapse video, including a blend showing a comparison between two images
Demos
Here's a demo video with the HQ camera and wide angle lens, taking a picture every minute from 5am–10pm.
Here's a video demonstrating the blend effect, at the end. This was made using a mobile phone camera set to take a picture every day. Since it wasn't window-mounted, it also demonstrates the shifting that this setup fixes!
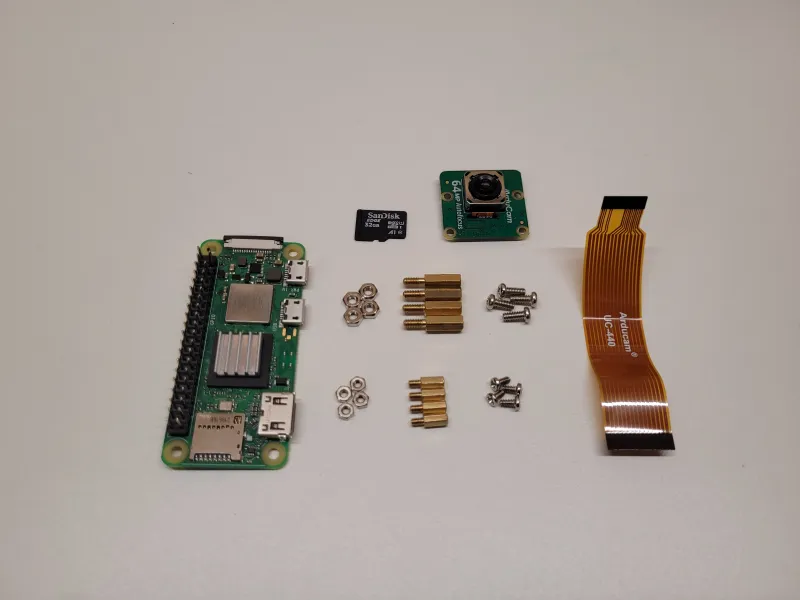
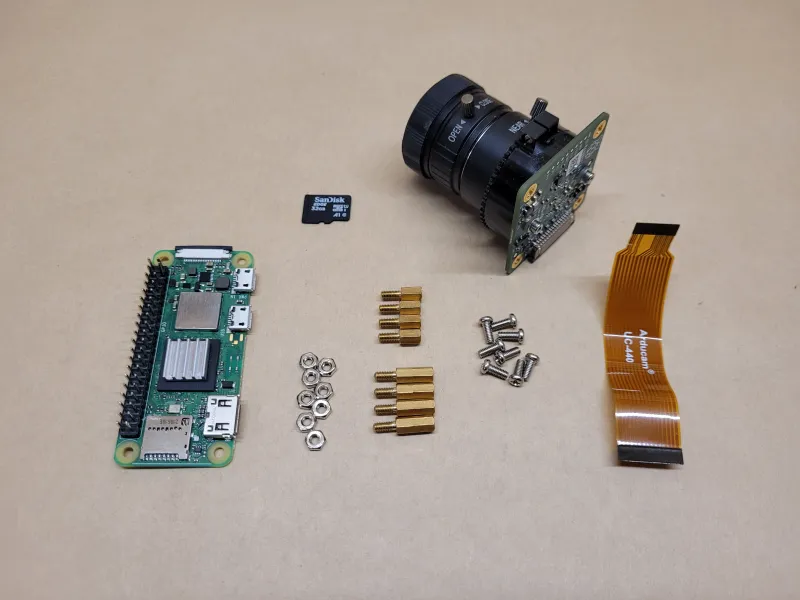
What you'll need
| Item | Notes |
|---|---|
| Raspberry Pi Zero 2 W | A Raspberry Pi Zero W should work, but I haven't tested with one. |
| SD Card | Should be large enough to store some pictures, but I'd recommend backing them up regularly. Using the HQ Camera, 365 pictures takes up ~835MB. |
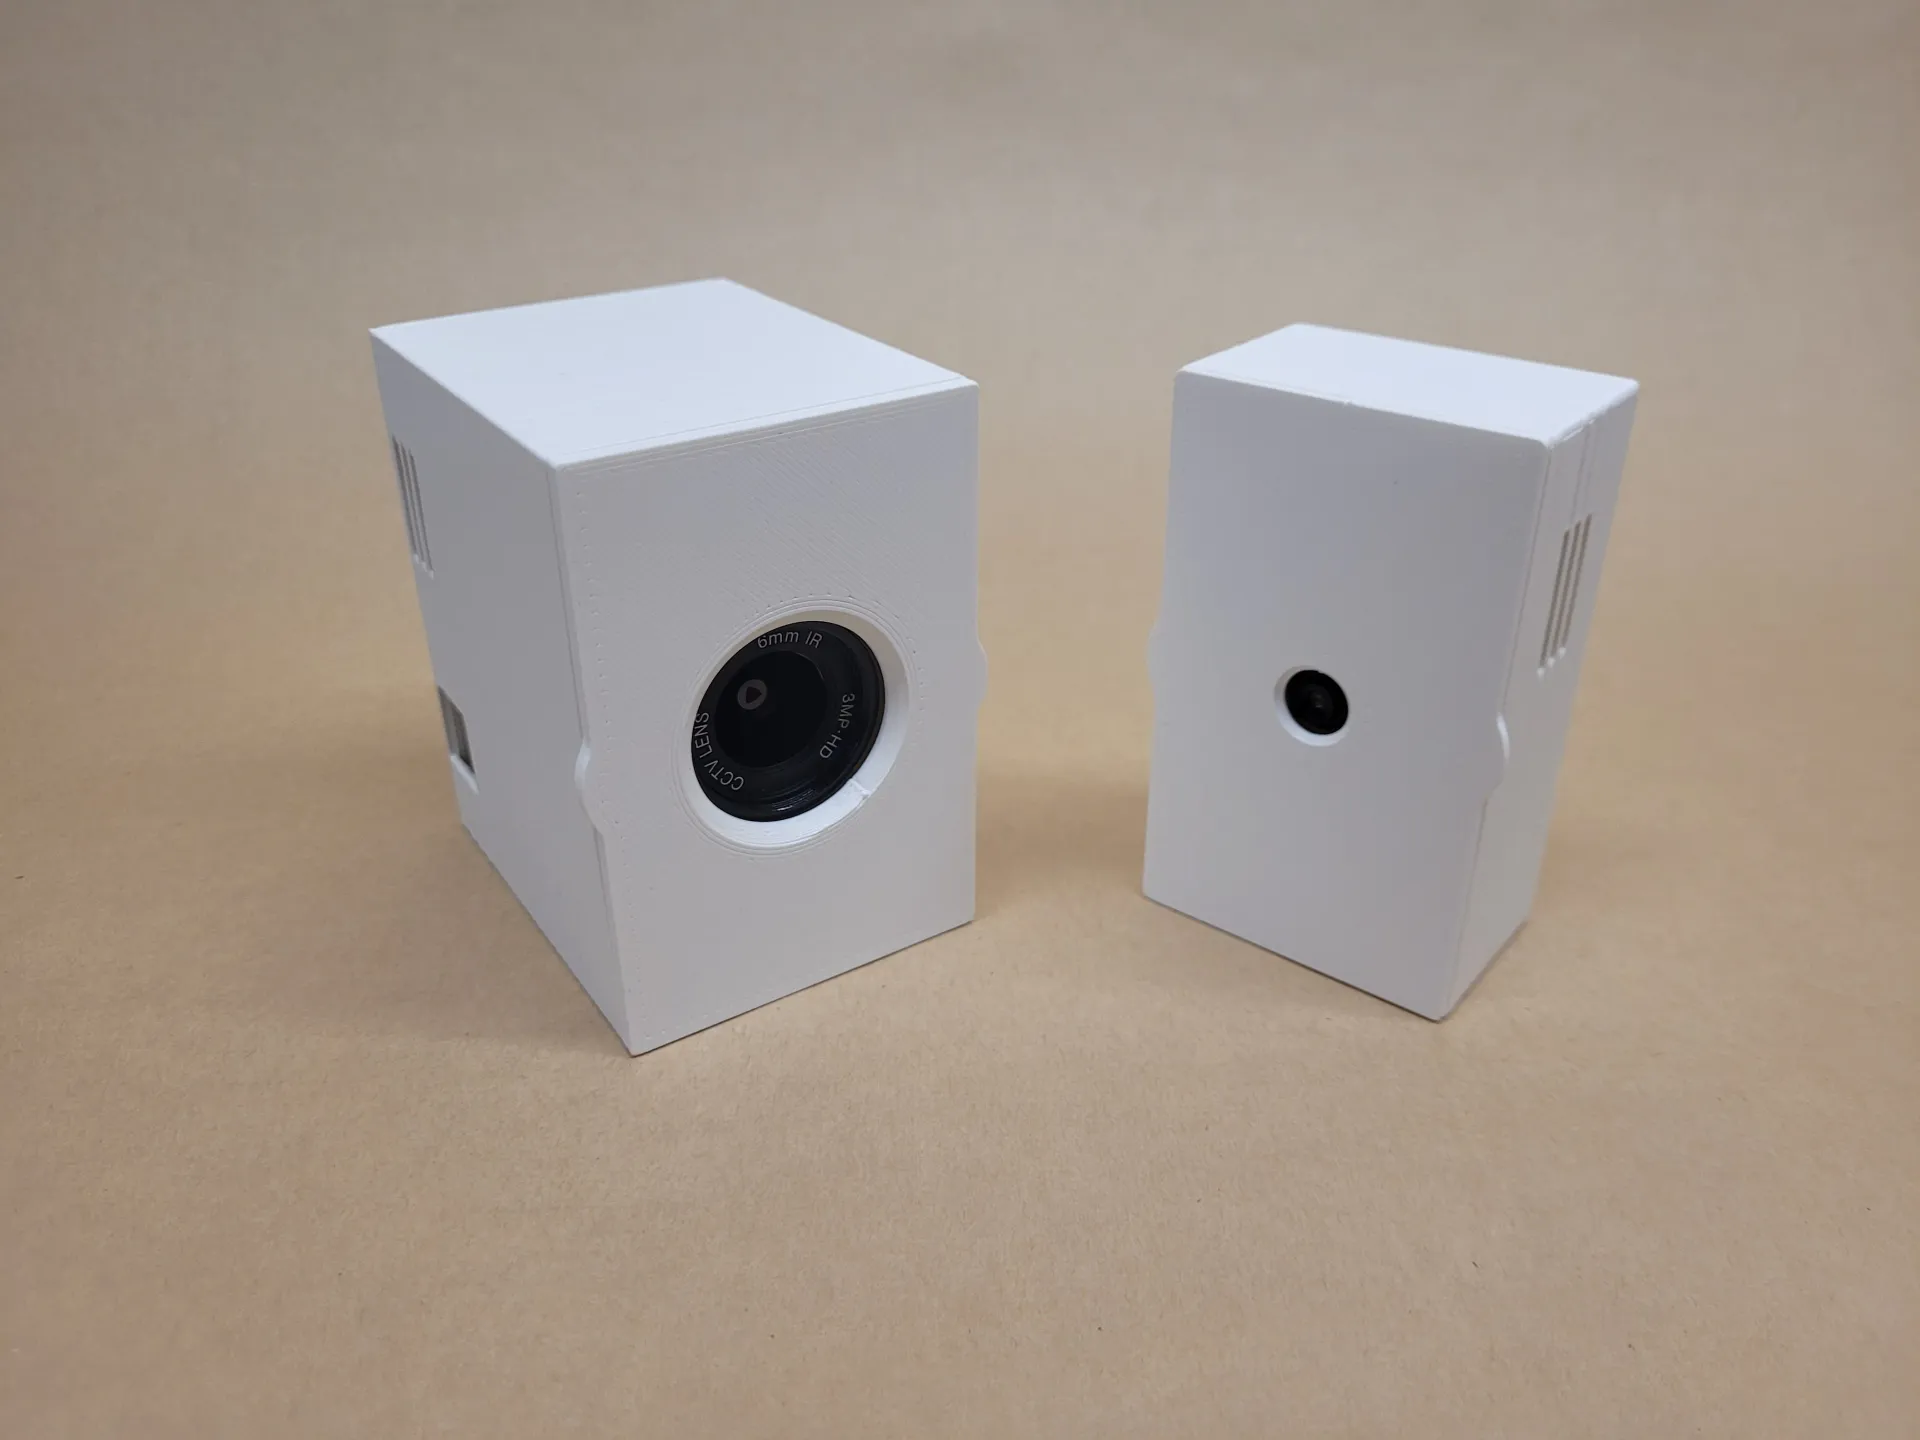
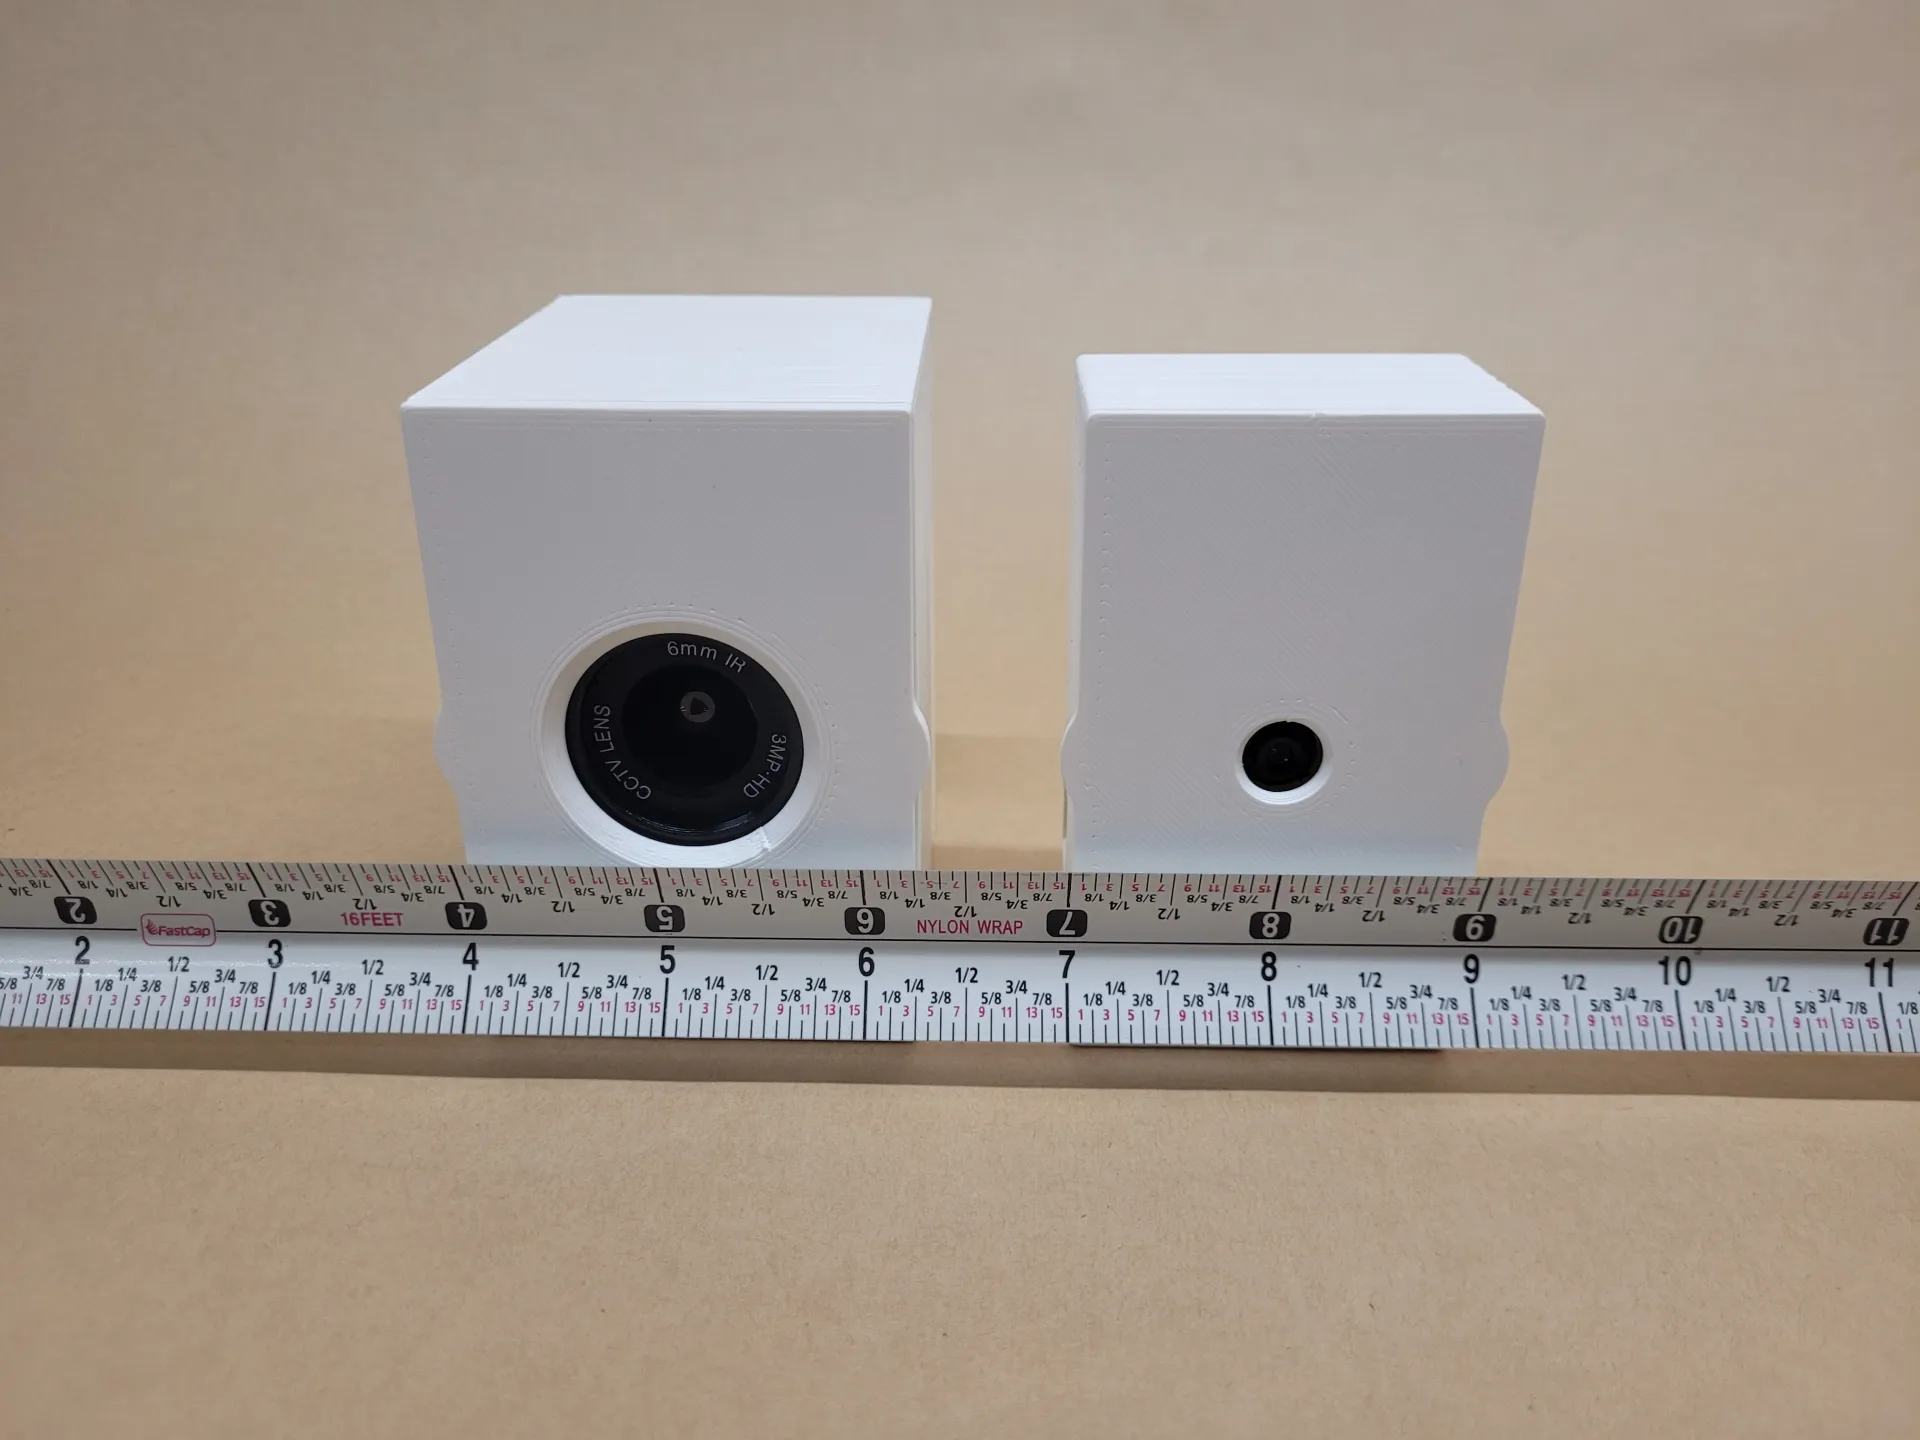
| Raspberry Pi Camera | Options include:
|
| Camera ribbon | ~8cm long Look for one with a wide and a thin end like this for the Pi Zero. |
| Standoffs, compatible screws & nuts | For the Camera Module:
For the HQ Camera:
|
| M3 Screws (4) | 8–12mm long |
| Command Strips | Or some other adhesive. The 3M picture hanging strips have worked well for me. |
Everything for the Camera Module:
Everything for the HQ Camera:
Camera Sample Videos
Sample video using the HQ camera. I prefer the results from this camera, and found that the auto-exposure worked better. There can be some chromatic aberration near the corners, but it isn't noticeable in this video.
Sample video using the 64MP Autofocus camera.
Setup
Install Raspberry Pi OS
I use the lite (command line only) version, as it uses less resources, and I only access my camera remotely. If you aren't comfortable using the command line, the full version should work just fine.
Use the official Raspberry Pi Imager to install Raspberry Pi OS Lite onto your SD card. This will erase everything from the card.
Click the gear icon in the bottom-right, and set the following options:
- Enable SSH
- Use password authentication
- Set username and password
- Set your username and password here
- Configure wireless LAN
- Fill in your local network name and password, and your country
- Set locale settings
Capture script
Check out the official Raspberry Pi Camera Documentation for details on other camera settings.
- Create a file named
capture.sh– see snippet below, or clone this repo - Create the timelapse folder using
mkdir timelapse - Make the script executable using
chmod +x capture.sh - Test the script by running
./capture.sh– it should take a picture and drop it in the new timelapse folder!
capture.sh
#!/bin/bash
libcamera-still --nopreview -o /home/pi/timelapse/$(date '+%Y%m%d_%H%M%S').jpg
Taking pictures on a schedule
We can use cron to automatically run the capture script on a schedule. This could be every minute between 5am and 9pm, every day at a certain time, or any other interval. If you're not familiar with cron, check out crontab guru for some help.
The following takes a picture every day at noon, and stores the latest debug output in output.txt:
0 12 * * * /home/pi/capture.sh > /home/pi/output.txt 2>&1
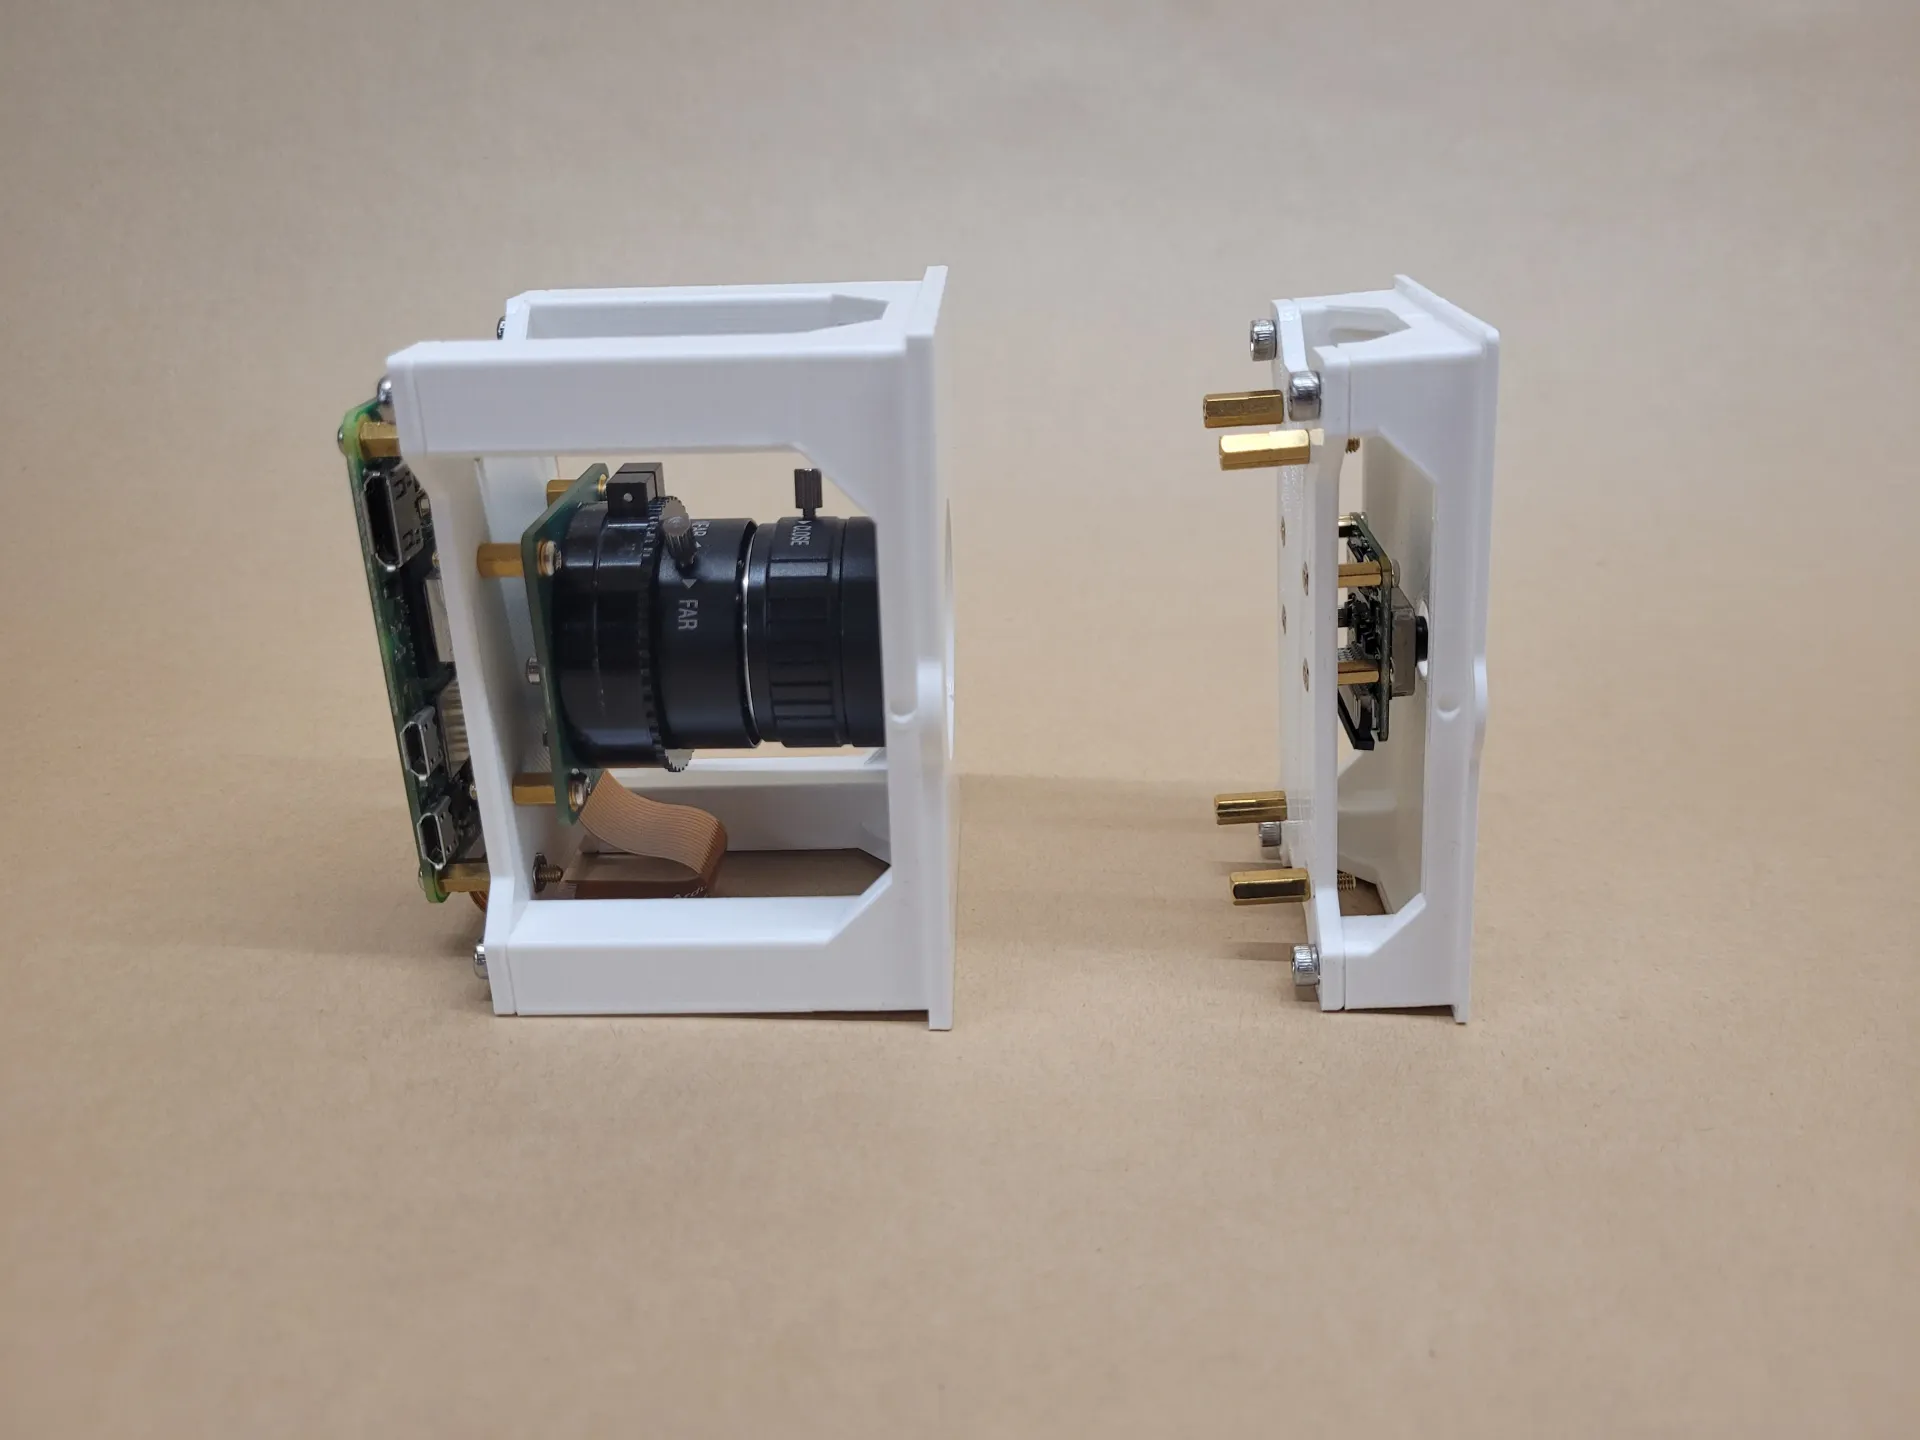
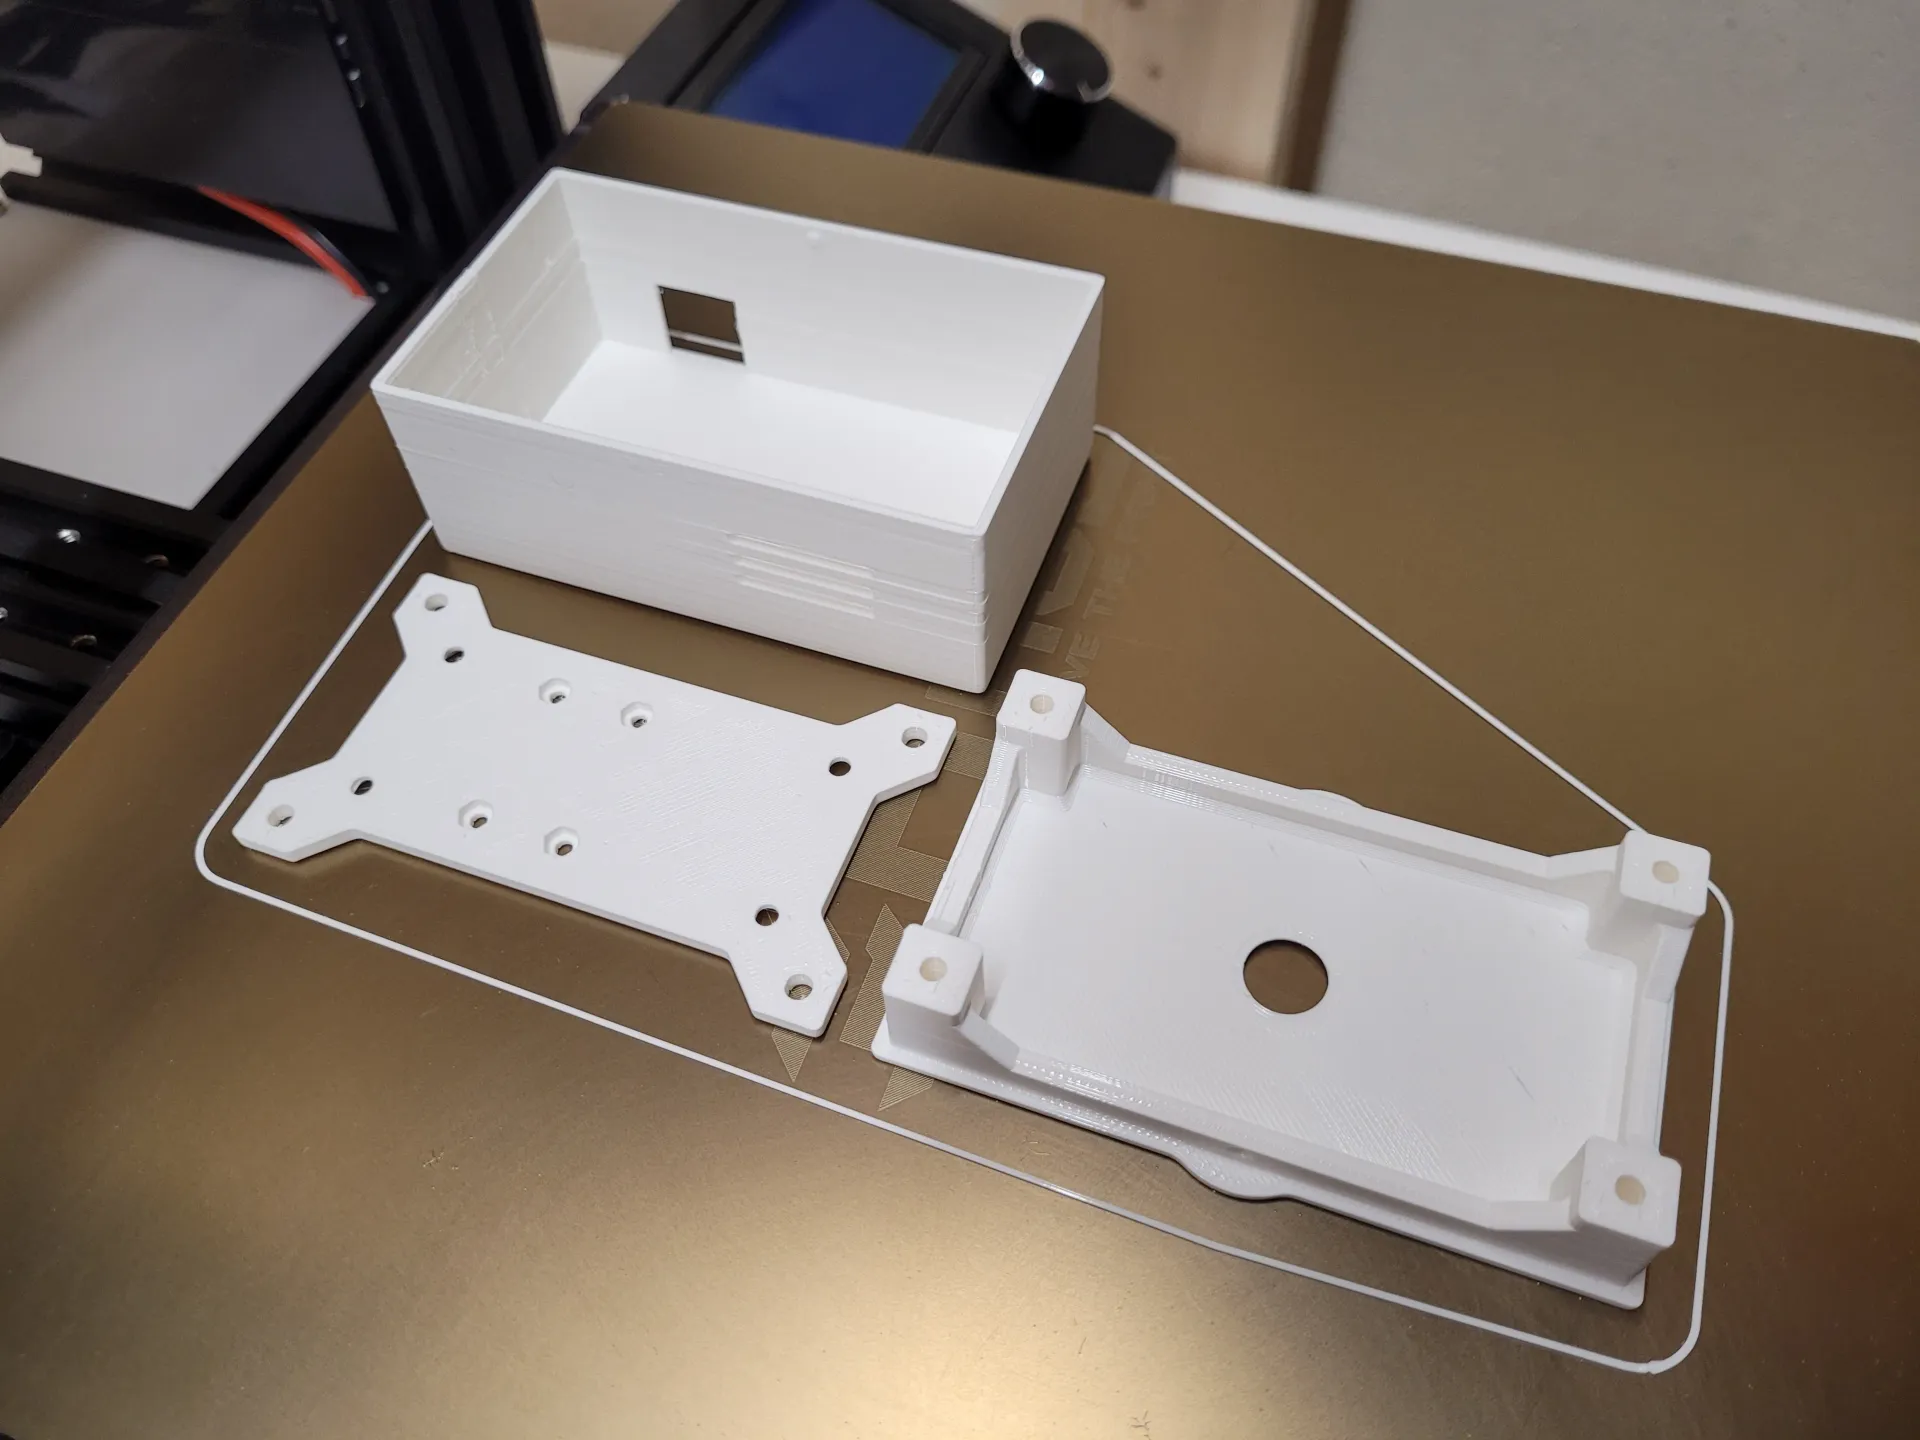
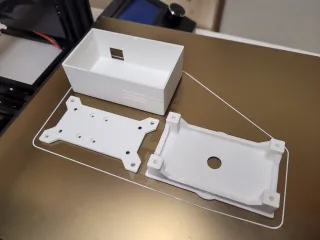
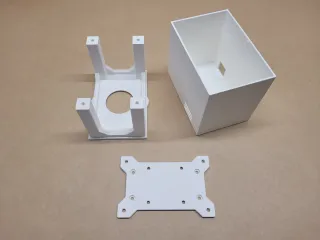
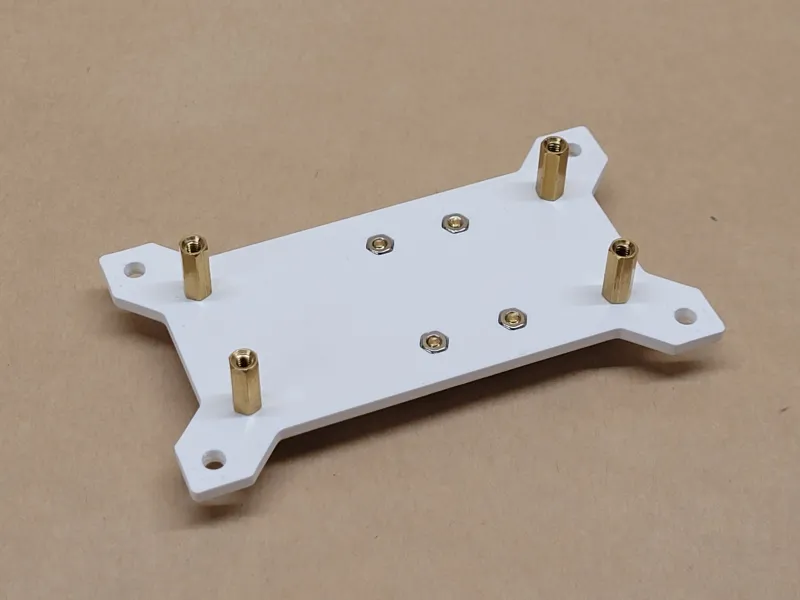
Assembly
- Insert nuts into slots on plate, screw in standoffs.
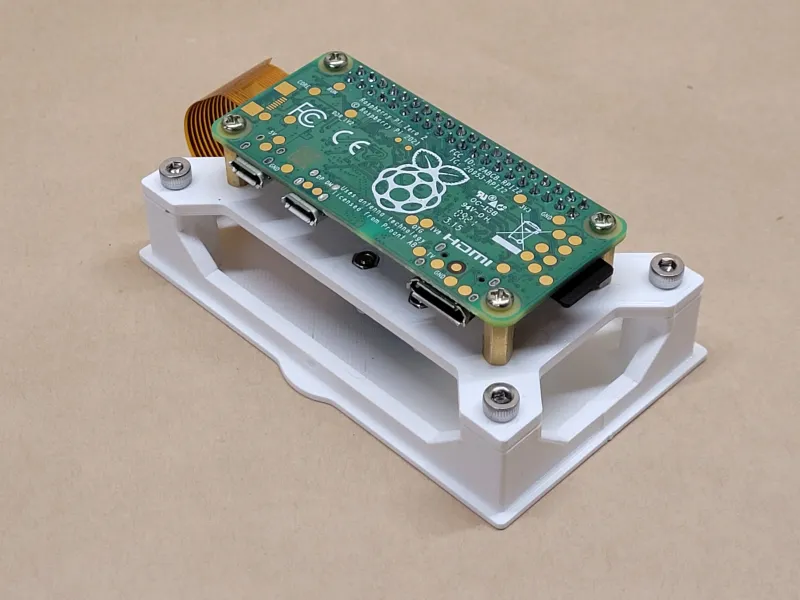
- Connect camera ribbon to the Raspberry Pi and the camera – the shiny contacts should be facing the board on both components.
- Attach camera and Raspberry Pi to the plate using standoff screws.
- Attach assembly to the “Front” piece using M3 screws.
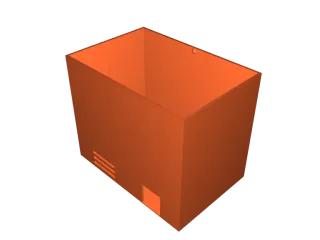
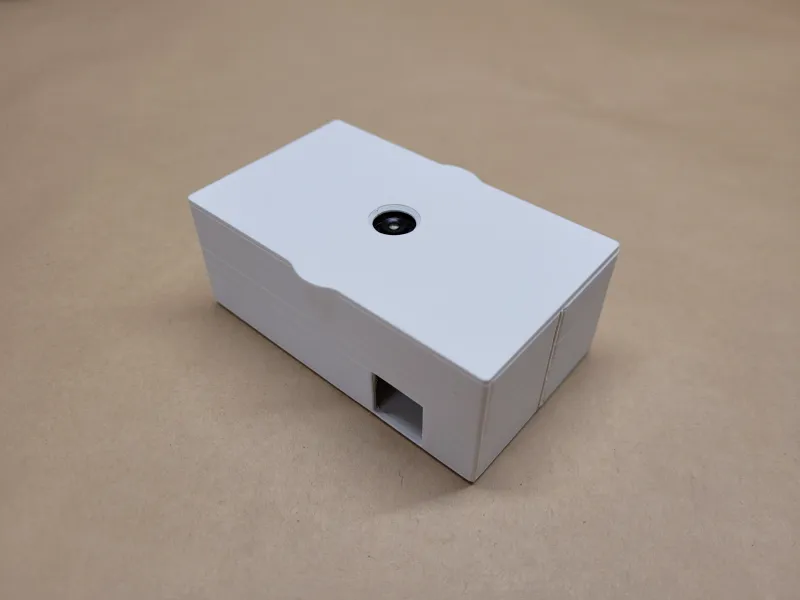
- Snap on the “Shell” piece.

Making a video
To put the images together into a video, you can use ffmpeg, a command-line video utility. You could do this step on your Raspberry Pi, but it will be very slow. Instead, I recommend transferring the images to a separate computer and running the script there.
This Git repo includes a generate-timelapse.sh script – edit the variables at the top to set some options, then run from your terminal using ./generate-timelapse.sh.
# Output options
FRAMERATE=24 # Number of frames per second
WIDTH=2048
HEIGHT=1536

ENABLE_BLEND=true                                  # Adds transition at the end of the timelapse, to compare two images
BLEND_LENGTH=2                                     # Length in seconds of the blend transition
BLEND_PAUSE=1                                      # How long to sit on images between blends
BLEND_TOTAL_LENGTH=$((BLEND_LENGTH + BLEND_PAUSE)) # Length in seconds of the blend clips – will stay on the last frame until time's up

# Input options
INPUT_GLOB=./timelapse/*.jpg               # Input image name pattern
TIMELAPSE_NAME=./timelapse/timelapse.mp4   # Output timelapse name
FINAL_NAME=./timelapse/timelapse_final.mp4 # Final output name, with blends

# Blend options - only needed if ENABLE_BLEND is true
BLEND_IMG_START=./timelapse/20220729_090001.jpg # "Before" image
BLEND_IMG_END=./timelapse/20220729_171901.jpg   # "After" image
Tags
Model origin
The author marked this model as their own original creation.


