Corsair K68 fitting Macro Pad 15 keys, Arduino
Description
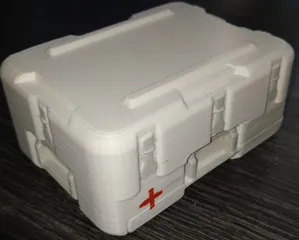
PDFThis is a Macropad that fits the Corsair K68 mechanical keyboard (possibly K63 as well). The box attaches to the keyboard using two screw holes on the keyboard (the screws can stay). No keyboard modifications required. It copies the keyboard's shape quite seamlessly, even the line extrusion on the side of the box fits into the keyboard side.
This is a beginners project. It was my first time soldering something, using an old, big, possibly soviet-made iron.
I used the Arduino Pro Micro ATmega32U4 3.3V 8MHz, it was my first time I had an Arduino in my hands, also I can't write any code, so if you're similarly inexpirienced as I was, you can also build this! Having the 8MHz version required adding a line in a part of the code, for more info on that, ask me, google or the QMK Discord.
I used the 1N4007 diodes and Kailh Blue switches, but it's all compatible and build for Cherry MX switches.
If you use the same Arduino, want the same keybinds (mine are F14-F23, Pause (M), Vol+, Vol-, PgUp, PgDn) and you manage to solder it all the same way (i provided the pinout scheme and some LQ pics), you can use my compiled firmware (europa2.json). You just have to flash it into the Arduino using QMK Toolbox.
However the guides and an amazing community on discord exists, so that you can make the custom firmware yourself. The main guide I used is from the QMK Discord, join it and search for Bom's Basic Birmware Building Guide, it required some time, but it let a total newbie build this MacroPad, I highly suggest the guide and the people on that Discord. Very helpful! https://docs.google.com/document/d/1T8lK_pODn6DsxpXjKhCayp9vBjMTfJfQIEbSu89ifnk/edit
https://www.makeuseof.com/how-to-build-a-diy-qmk-powered-macro-keypad/ (outdated, but some info helps. Basically, QMK MSYS used in the Birmware guide has to be used now)
For the keycaps I recommend this https://www.thingiverse.com/thing:2783650.
I printed them on an Ender 3V2, upside down flat (removed the top radius by putting them a little bit down on the Z axis) I used the Pause on Layer function to switch to a red PETG for a few layers and then once again to switch back to black. A bit of manual work, but the results are alright. What's not alright are those seams and other problems on the walls, not sure how I did that.
If you have any questions, ask. I can also provide the SolidWorks files.
https://www.thingiverse.com/thing:5390482 My firmware can be downloaded as a .json from Thingiverse.
Tags
Model origin
The author hasn't provided the model origin yet.


