E-Steps Calibruler / E-Steps Calibration Jig
Description
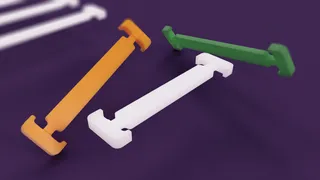
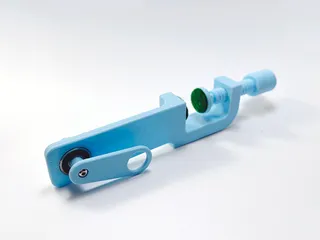
PDFI was calibrating the rotation distance (aka E-Steps) on my Ender 3 Pro and found it cumbersome to get the filament straight and mark it with reasonable accuracy. So I made this little jig. It has one groove at 20 mm and another groove at 70 mm.
To use this, run the filament through the channel like shown in the picture. With the side that is closer to the 20 mm groove flush against the extruder. Then use the 70 mm groove as reference to make a mark on the filament using a Sharpie or some such.
Now you can remove the jig, and extrude 50 mm (by first sending G91 followed by G1 E50 F60.
Once the extruder has stopped rotating, run the filament through the jig just like before and observe whether or not the mark that you made has arrived at the 20 mm groove. If so, congrats! Your E-Steps are already well calibrated! You can go now.
Otherwise, make a mark on the jig corresponding to where the mark on the filament is. Then use calipers or a ruler to measure the distance from the end that was flush against the extruder to the mark you made on the jig. If you subtract that number from 70, you end up with the actual length that was extruded. Use that to calculate your new e-steps value:
New E-Steps Value = Old E-Steps Value * (Actual Extruded Length / 50)
Tags
Model origin
The author hasn't provided the model origin yet.


