PiCaMi - Minox pinhole camera with shift option

Description
PDFConversion of a Minox 35 body to a pinhole camera. Please, read the pdf for details.
NOTE: The assembly pdf file is found among the stl-files or you may try this direct link.
Tools and material needed
- PETG filament black
- Loctite Super Glue or equivalent
- Rubber cement
- Black silicone
- Sandpaper, fine grit
- Clamps
- Laser drilled pinhole, 0.2 mm (recommended) or 0.15 mm.
- Matt black paint
- neodymium magnets 2.5 mm x 10 mm
- Sanding tool, see appendix
NOTE: Before you start to glue, assemble the parts and make sure they fit properly.
Printer settings
- Use black filament when you print the camera body and the lid. I recommend black PETG.
If you prefer to use some other colors you need to blacken out the interior thoroughly.
- Always calibrate your printer before you start to print.
It’s crucial to make a first layer test and adjust the Z if necessary.
- Before you glue the parts, make sure that you understand how they should be assembled.
- Printer settings
- PETG (black)
- 10% infill
- No rim or support needed except for part PiCaMi_pinholeholder.stl.
- If you are using Slic3r:
- Print settings: Pretty PETG v3
- Filament settings: Pretty PETG v3
- Printer settings: MK3 Pretty PETG
Painting
Paint the surfaces matte black inside the PiCaMi body and on the lensboard.
Extra accessories
https://www.printables.com/model/168683-pica135-a-pinhole-camera-with-shift-capabilities/files
https://www.printables.com/model/224610-minox-35-arca-swiss-plate
Prepare the Minox body
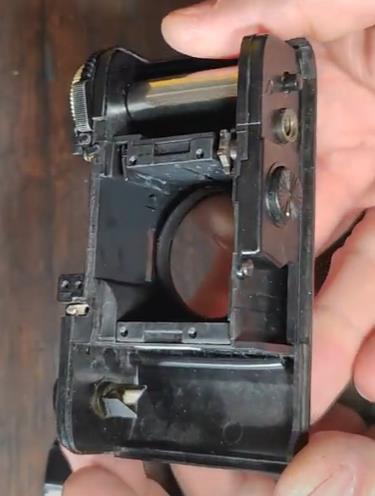
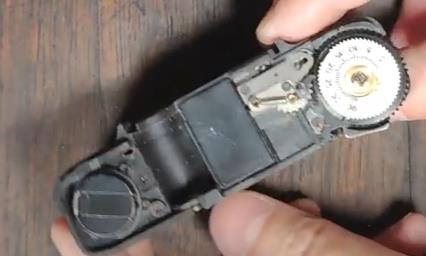
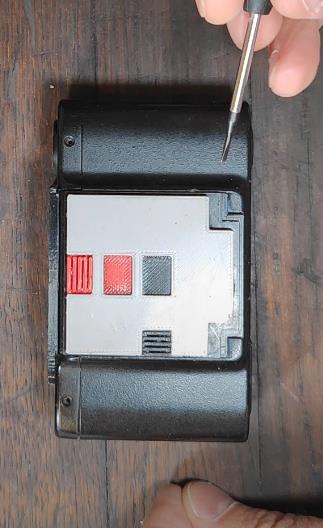
Strip your Minox 35 on all electronics. Keep the counter mechanism and advance mechanism intact. Also, keep the ISO dial - it’s handy to have. Remove the front door of the camera.
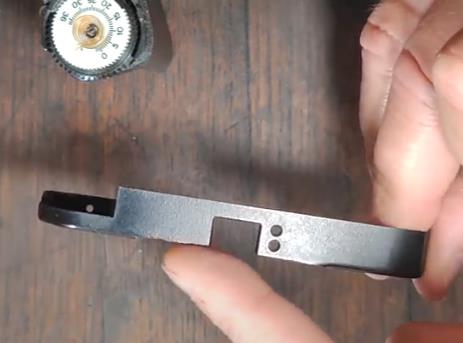
Cut off the top of the camera lid. Make sure that the lid is flat.
 |  |
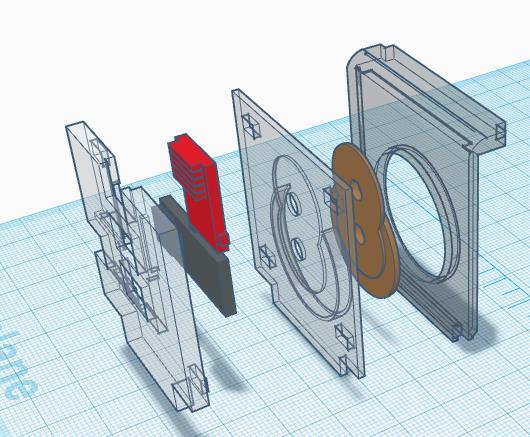
Conversion of the Minox to a PiCami
 | To make the body light tight, press the PiCaMi_light seal.stl in to position. No glue required, it will have a snug fit. Part to print: PiCaMi_light seal.stl |
 | |
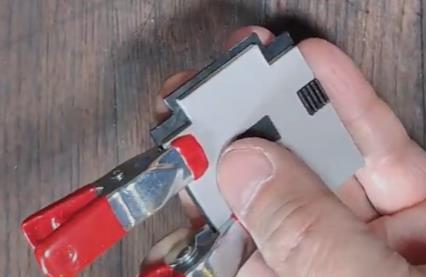
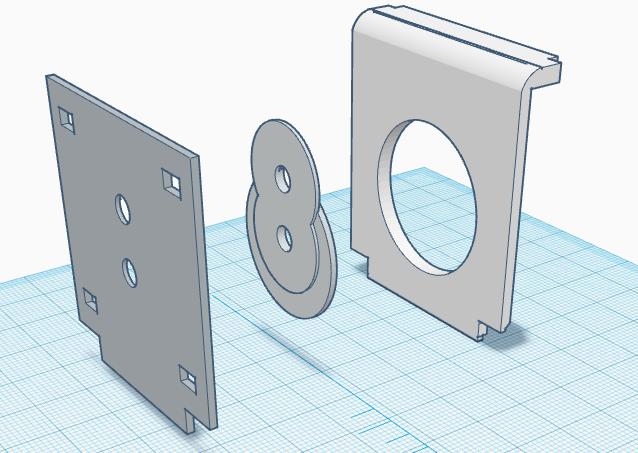 | Try out the parts before you glue them. Front 1should have a tight fit to the Minox body. Parts to print: PiCaMi_front1.stl PiCaMi_front2.stl PiCaMi_pinholeholder.stl |
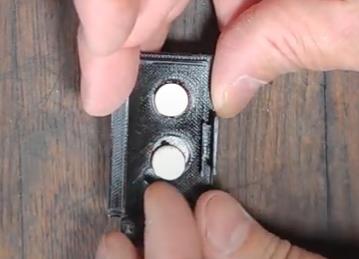
 | Use rubber cement to attach the pinholes to PiCaMi_front2. Depending on the size of the pinhole discs, you may trim them. |
 | Mount the PiCaMi pinholeholder, by using Loctite Super Glue. |
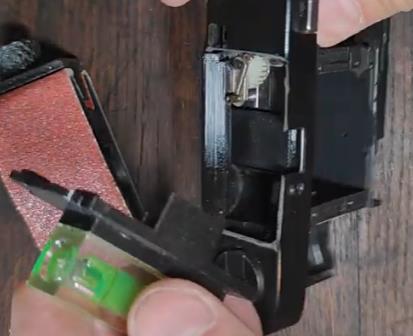
 | Shutter assembly
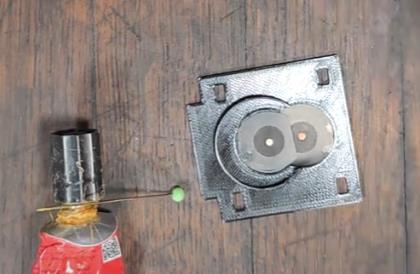
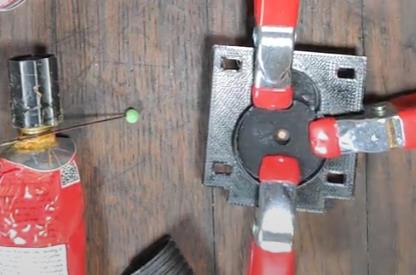
Print the parts and make sure that they fit properly. Parts to print: PiCaMi_front3.stl PiCaMi_shutter normal.stl PiCaMi_shutter shift.stl |
 | Use Loctite Super Glue to mount PiCaMi front3 to the the other front parts. |
 | Use clamps and check the friction of the shutters – last chance to get it right… |
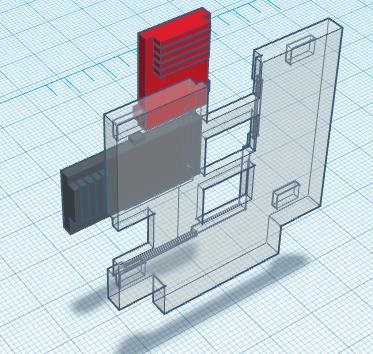
 | Glue (Loctite Super Glue) the neodymium magnets to the inner side of the PiCaMi-lid. The magnets will allow you to use the extra accessories. Part to print: PiCaMi-lid.stl |
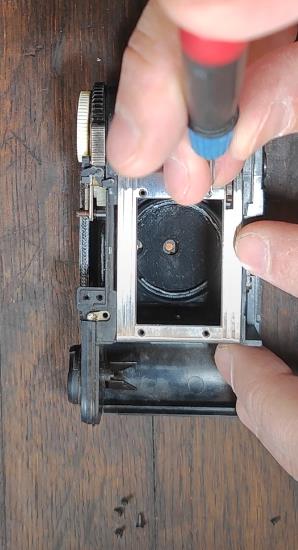
 | Before you glue the PiCaMi lid to the Minox lid, make sure it fits nicely and that the top is absolutely flat. Warning! Be cautious when glue is applied, you don’t want to ruin the counter mechanism. It is recommended to cover the counter parts with tape. |
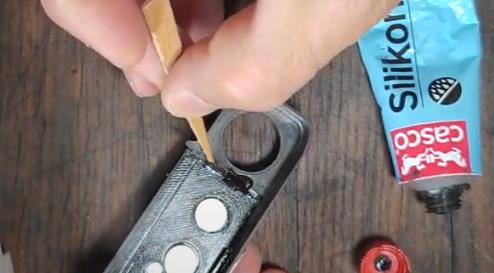 | You may consider to make the top lid more light tight by applying black silicon. |
 | Reassemble the film plate |
 | Put on the top lid.
You're ready to go! |
Tags
Model origin
The author marked this model as their own original creation.


