BTT Smart Filament Sensor Direct Drive Mount

Description
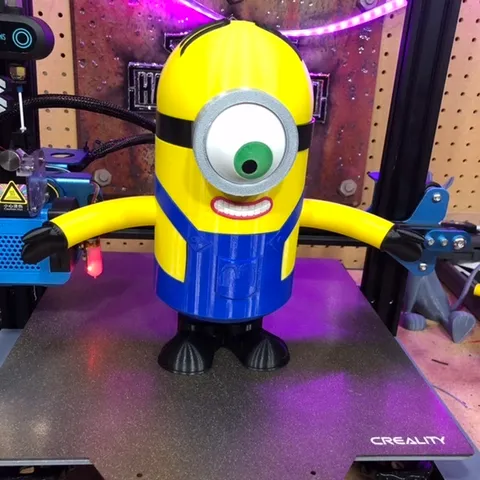
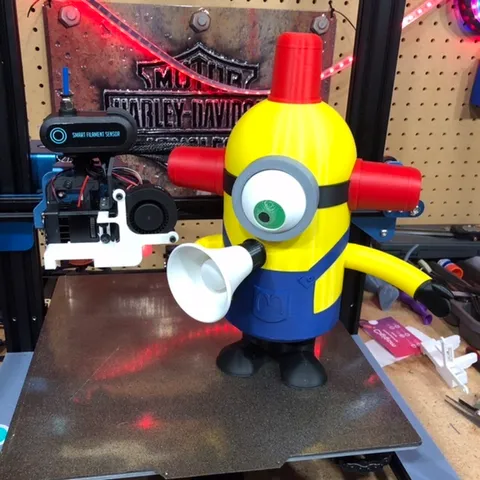
PDFA direct drive mount for the BTT Smart Filament Sensor.
Please scroll back up and hit the like button. Once you have it done, post a pic of your make here.
STOP THE FLOP!
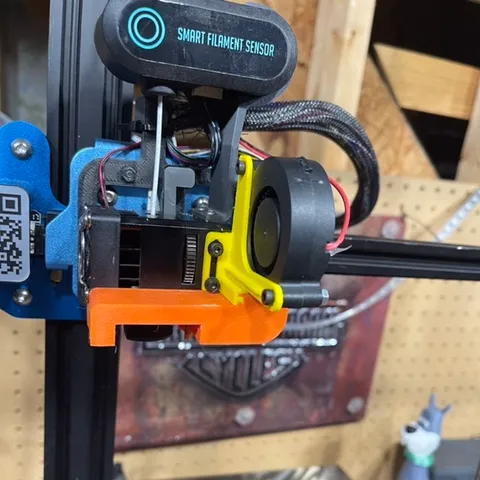
Places the sensor close to the extruder, reducing false read errors caused by slack during the X Movements and retractions.
YES, we can see in the photo that BTT MUST HAVE printed the wording upside down. ;)
Ok - it just makes things more stable and the sensor works in either direction.
I picked up this sensor at https://www.fabreeko.com/collections/essentials/products/bigtreetech-smart-filament-sensor
Print Settings
Printer Brand:
Creality
Printer:
CR-10
Rafts:
No
Supports:
No
Resolution:
0.12
Infill:
15%
Filament: Hatchbox PLA Black
Notes:
I used Cura to set the infill at 100% just at the tab where the bolt is.
One M3-18mm bolt, nut is needed.The inserts are optional but look great in a contrasting color. Touch of glue will be needed. Do the two pieces in your favorite colors.
Post-Printing
Installation
Carefully remove 6 screws on back plate. These are tiny little suckers so be careful.
Sandwich the new backplate and BTT unit around the mount and replace screws. The housing is plastic, so don’t be an ape screwing them back in. Patience, patience.
Carefully open the mounting bracket and push it over the motor. It may help to remove the wire harness to do this.
Position the PTFE coming out of the sensor directly over the extruder.
Insert the m3-18 bolt from the bottom, and screw into the nut.
Category: 3D Printer PartsTags
Model origin
The author marked this model as their own original creation. Imported from Thingiverse.