Customizable Magnetic Name Tags with Pronunciation


Description
PDFMotivation
I work in software where I interact with people from all different parts of the world. One thing I've noticed is that people sometimes have trouble pronouncing names from other cultures and languages. Our names are an important part of our identity and I feel like it's worthwhile to try to pronounce them properly.
This model is actually my capstone project for a 3D printing Coursera class I'm taking.
What these are
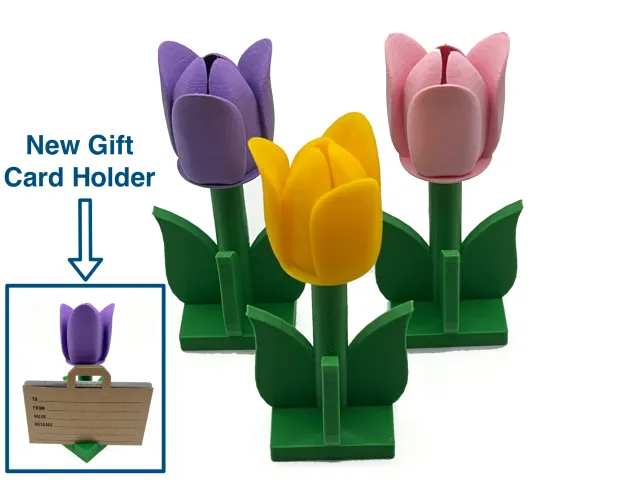
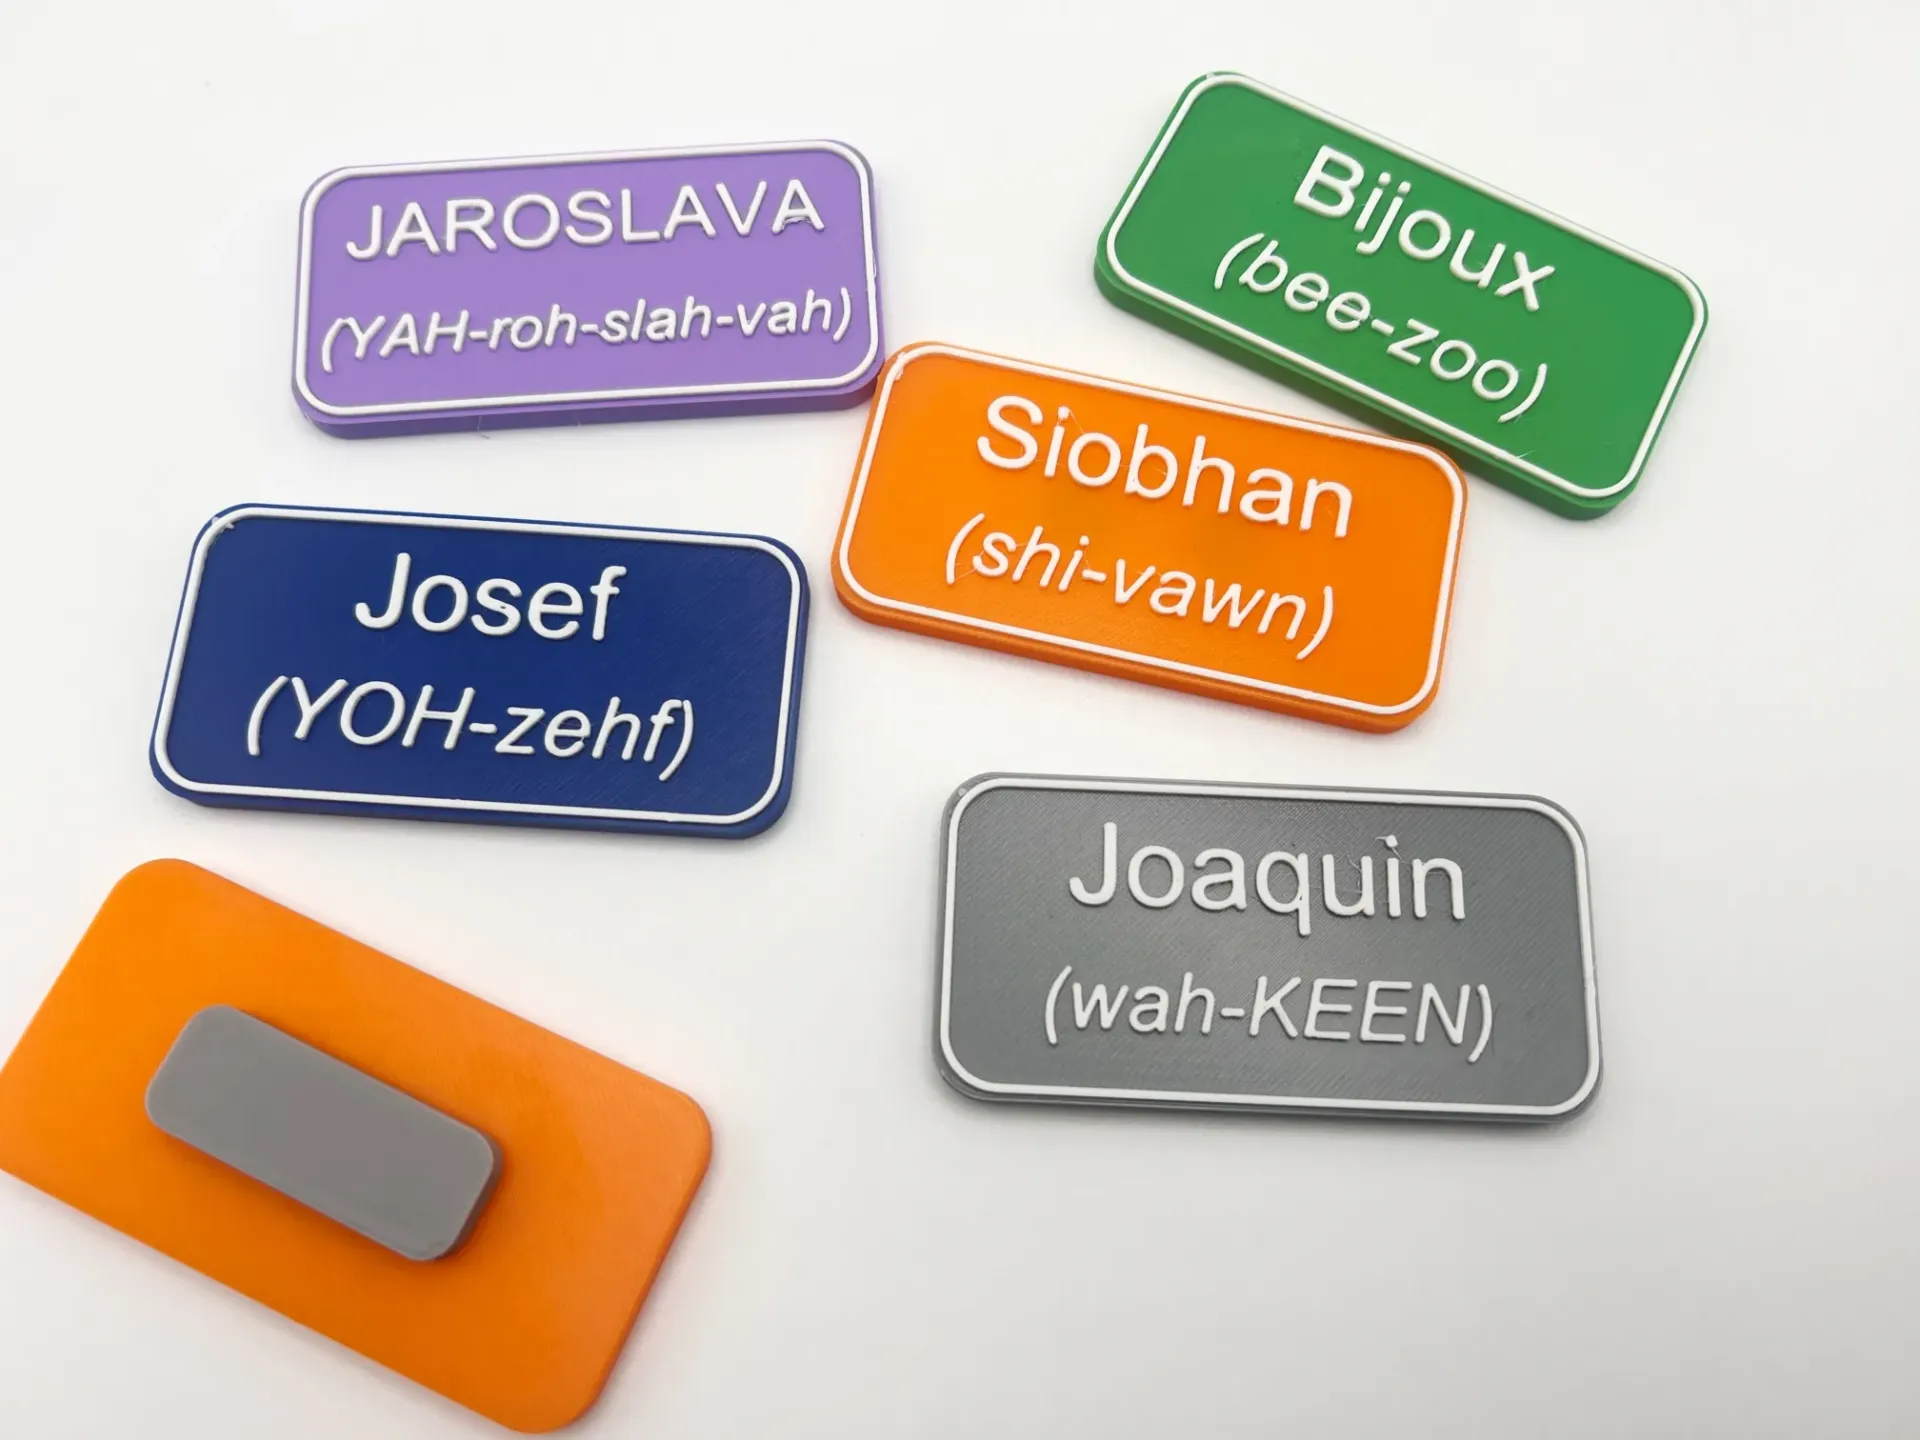
These are customizable name tags with a magnetic backing and 2 lines of text. The idea is to have the person's name followed by a phonetic spelling or some kind of “hint” as to how to pronounce it.
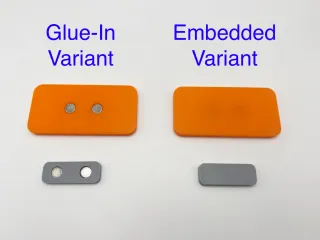
Two Variations: glue-in & embedded
Glue-In: This variant lets you glue the magnets into the back of the nameplate and the backing plate. This is the easiest approach if you don't know how to pause your print for the embedded version.
Embedded: This variant lets you embed the magnets inside of the nameplate and backing plate. You must insert a manual pause in your slicer right before the top of the hole is going to be filled in. During this pause you will place the magnets into the print and then allow it to continue. Note: the magnets will fit loosely and rattle a little. This is intentional because not all magnets are exactly the same size. The rattling stops when you apply the backing plate.
Changing the Text
To alter the text you should:
- Open the .f3d file in Fusion 360 (free version is available)
- In the Browser area, click into Sketches and select the “name-and-pronunciation” sketch
- Right click this sketch and select “Edit Sketch”
- Double click on the current name on the 3D model and change it in the dialog that appears. Click OK to dismiss the dialog.
- Double click on the pronunciation on the 3D model and change it in the dialog that appears. Click OK to dismiss the dialog.
- Click the Finish Sketch button with the green checkbox in the upper right of Fusion 360.
- In the Browser area, click on the component for the name tag ("nametag-embedded" or “nametag-glue”). You should see the name tag part of the 3D model highlight. This means you have the name tag selected.
- Right click the on the name tag in the Browser and select “Save as Mesh”. The defaults STL (binary) and mm units are what you want. Click ok to save an STL version of this object.
- Slice and print. See notes below.
Hint: Watch your magnets' polarity
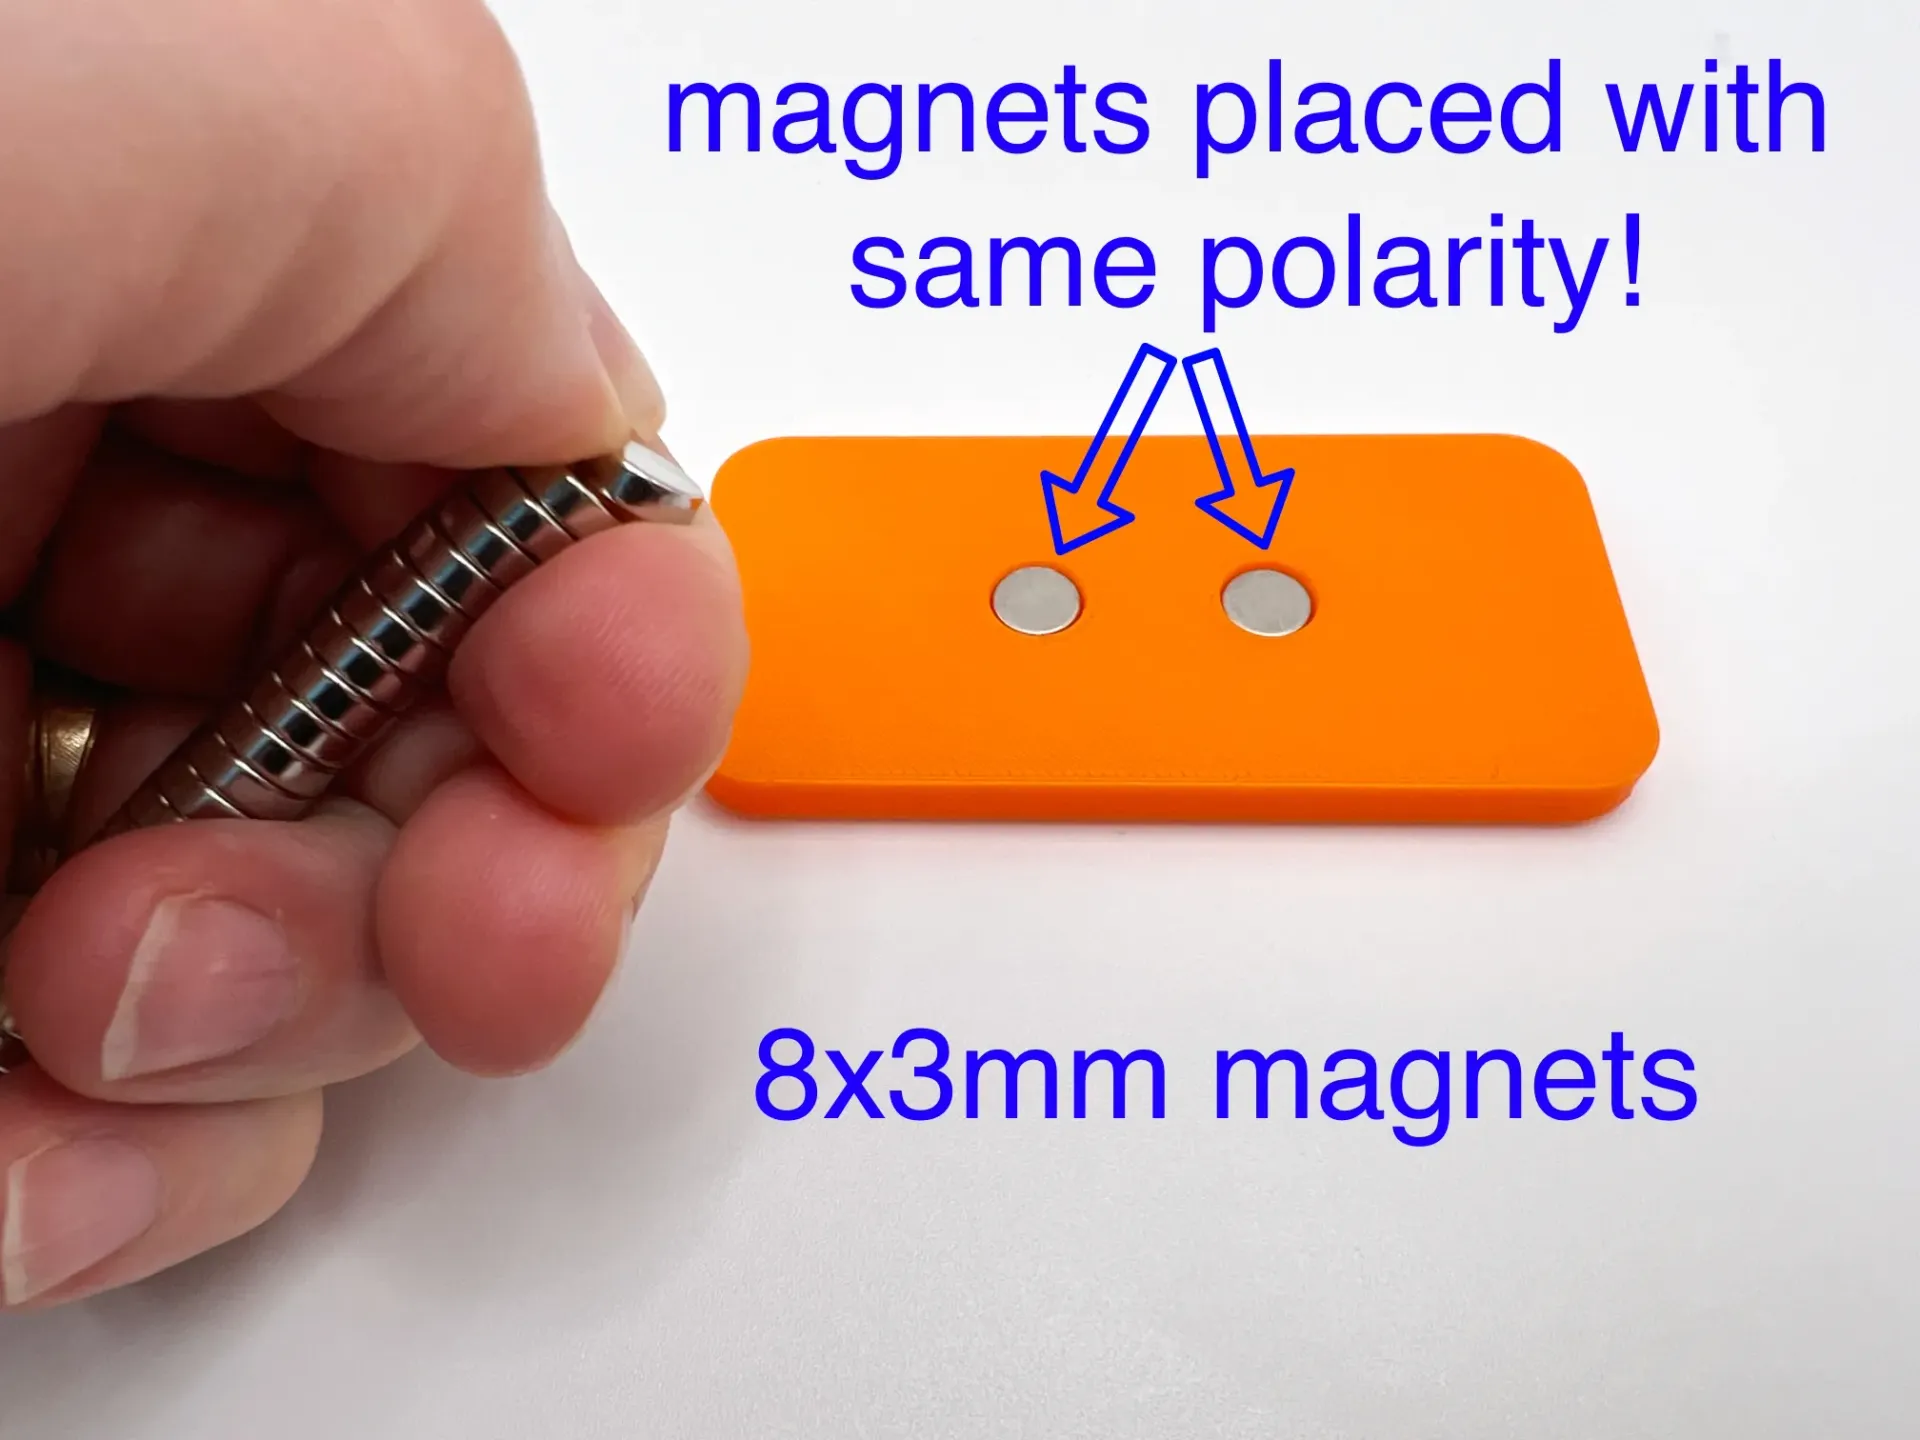
This is very important. When you are inserting your magnets, please make sure that both of the magnets you are inserting have the same polarity!! If you mis-match the polarity of the magnets, when you attach your backing plate you might have one magnet repelling while the other is attracting!
The easiest approach is to stack your magnets and keep them vertically oriented. Slide the top magnet off and place it into the hole. Then immediately do the next one while you are still holding the stack of magnets.
Printing & Preparation
Default slicer settings with .2mm layer height is fine. Default infill is good, but don't go too high. You want these to be lightweight.
You will want to insert a color change at the layer when the names begin so that the names stand-out against the background.
You will need 4 8x3mm magnets. Two will go into the nameplate and two will go into the “backing plate”. You have to slip the backing plate under the garment you are wearing and then click the nameplate in place.
Tags
Model origin
The author marked this model as their own original creation.