Fully printable adjustable inline GT2 belt tensioner
Description
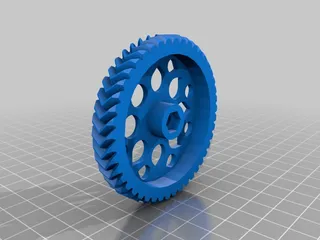
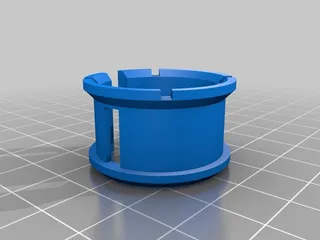
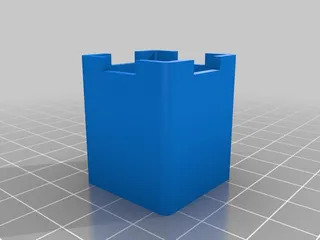
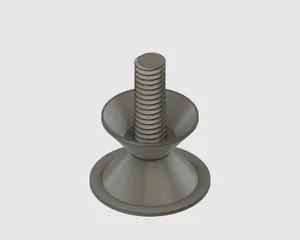
PDFThis is an experimental GT2 belt tensioner that is entirely printed with 4 parts. Original idea behind was that the tensioner should be balanced and possible to install without removing belts, therefore the 2-piece adjustment nut. You might want to put a two zipties over the grooves on the static block and one ziptie over the adjustment nut once assembled, otherwise the belt or the adjustment nut might slip. Alternatively it's possible to use a metal M10x1.25 nut in place of the printed one, but that requires removal of the belt in order to install the tensioner or cutting a slot for the belt to pass through to the side of the nut with a hacksaw or angle grinder. First slide moving block to static block and install them together to the belt. Then insert one half of assembly nut from other side of the belt and the other half from the opposite side and put them together. The adjustment nut should be installed over the static block and push against it's ring when tightening the nut. Once the assembly is finished, install the zipties if needed.
Print Settings
Supports:
Yes
Infill:
100%
Notes:
Print static block horizontally (flat side down) with support. Flip adjustment nut half b and moving block upside down for printing. You may need to clean up the threads either with a sharp knife or M10x1.25 thread tools.
Category: 3D Printer PartsTags
Model origin
The author marked this model as their own original creation. Imported from Thingiverse.


