Hydrofoil Wing

Description
PDF3d-print your own wydrofil wings and slap an aluminum bar inbetween.
I recommend using a big nozzle. A .2 or .6mm layer height won't affect it when it's covered by fiberglass. Don’t use more than 10% infill. The 3d printed core provides basically no strength. I used 600gsm unidirectional and 450gsm biaxial per side . Plus one layer of 160gsm twill(fiberglass). I recommend using a vacuum bag but you can definitely just hand laminate it. You can of course use carbon fiber (which is stiffer and slightly lighter) but I didn't think the higher price was worth the potential benefits when I made mine.
The wing utilizes a 23015 NACA profile which should make it stable and great for takeoff at lower speeds.
If you are planning to do a vacuum layup you should check out my vacuum preasure regualtor,.
There is now a pdf with dimensions of the fuselage
Instructions
The 1100 has some design features that simplifies the fabrication process.
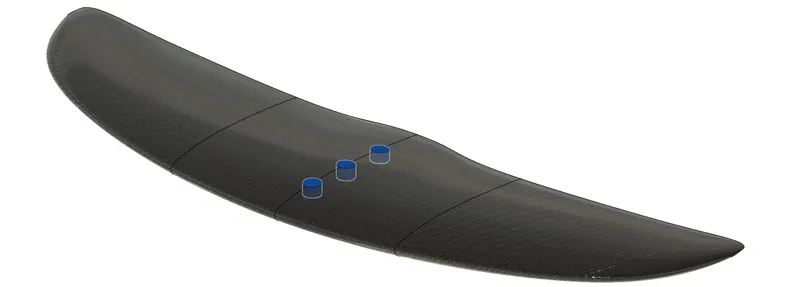
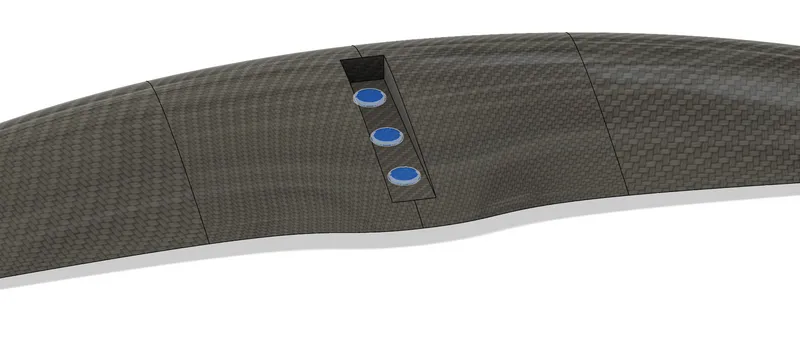
These three holes are to be filled with epoxy. You will later drill new holes for your hardware.
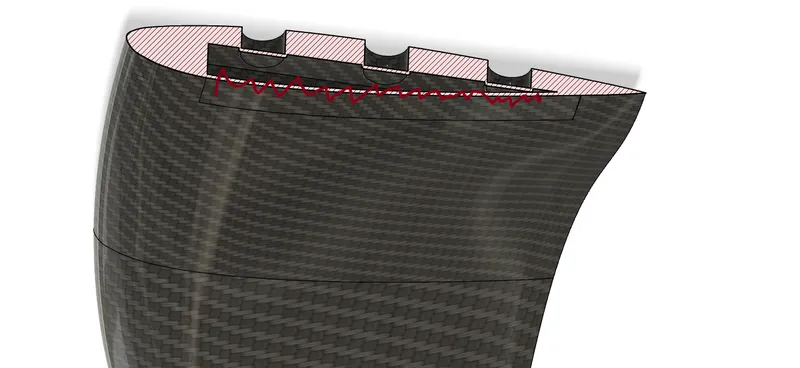
This sacrificall wall will allow you to easily glass over the entire top surface without getting epoxy in the fuselage cut-out.

After glassing you can simply cut through the fiberglass/carbon and the outermost wall.
Lastly you will need to remove these caps, you can use a chisel, grind or whatever. you just want to avoid damaging any surface that could lead to epoxy seeping into the hollow wing.
I recomend following this video for fitting your fuselage
And this one for glassing your wings
Tags
Model origin
The author marked this model as their own original creation.


