Cylon Helmet Vase Mode Print
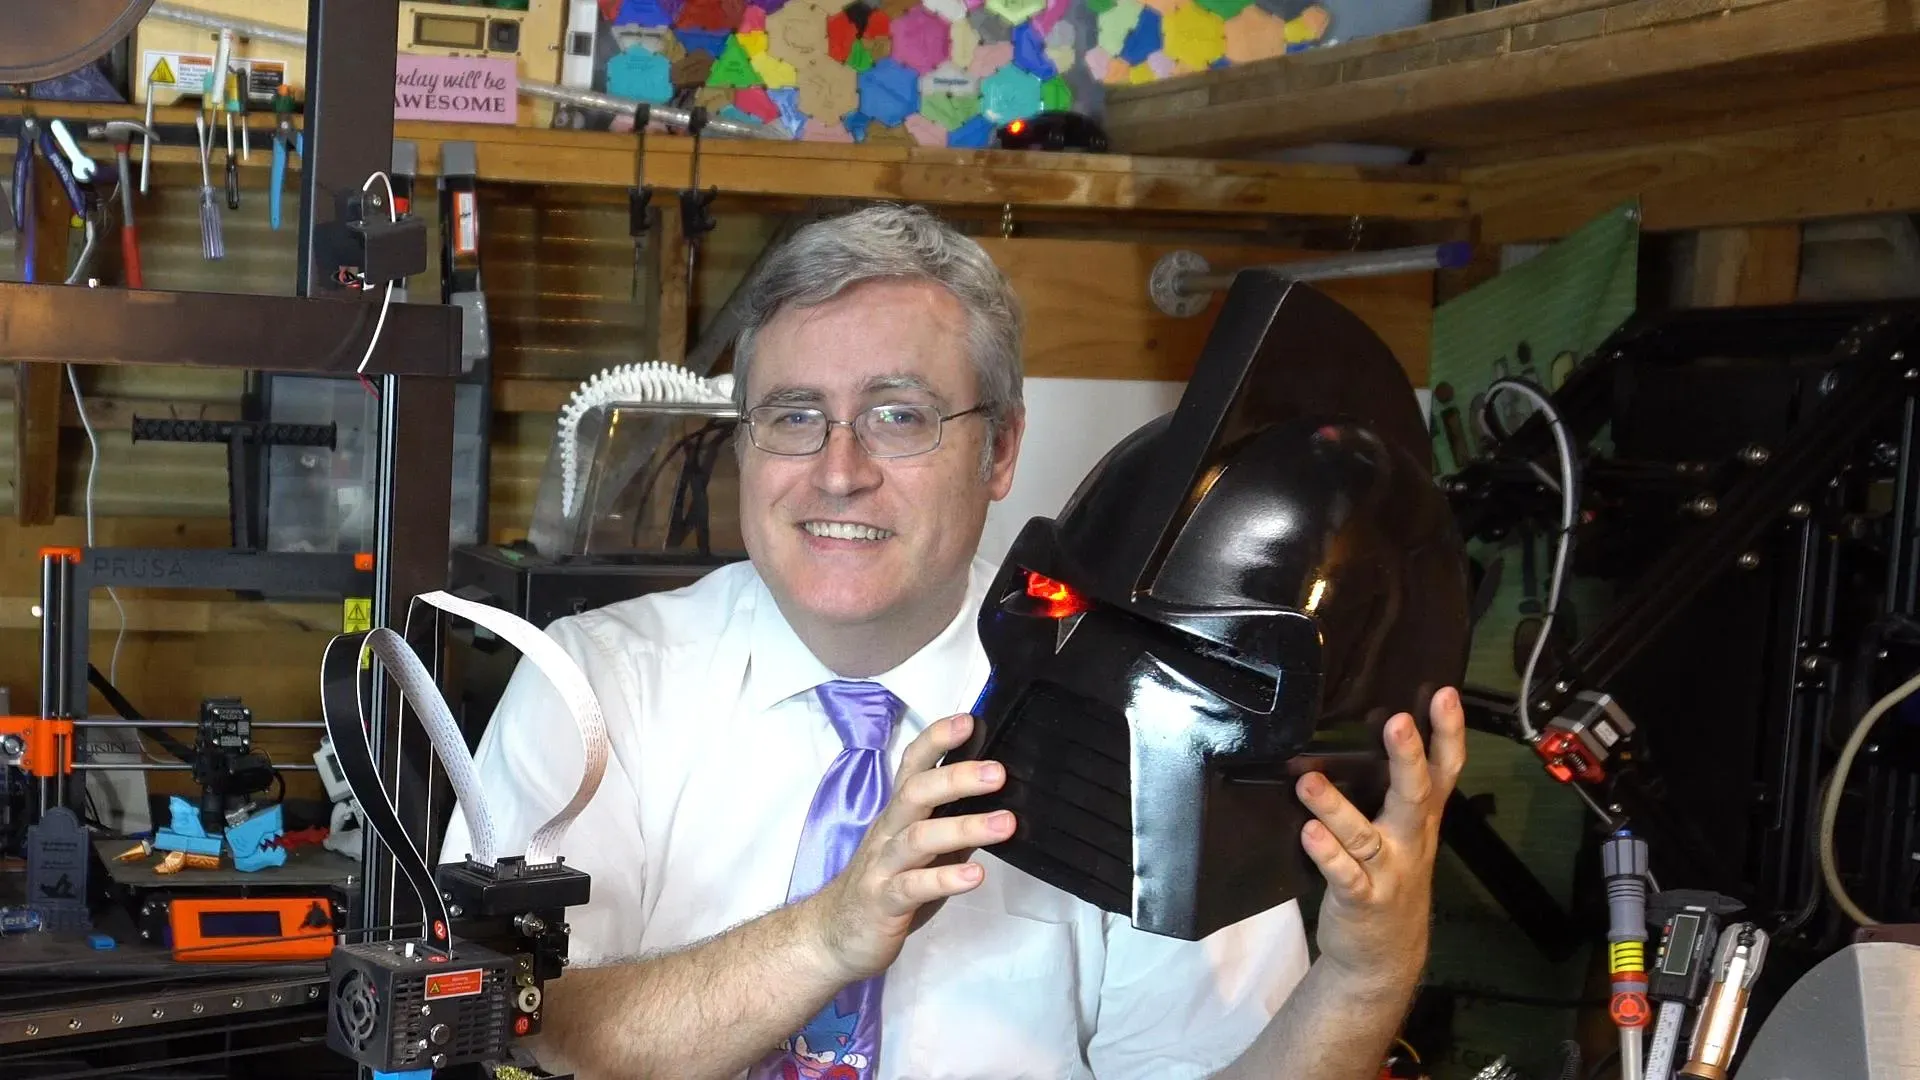
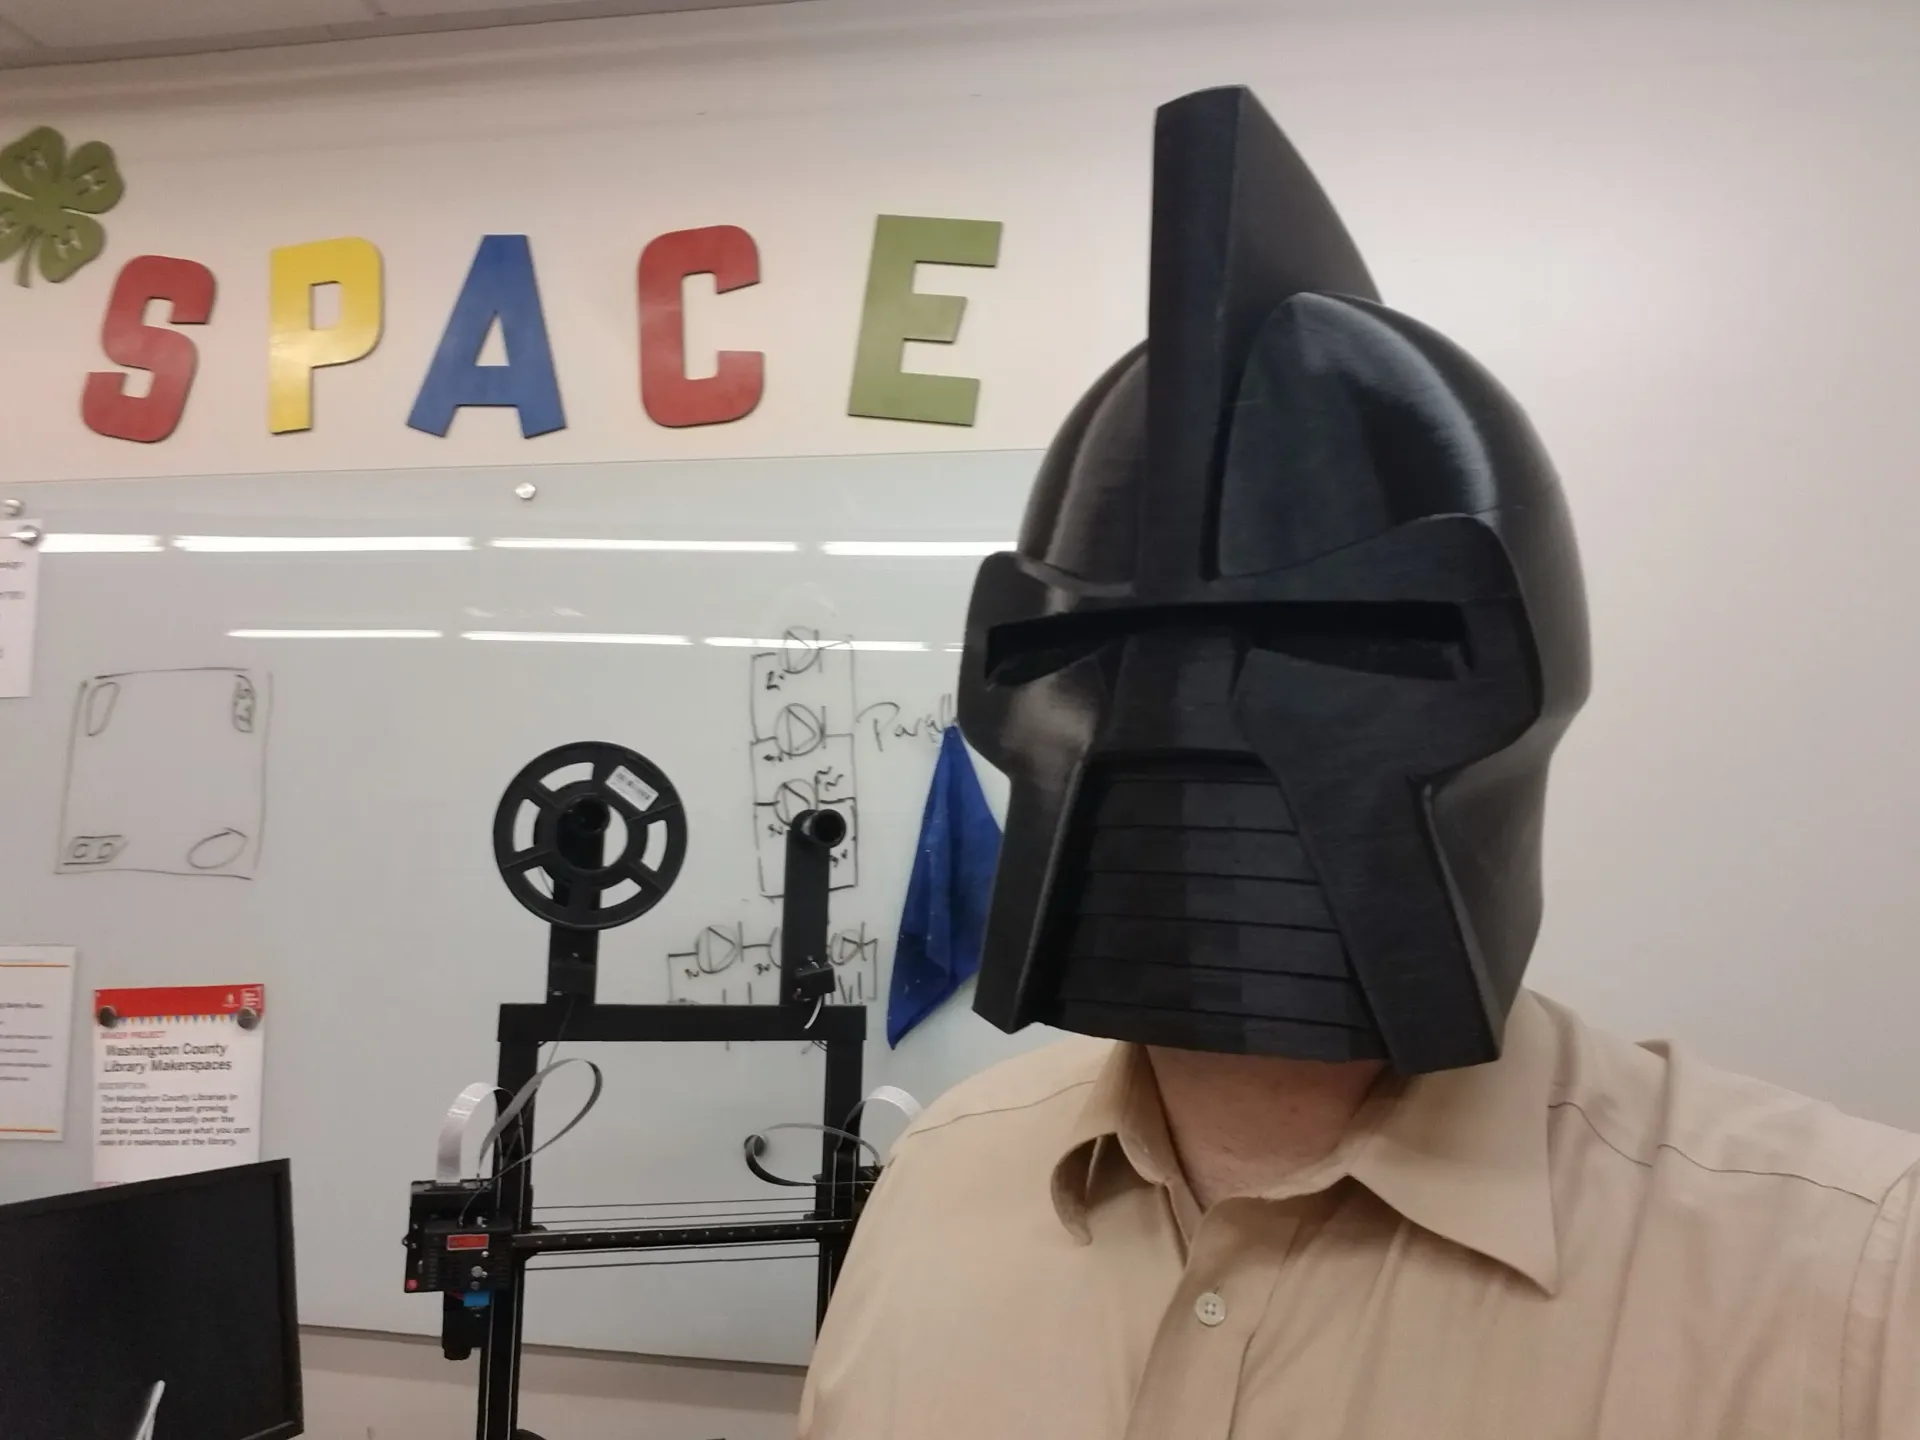
From the 1978 Classic TV Show, BattleStar Galactica, 3d print your own Cylon Cosplay helmet. https://youtu.be/GJQV_XYdqc
95
534
0
2883
updated May 10, 2022
Description
PDFFrom the 1978 Classic TV Show, Battlestar Galactica, 3d print your own Cylon Cosplay helmet!
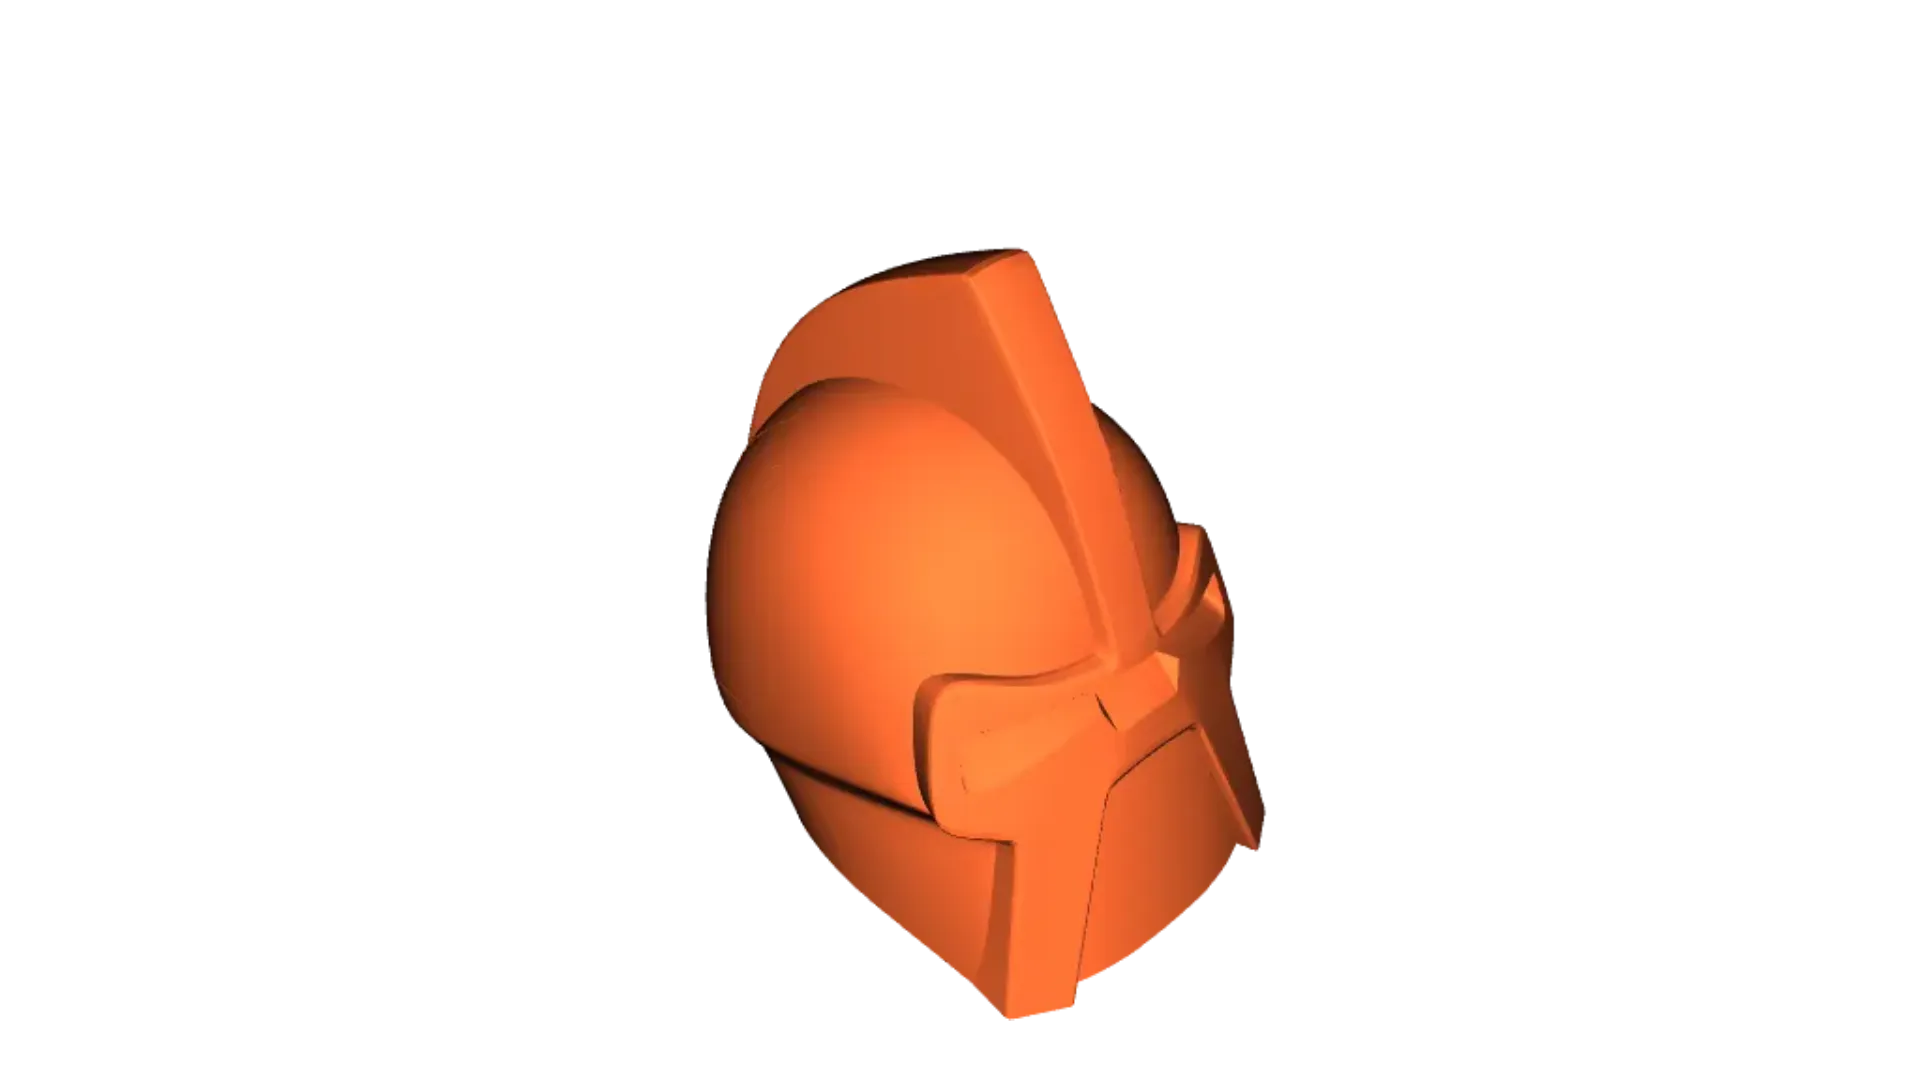
This model was designed to take advantage of 3D printer settings to change a solid model into a thin shell to reduce print time and material. This enables the model to scale for any size head with ease but it requires a large format 3D printer and it will require some post processing, for instance in the creation of eyeholes.
How to Make Your Own
- Import the model into your slicer
- Scale for your head size (Sorry, I have no idea how to do this right, but remember the scale factor you use for scaling the LED holder)
- Print with 0% infill, 4-6 shells, 12 top layers, and 0 initial bottom layers. (if your slicer doesn't have an initial bottom layers setting, you'll just have to cut out the bottom. You don't want to get rid of bottom layers.)
- When the print completes, use a soldering iron with a flat blade and/or a Dremel tool to cut out the eye hole.
- Finish and paint with whatever technique you want. (I recommend Bondo Glazing and Spot Putty filler, sanding, priming, sanding, and repeat until your arms fall off.)
Adding the Electronics
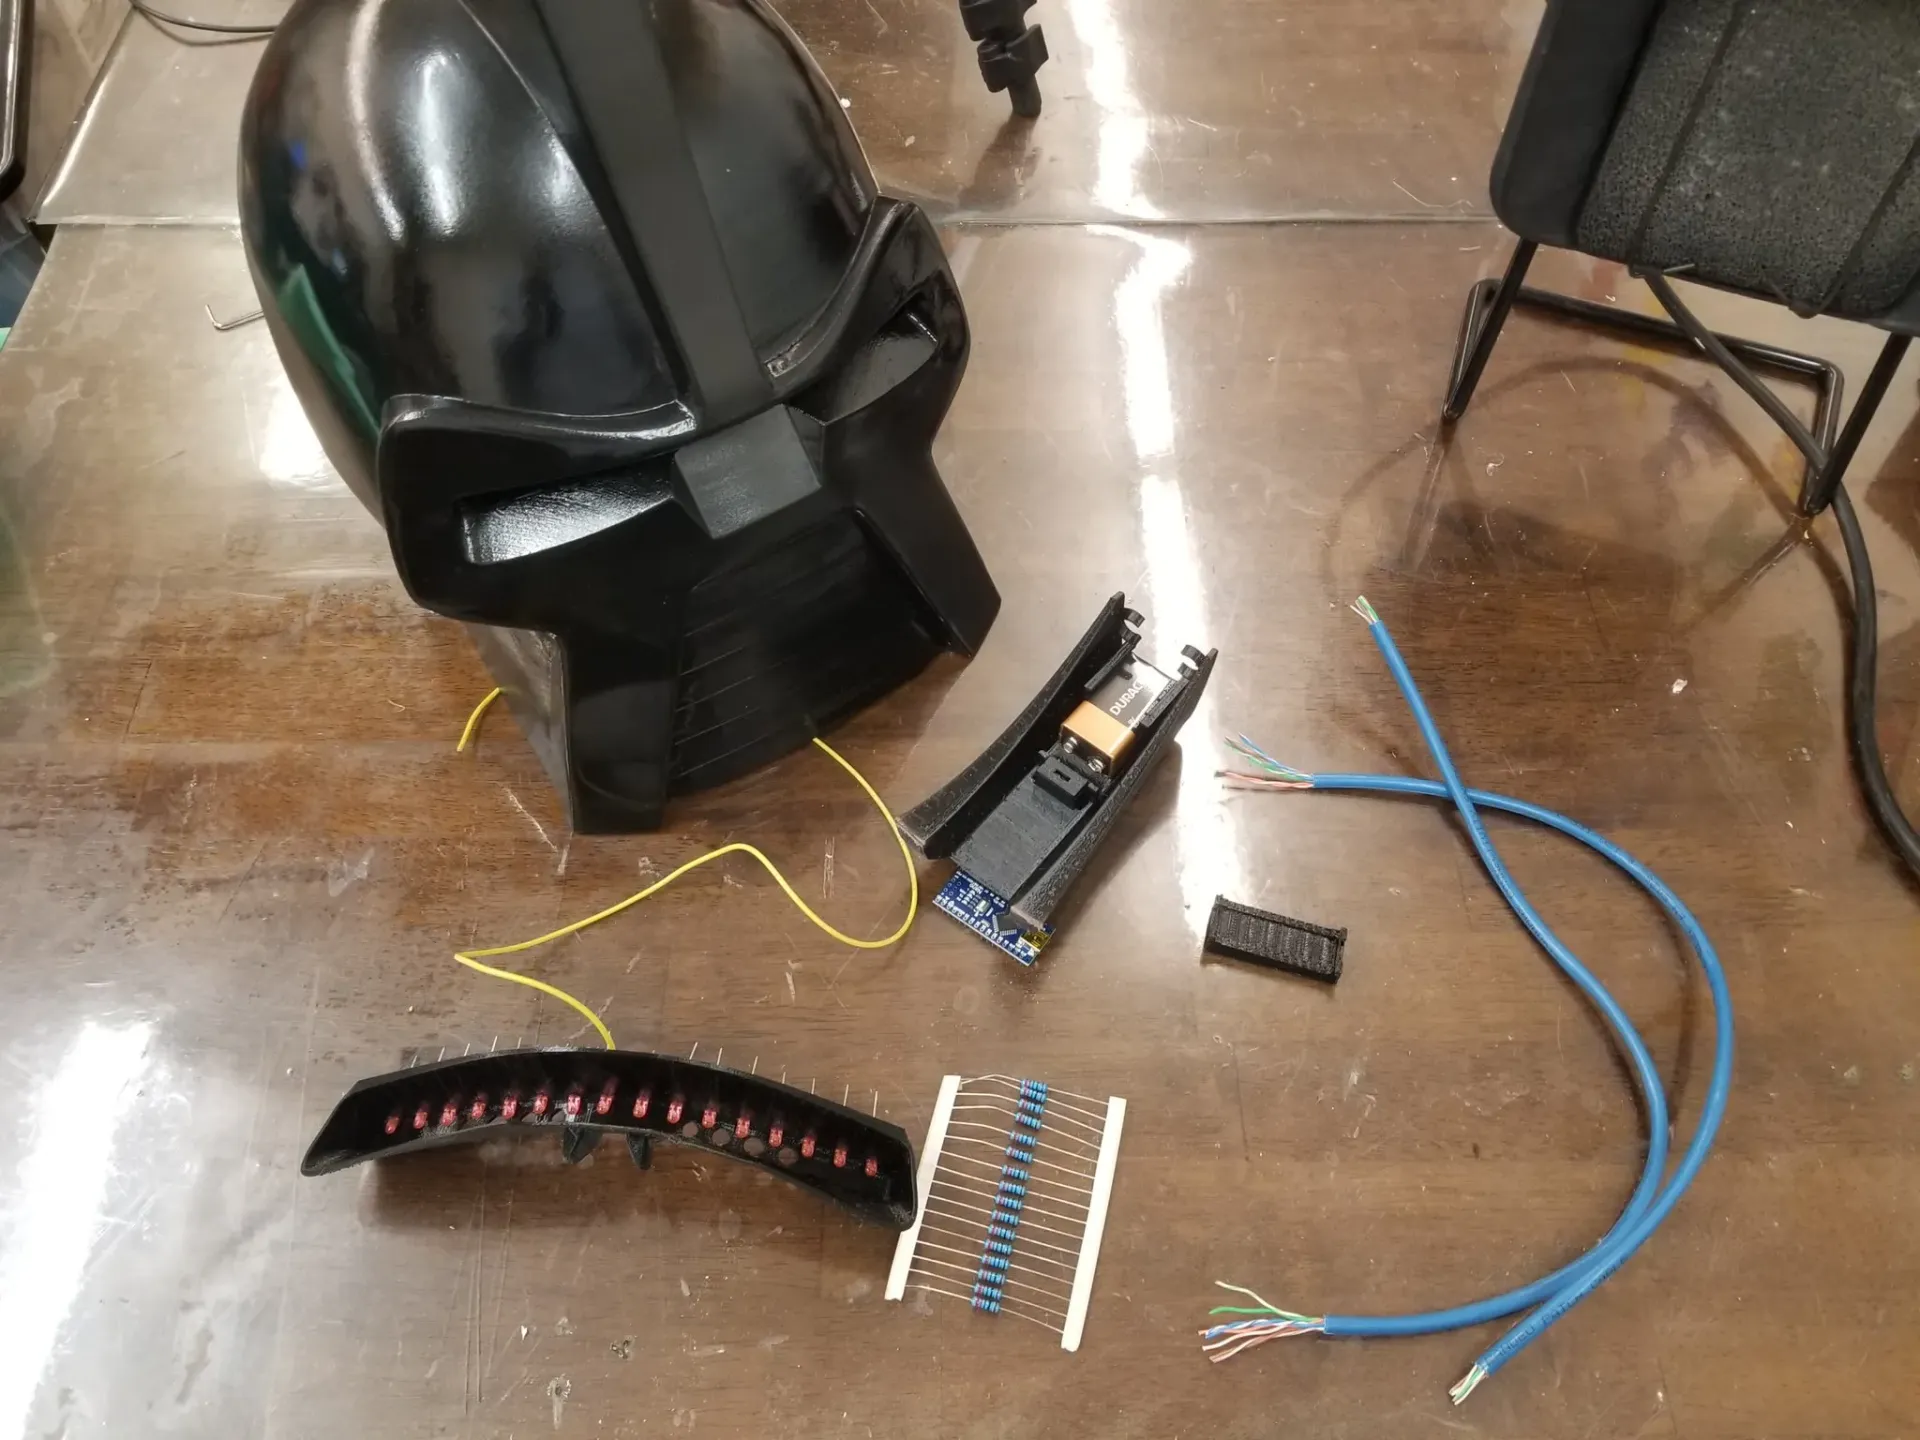
This is the way I did the LEDs:
- Print out the LED holder (There's a no support version that should work, but may require sink holes depending on the geometry of your LEDs), scaled the same as the helmet was.
- Drill the holes for the LEDs to the size of LED you have
- Print out the battery and Arduino Nano holder
- Solder 220ohm resistors to each LED
- Solder the negative end of the LEDs to a common ground, and wire it to GRD on the Arduino
- Solder the positive ends of each LED to Pins 2-12, and then A1-A5 on the Arduino
- Solder the 9V battery positive to the VCC pin, the negative to a switch, and the other end of the switch to the GRD of the Arduino
- Download the Ultimate Larson Scanner code from here: https://wokwi.com/projects/329302830585217620
- Change lines 29 and 30 to set both useXXXPot variables to false (Unless you want to add potentiometers to control the speed and cursor width, in which case you'd solder the signal wires to A6 and A7)
- Upload the code to the Arduino

Use the included battery and Arduino holder to glue to components into the helmet. (I recommend using the mohawk space for this.)
The LED holder has eye holes that should block the LEDS so you can see out.
Finish it off with padding for comfort.
Tags
Model origin
The author hasn't provided the model origin yet.
