Magnetic Star Trek Com Badge (8mm magnets)

Description
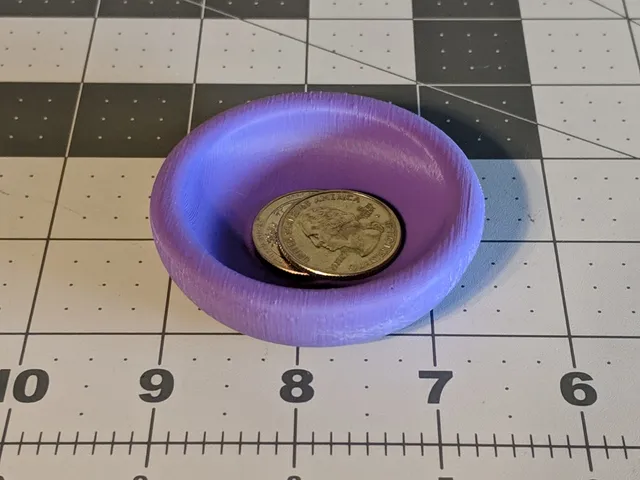
PDFI liked the original model that I remixed from, but I have 8mm magnets and the original designed used something smaller.
My magnets measure about 8mm x 2.7mm. I've tried to not cut tolerances too tight. I believe I am using https://www.amazon.com/gp/product/B07DD61G2F
here, the silver is just a filament change at (about) the right place. I may redesign this so the badge is two (or more) parts so you print silver and a gold separately (similar to the use of inlays in my in my Klingon Badge).
Export of Fusion 360 project included.
Also see my Star Trek Klingon Badge using 8mm magnets. https://www.thingiverse.com/thing:3956156
Print Settings
Printer Brand:
Prusa
Printer:
i3 MK3
Rafts:
No
Supports:
Yes
Resolution:
0.2mm
Infill:
15%
Filament: CC3D and Hatchbox PLA, 1.75 Silk Silver (CC3D) and Gold (Hatchbox)
Notes:
The bottom of the Com Badge part has a recess for the battery. I used supports to assist with this although probably this isn't necessary for most printers.
I placed a color change at about 7mm height, the first layer above the rounded part. This enabled the top of the badge to be silver.Post-Printing
Use CA glue to affix the magnets, if necessary.
How I Designed This
Brought the original model's .SKP file into Fusion 360. Created BREPs from the Meshs. Cleaned up the models a touch. Filled in the existing magnet recesses. Created my own magnet recesses. Exported as .STL.
I've included my Fusion 360 export.
Category: PropsTags
Model origin
The author marked this model as their own original creation. Imported from Thingiverse.