Controller box
Description
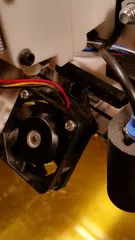
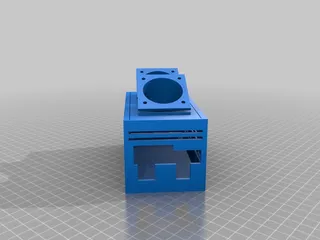
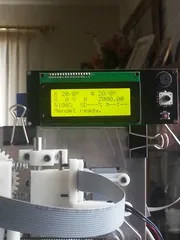
PDFswitch / control box with a display for volts and amps from the power supply... helps to monitor the output to the printer controller...total cost was $10 USD.
printed in PLA
.20mm layer height
no raft
support material "ON"
heated bed @ 55C with kapton tape
Instructions
Follow the schematic carefully... DO NOT have AC plugged in while wiring meter and PSU...use common sense people... The meter can handle up to 30V and 50 amps, more than enough for any 3d printer...
Red wires are 12v or 24v
Black is ground
AC load is also a Black wire to switch then to Load input of PSU
Yellow is amperage signal / sense
Grey is AC white wire
Green is AC ground
Also, if u use a RAMPS board, if u add a 5v regulator to the 12v output of your PSU or use a dedicated 5v supply, you can run your arduino mega micro-controller separate and run the ramps itself up to 15 volts as long as the capacitors on it are 25v or 35v rated AND the Diode on the ramps board is cut, removed, or not installed...
the meter was sourced via ebay
the switch can be sourced via any auto parts store
Use thick wiring of 10 gauge or thicker for higher amperage use...
accurate to .01V and .1amps
can be calibrated if needed, but should be pre-calibrated from supplier...
Category: 3D PrintingTags
Model origin
The author marked this model as their own original creation. Imported from Thingiverse.


