Magnetic LED rail

Description
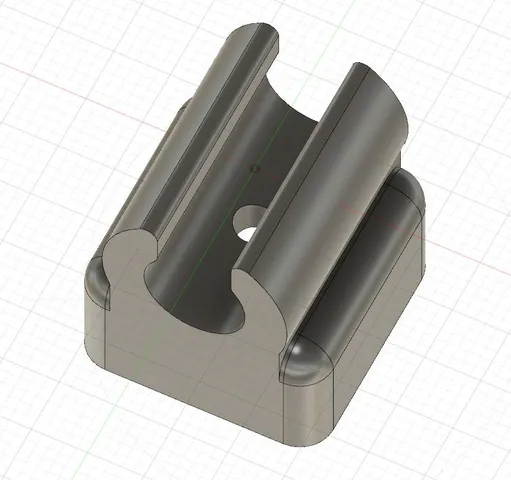
PDFThis LED rail does not need brackets, zips or screws like the original. It's pretty easy to mount, can be positioned freely. On top of that you get a much cleaner look.
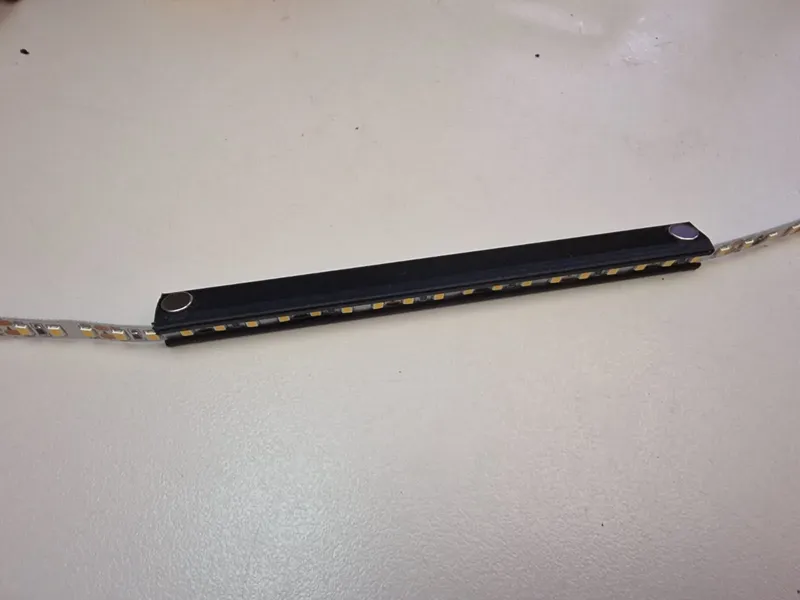
The LED strip is simply slid into the rail, which is then fixed with magnets to the corners of the enclosure.
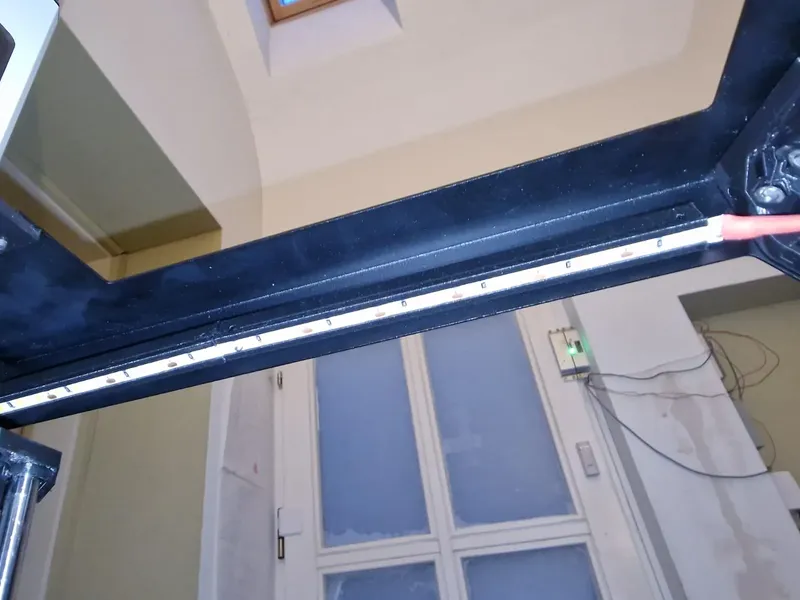
BEFORE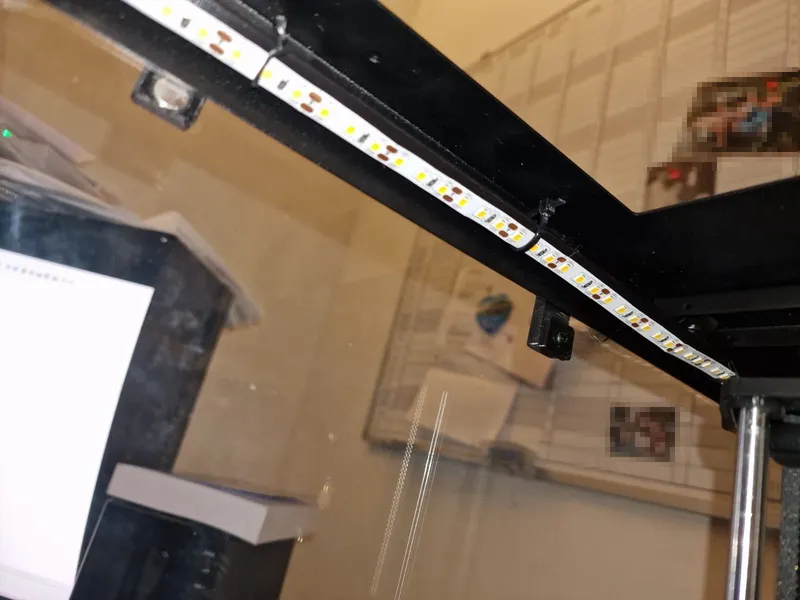
AFTER (without cable duct)
AFTER (with cable duct)
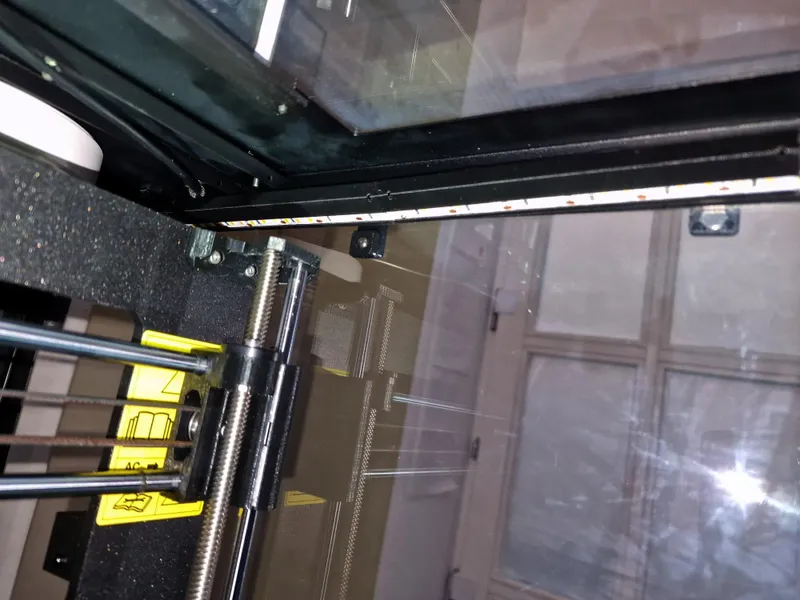
The LED rail is slightly angled.
Each STL-File contains 4 pieces.
- 1 x 15 cm with cable duct
- 1 x 15 cm without cable duct
- 1 x 10 cm with cable duct
- 1 x 10 cm without cable duct
Print as many you need and combine them as you like. You can use the cable duct version to hide the cable of a temperature sensor for example.
The rail in file LED-rail-v12.stl is designed to hold 8 mm x 1.5 mm LED strips without waterproof coating.
The rail in file LED-Rail-V12-10x2mm.stl is designed to hold 10 mm x 2mm LED strips without waterproof coating.
Hint: Don't remove the protective paper that's on the back of the adhesive tape of the LED stripe, otherwise you will not be able to slide it in. If you plan to reuse your old LED stripe, which was already attached onto the old rail, simply remove all of the adhesive tape.
You will also need two 8 x 4 or 8 x 3 magnets per piece. Hint: Pay attention to the polarity of the magnets at the connection points between two rails. If used correctly the rails will be pulled together.
Important: Print upright and with rim. No supports are needed then. Take a look at the gcode. I strongly recommend PETG due to its resistance to higher temperatures.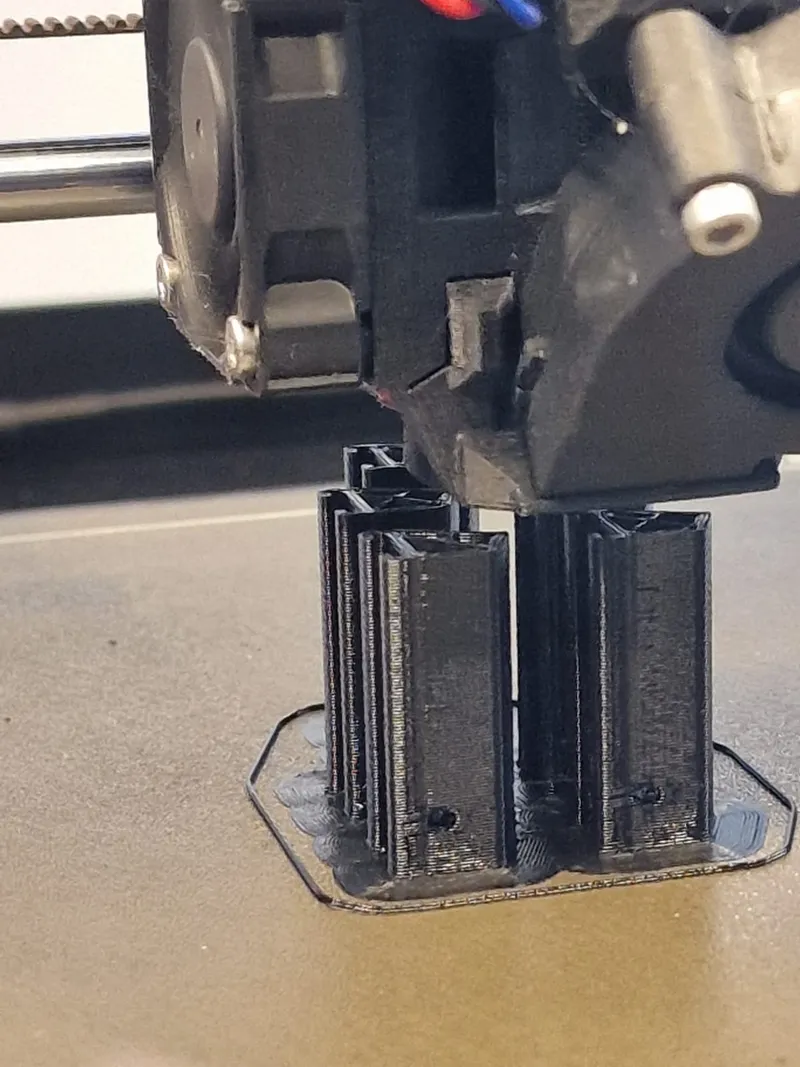
Tags
Model origin
The author marked this model as their own original creation.