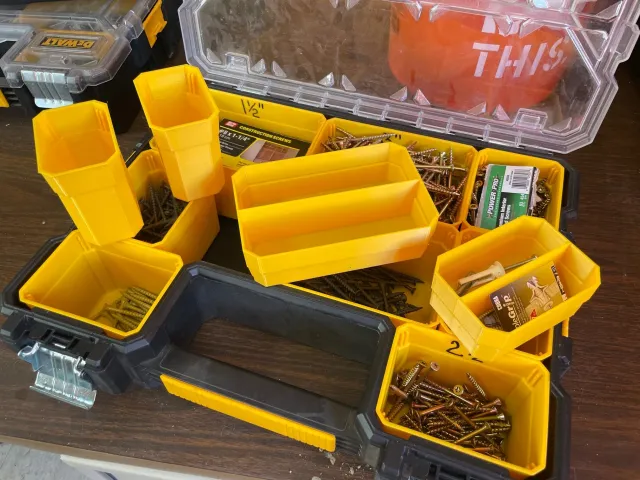
Took me so long to find the correct size. Yours is perfect! Thanks!
DeWalt Deep Pro Replacement and Nested Cups
Makes
Comments
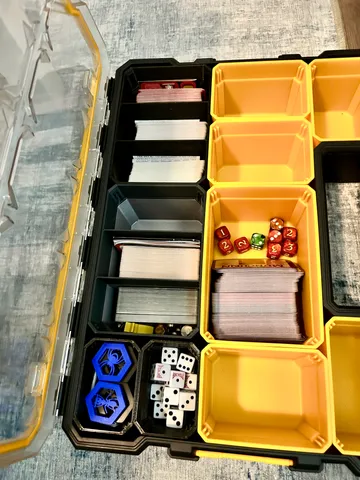
That's two quarter sized on bottom left and two full sized with custom 3 compartment prints. The least hardware / masculine purpose for these toolboxes, using it for card game storage! Going to fill up the rest of the bin with these prints, thanks for the excellent and abundantly thorough models, those Fusion360 models exceed the detail I ever bother with. For ease of printing and that I will never not have it completely full, I split the body at the bottom to remove the feet that would make the print more difficult and hardly serve keeping in place (while all bins remain in place).

Hi, Thank you for sharing your work. I'm pretty new to 3d printing and finding your files for my new Organiser boxes was one of the mail reasons for me investing in the printer! I've printed off the large replacement box and matching nesting cups but for the life of me can't get the top cup to fit correctly. It may be down to my printing but the box looks really good. The bottom one fits snug but the top is too tight. Any ideas? Thanks again
@Daveljones_600305 Hi - I have occasionally ran into that while printing on my Ender 3v2 as well. I'm not sure why it is only periodic for me, but I have taken to slicing the nesting cups at 96-98% scale and they work out well.
@smc_246581 thanks for the reply. I'll give that a go, like I said I'm new to all this so thank you very much for the help and again for sharing these. I dread to think how much Dewalt would charge for these if they made them available! It opens the organisers to so many combinations. Thanks
Works great. Print upside down and no need for supports if your printer can bridge far enough. Worked fine for me!
In case you maintain this great project here instead of thingaverse :) if you wouldn't mind post the fusion360 file so we can customize, that would be great!
Thank you!
@smc_246581 Thanks again! I'm having layer adhesion issues on the full sized replacement version, the "bevel" (appears to be only 2 perimeters connect the bottom from the top part that flairs outward), and so it easily cracks at that point. Trying different filaments to see, but 2 perimeters isn't much (about 0.8mm) to rely on whatever material is used :)
I seem to suck at fusion360 as well; failing to figure out how to thicken the walls and increase that joining area without changing the overall size (don't mind the inside shrinking some). Any ideas/tips? or mind doing? :D (edited)
@marcusone_173753 Huh. I didn't have any issues printing them, but I may have done something that I'm not remembering. I haven't printed any in a while. At any rate, I added some material to that area in Fusion and re-uploaded the .F3D files. Give them a try and let me know.


