Remote Triggering Mechanism for Timelapse with DSLR Camera

Description
PDFHOW TO MAKE 3D-PRINTING TIMELAPSE VIDEO WITH DSLR CAMERA
Step 1: Getting the equipment
IMPORTANT: Remote Triggering Mechanism is compatible with Pixel Wireless Remote Control RW. You can use affiliate links for shopping, if you want to support me. Please check my equipment list. Thank you!
The equipment you need:
- Pixel Wireless Remote Control RW
- DSLR Camera
- Stable Tripod
- Some Lights [Optional]
- Original Prusa i3 MK3S+
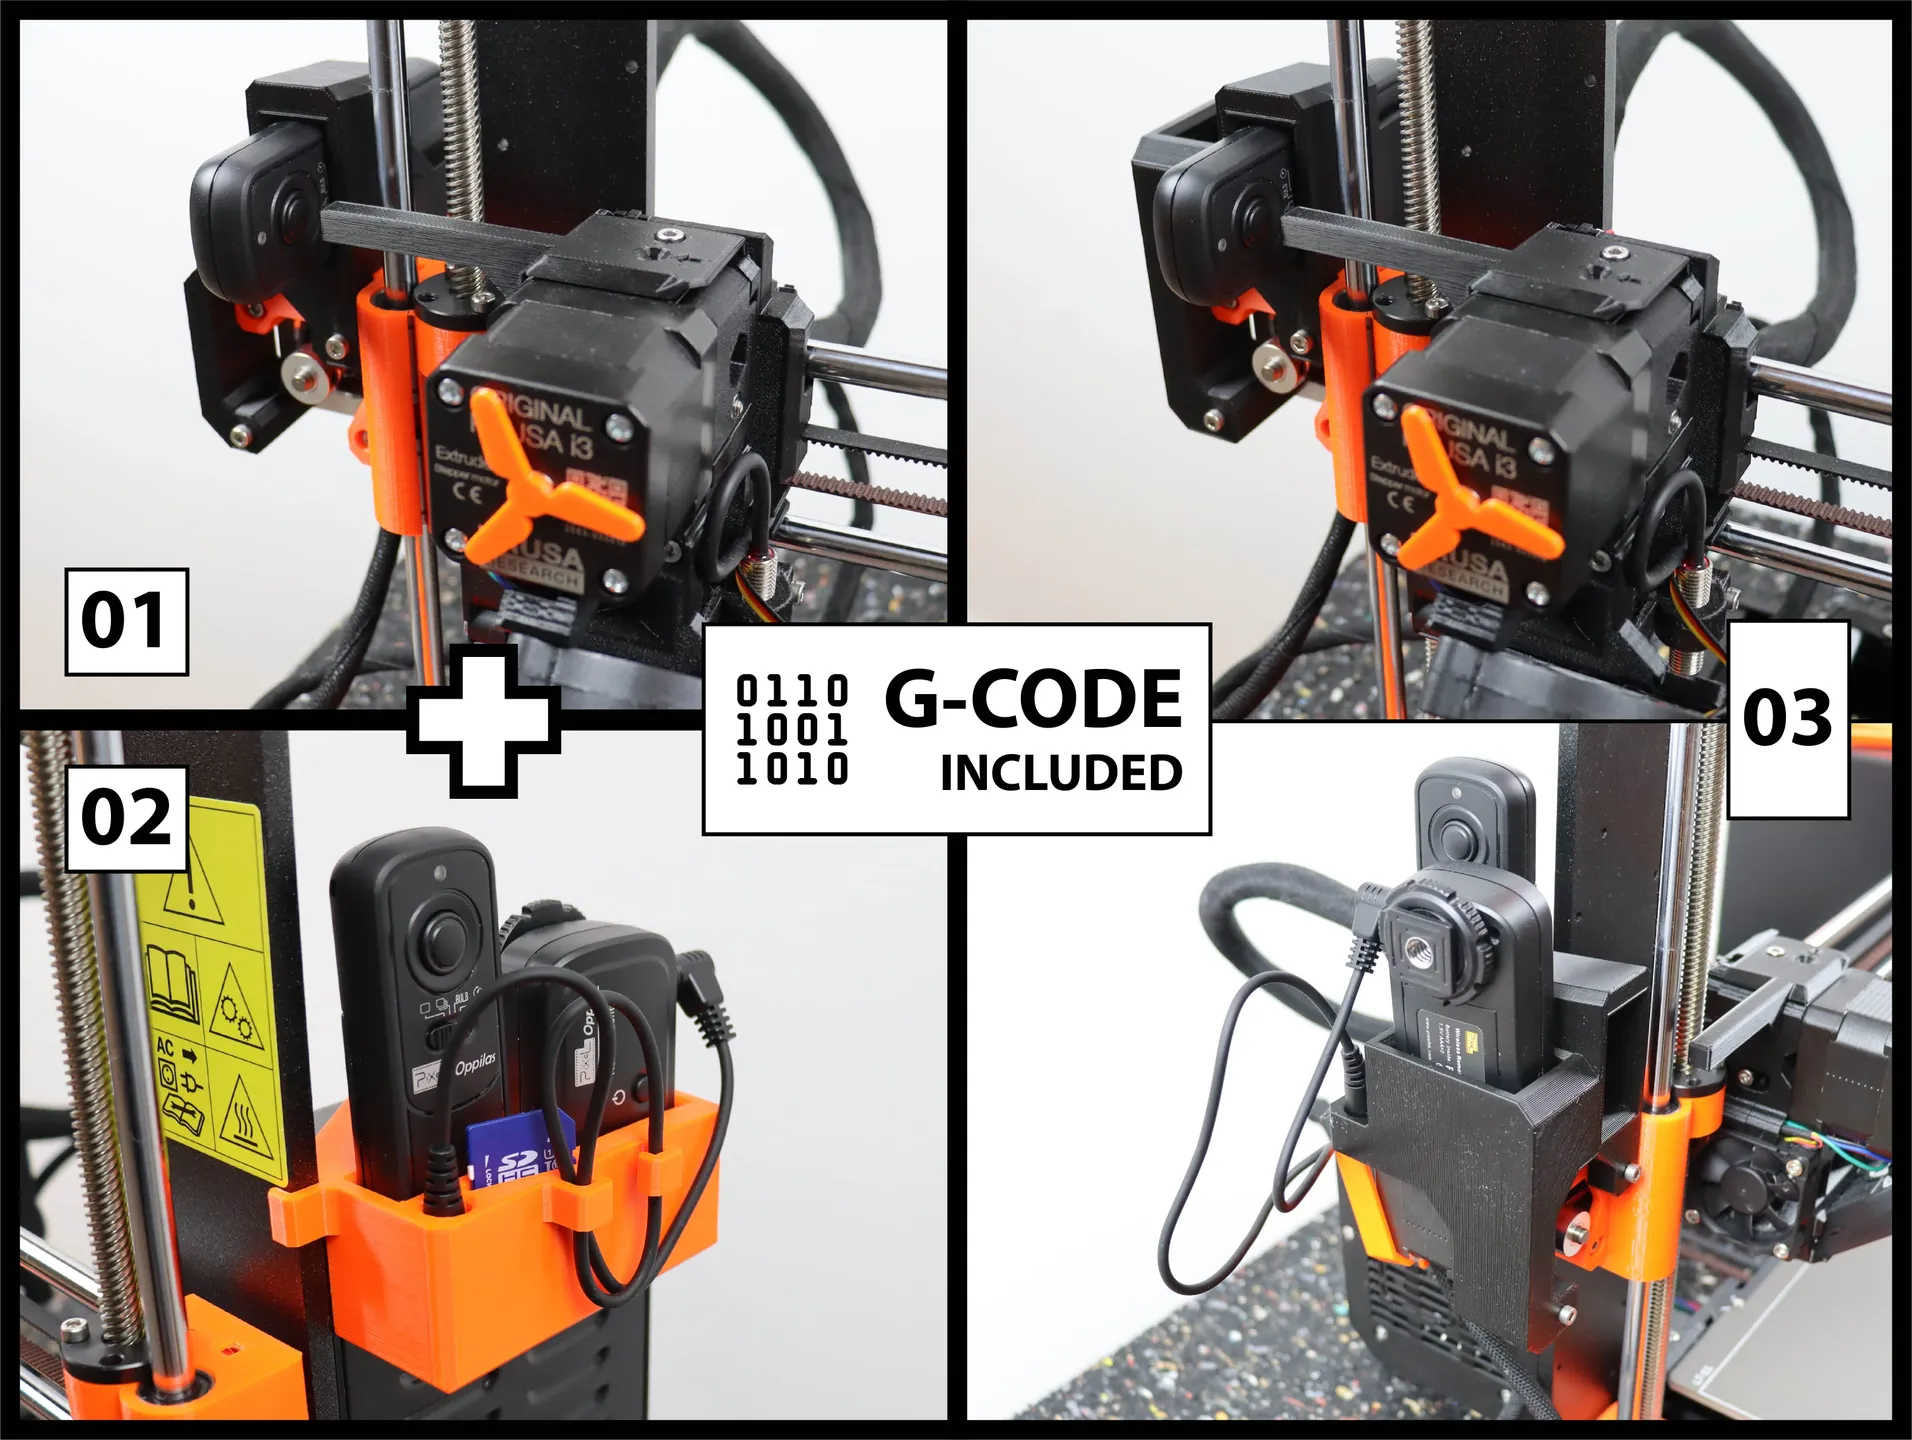
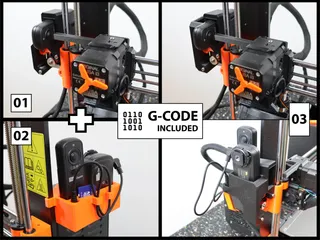
Step 2: Remote Triggering Mechanism
- Print Remote Holder and Poker. You can choose CAD-Models [1] or [3], The Model [2] is optional for [1].
- Assembly Remote Holder on the motor for X-axis using two M3x30 screws.
- Remove FS-Cover and install Remote Poker using same screw.
Step 3: Editing G-Code
- Switch to “Expert” mode in PrusaSlicer. Go to “Printer Setting” and select “Custom G-code”
- Copy and paste G-Code below into “After layer change G-code”
;AFTER_LAYER_CHANGE
G91 ; Relative movement for retraction.
G1 E-0.8 F2100 ; Retract filament -0.8mm at 2100mm/min
G90 ; Back to absolute
G1 F9000 X10 Y210 ; Move away from the print
G1 F1000 X0 ; Press trigger
G4 P500 ; Wait for 500ms
G1 F9000 X10 ; Release trigger
G91 ; Relative movement for retraction.
G1 E0.8 F2100 ; Extrude filament 0.8mm at 2100mm/min
G90 ; Back to absolute
;Layer
Step 4: Printing
IMPORTANT:
- Mount Pixel Wireless Remote Control RW into the Remote Holder when 3D-Printer starts to print the first layer. 3D-Printer always makes calibrations at the beginning of printing. Calibrations will be effected if you mount Remote Control earlier. In this case Remote Triggering Mechanism wont work.
Step 5: Creating timelapse video from photos using a video editing software.
IMPORTANT: Remote Triggering Mechanism is made for Pixel Wireless Remote Control RW. Please use affiliate links for shopping, if you want to support me.
MY EQUIPMENT LIST FOR TIMELAPSE VIDEOS:
- Pixel Wireless Remote Control RW: Link
- Canon EOS 250D (Rebel SL3) DSLR Camera: Link
- Power Supply ACK-E18: Link
- Tripod: Link
- Neewer 700W Softbox: Link
ALL CUBE3DWORLD designs are protected by Copyright Law. When you purchase, you do NOT have the right to sell any digital file or printed model of my designs without my explicit written consent.
To legally sell them, you may obtain my permission with monthly Club Memberships.
Tags
Model origin
The author marked this model as their own original creation.