Customizable Depth Ring Tool
Description
PDFDepth setting ring, depth collar, tool distance ring, whatever you want to call it, these things are awesome for small router bits like the 1/8" endmills and drills you use in a CNC for things like PCB milling and drilling. They are, however, not commonly found on the cheaper bits I've accumulated, so I designed a tool for setting the bit depth appropriately. And, naturally, a ring I can use with my bits.
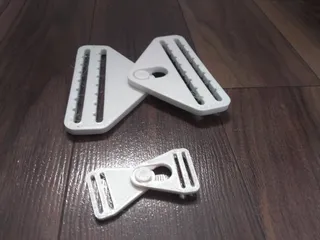
This design involves a base piece which has a pedestal the height of which the bit should project from the chuck (which includes the ring thickness) and a press which is calibrated such that the point of the bit is precisely at the bottom of the press. The press should be tapped to take a bolt of some sort (I'm using an M5x18 bolt, but YMMV) and the bolt should be long enough that a jam nut can be added to lock it in.
To use, the ring is placed in the hole of the base, the bit is inserted into the press with the tip out, and then the press is placed over the base so the tip goes through the ring hole and once everything is lined up, the press is (lightly) hammered down (hitting the bolt) until it bottoms out on the base.
If the print tolerances on the ID of the ring are good, the result will be a firmly set ring that you won't be able to budge with just your fingers. If the tolerances aren't right, results range from a loose ring (which is usable in some applications, but not recommended for an ATC) to a cracked ring.
The base is customized for the desired bit projection of the machine in question (i.e. my Bungard is designed for 21mm), and the press is customized for the specific length of bits it's intended for (I'm currently using 36mm and 38mm long bits). Or you can use whatever you prefer, or vary the application to the different bits (i.e. v-bits might have a shorter projection).
It's not going to be perfectly precise, but it should be good enough if you're using a tool length offset probe. If you're using expensive micro-engraving bits you shouldprobably get your source to set the depth rings.
Print Settings
Printer:
Makerfarm i3v
Rafts:
No
Supports:
No
Filament:
Hatchbox PETG
Notes:
For the rings you really should be using something slightly flexible.
It should be printed decently strong, but the force from any hammering is on the bolt and transfers directly to the bit, so the only "weak point" will be where the ring sits in the base. 3 perimeters at 20% seems to work okay, but more might be safer.Post-Printing
The rings themselves should need little modification, although if the ID istoo undersized drilling it out with a slightly undersized drill isn't a bad idea (i.e. for an 1/8" shank I'll use a 7/64" drill). If the filament isn't flexible enough a too tight ID can cause the ring to crack when installed. If a bit with an installed ring is too large on the OD then chucking it into a drill and running over sandpaper usually fixes it (this usually only matters if you're using an ATC which depends on a friction fit).
The press and base should be slightly oversized so the bit slides in easily. If not they'll need to be drilled out slightly oversize (9/64" works well).
The press needs to be tapped for the bolt, in my case an M5. The hole might need to be drilled out some, but try not to drill all the way through (approximately half the bolt thread length). The bolt is inserted about halfway and should be adjusted so when a bit is inserted from the bottom, the tip of the bit is flush to the bottom of the press. A nut can be used as a jam nut to lock the length if desired.
Category: Machine ToolsTags
Model origin
The author marked this model as their own original creation. Imported from Thingiverse.


