Modular Rover Tracks

Description
PDF[UPDATE: I've been working on an improved (and compatible) version of this rover tracks, if you are planning to build this, please check the newer version first at https://www.thingiverse.com/thing:3112734]
This is a self-contained 3D printable rover track that can be reused on your projects.
Many times I designed and downloaded already designed rovers to be 3D printed. Usually there is no isolation between the rover tracks and the rest of the body. This leads to the need to redesign everything on any new rover you make.
The idea here is to isolate the tracks of my rovers, and create something that can be reused on many tracked robots, so you just think in the body, not the wheels.
If you print this thing, please add a make, (even if it is not finished) I'd love to see it, and get feedback so we can improve it.
I thought about adding also the motor controller, so you can just remove that element from your body and use that space for something else. Though it's not really needed to put the controller there if you what to use another type, or just want to place it with the rest of your electronics.
Also, as the motor controller supports two motors, you could place it in one of the tracks, and just send the power cables to the second motor. I'll show that later with pictures, so you know how to do that.
For each track you will need to print:
- 1 MotorMount_v1.stl
- 1 MotorMount_Enclosure_v1.stl
- 1 Wheel_Drive_A_v1.stl
- 1 Wheel_Drive_B_v1.stl
- 2 Wheel_Slave_v1.stl
- 2 Wheels_Enclosure_Connector_v1.stl
- 22 Track_v1.stl
- 1 Wheels_Enclosure_A_v1.stl
- 1 Wheels_Enclosure_B_v1.stl
These are the parts you'll to have (or buy):
- 1 Yellow DC Gear Motor (like this one)
- 1 mini DC motor controller(like this)
- Some M3 wood screws (get them here) (I find them to work perfect with 3D printed stuff. I used 10 mm ones here, but I'd recommend getting a bunch of measures, because you'll use them for sure)
The main page for this project is in here my blog, were I'll be updating and linking related projects that use this thing
You can see and download the fusion 360 design from this link. I would really appreciate if you send me a picture of your build, or mark it as "made" in this website, It is awesome to know what I did helped someone.
If you make any donation to help me keep working on my designs, as a sign of appreciation, I'll send you the fusion 360 files.
UPDATE 2018-03-08
You can find an example on how to add this to an already existing chassis in here
Post-Printing
Build instructions
-
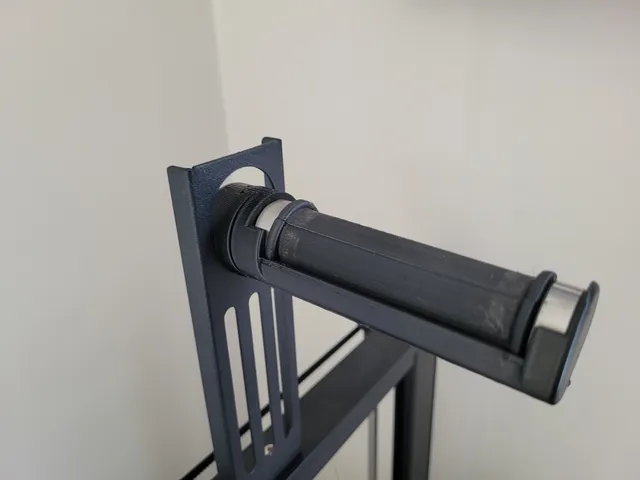
When printing the driver wheels, I would recommend to place the motor axis into the wheels hole while it is still hot. The objective is to make it fit tight without needing further work.
As this fits as a left or right track for a robot, there is no real left or right for this mount. That is why I named each side with A and B. Keep this naming to understand on which side of the assembly each par goes. If it has an A in the name, then it goes on the same side as the rest of the A parts, same for B.
Check at the list of images uploaded to this thing to get an idea of where does each part should fit
To link the tracks use a peace of 1.75 filament. If you leave about half millimeter extra on each side, you can melt that extra with a soldering iron, so you get a nice finish.
To use it in your project you can create a body that connects to the 4 screws in the inner side of the assembly, or you could just replace the wheel enclosure, and model whatever mounting points you need...
Tags
Model origin
The author marked this model as their own original creation. Imported from Thingiverse.