GLaDOS Cam

Description
PDFWARNING: I did my best to not make the Stealthburner bump into it at max travel points, feedback on this is highly appreciated.
WARNING: IRL pictures of the new version are missing. Will update.
_____________________________________________________________________________________________________________
NEW OPTION! Back gantry extrusion mount by GAB-3D
_____________________________________________________________________________________________________________
Introduction:
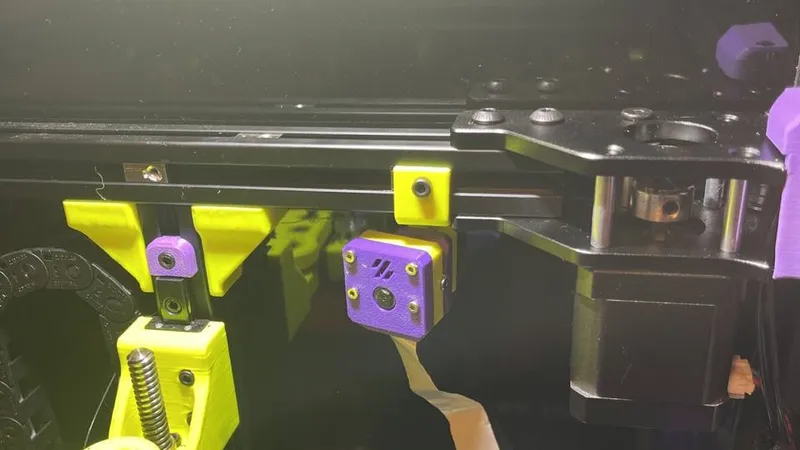
Minimal setup for surveillance of any printer using a 2020 extrusion as frame.
It has adjustable angles of 15° vertical and 45° horizontal.
I made this for my VORON 2.4.
______________________________________________________________________________________________________________
| HARDWARE | Q.ty |
| FHCM2x10[mm] flat head screws for the camera housing and arm asembly. | 4x |
| FHCM2x8[mm] flat head screw to fix the arm to the frame. | 4x |
| M3 Hammer Head T-nut to fix the arm and z belt guard to the frame. | 5x |
| Foam Tape to protect the ribbon cable. | - |
| SHCM3x6[mm] socket head screws to fix the Z belt guard. | 3x |
________________________________________________________________________________________________________________
| Slicing Instructions |
| Material: Required ABS/ASA or better |
| Layer Height: 0.2 [mm] |
____________________________________________________________________________________________________________
- Removing supports:
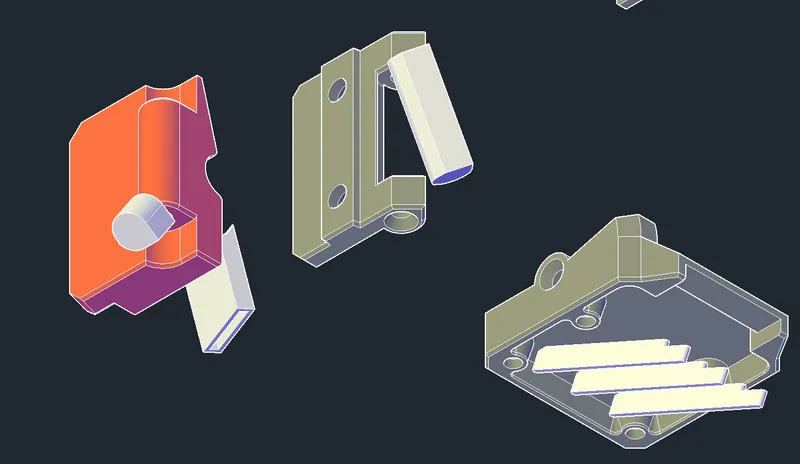
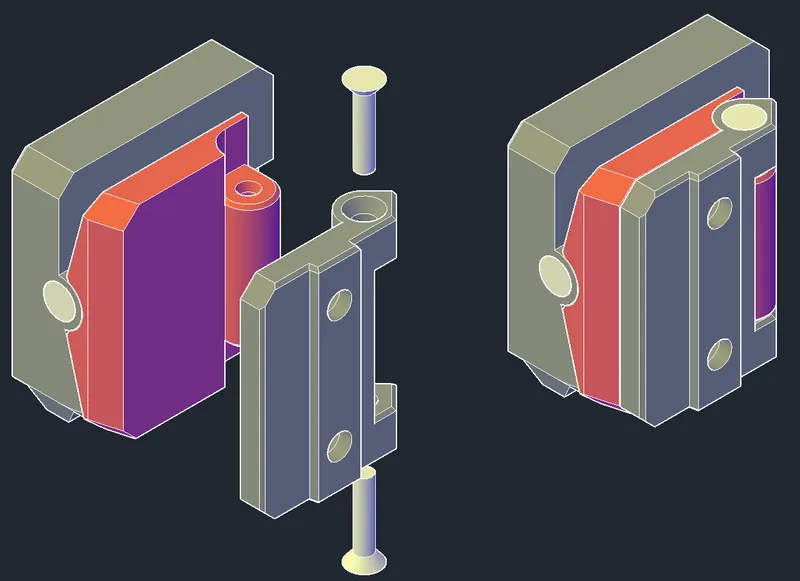
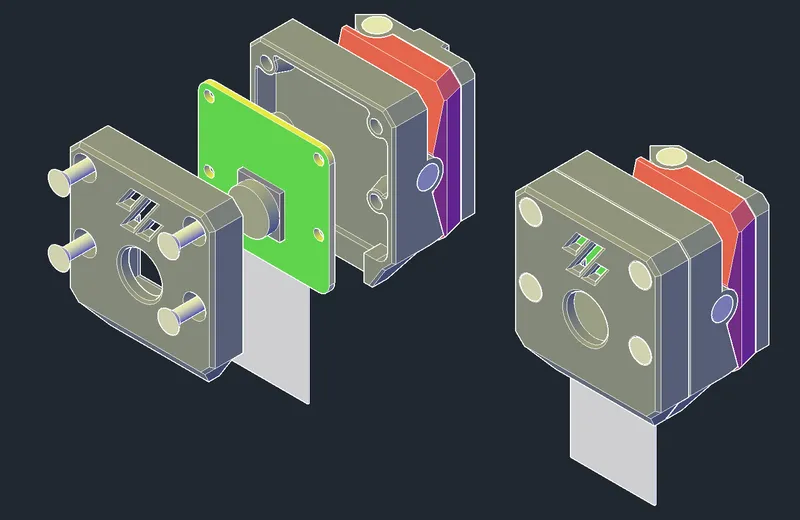
- Assembly:
- Assemble as shown in the pictures. Do not overtighten, or you'll shred the holes.

- Prepare the M3 bolts and the T-Nuts Before fixing the arm to the frame. BE CAREFUL of WHERE you fix it. I recommend you do this after homing your printer, if equipped with a flying gantry.
- Take your ribbon cable and protect it with some sort of tape. I used KAPTON along the whole ribbon and foam tape on the exposed part going to the camera.
---FOR VORON 2.4: Try to insert it through the deck panel directly, or via one of the Z belt holes. If you can't, try to make your way in by using some sort of spacing tool.
If you still can't, use the spacing tool to insert some sandpaper between the estrusion and deck panel, and make some space.
Then carefully insert the cable into the Z belt guard and fix it in place.---
________________________________________________________________________________________________________________
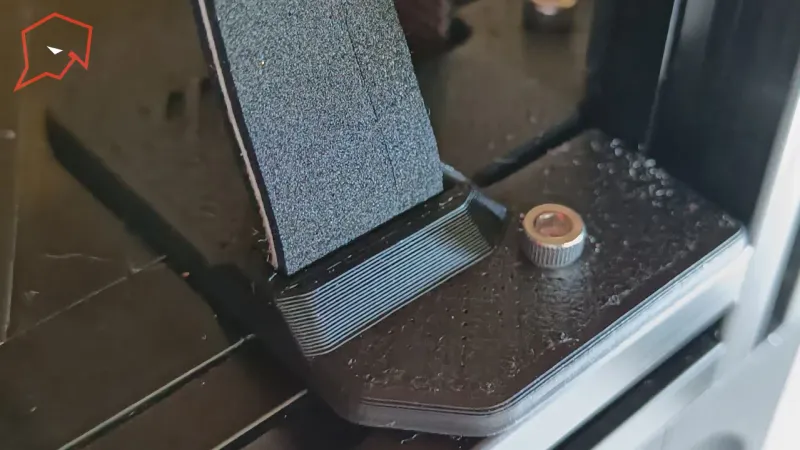
Adjusting & Testing:
- Angle the camera and tighten screews if needed, check that your cable is not too tense, check your camera view and adjust height if needed, then set the focus with the provided Pi cam tool.
[MISSING PICTURE]
- DONE!
______________________________________________________________________________________________________________
Feel free to post your makes, feedback is highly appreciated.
Tags
Model origin
The author marked this model as their own original creation.


