Clueboard / FC660m 66% Mechanical Keyboard v2
Description
PDFBefore you print
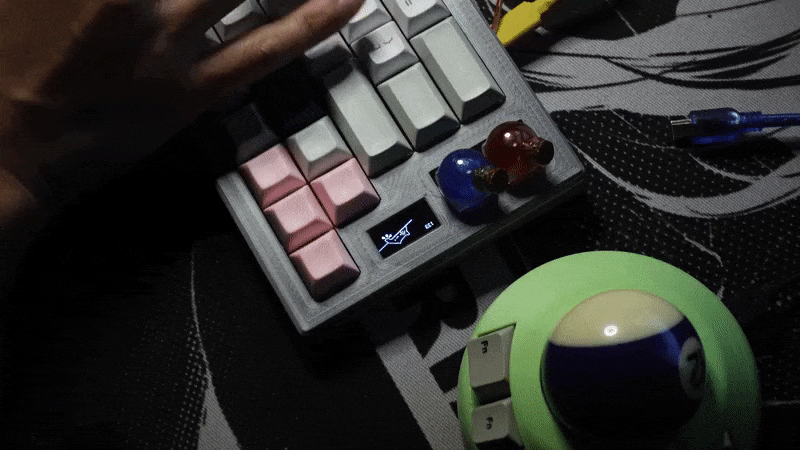
3dp fc660 v3 OLED hand wired mechanical keyboard
Here's a more recent version of this keyboard with optional OLED support.
Printing
Before printing, make sure to orient the pieces correctly. Flip the plate pieces upside down so there are no overhangs. For the base pieces, be sure to lay them flat on the build plate.
I would suggest printing one half or a small section of the plate first to check the fit of the switches. If they don't fit, check your printer calibration or adjust the size in slicer.
Example build logs
- Very neat print and soldering.
- Even the internal wires match the keyset. Wow.
- Uses rev1 matrix
- Uses a derivative of this design
- Might not make it through an airport xray
Parts
- MCU e.g. Teensy 2.0, Pro Micro, etc...
- 66* Diodes (I used 1N4148)
- 66* Key switches
- 4* 2u plate mount Cherry stabiliser
- 1* 6.25u plate mount Cherry stabiliser
- Keycaps - I've included a split right shift layout if sourcing a second 2.25u shift is difficult.
- (Optional) 1* USB daughter board
- 8* 16 or 12mm M3 bolt and nut
- 8* 20mm M3 bolt and nut
- (Optional) Sticky rubber feet
Wiring
Using Teensy 2.0 is probably going to be the easiest as you won't have to make any modifications to source code. You can download the VIA firmware (handwired_3dp660_via.hex) straight from the website and flash it.
If you haven't hand wired a keyboard before, take a moment to read qmk's hand wire guide.
rev1 has rows that go from one end of the board to the other which makes wiring simpler but you will need 21 pins which limits you to Teensy2.0. See Gooberpsycho's wiring diagram. Teensy is not much dearer than Pro Micro therefore I would suggest this.
rev3 has rows which split in the middle of the board. It is a little more confusing and possibly messy to wire up but only requires 18 pins which is possible on an Arduino Pro Micro.

Firmware
Please have a read of the qmk documentation on how to set up the qmk build environment.
Changelog
Update 2021-10-17
Since posting this design, there's been a change to qmk which now uses json files to define keyboard layout and wiring. Please check the json file which has the layout and pins defined. Again, consider rev1 if you're using a bigger breakout board such as the teensy 2++.
I've also updated the design to hold a mini-B breakout board.
Update 2021-11-28
Uploaded clueboard_66_rev4_via_teensy2pp.hex firmware which will enable VIA if you've used a Teensy2++ and wired it like rev3.
Update 2021-11-29
Included a plate with right split shift.
Wakizashi 40

Check this keyboard out for something smaller. Firmware exists with VIA compatibility.
Tags
Model origin
The author marked this model as their own original creation. Imported from Thingiverse.