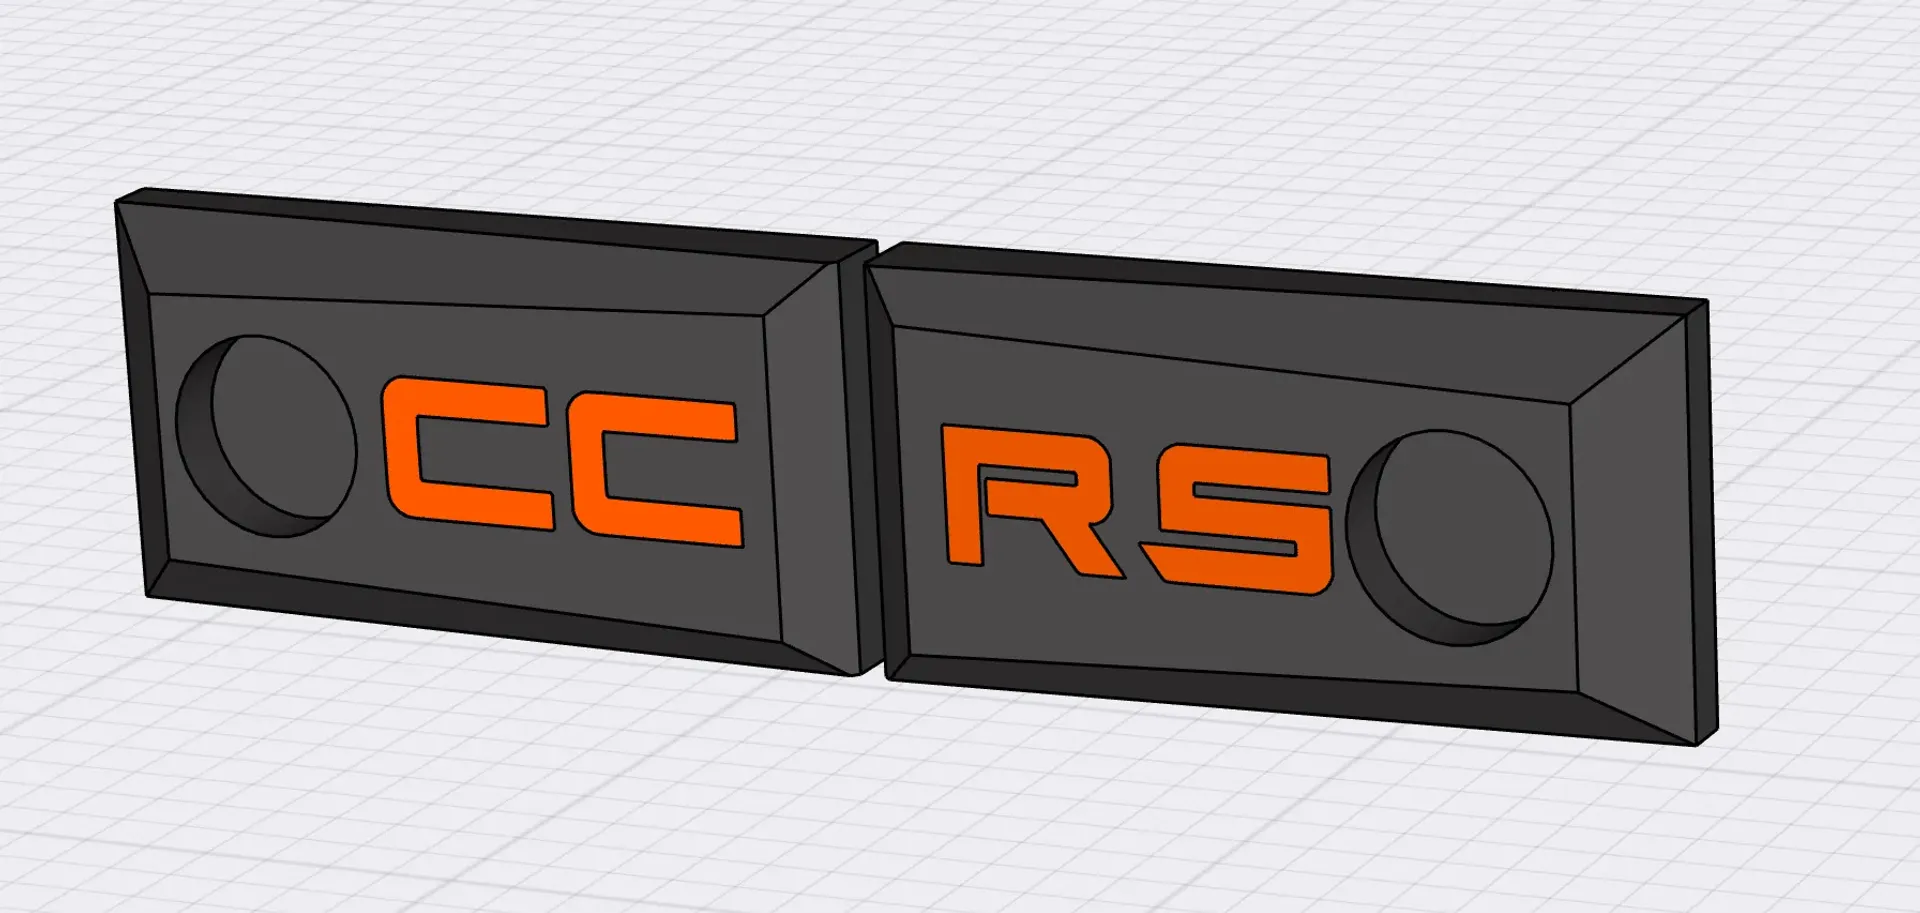
CC-RS ChaosCube RailSystem


Description
PDFEN
Project under construction.
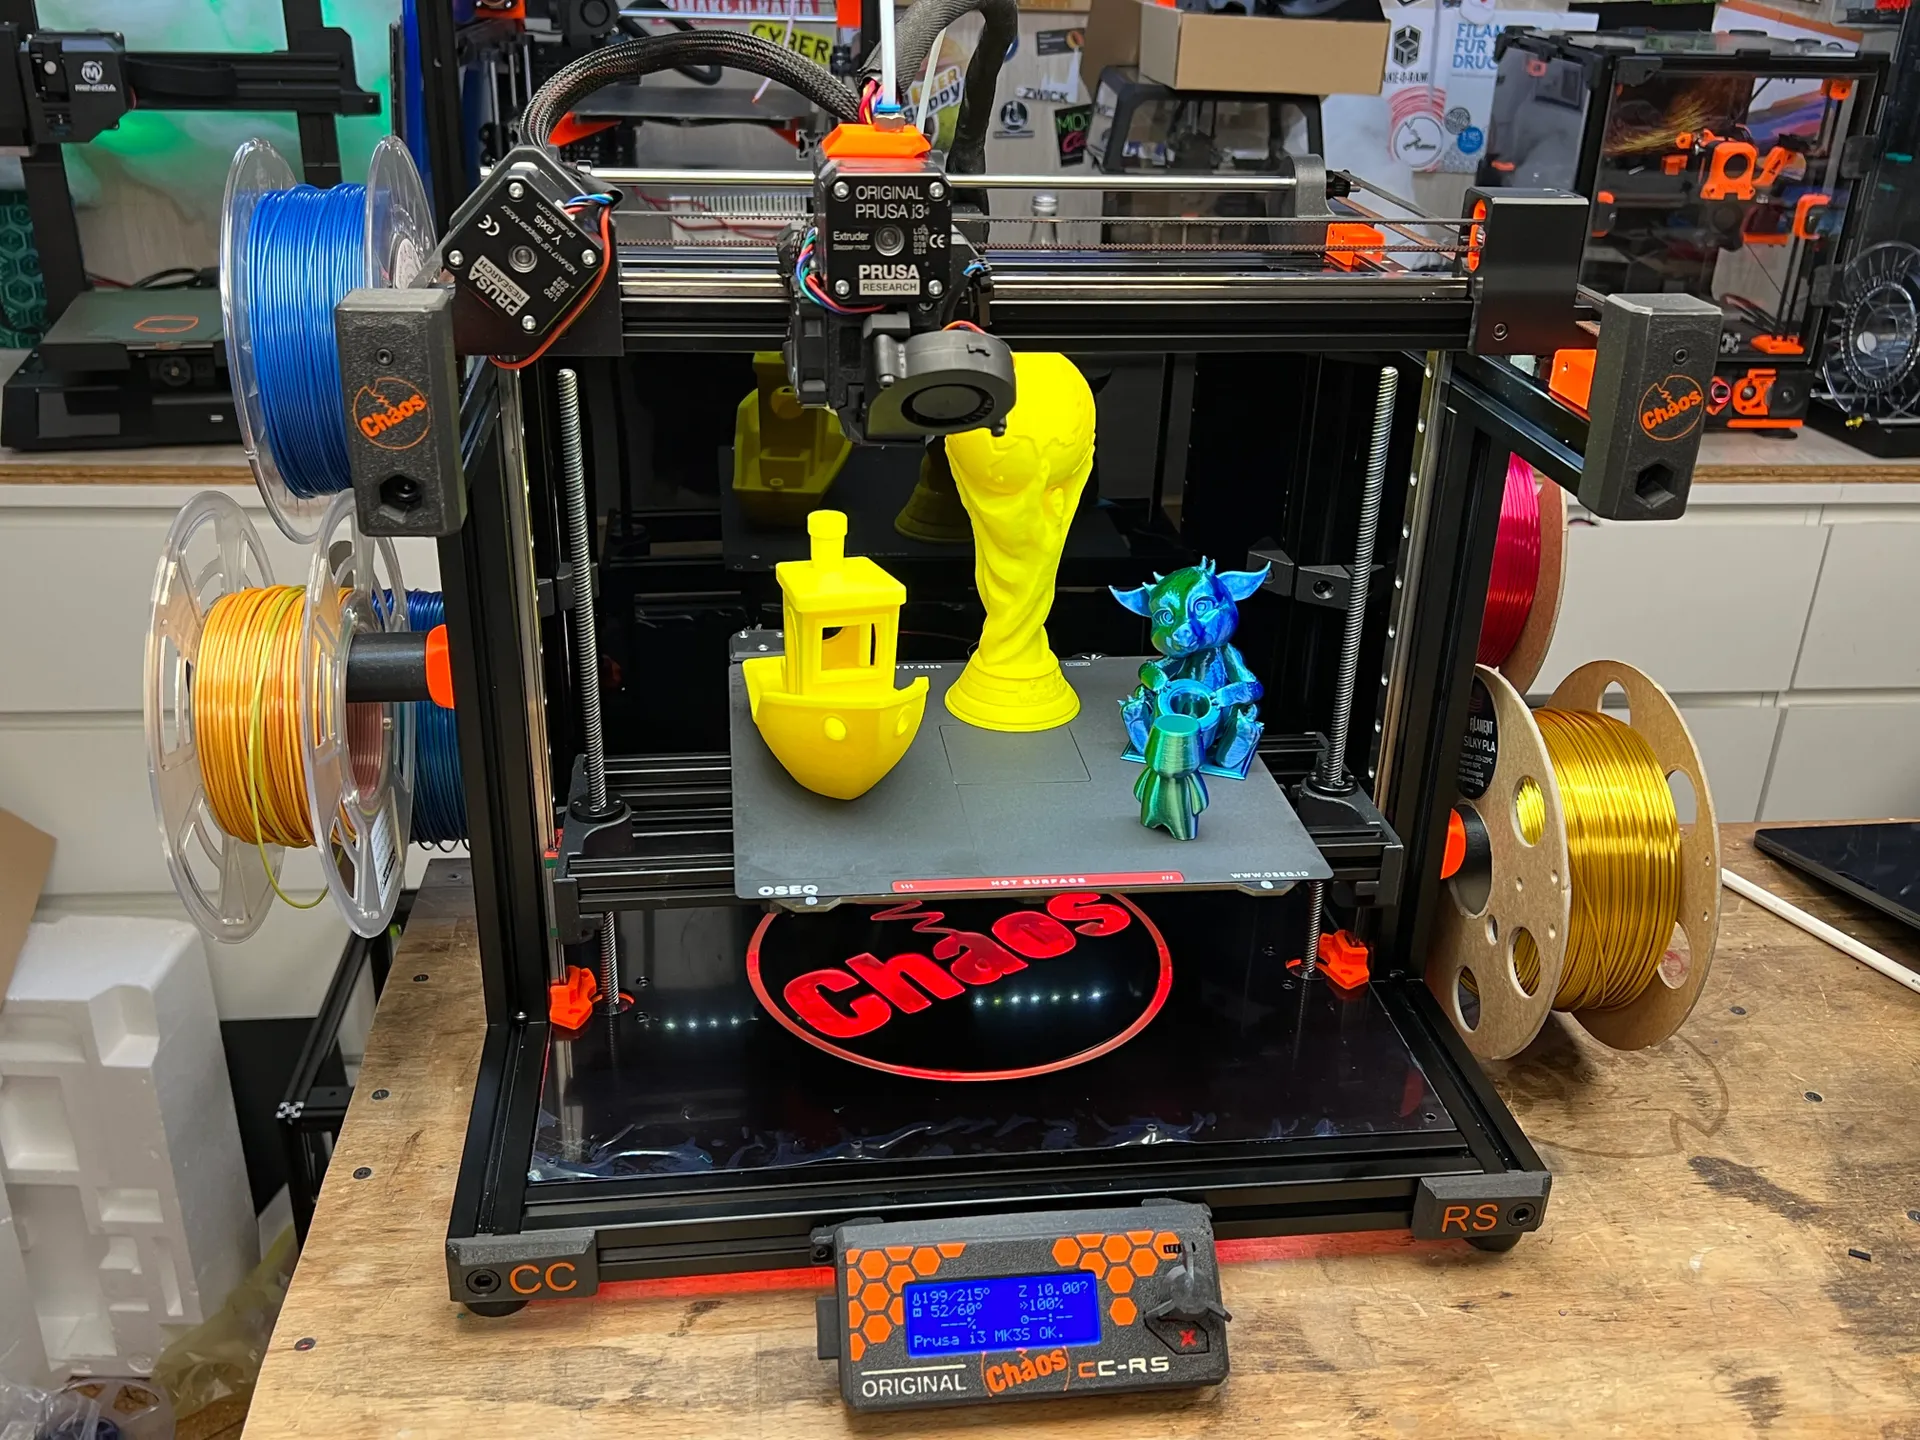
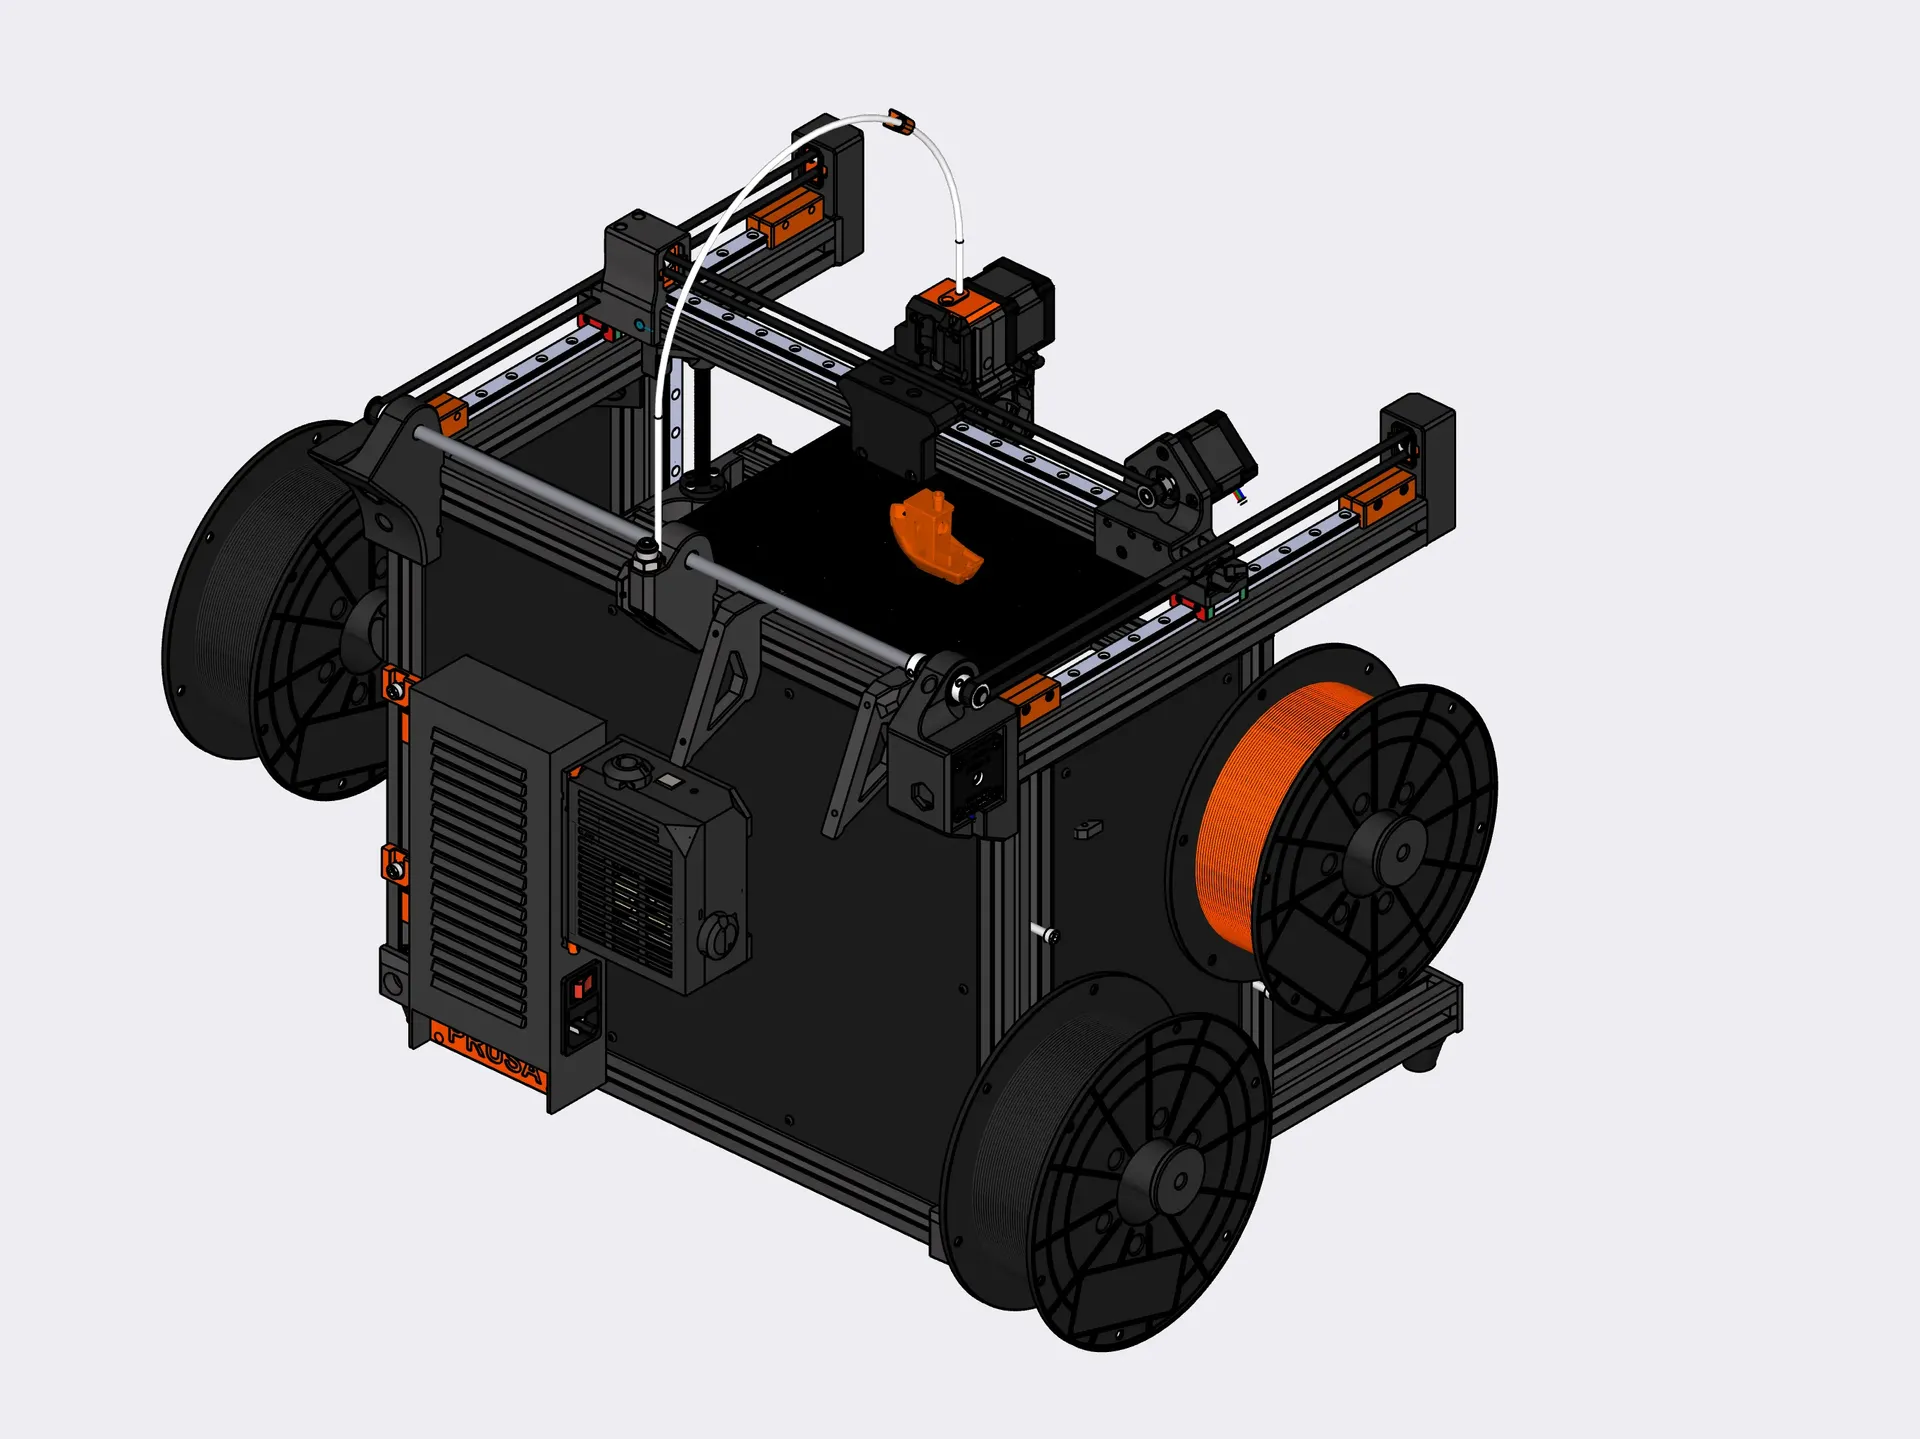
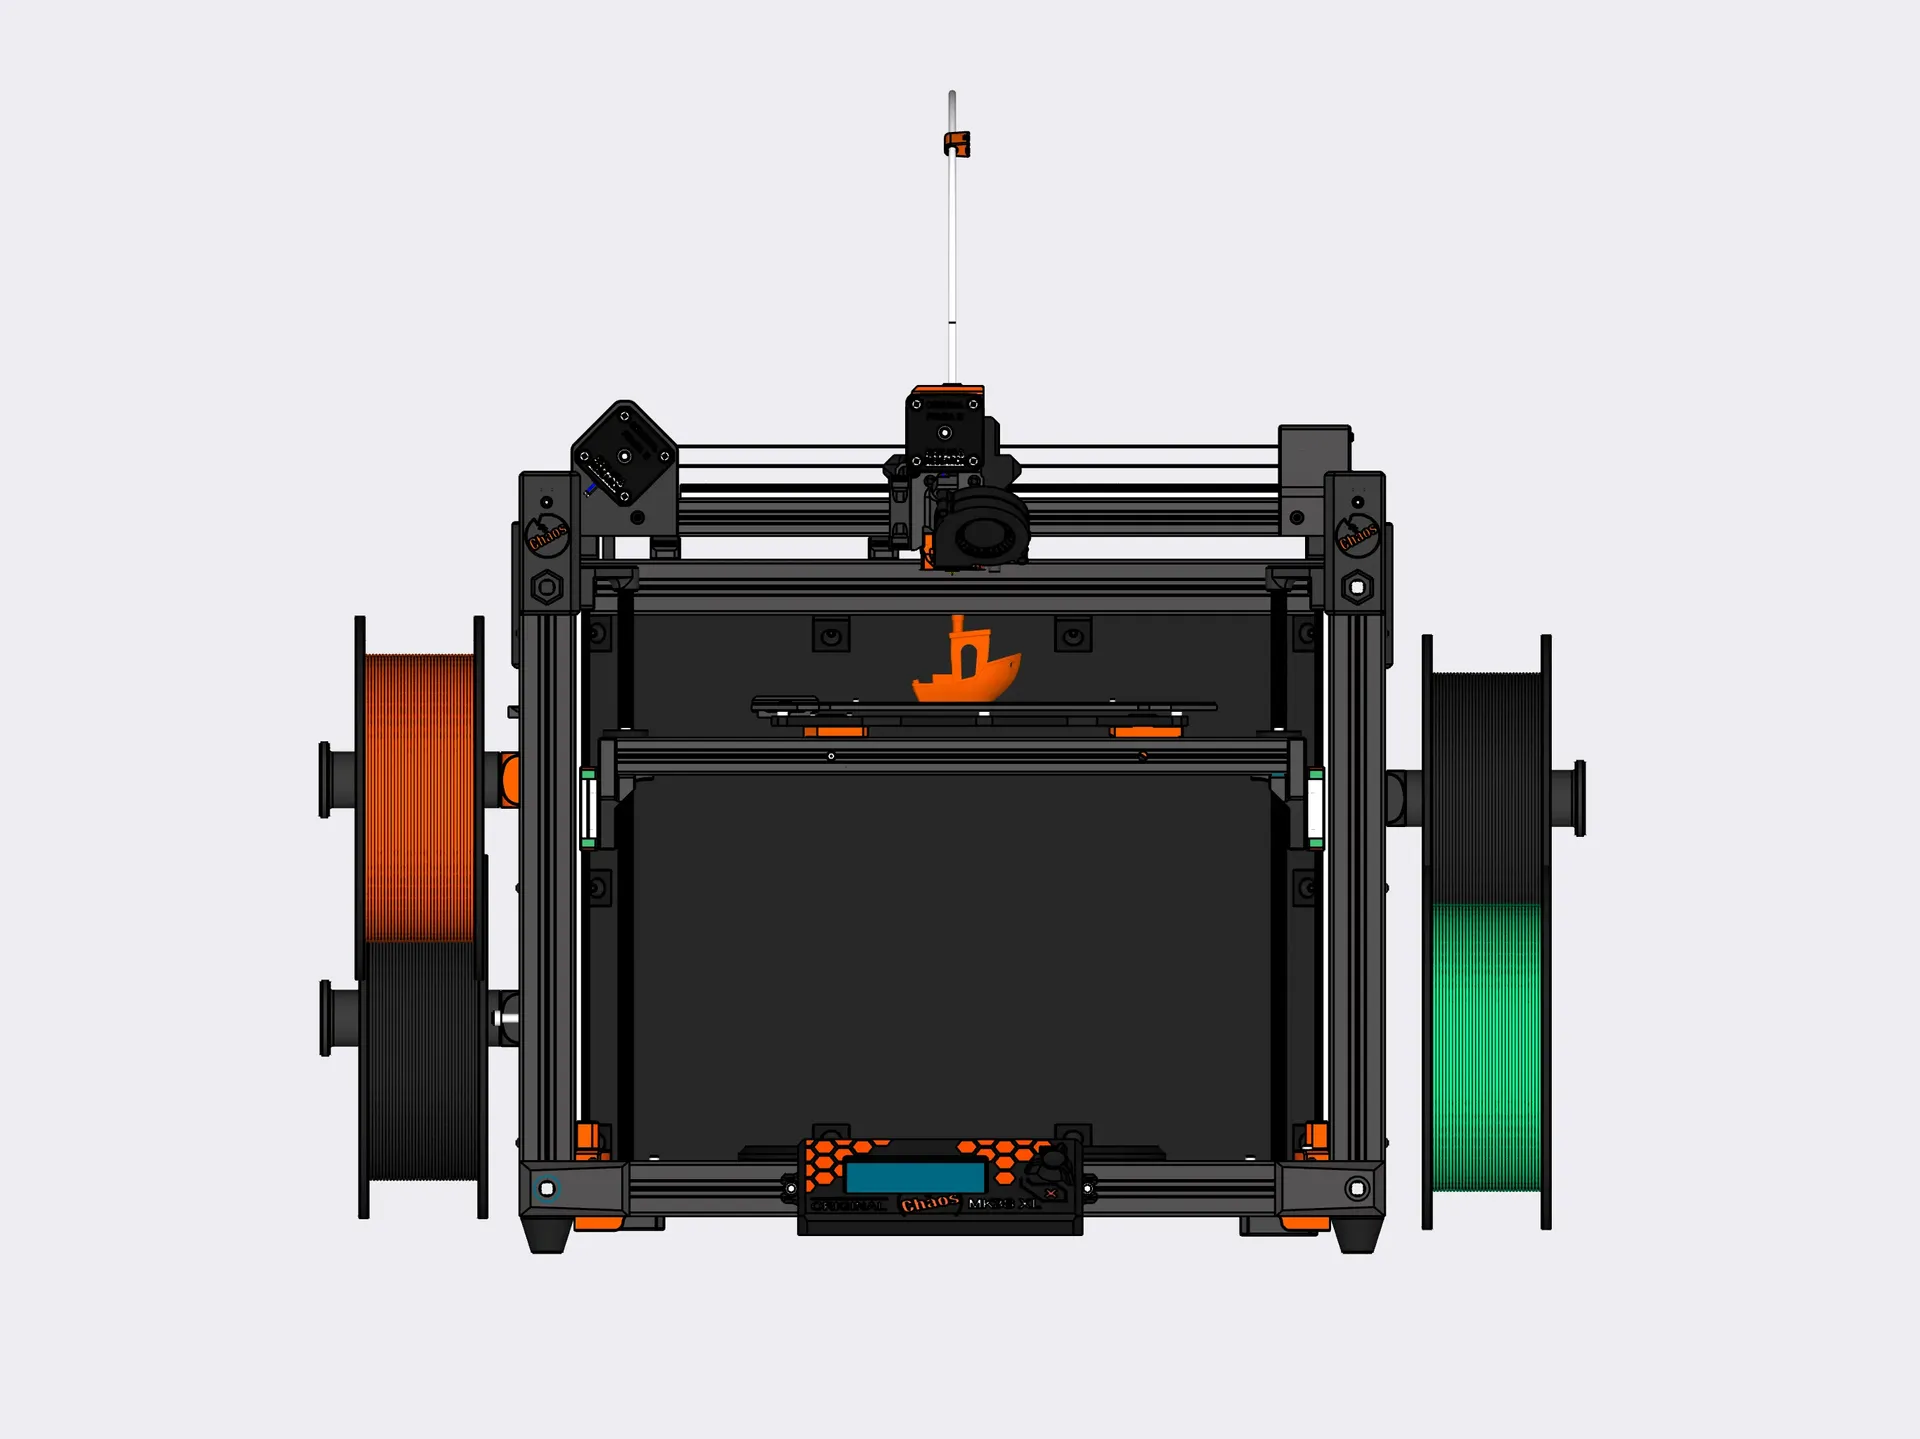
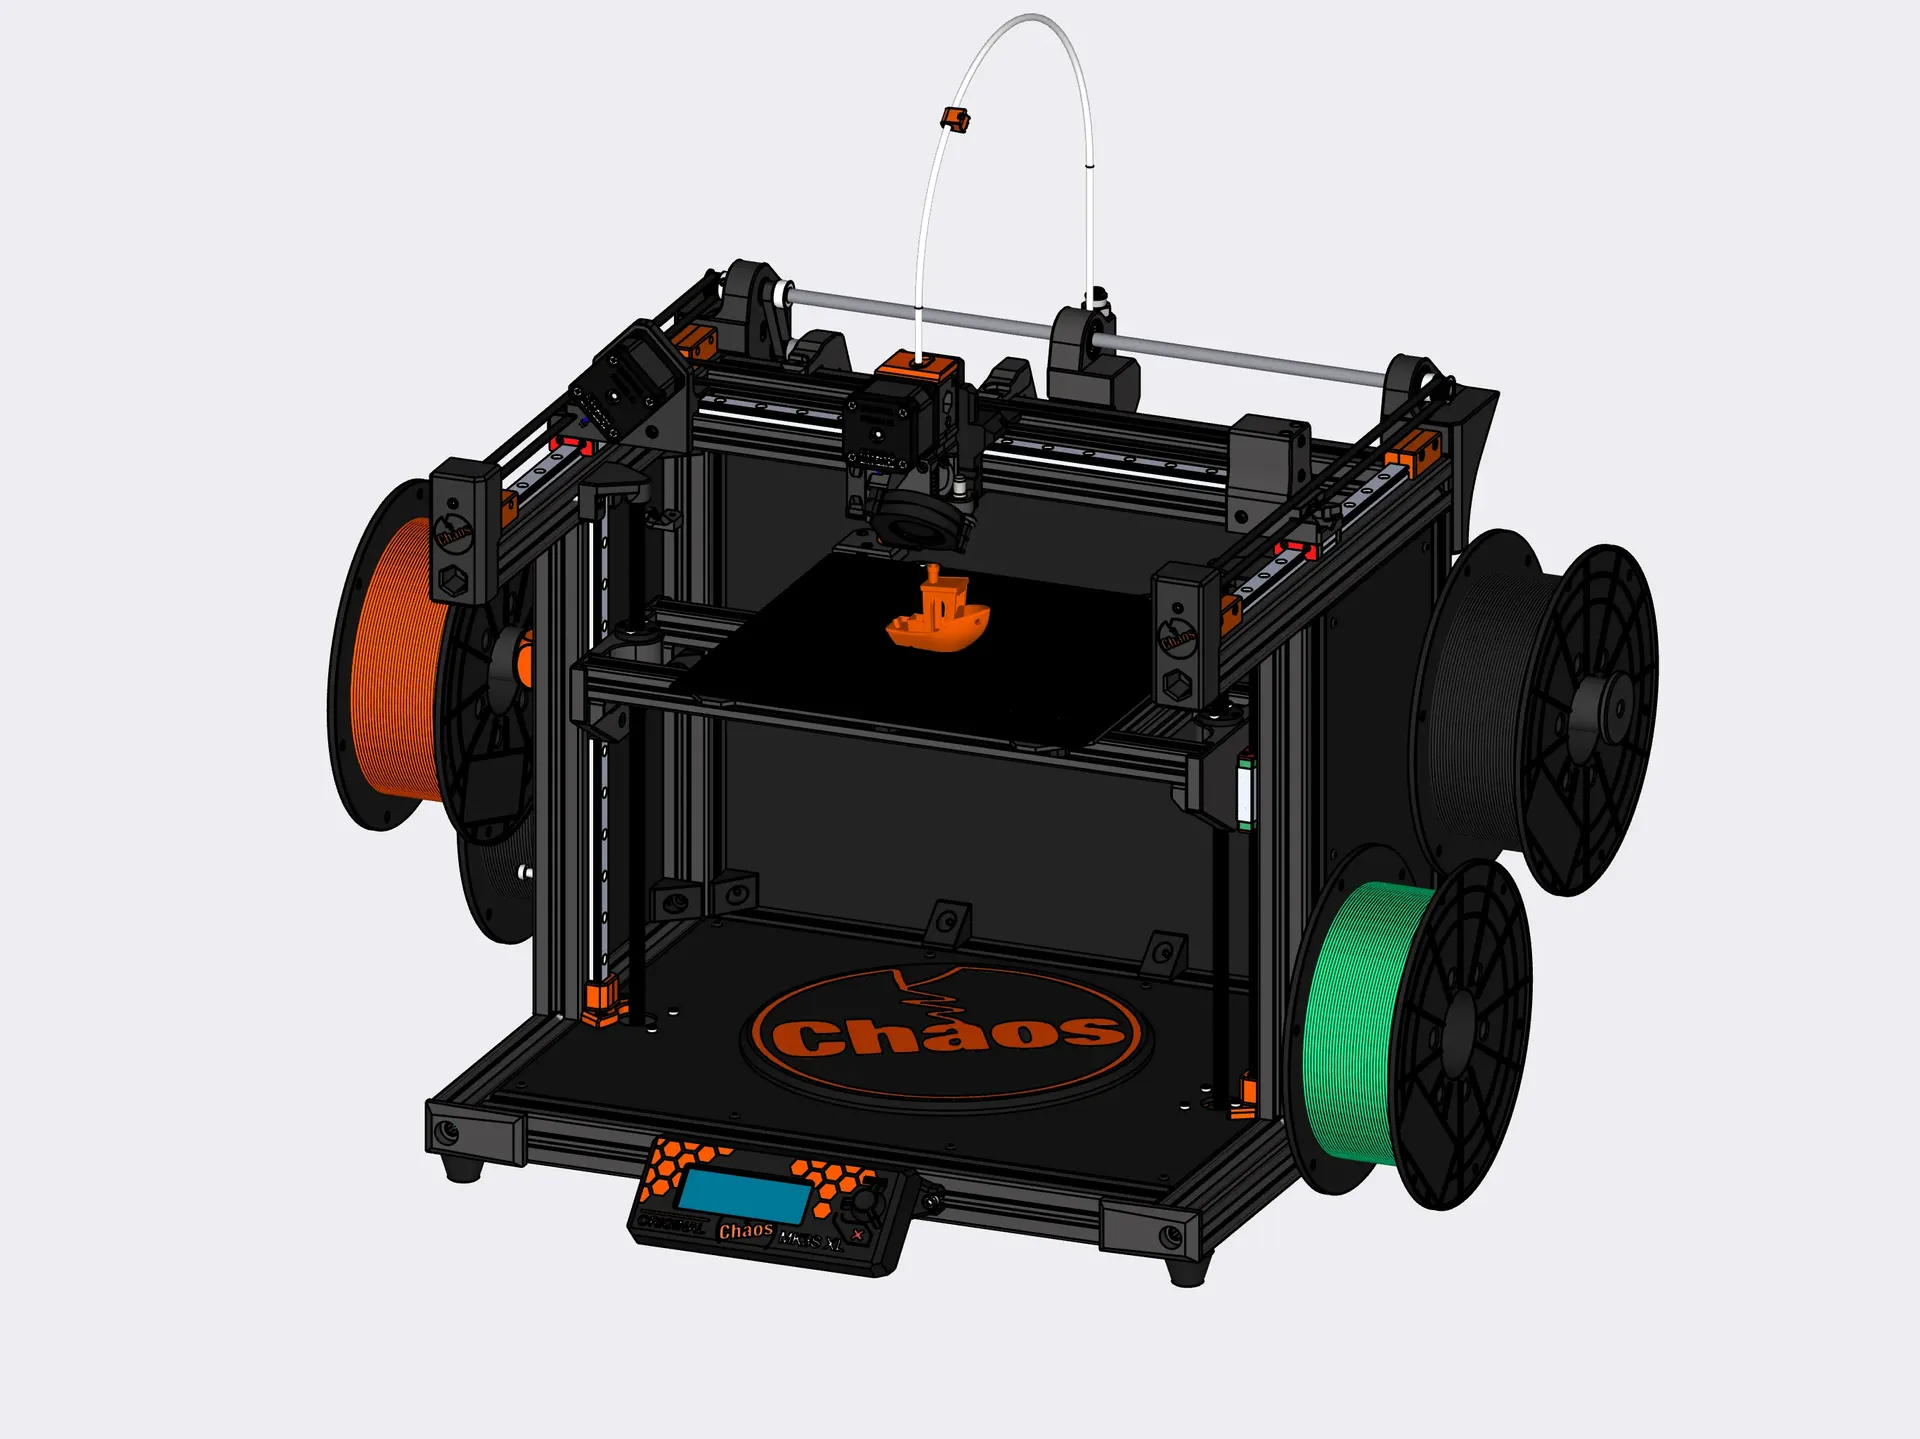
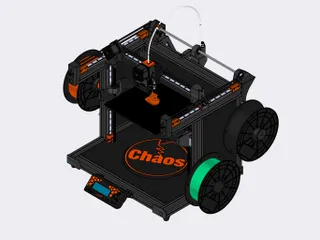
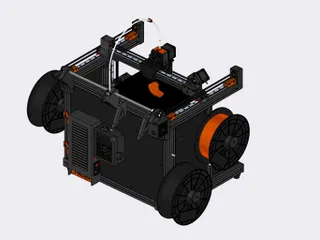
The basic idea behind this printer is the template from MAQUINA with the PrusaBox project. I took that up and made the ChaosBox out of it. Everything he had drawn was made printable and public. The whole thing was taken up by someone from the community and then made this nice part out of it and I have the honor to present it to you.
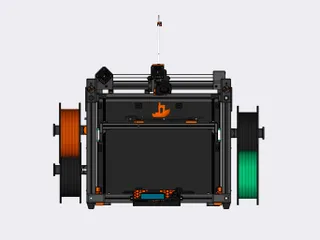
Can be built as single or also with MMU2.
Rewinder for MMU2 Upgarde
https://www.prusaprinters.org/prints/133012-cc-rs-rewinder-system
PTFE HOLDER für MMU2 Upgrade
https://www.prusaprinters.org/prints/130256-mmu2-upgrade-cc-rs
Update 2.April.2022
- dxf Files added for the Enclosure
Update 12.3.2022
- Drawings of excavations were added to show which nuts and bolts should be used.
Update 24.2.2022
- There was still the wrong display cover in the print files. This has now been replaced by the correct one.
Update 15.2.2022
- The BOM was outsourced and updated because there are always errors on Prusaprinters when updating.
- More pressure parts were added and some were slightly modified so that no support pressure is needed anymore.
Update 13.2.2022
- The X axis now has 2 revised parts that can now be printed without supports
- The BOM was slightly adjusted
Update 10.2.2022
- The covers were added to the printing parts
Update 6.2.2022
2020_2_x_80mm.pdf was re-uploaded, there was an error inside. The thread to be cut must be M6. Please note this only very short to cut.
- The lengths of the rails were still adapted / extended. Also 300mm long rails can fit.
- The number of M6 screws was still added
- All parts are now properly aligned. Support notes have been added.
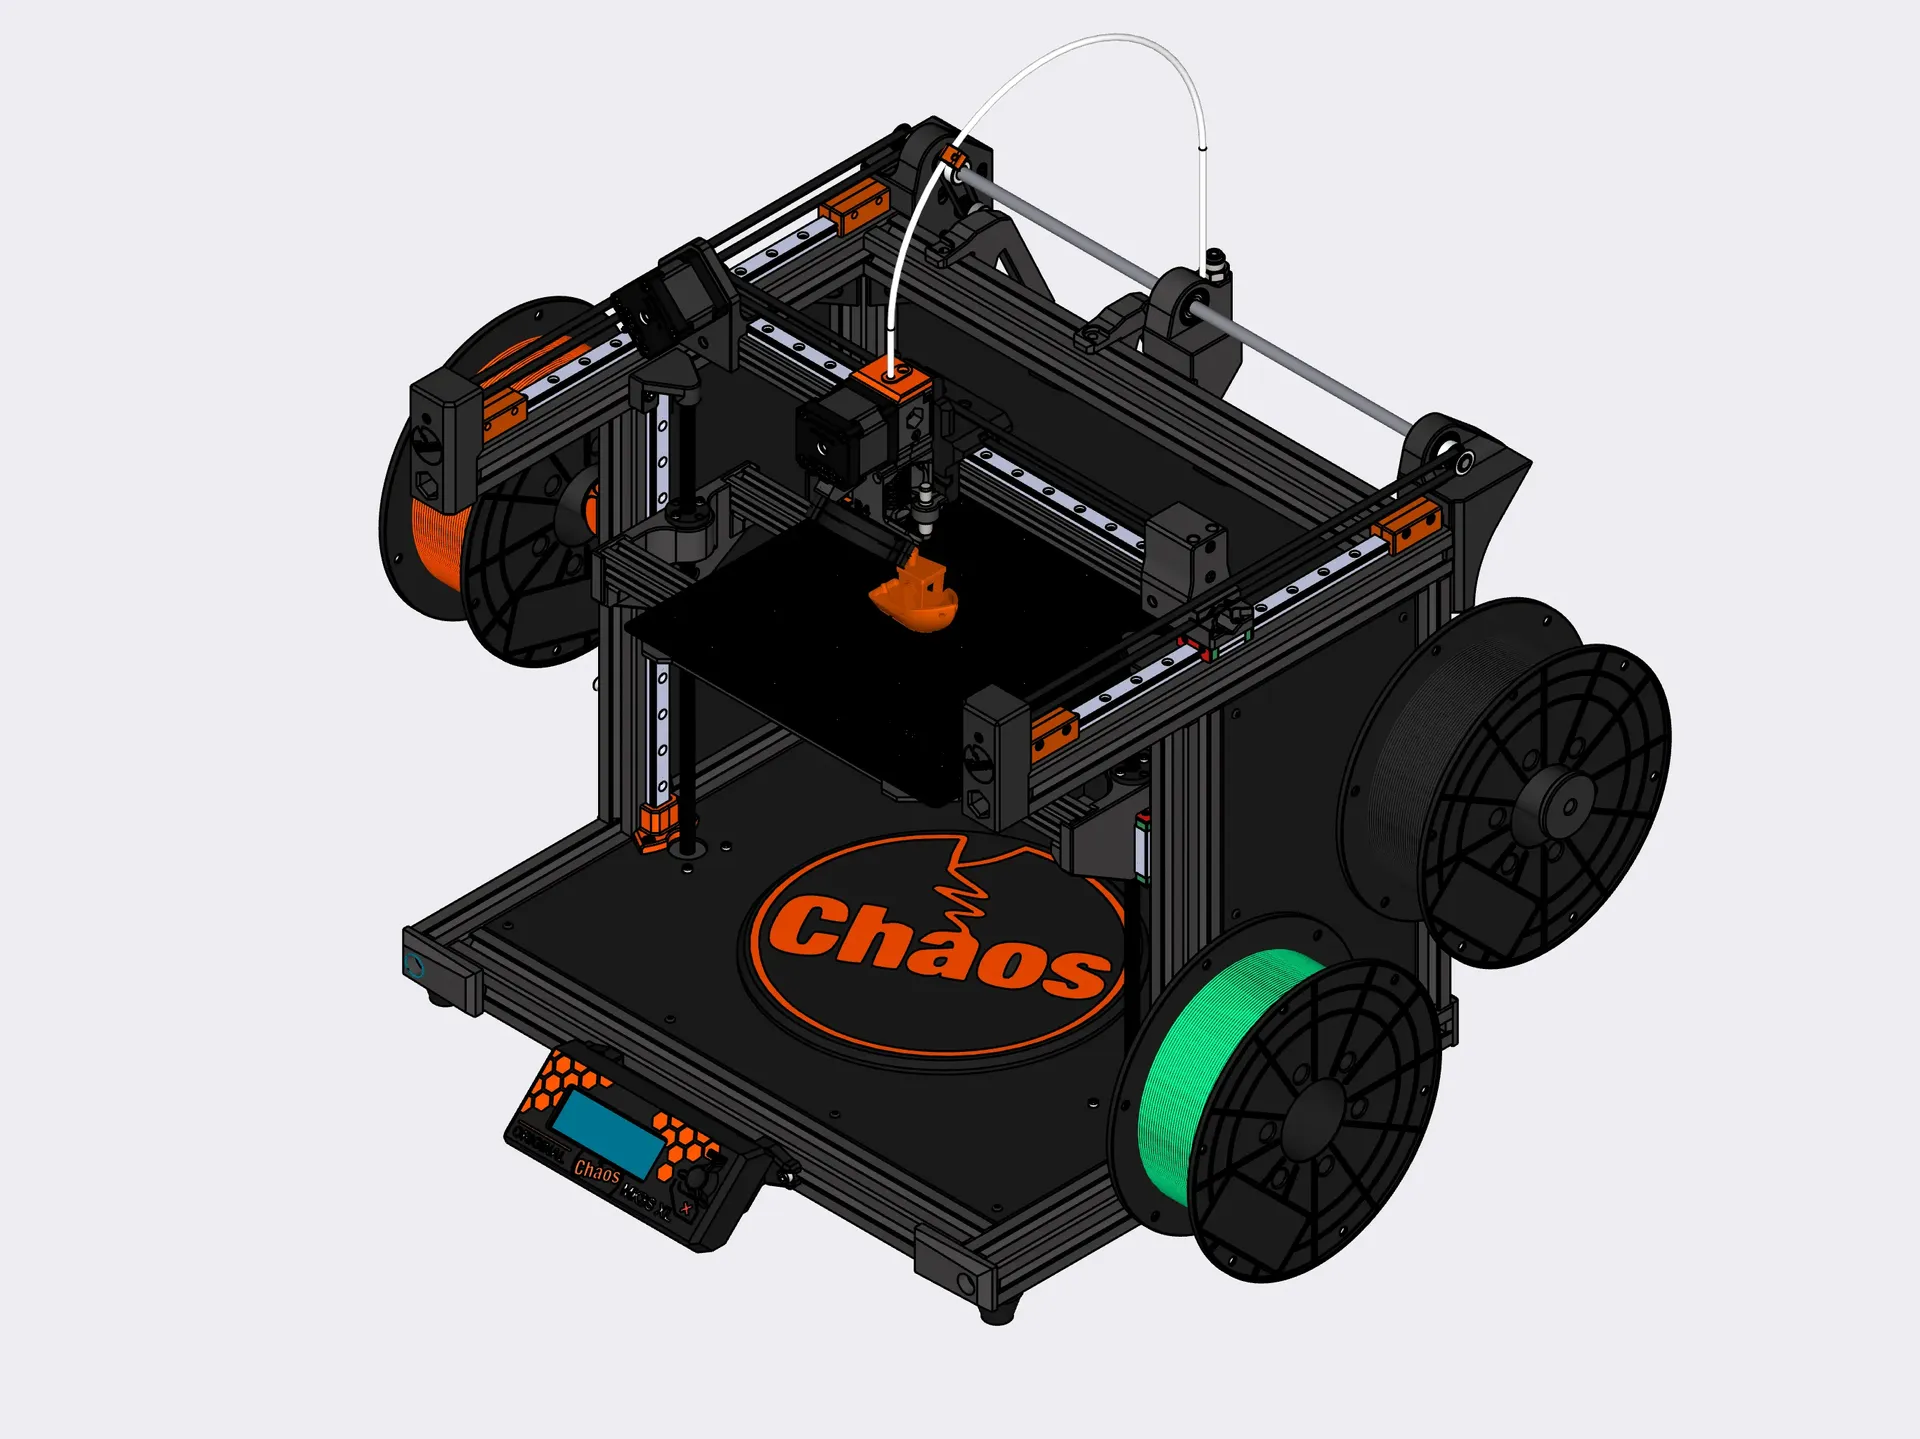
The construction
At the beginning, all profiles are provided with M8/M6 at the saw edges in the middle.
All 3030s get an M8 thread.
The 2020s all get an M6 thread. With the 2020, you should make sure that you only cut the thread very short, so that the screw starts to grip. Since there is not much "meat" in the profile, it can happen that you tear out the thread. Therefore, leave the thread shorter than the screw, so that this still turns into the full material.
Then please follow the pdf's and drill the holes accordingly with a 7mm drill.
The 3030 - 412mm and 300mm long profiles each get an M8x16mm screw turned into the just drilled threads. So far that the lens head still looks out a piece and would fit into one of these Nut8. A picture of how the frame should then look built is also available in the pdf files.
The holes that are drilled are only used to tighten the M8 lens head screws. So they do not have to be particularly beautiful but relatively accurate to measure.
BOM
https://docs.google.com/spreadsheets/d/1lqhHMx8LPqUW5sJoOMqYR43GV5ETUQdM_oGFY8XGs6c/edit?usp=sharing
I try to pack as much as possible into the BOM, but please note that one or the other screw is simply assumed.
Drawn by Dark_Asylum edited by Chaosdrucker.
Tags
Model origin
The author marked this model as their own original creation.