Balance Board Bottom Bob

Description
PDFCheck out my YouTube channel https://www.youtube.com/channel/UC82xXciVxsQKthONKeYbhnw for how to videos about 3d modeling, printing and home automation
Stand up desks are all the rage at my office these days, and a balance board one of my coworkers brought has been a big hit, too! Everyone (including me) takes turns balancing on it, and when I took a look at the bottom, I knew it was my next 3D printing project! I call it the "bottom bob" thingy...
Designed in Fusion 360, printed at 40% infill in PLA, it took nearly 7 hours to print when using Honeycomb infill. I've since then tuned my printing speed and infill (using Cubic) and got it down to 4 hours.
The board itself is a Laminated Pine Round (17.75" x 1") I found at Home Depot for $6. I used #6 x 3/4" wood screws to attach the bottom bob to the board.
Testing continues, while I figure out if this thing can withstand my weight (230 lbs), but so far, it seems to be working well and it's very sturdy (and heavy!) at 40% infill (honeycomb or cubic). At 20%, it stands up to my weight as well, but makes creaking noises (probably could be fixed by filling the thing with epoxy or silicone). I recommend printing at 40%, even though it takes so much longer.
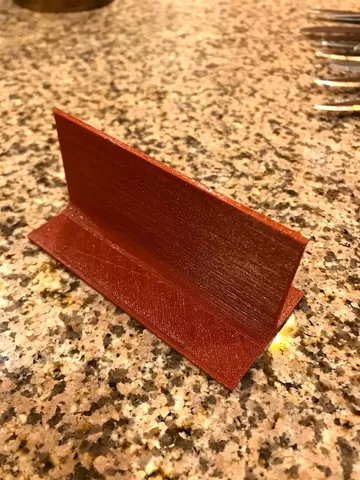
I've also attached some photos of a board I made with black cherry stain/poly.
Check out my (mostly functional) 3D designs - (https://www.thingiverse.com/bkpsu/designs) ! If you like them and want to support my projects, use one of the links below when you're planning to buy anything from these sites (it won't cost you anything extra!). Thank you in advance!
Banggood: https://goo.gl/uXGg84
AliExpress: https://goo.gl/KRNurW
Amazon: https://goo.gl/nWhmjJ
Print instructions
Category: Sport & Outdoors Print Settings
Printer: Self-sourced Prusa i3 (MK 0)
Rafts: Doesn't Matter
Supports: No
Resolution: 0.3mm
Infill: 40% honeycomb or cubic
Post-Printing
Build Procedure
- Print "bottom bob"
- Get 17.75" x 1" Pine Round from Home Depot (or cut your own out of MDF or other wood, preferably 3/4" or thicker). <- You can also change the diameter, the lower you go, the more bouncy bob will be!
- Acquire 3/4" long #6 wood screws from afore-mentioned store.
- Measure out the center point of the board, plop bob over it, and attach it with the wood screws.
- Flip board over and balance!
Tags
Model origin
The author marked this model as their own original creation. Imported from Thingiverse.