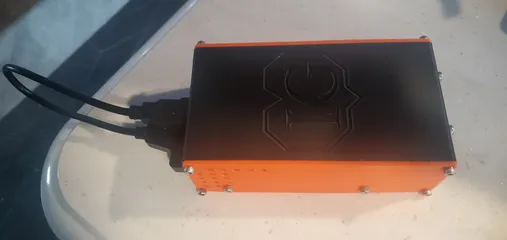
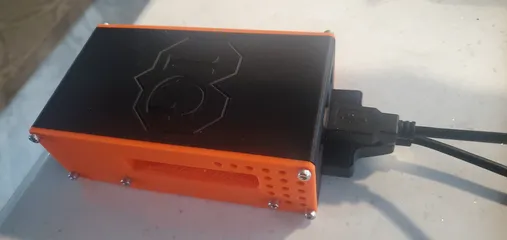
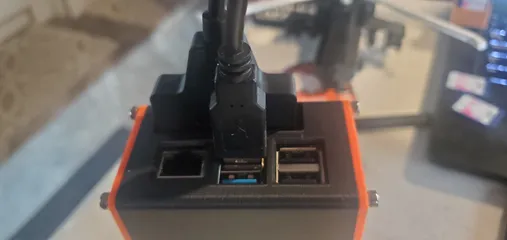
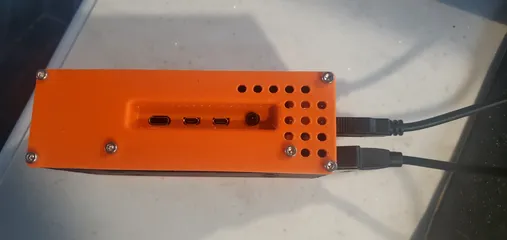
Design worked very nicely. I had to drill out the mounting holes for the RPi to use M3, but it was successful.
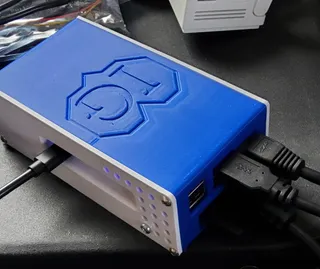
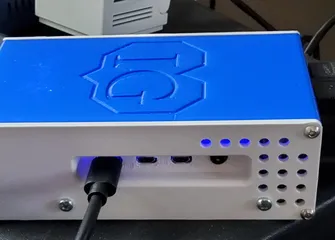
Nice model! Fits together great! I thought I was being clever by mirroring the main body because I only had a spare RPi 3b. But I forgot to handle the change in the SATA slot location. That's why mine has ugly cut marks on the right side. Not the fault of the model. Thank you for sharing the step file which allowed me to also modify the IO port panel for my Pi3.
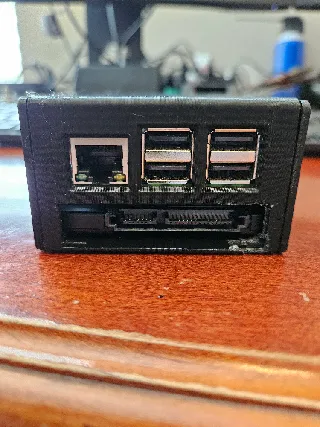
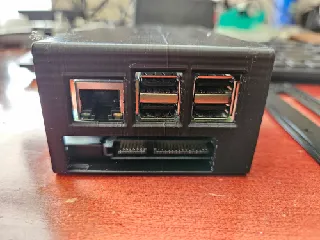
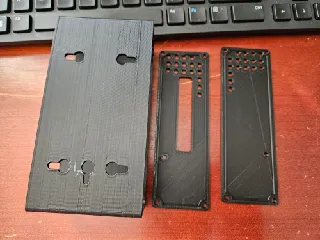
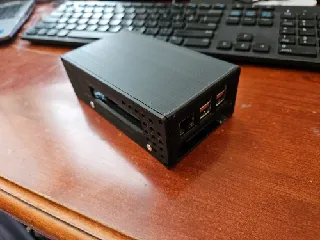
Screw holes too little and fragile. I think its better to use M3 screw (4mm hole for metal insert) and more round around hole for stronger it
M3 screws? What length?
Could you release the STEP files for this? I am wanting to add some bitcoin logos and use this as the foundation of the design for a bitcoin node.
@Dakota3D I added STEP file
@Zdendys Awesome. Thank you for this!