Btt Eddy mount for K1C

Description
PDFupdate 2025/02/21 : add step files
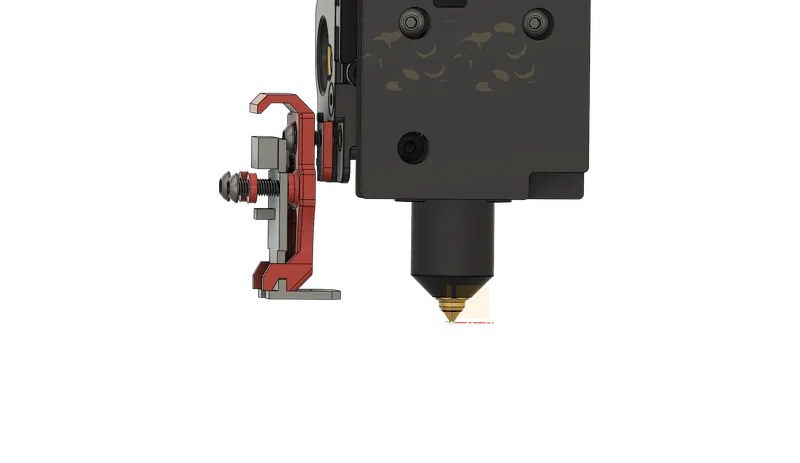
Mount for Btt Eddy on K1C (rooted printer).
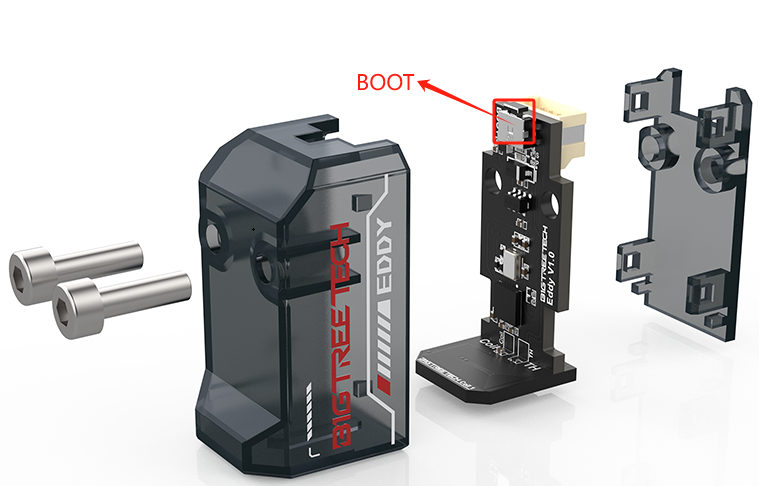
It's necessary to remove btt eddy case. It use only the PCB eddy.
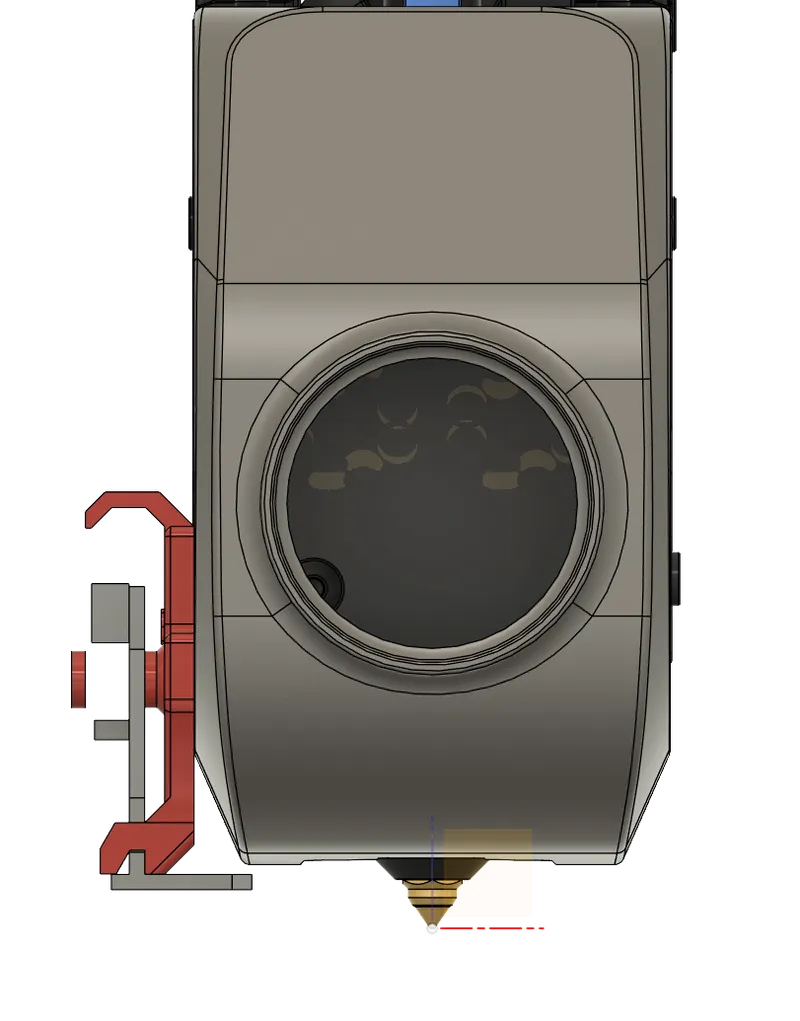
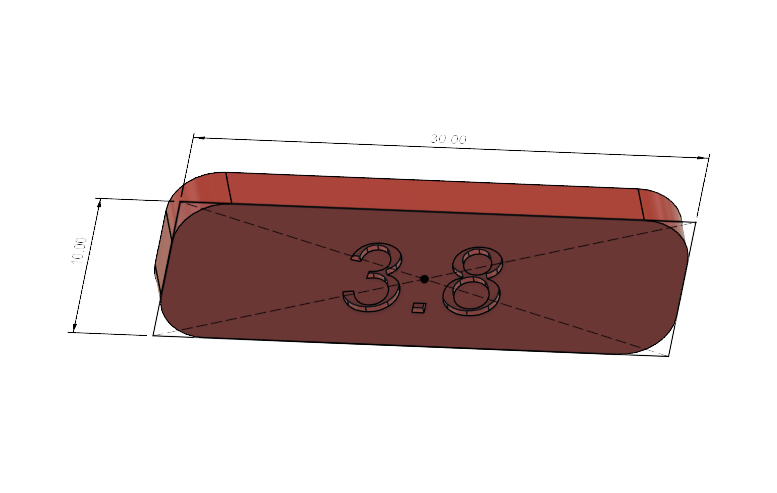
1. Installation height.
On Bigtreetech wiki : "Install Eddy 2 to 3 mm above the nozzle to ensure optimal performance."
The btt eddy case is 1.2mm thick so without case installation, coil height became 3.2 to 4.2 mm.
I use 4 mm (2.8 + 1.2) mount on my K1C.
******ATTENTION : if you use original toolhead cover you can't go over 3.9mm.
For other fan duct you must verify the possibility. ******
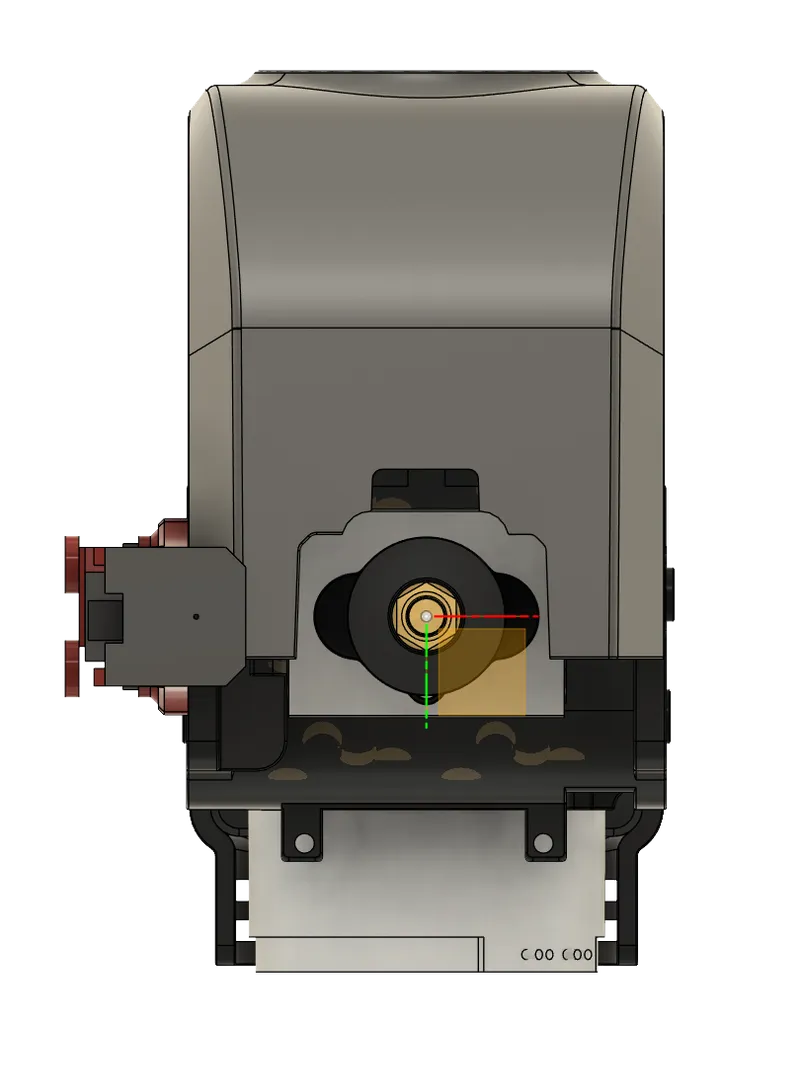
2. Offset coil center.
X -23
Y 0
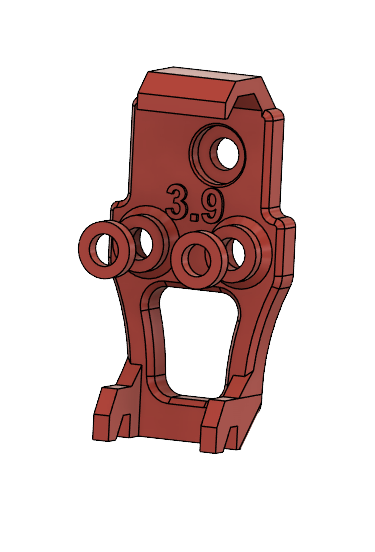
3. The height printed on the support refers to my printer, it could be little different on yours.
I attach the files for heights of 2.8 mm to 4 mm and set of shims to adjust.
Take the time to polish the top of the shims a little so as not to hurt the coil by passing below.
Check with a caliper the exact thickness of the shims (depends of printer precision and slicer setting)
4. If you don't use original toolhead cover you could need a little shim between eddy mount and toolhead.
5. BOM
Print : I use ASA filament, first layer 0.2mm, other layer 0.12 mm
2 x washer.stl
eddy_ mount_XXX.stl (choose height)
shim_mount.stl if needed
2 x insert M3x3x5 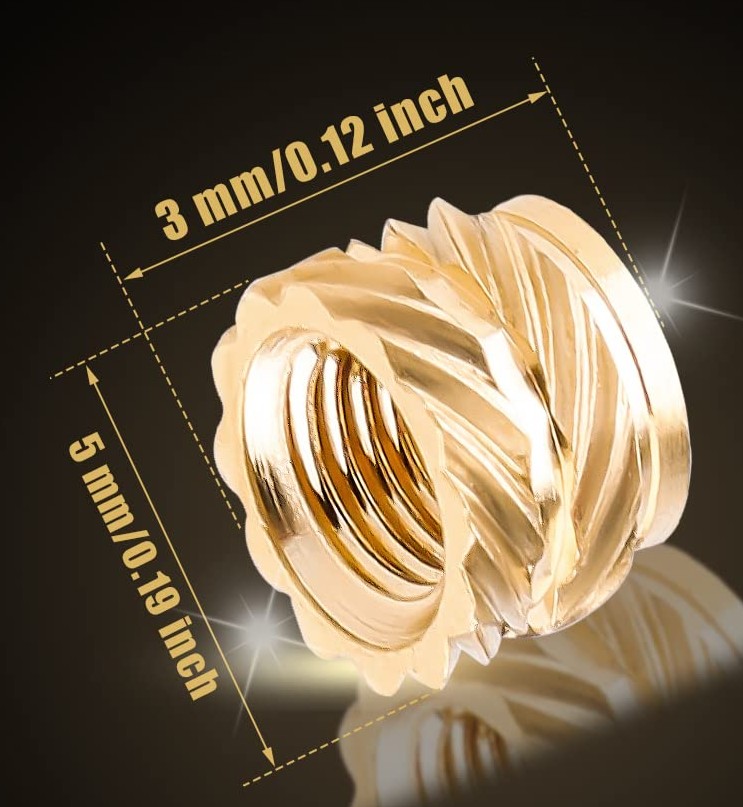
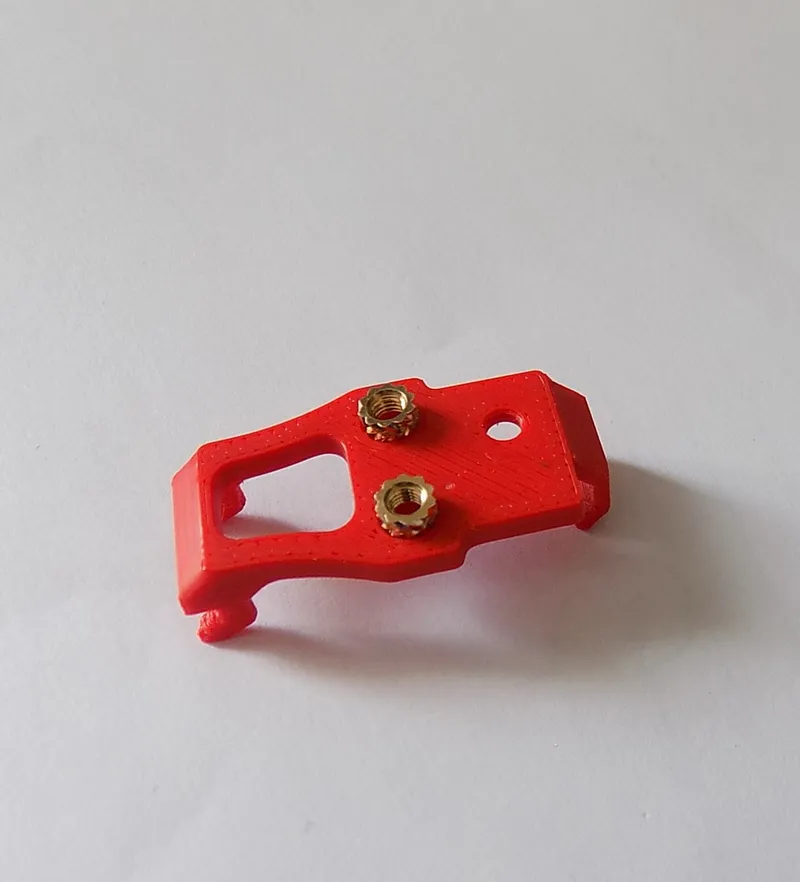
push insert by this side
3 x screws M3x8 
6. Installation
First fix eddy_mount on toolhead (with shim_mount if needed) with M3x8 screw then fix eddy PCB with washers and 2 x M3x8 screws
Define x_offset and y_offset in the appropriate configuration file according to your installation.
PS: English is not my native language, I hope that the explanations are clear enough.
Thank's a lot to Henlor for his job on Creality K1.https://www.printables.com/model/742370-creality-k1-assembly-cad-model
Model origin
The author marked this model as their own original creation.

