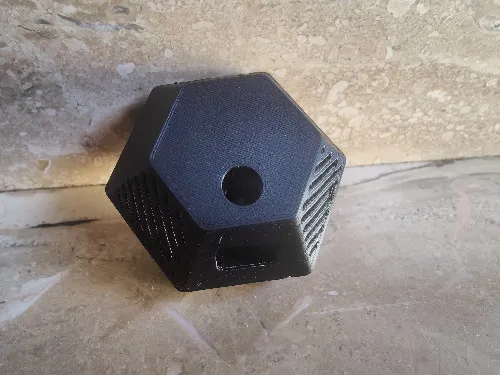
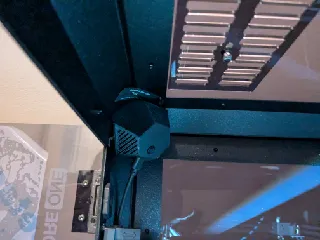
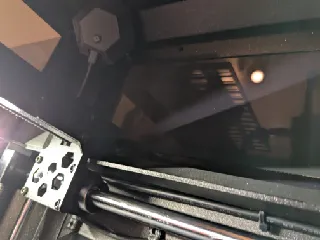
Unfortunately took the wrong for my ESP32...
But thanks for it anyway!

This camera mount does its job well. This will hold me over until the official Prusa CORE One camera is released. Thank you for creating this model!
My cover didn't snap onto the base firmly. It fell off a couple times during installation, but hasn't budged over dozens of hours of printing once correctly mounted. The Xiao PCB mounting tangs could stand to be slightly stronger too. One of mine snapped when removing a snug-fitting USB-C cable into the USB port.
The clearance between the PCB and the base is 4-5 mm too short to permit the use of the heatsinks provided by Seeedstudio. I've created a remix of the base to support installation of both heatsinks ( https://www.printables.com/model/1205183-esp32-s3-camera-mod-for-core-one-with-heatsink-cle) and bwees' remix provides a base for a single heatsink ( https://www.printables.com/model/1203311-wide-angle-esp32-core-one-camera). (edited)


I'm about to print this next, but I am wondering how the heatsinks would be placed on the esp32 xiao here. I cant quite tell from the models how the heatsinks would fit in
@KeepTheBOX I've posted a remix that provides clearance for both heatsinks included by Seeedstudio with the Xiao Sense S3. A 25mm x 15mm hole provides enough clearance for both heatsinks with enough tolerance to accommodate slight variations in placement.
@JingKaiTan_321145 There are two screws in the interior back wall on the CORE One, on either side of the Z-axis lead screw. These hold on the cover above the electronics/PSU on the back of the printer. Once the cover is removed the USB-C cable can be fed through a gap above the electronics. The cable can be run along the metal profile the Core-XY motion gantry is mounted to.
Check out the Prusa guide for replacing the door switch for details on the disassembly process and where you'll be routing the cable. https://cdn.help.prusa3d.com/guide/how-to-replace-the-door-sensor-core-one_458290
The official Buddy cam instructions may direct you to secure the USB cable along-side the door-switch cable; for now I just secured the cable with magnetic clips.
https://www.printables.com/make/2454283
Thank you so much for posting this. Was about to start my own design but this saves me so much time. I have a wide angle camera lens so will remix it. Thanks for posting the F3D Files!