Forever Flower

Description
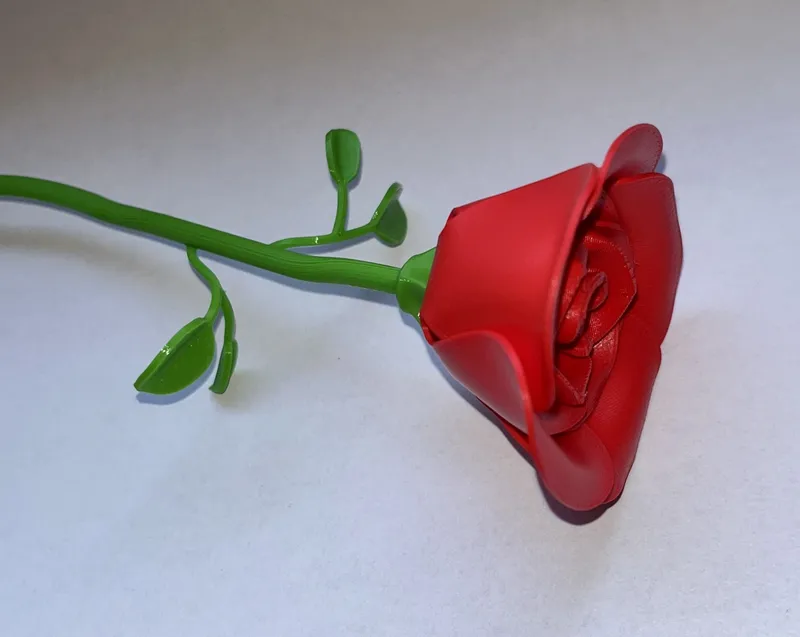
PDFI designed this flower to look as realistic as possible, while keeping it simple to print. Whether you're making a unique gift, decorating your space, or just looking for a fun project, this design is perfect for you!
The flower prints in 5 parts, 3 of those parts will need to be shaped using a heat gun or a hair dryer. You will also need glue to attach the parts together.
Download it now and bring your Forever Flower to life!
STEP-BY-STEP INSTRUCTIONS:
1) Print all of the parts.
2) Prepare your heat gun. I like to set mine to approximately 180°C (356°F).
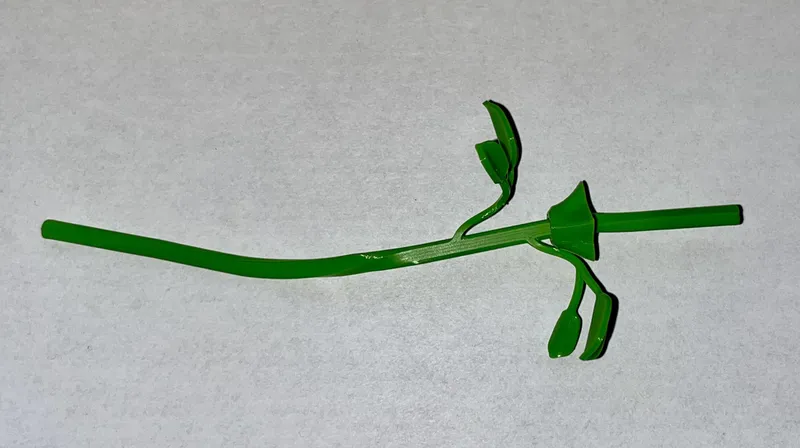
3) Shape the stem. I usually start with shaping the stem. It's easier to do the actual stem first and then do the small leaves. I like to shape the stem by twisting the heated part while also bending it to a slight angle to give it a more natural look.
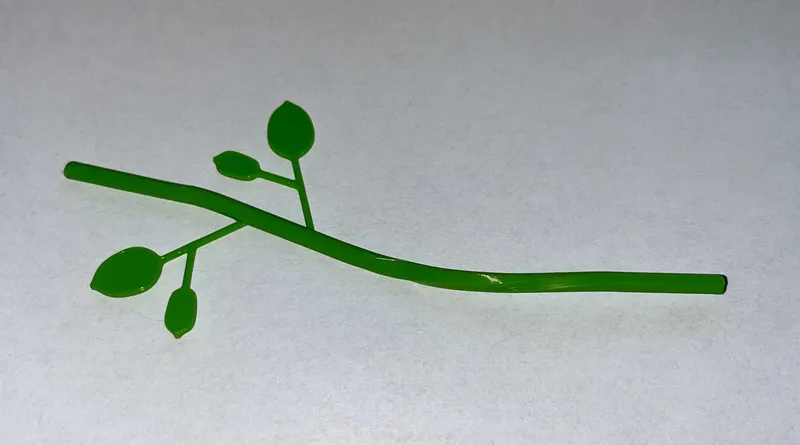
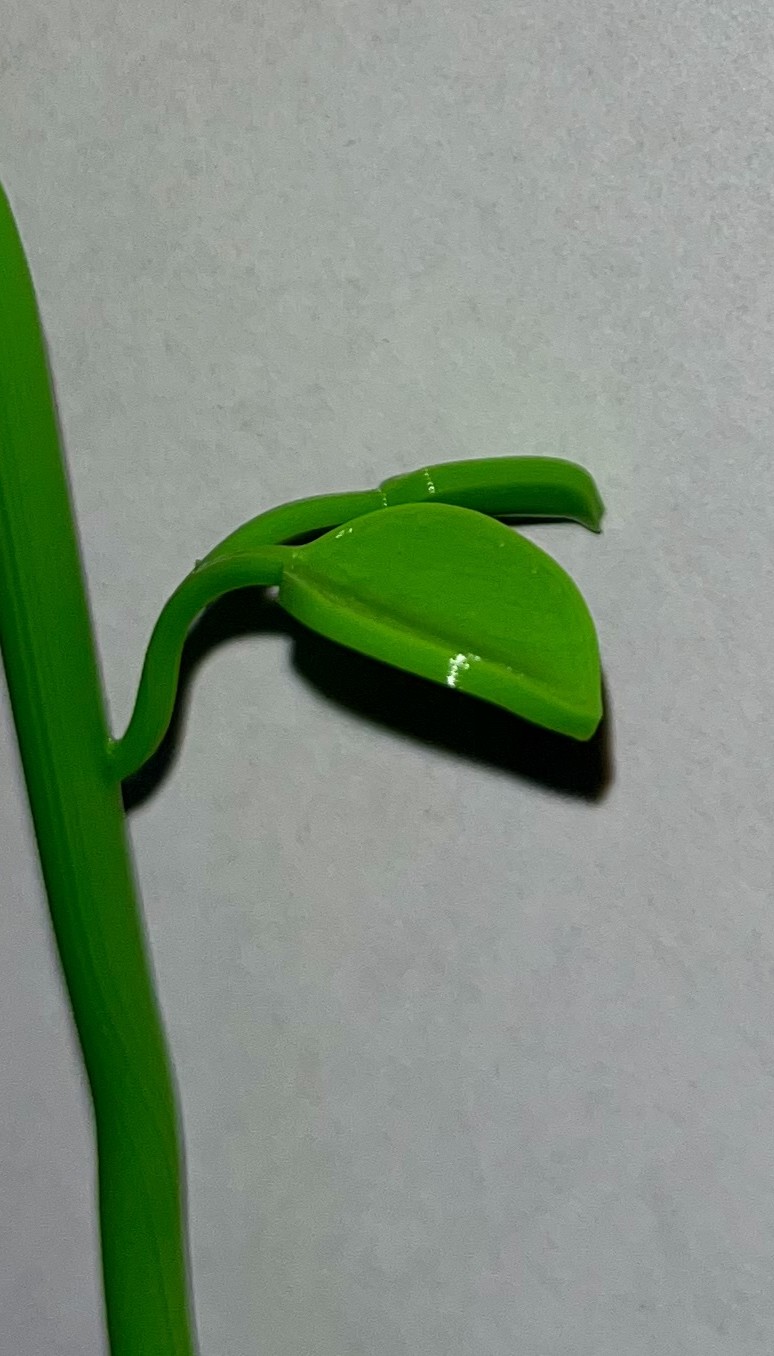
4) Shape the leaves. The leaves are pretty hard to get into shape. First, establish their position by bending the thinnest part (the part that connects the leaves to the stem). Then, you can shape the actual leaf, I find it easier by using my nail to crease the middle, while bending the sides up with my fingers. The picture shows the intended shape of the leaves.
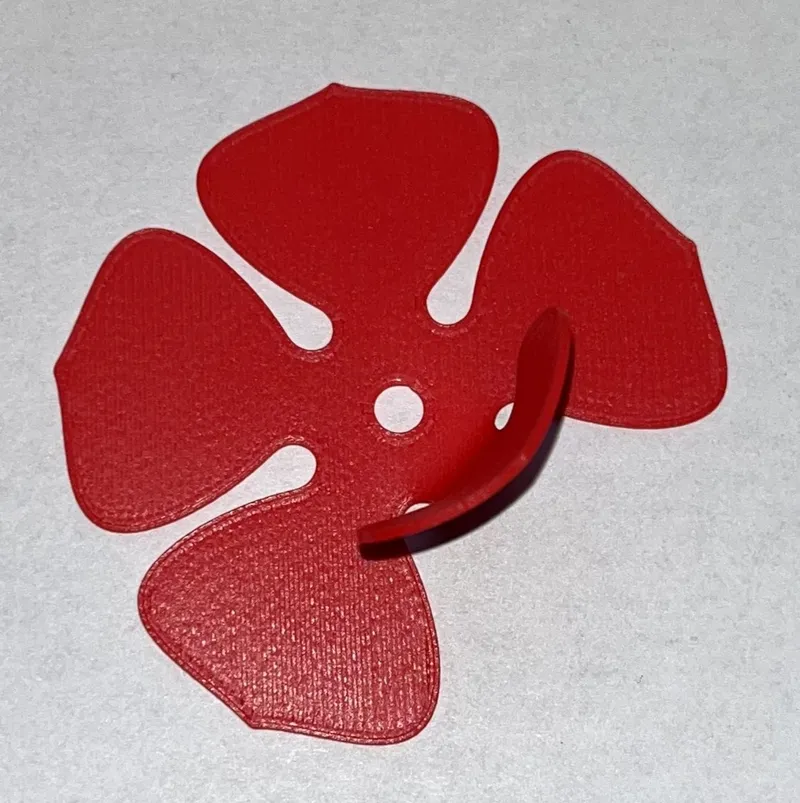
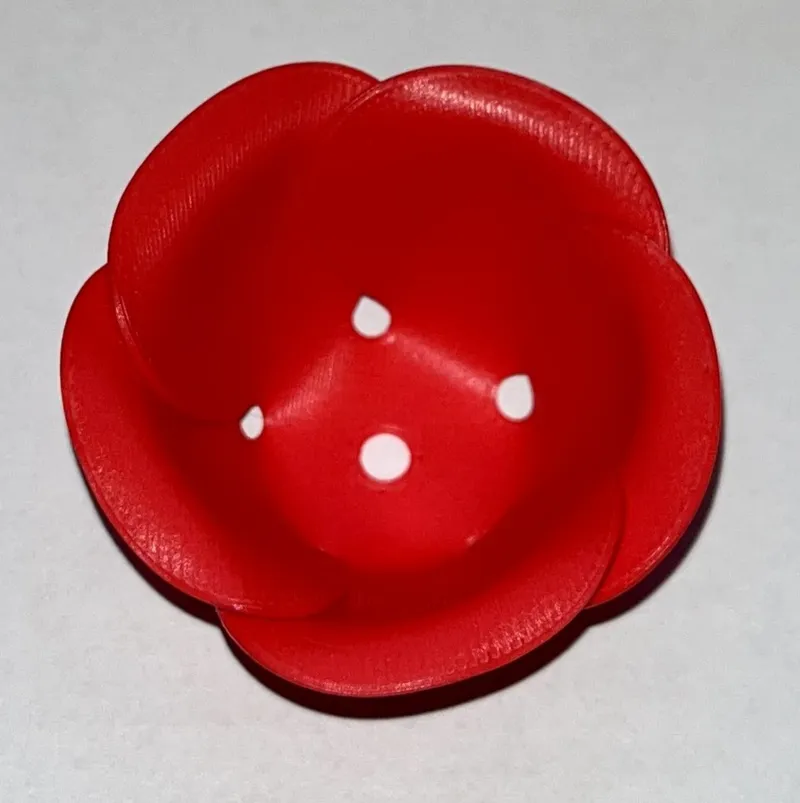
5) Shape the small petal. The goal is to create a “bowl” shape by bending one part of the petal at a time. It also helps to shape it around the inner petal to ensure the right scale and shape. Once you achieve the “bowl” shape, I like to bend the top edges outward to give it more depth.
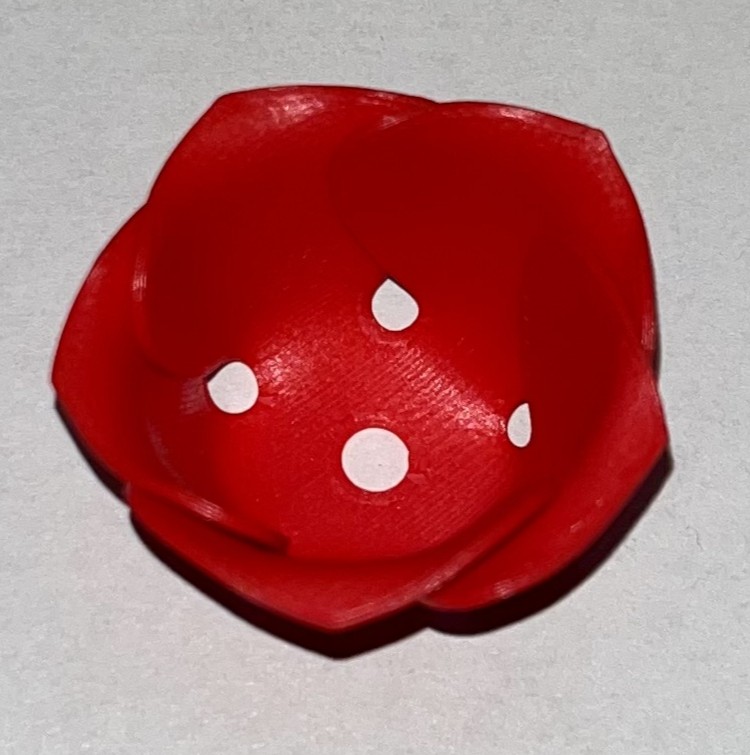
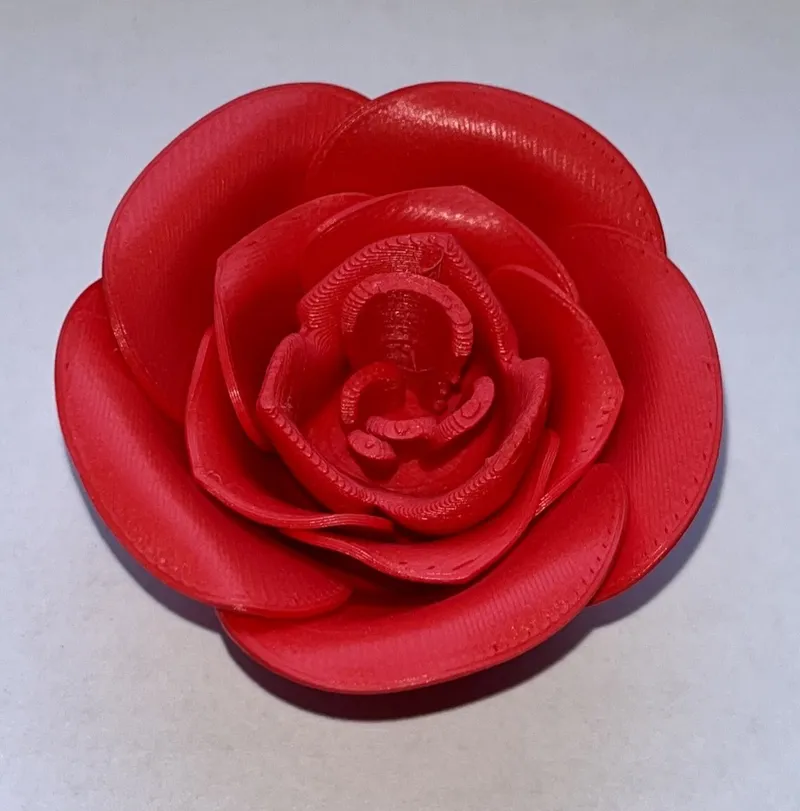
6) Shape the big petal. Follow the same process as before, but use the small petal as a reference. As shown in the picture below, the petals should fit perfectly into each other.
7) Glue the parts together.
- First, stack the parts onto the stem in this order: stem connector, big petal, small petal.
- Then, apply a drop of glue into the small hole at the bottom of the inner petal, place it on top of the stem, and wait for the glue to dry.
- Next, put a small amount of glue on the flat part of the stem connector and press it against the inner petal while squeezing the small and big petals together.
- Ensure that you apply enough glue so the stem connector also attaches securely to the stem.
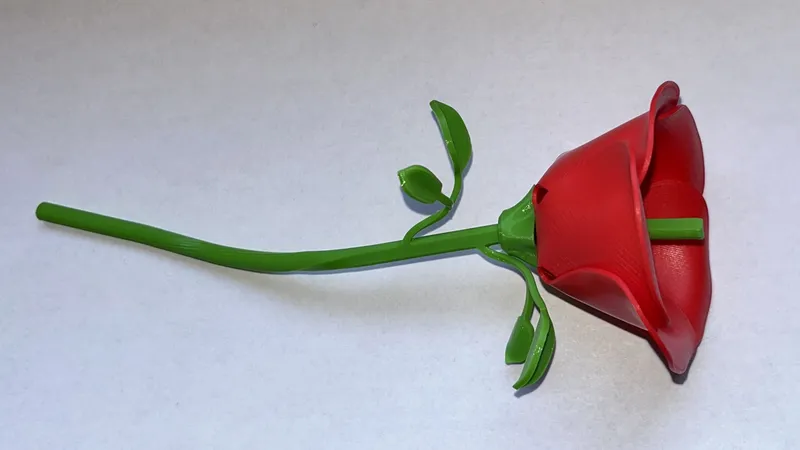

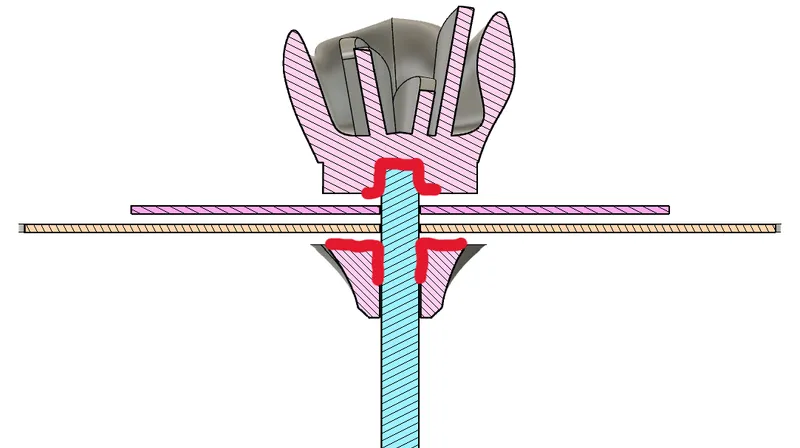
(The last picture shows the correct positioning of the parts and where to apply the glue)
8) You're all done! Post a picture of your very own Forever Flower in the Makes & Comments section below.
Tags
Model origin
The author marked this model as their own original creation.