Tuning Peg Using Worm Gear for Stringed Instruments


Description
PDFI wanted to make a dulcimer-like instrument, but commercial mechanical tuning pegs were too expensive for me to buy like 64 of them; So I made this thing!
Design and Objectives
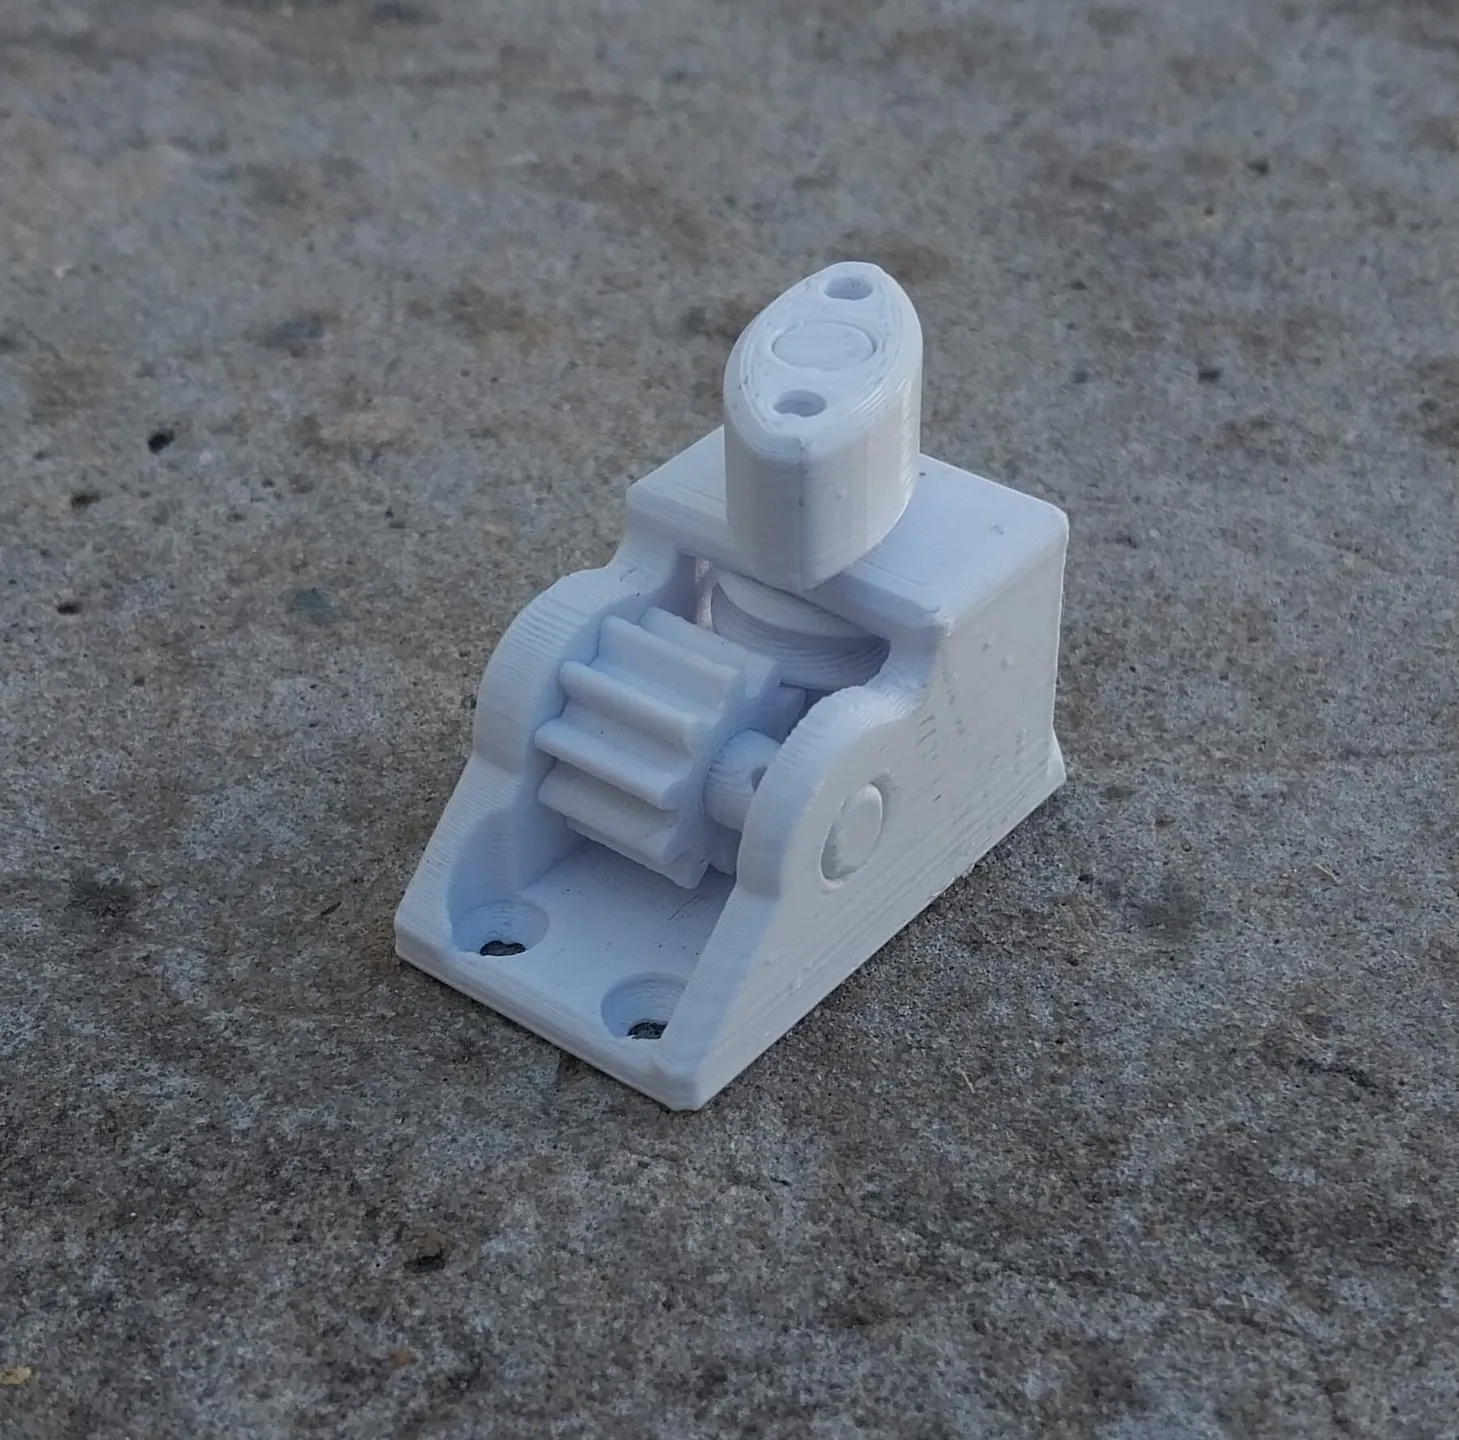
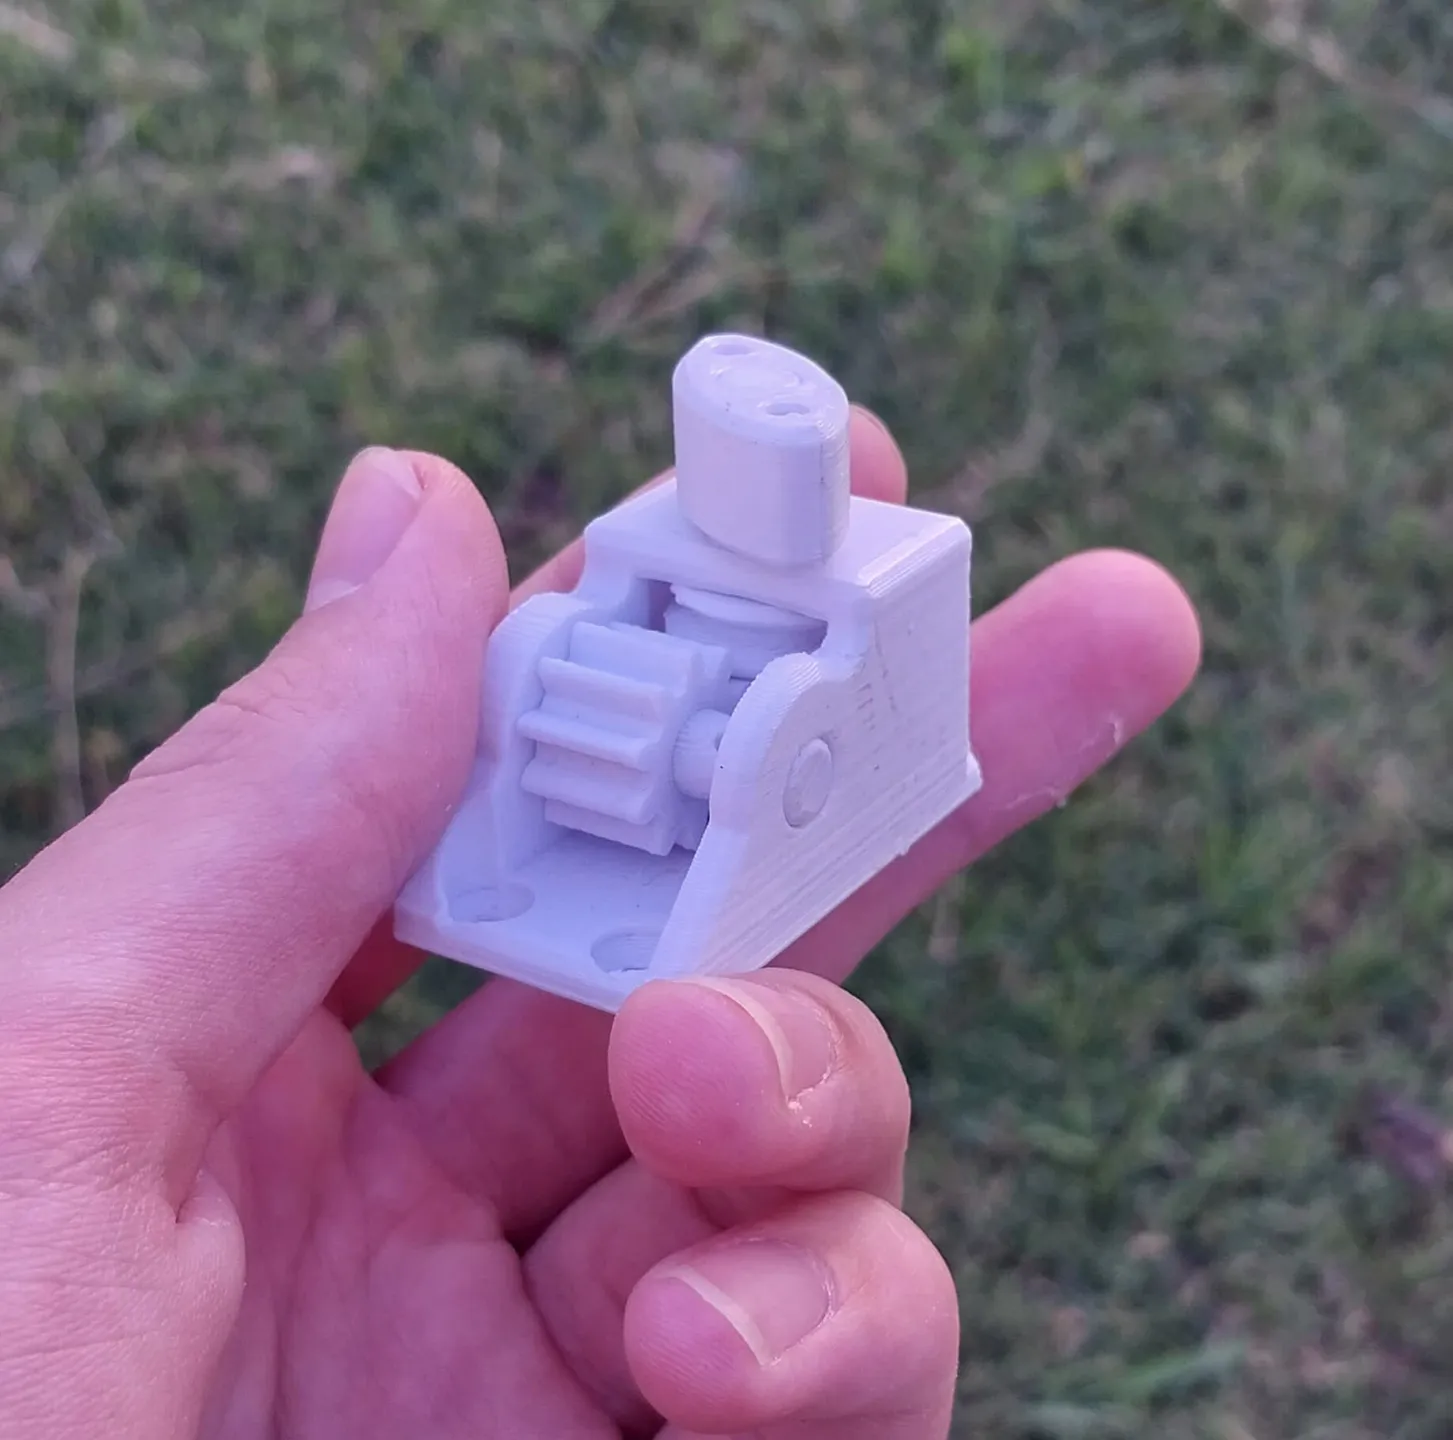
It is a simple worm gear-spur gear system that prevents movement transmission in one direction, so you can tension strings and they won't make the system move using the energy instilled in them. Just like regular tuning pegs. It is designed to be fastened to wood using small screws (screw holes are 3mm diameter, head should be conical and 6mm in diameter)
I tried to make it as compact as possible but 3d printing (and maybe my design ability) has its limitations and I wanted a robust build that I could use without fearing it breaking or deforming, as well as it having as many 3d printable pieces as possible with minimal processing and assembling expenses/time consumption. Although it is chunkier than a commercial tuning peg, I'd say it's pretty neat; And the additional space it occupies could be seen as a tradeoff for how inexpensive and convenient it can be. They're also designed to fit next to each other neatly with the original idea of being able to make high string count instruments such as a dulcimer; although you may be better off using some techniques to occupy more space in the direction of the string trading it off for less spacing between strings.
In any case, the design is completely 3d printed and requires little post processing although some; Assembly is pretty simple using press fits and a little superglue especially if you want high string tensions.
Assembly Instructions
Assembly is intuitive, but I figured that making a little guide could raise the chance of success of anyone reading, since there is a few things that could go wrong while assembling the print.
I also made a little blender animation which served as practice for me but I think it may make it a lot clearer.
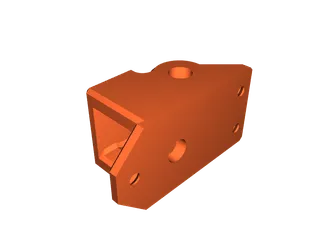
- Clean up the pieces. I recommend printing the shafts horizontally (with the holes vertically orientated) for optimal strength. This approach leaves some support material along them that needs to be cleaned up, and the hole on the short shaft may need some cleaning too. The body has a layer of plastic on its vertical shaft hole that also needs to be removed; this layer is there to facilitate printing. Additionally, any extra material hanging from the ceiling of the body should be cleared so that the pieces fit nicely inside, taking into account that the tolerances are somewhat tight.
- Insert the worm gear vertically inside the body.
- Insert the long shaft in the vertical hole of the body. It should also go through the worm gear and not protrude from the bottom of the body, since that would make it difficult for the unit to sit flat on a surface. If you want, you can carefully put a little superglue on the inside of the worm gear to glue the shaft to it to make the unit more reliable. You are expected to need a hammer or hammer-like tool to insert the shaft.
- Insert the oval shaped handle piece into the installed long shaft. You can superglue this if you want, it's very exposed so it has a low risk of jamming the mechanism.
- Present the spur gear so that you'll be able to put the short shaft (which also has a hole), though the body and it.
- Insert the short shaft through the horizontal body hole and spur gear. Again, you're expected to need a hammer. Make sure the shaft hole won't end up on the inside of the gear and that when you're hammering it in, the spur gear isn't trying to move against the little ramp on the body which serves as a movement limit for the gear when already installed. If that were the case something would probably break. Superglue is recommended for the short shaft and spur gear since these pieces are the most prone to slippage. Since this gear is very exposed, you can put some superglue on it after inserting the shaft.
That's all. You may want to lubricate it.
Shortcomings
There are three things I dislike about the design:
- Bulkiness
- Maximum tension limit
- Feel, mostly at higher tensions
Bulkiness
As I said, the design is a little voluminous, which is not convenient since it is common for strings to be close together in many instruments. This means that careful thinking about where and how to position them on the instrument is required for optimal performance.
Tension Limit
The design cannot hold too much tension. In my tests, overloading it results in the chipping of a tooth of the spur gear; And if you didn't put enough glue, slippage of the axle of that gear. It should hold enough for most instruments, but you can't tension whatever string you want until it snaps.
I actually tested these on real electric guitar strings (although a short scale length of 60cm) and the high E one broke the short shaft after quite some time. Not to mention that I couldn't get them to very high tension because of the spur gear skipping teeth. Maybe it has to do with me having printed the pieces at 20% infill with PLA but the results are maybe not that promising.
Feel
This is the most contemptious point; The feel isn't amazing. When the string is really taut, the worm gear tends to slide to the top of bottom of the body and grinds against it a bit, so the peg moves in a quantized manner which is annoying and could impact tuning ease. This got better after lubrication and maybe one of you finds a better lubricant that prevents the issue, but for now it is a little annoying.
Tags
Model origin
The author marked this model as their own original creation.

