Archetype Apus2 Extruder Block
Breakneck compatible Archetype extruder adapter for use with the Phaetus Apus 2 extruder w/ tool board mount.
5
2
0
120
updated April 2, 2025
Description
PDFPrinting
Print model as is, Voron standard settings.
The tool board contains a modifier mesh. For better tool board air flow please use the following settings with the modifier:
- No top layers
- No bottom layers
- Open infill such as 10% honeycomb
BOM
| Part | Quantity | Part | Notes |
|---|---|---|---|
| m3x8mm SHSC | 2 | Tool board | Holds tool board to mount |
| m3x40mm SHSC | 1 | Tool board | Holds tool board mount to extruder |
| m3x4x5mm heat-set insert | 4 | Tool board | Interface with screws |
| Short piece of .032 Piano Wire (~30mm) | 1 | Tool board | Cable strain relief |
| 1x2mm ziptie | 1-3 | Toolboard | Cable strain relief |
| m3x5mm BHSC | 1 | Extruder | Holds extruder to adapter on right side |
| m3x8mm BHSC | 3 | Extruder/Toolboard | Holds extruder to adapter on left and top Secures toolboard clamp to toolboard mount |
Assembly
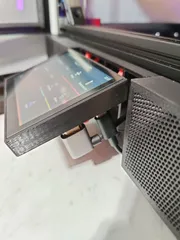
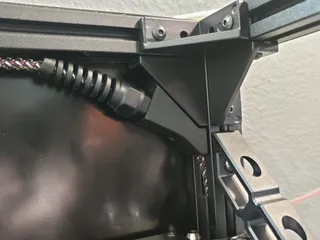
Attach the Apus 2 to the adapter using 2 m3x8 on the slightly thicker base holes, and the m3x5 on the other. (see photos)
Assemble the extruder block and rest of Archetype as normal.
If using the tool head board mount:
- Insert the heat set inserts
- Insert the piano wire into the provided hole
- Remove the Apus 2 face plate
- Attach the tool board mount to the Apus 2 using the m3x40, replacing the existing screw. Take care snapping the arm into place.
- Attach the tool board with the remaining two m3x8 screws using the printed spacers in between the PCB and mount.
- Wire up the tool board.
Changes Notes
April 1, 2025
Added a clamp to secure the top point of the tool board so it does not shake around.
Tags
Model origin
The author marked this model as their own original creation.


