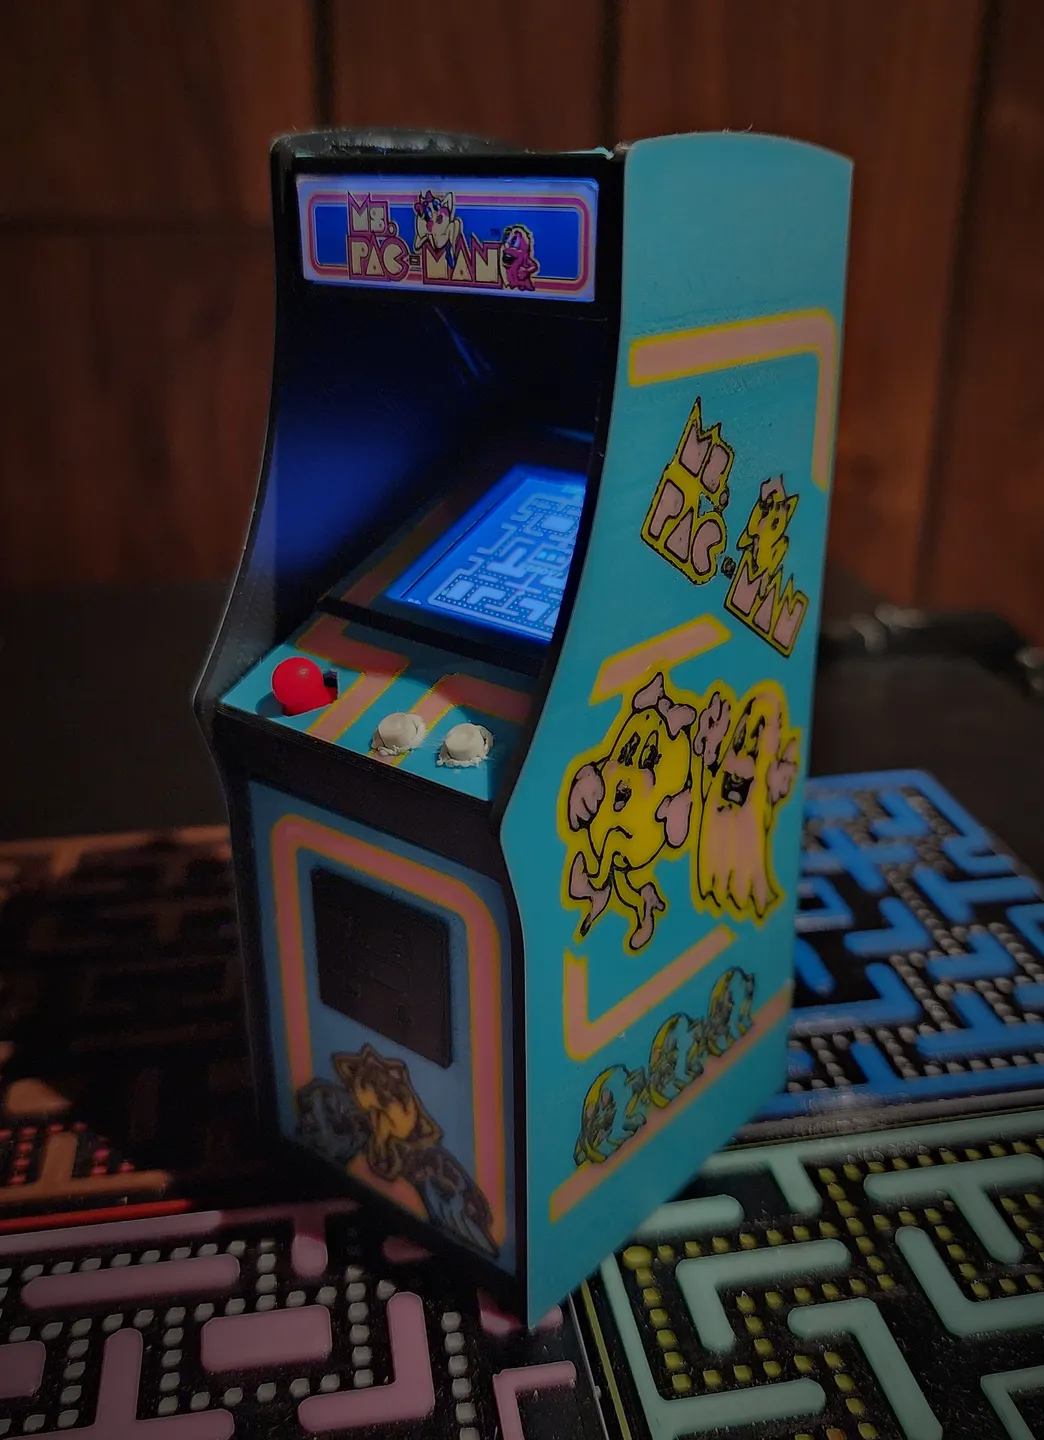
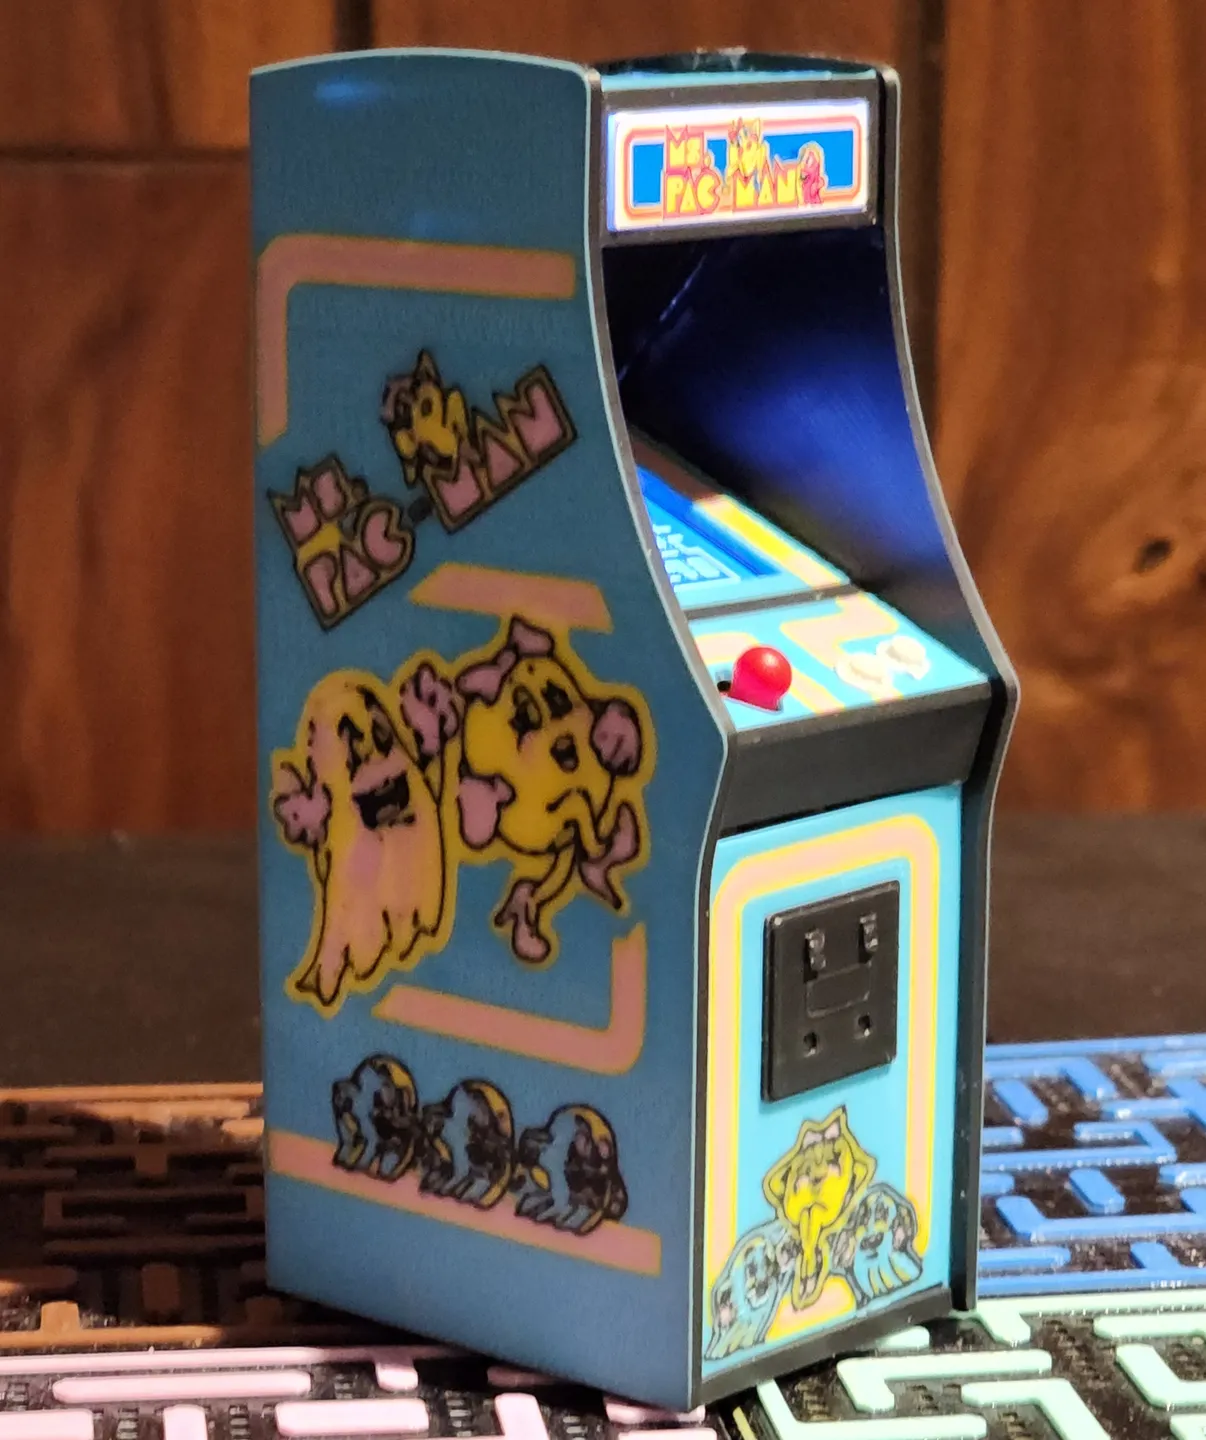
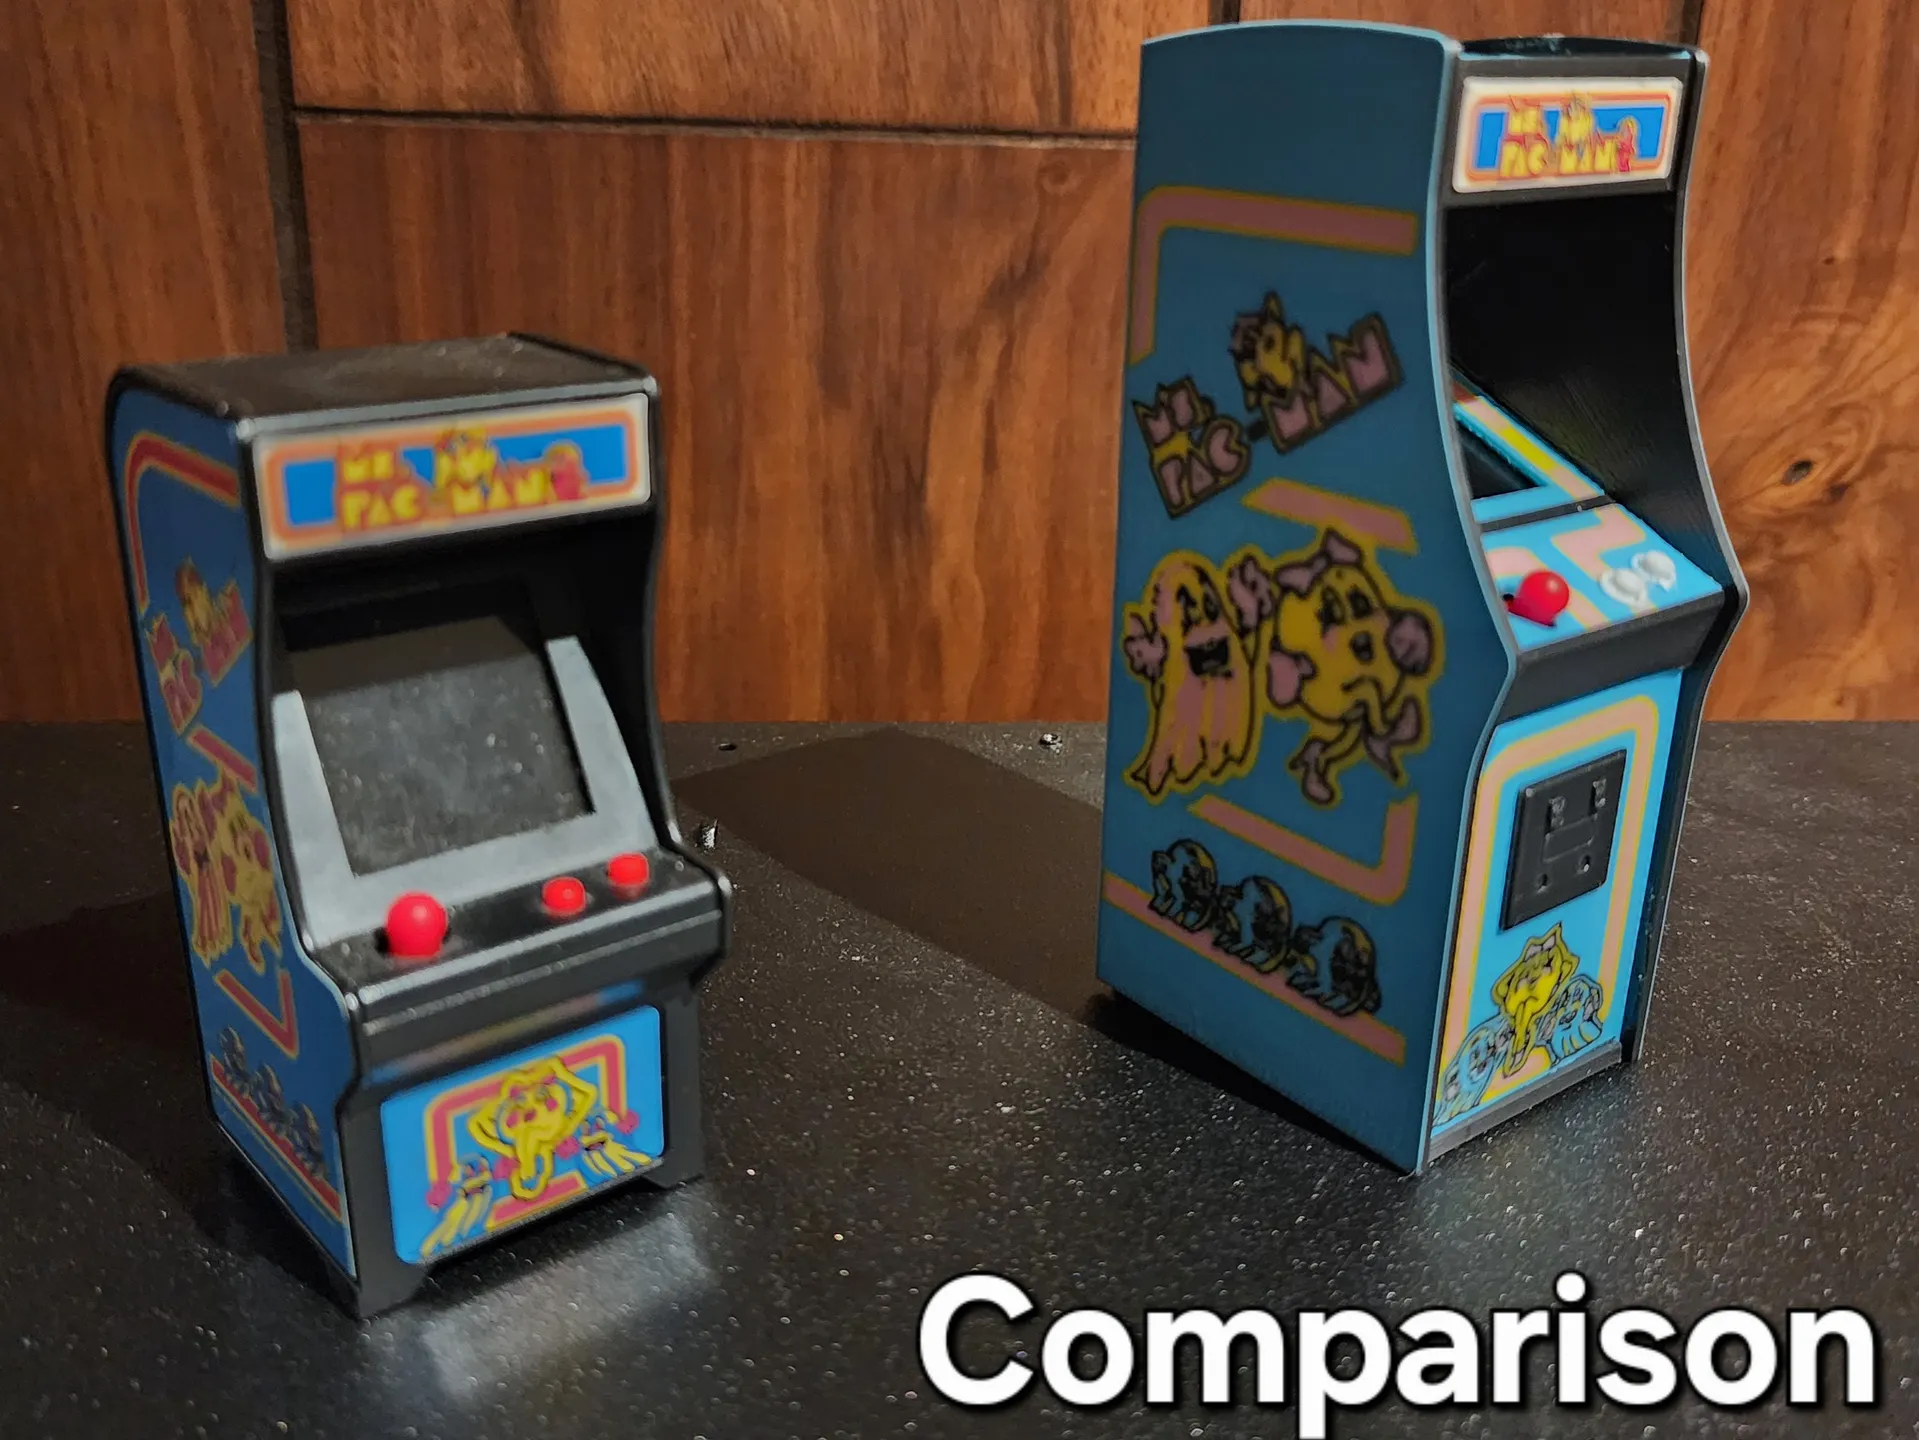
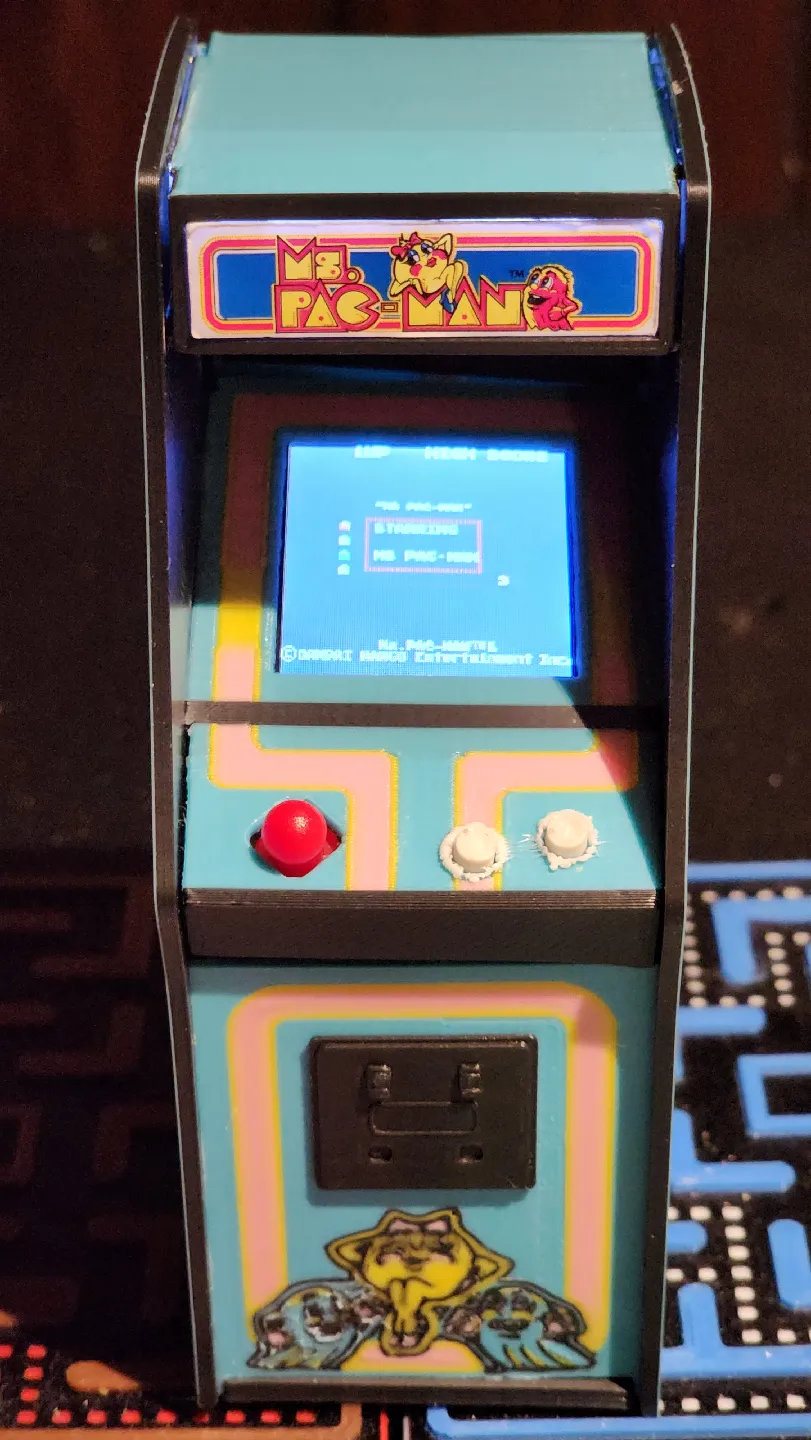
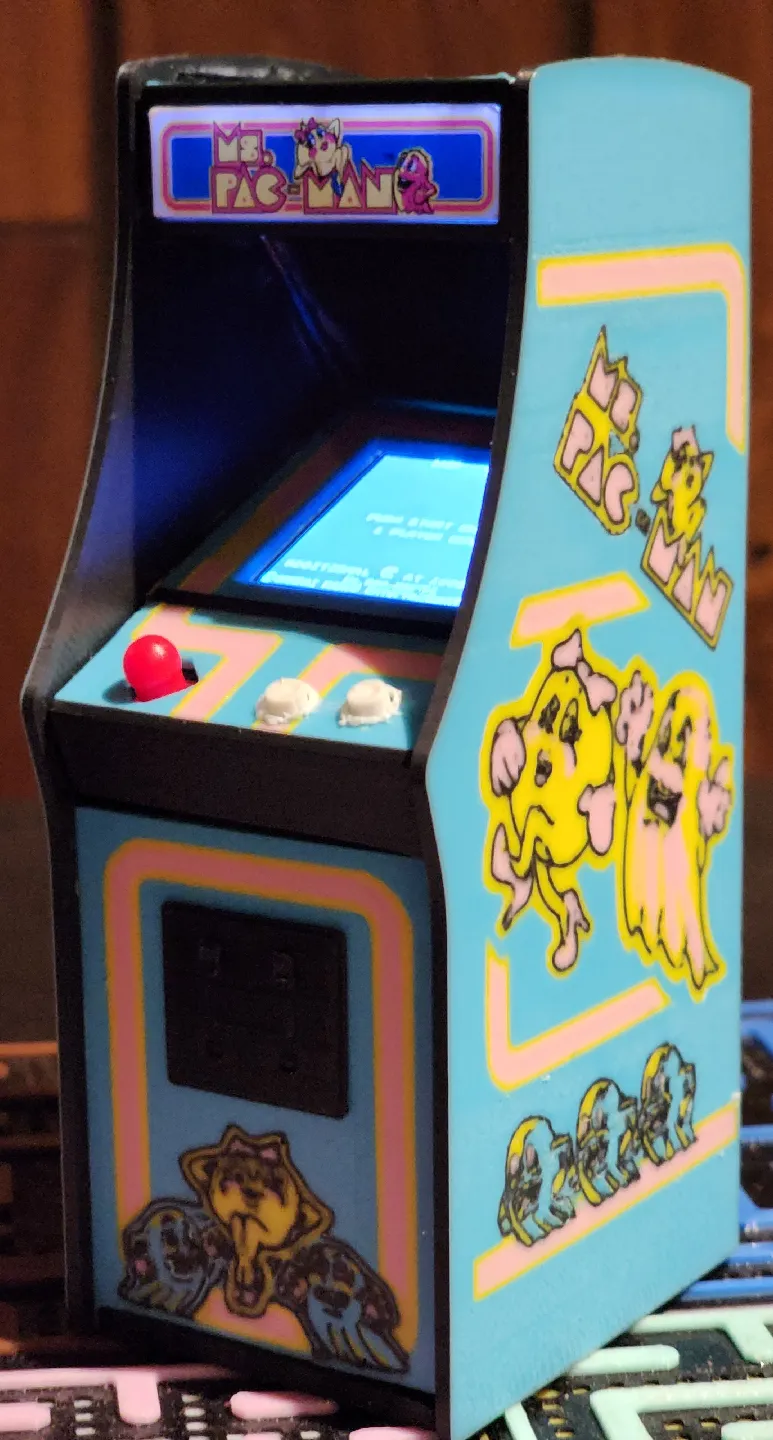
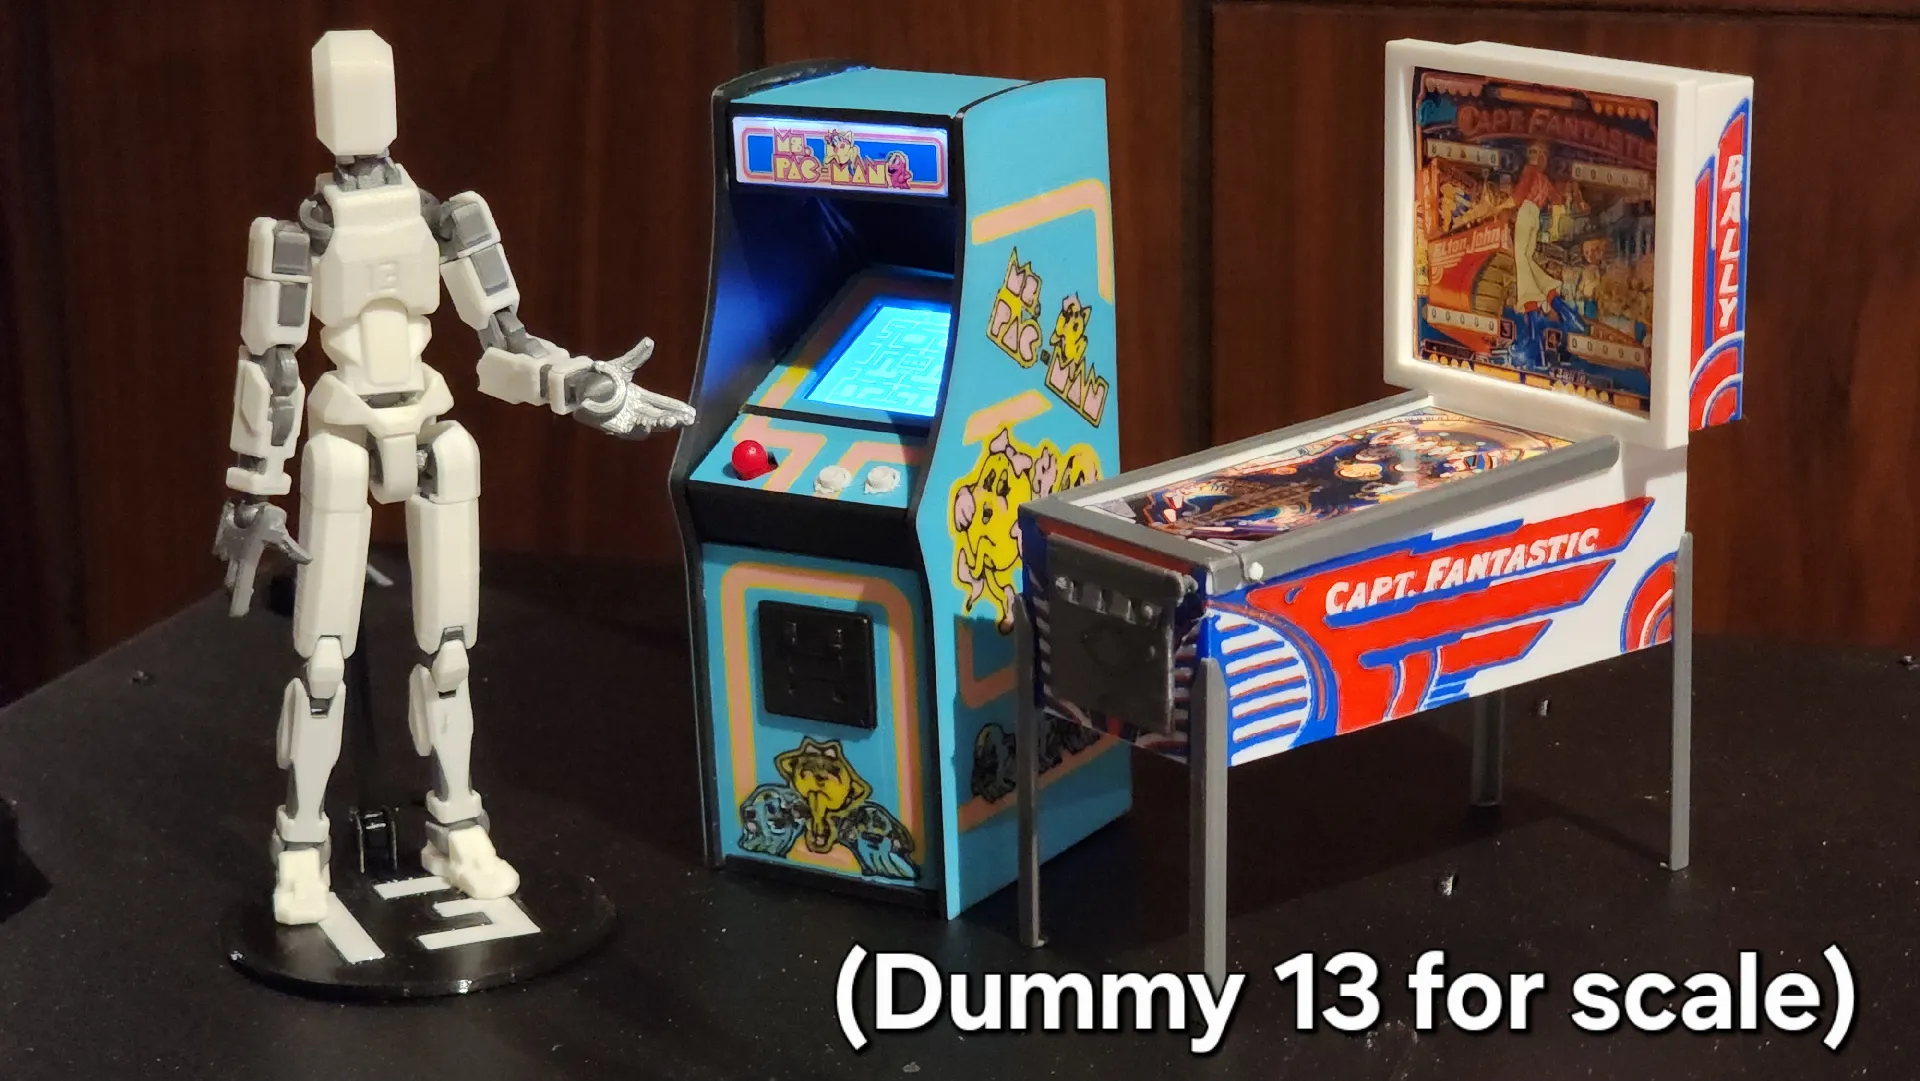
Ms.Pac-Man Tiny Arcade Deluxe Upgrade! MMU
Description
PDFI have been a fan of collecting the Tiny Arcades from Super Impulse since 2018. They are a fun little novelty for retro arcade game fans.
For this project you are going to need the following:
2- A soldering station is highly recommended.
3- Superglue, (I may change this on future iterations to make modded cabinets serviceable)
4- The Ms.Pac-Man tiny arcade or a Wave 1 tiny arcade (Pac-Man, Galaxian, or Space Invaders can work)
Wave 1 Tiny Arcades
Unfortunately, most of the older tiny arcades are becoming harder to find new these days because they are now discontinued to my knowledge. They all have the same cabinet design for simplicity, but it is known by many that each of the wave 1 cabinets contain all 4 games on the SOC! (system on chip)
Each game can be activated by either moving a resistor on the board or you can bridge each of the 4 connections with the joystick shown in this video by PatMods on YouTube.
So if you have one of the wave 1 cabinets, you can activate the Ms.Pac-Man game for this project.
The parts that you will need to salvage from the tiny arcade include the following:
1-All electronics including battery connectors.
2-The screen mount, the two tabs on the top need to be trimmed off.
3-The Joystick, The buttons are printable
4-The marquee if you are using the Ms.Pac-Man Tiny Arcade, otherwise you can remove the sticker and add a custom decal (0.4 x 1.5")
I recommend replacing all wires except for the control panel wires and screen ribbon cable.
Assemble the cabinet by doing the following:
1. Fasten the screen, mainboard, and joystick and buttons to the control panel. The screen mount can be used to keep everything compact, but the two tabs on the top will need to be trimmed off.
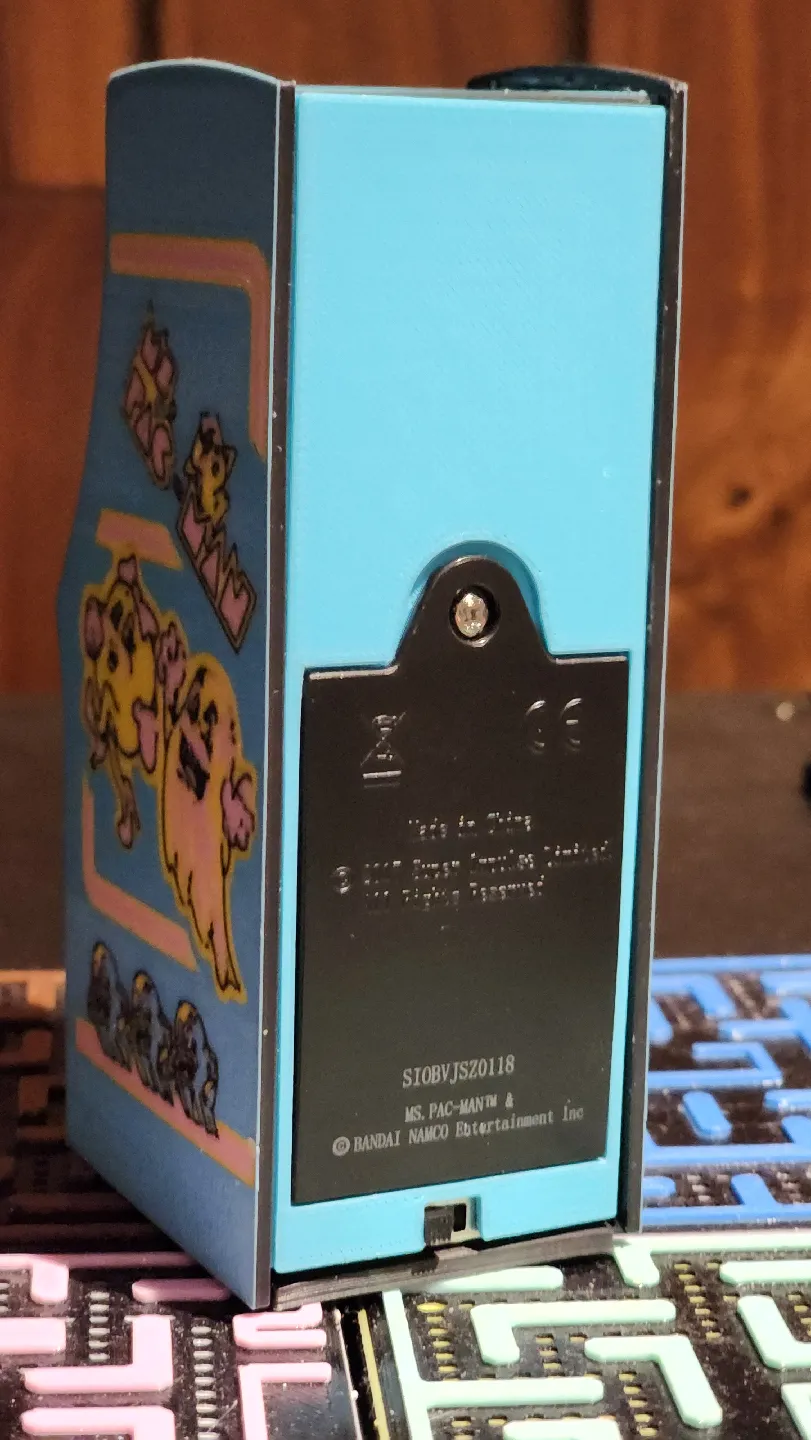
2. Insert the battery connectors into the printed battery compartment and solder the positive and negative terminals back onto the main board.
3. Solder the marquee light board leading the wires through the tab on the top piece. Then insert the marquee into the top piece.
4. Solder the speaker back onto the main board. (you can either let it hang or tape it to one of the side or front panels later)
5. TEST ALL CONNECTIONS BEFORE PROCEDEING TO STEP 6
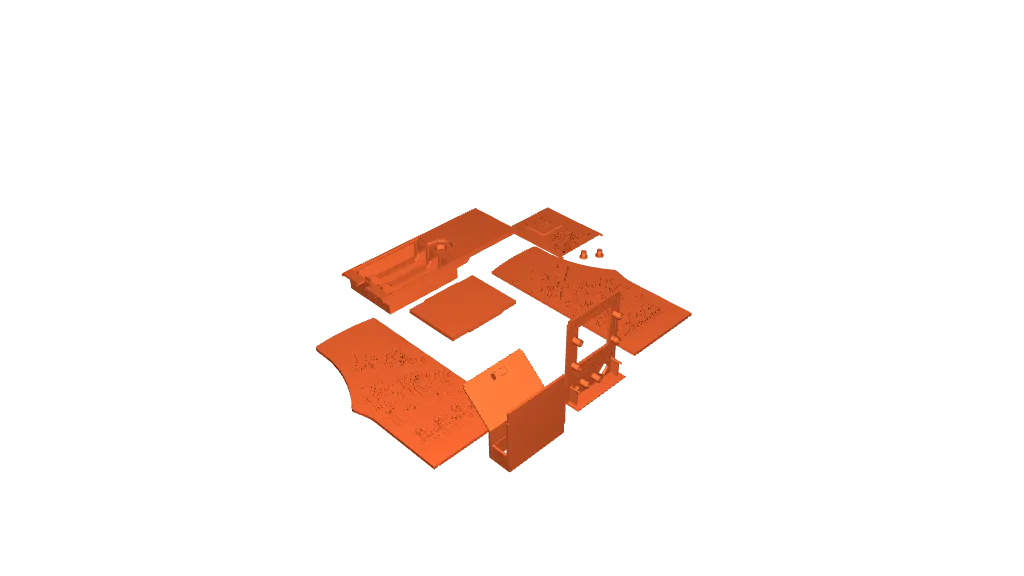
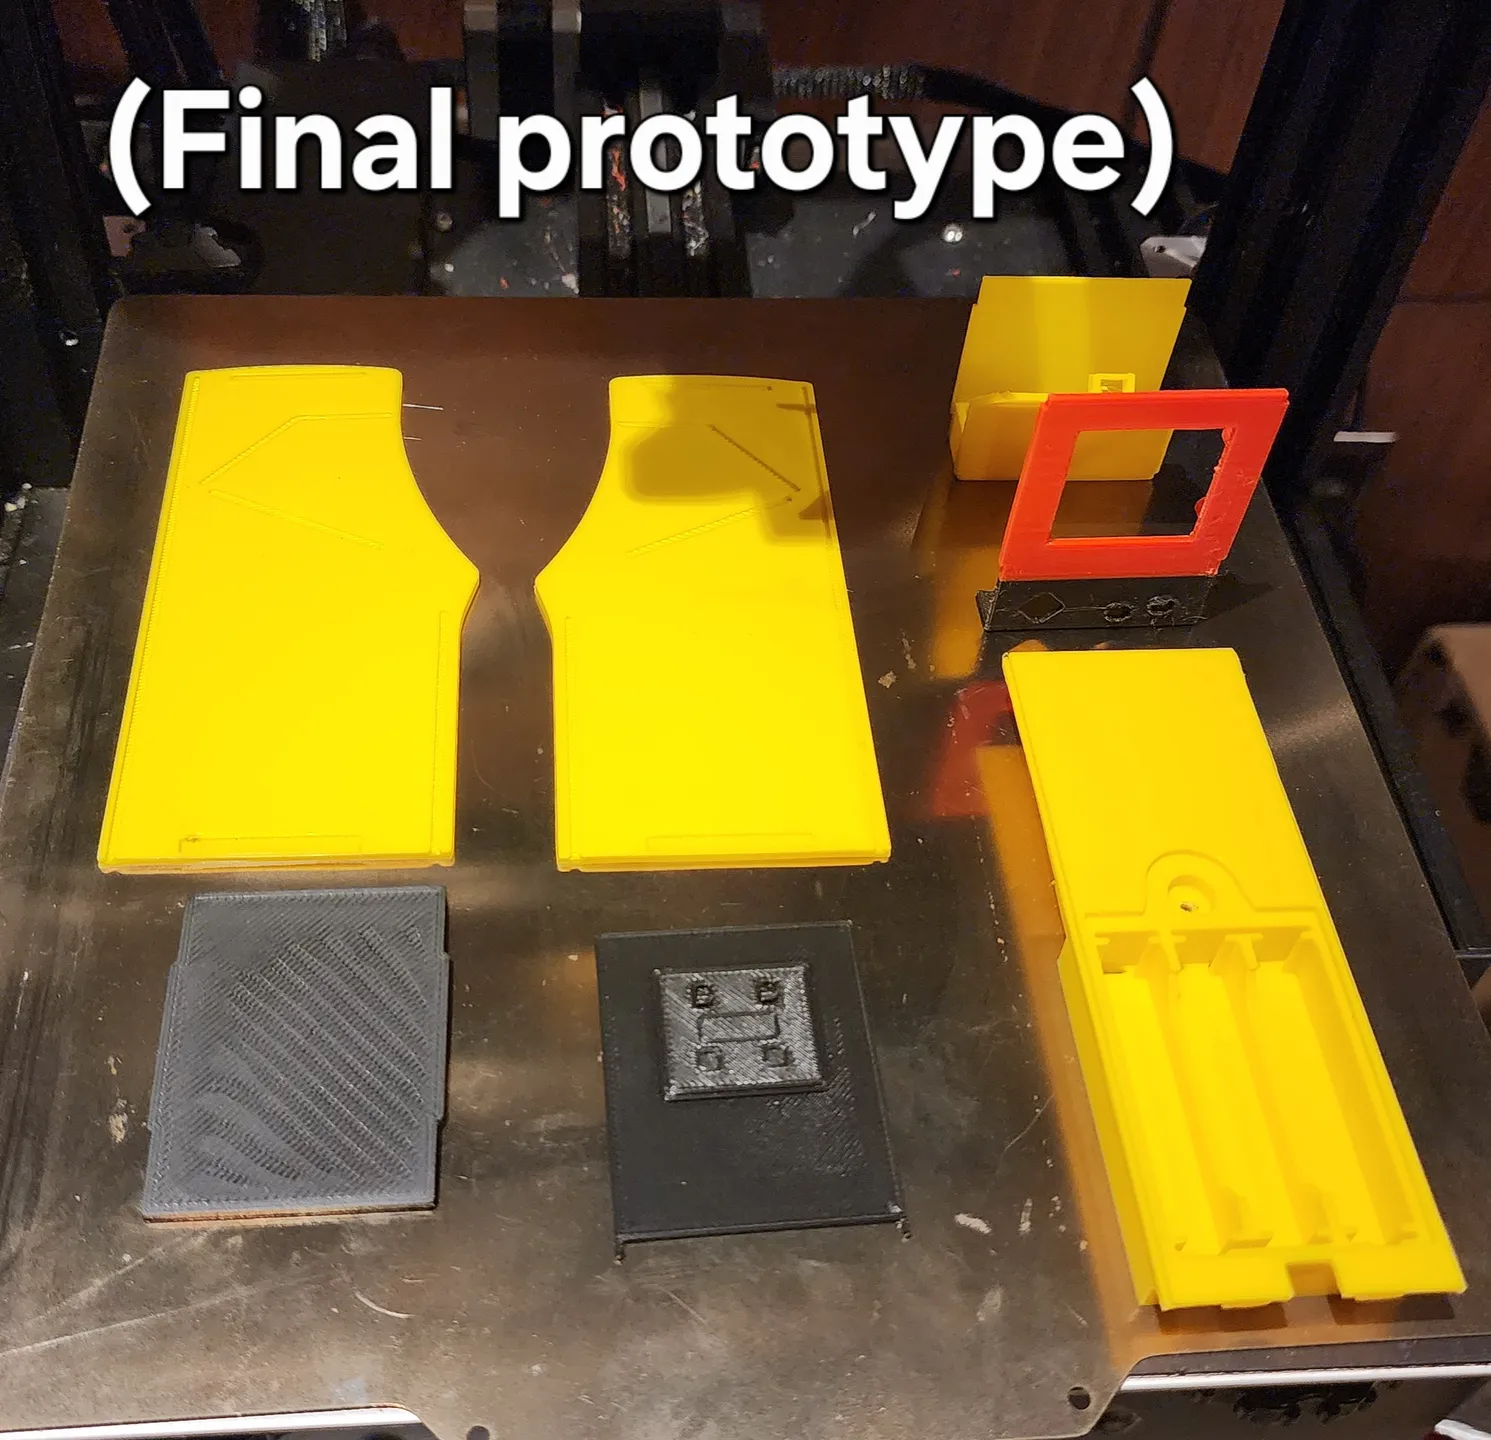
6. Lay either the left panel face down, superglue the top piece, control panel subassembly including the battery pack, front panel, and bottom panel to the left panel. Use the right panel to line all of the pieces together until they have dried. Then you can glue the right panel.
If you have any questions or suggestions, feel free to leave a comment and I will get back to you as soon as I can!
Tags
Model origin
The author marked this model as their own original creation.
