CR-10 Z-Axis Manual Adjustment Knob (also Ender 3, CR-10 mini, Hictop, Tevo Tornado)


Description
PDFCreality Ender 3 users please read the last update below
#ZKNOB
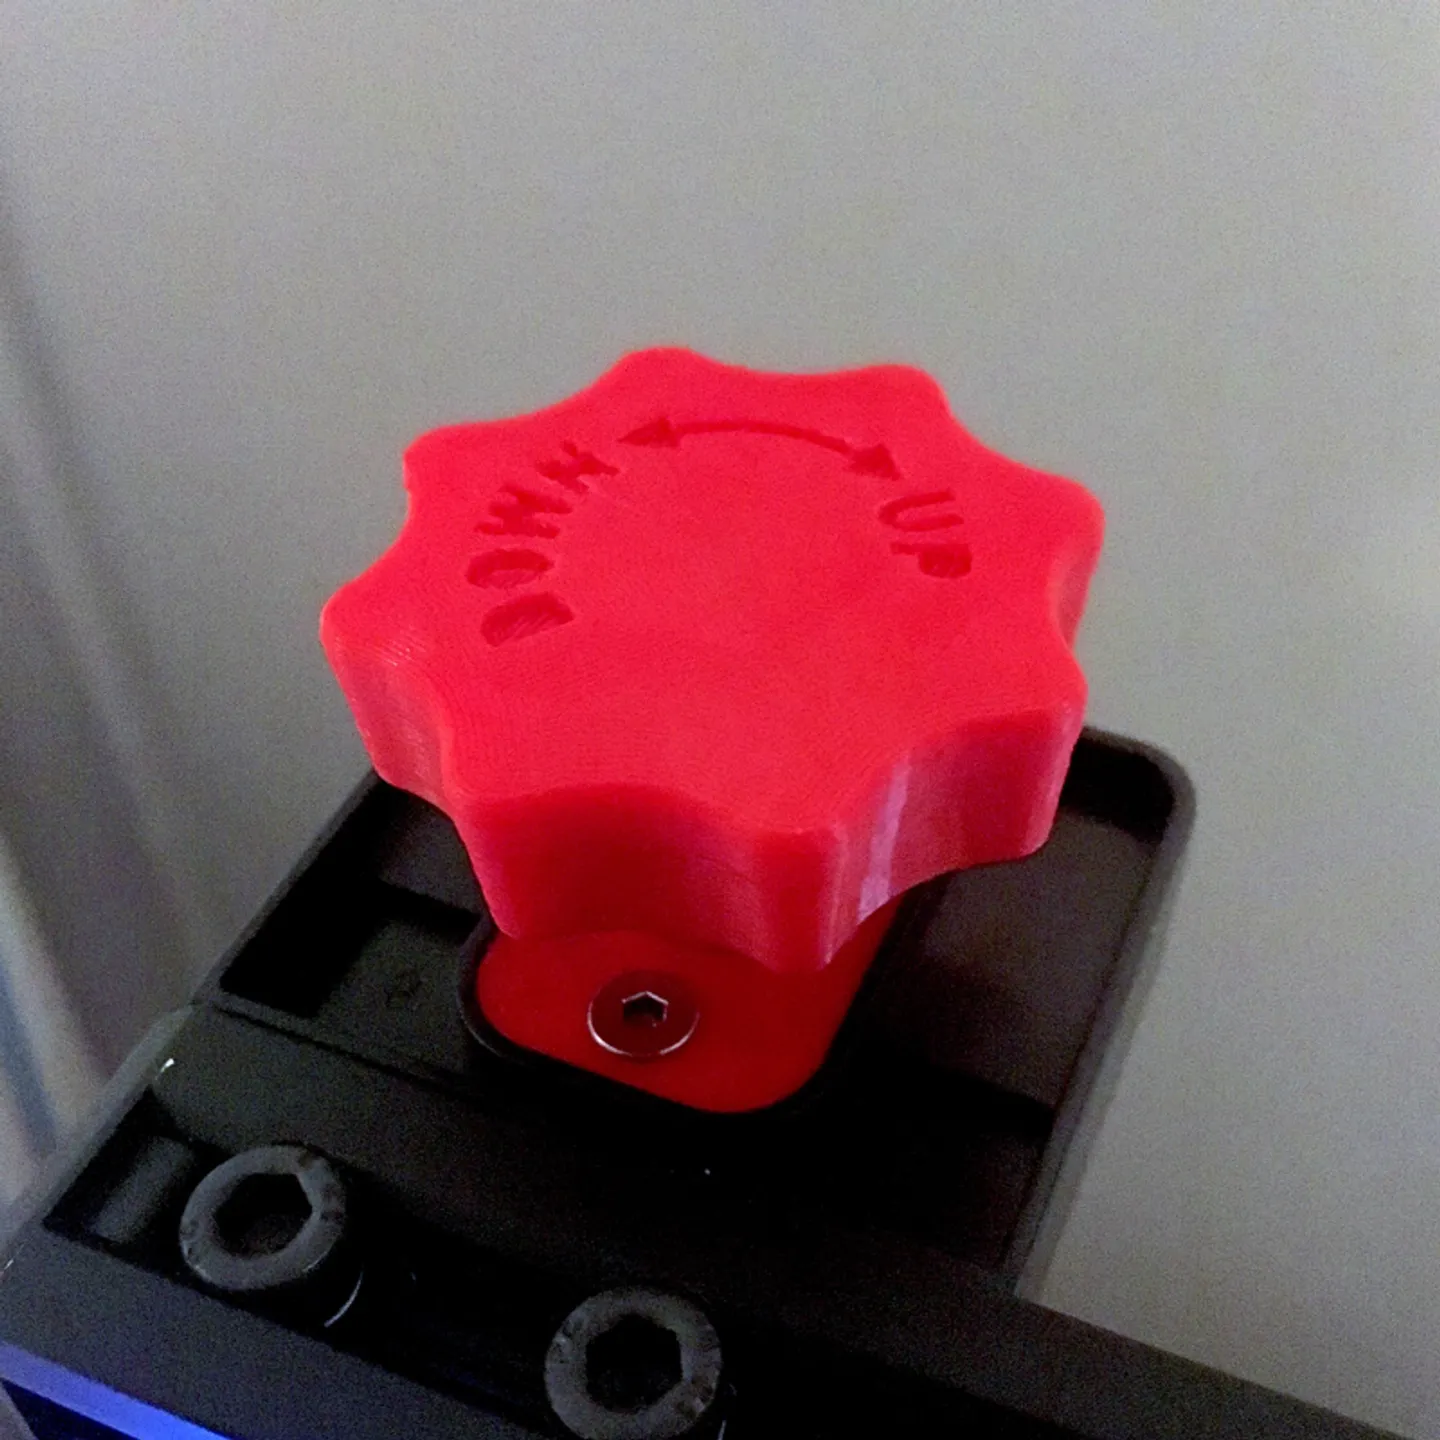
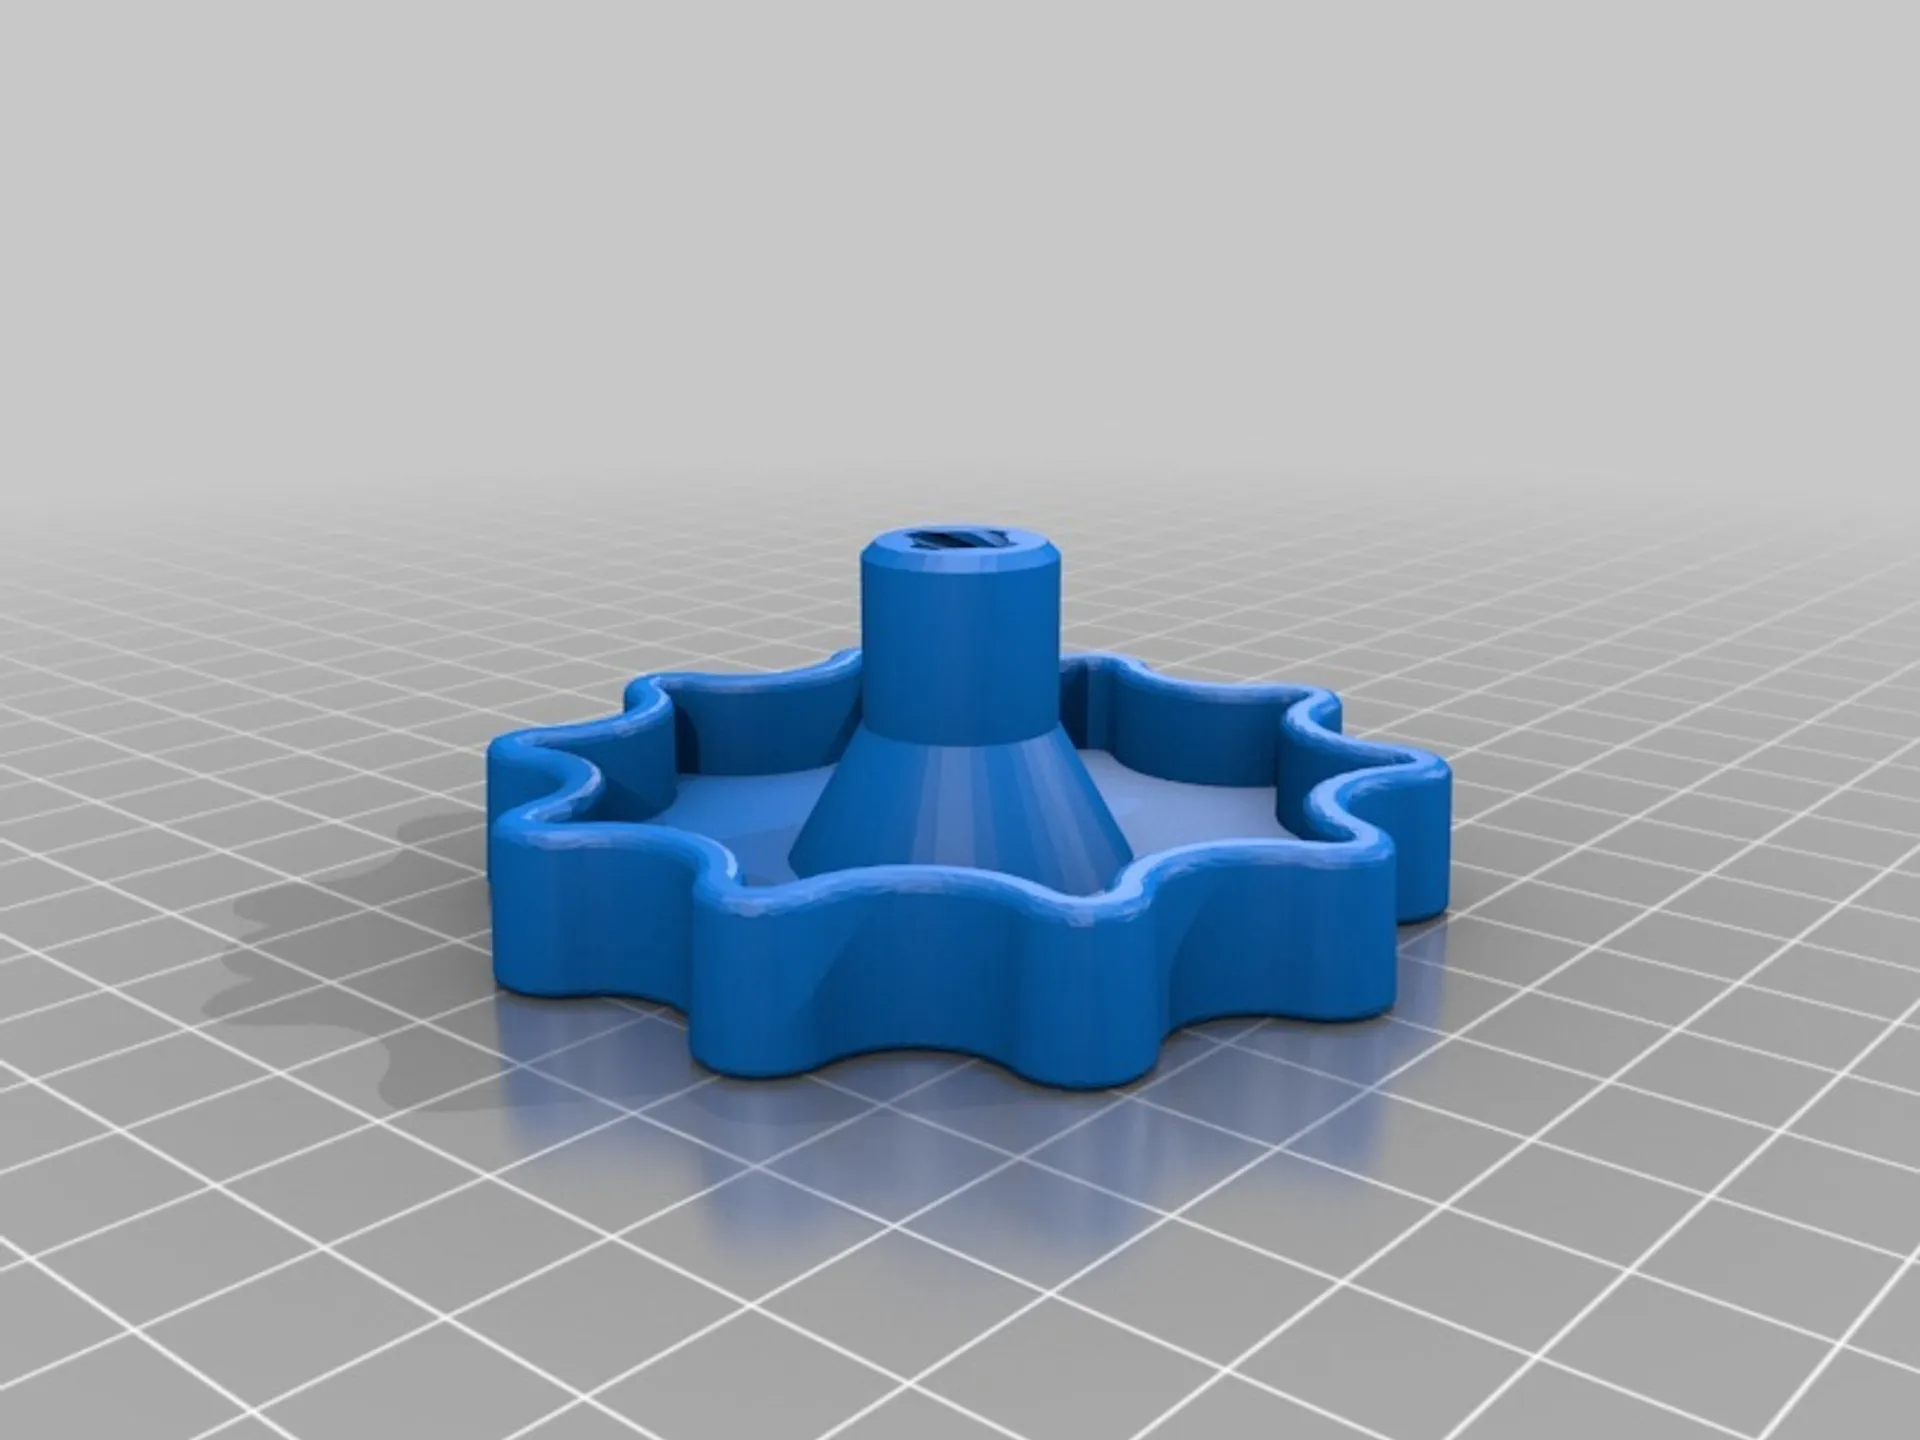
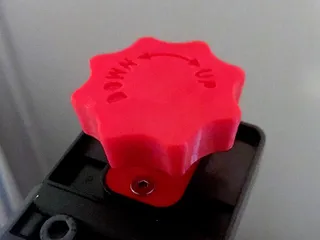
This two piece part replaces and adds to the acrylic stock cover on the Creality CR-10's Z-axis lead screw; It lets you manually control the hot end up and down (when steppers are disabled), which I have found to be VERY handy at times. For example when you're loading filament, stopping a failing print or first layer, you can easily lift the hot end by hand to give you more working space and a better view of the piece.
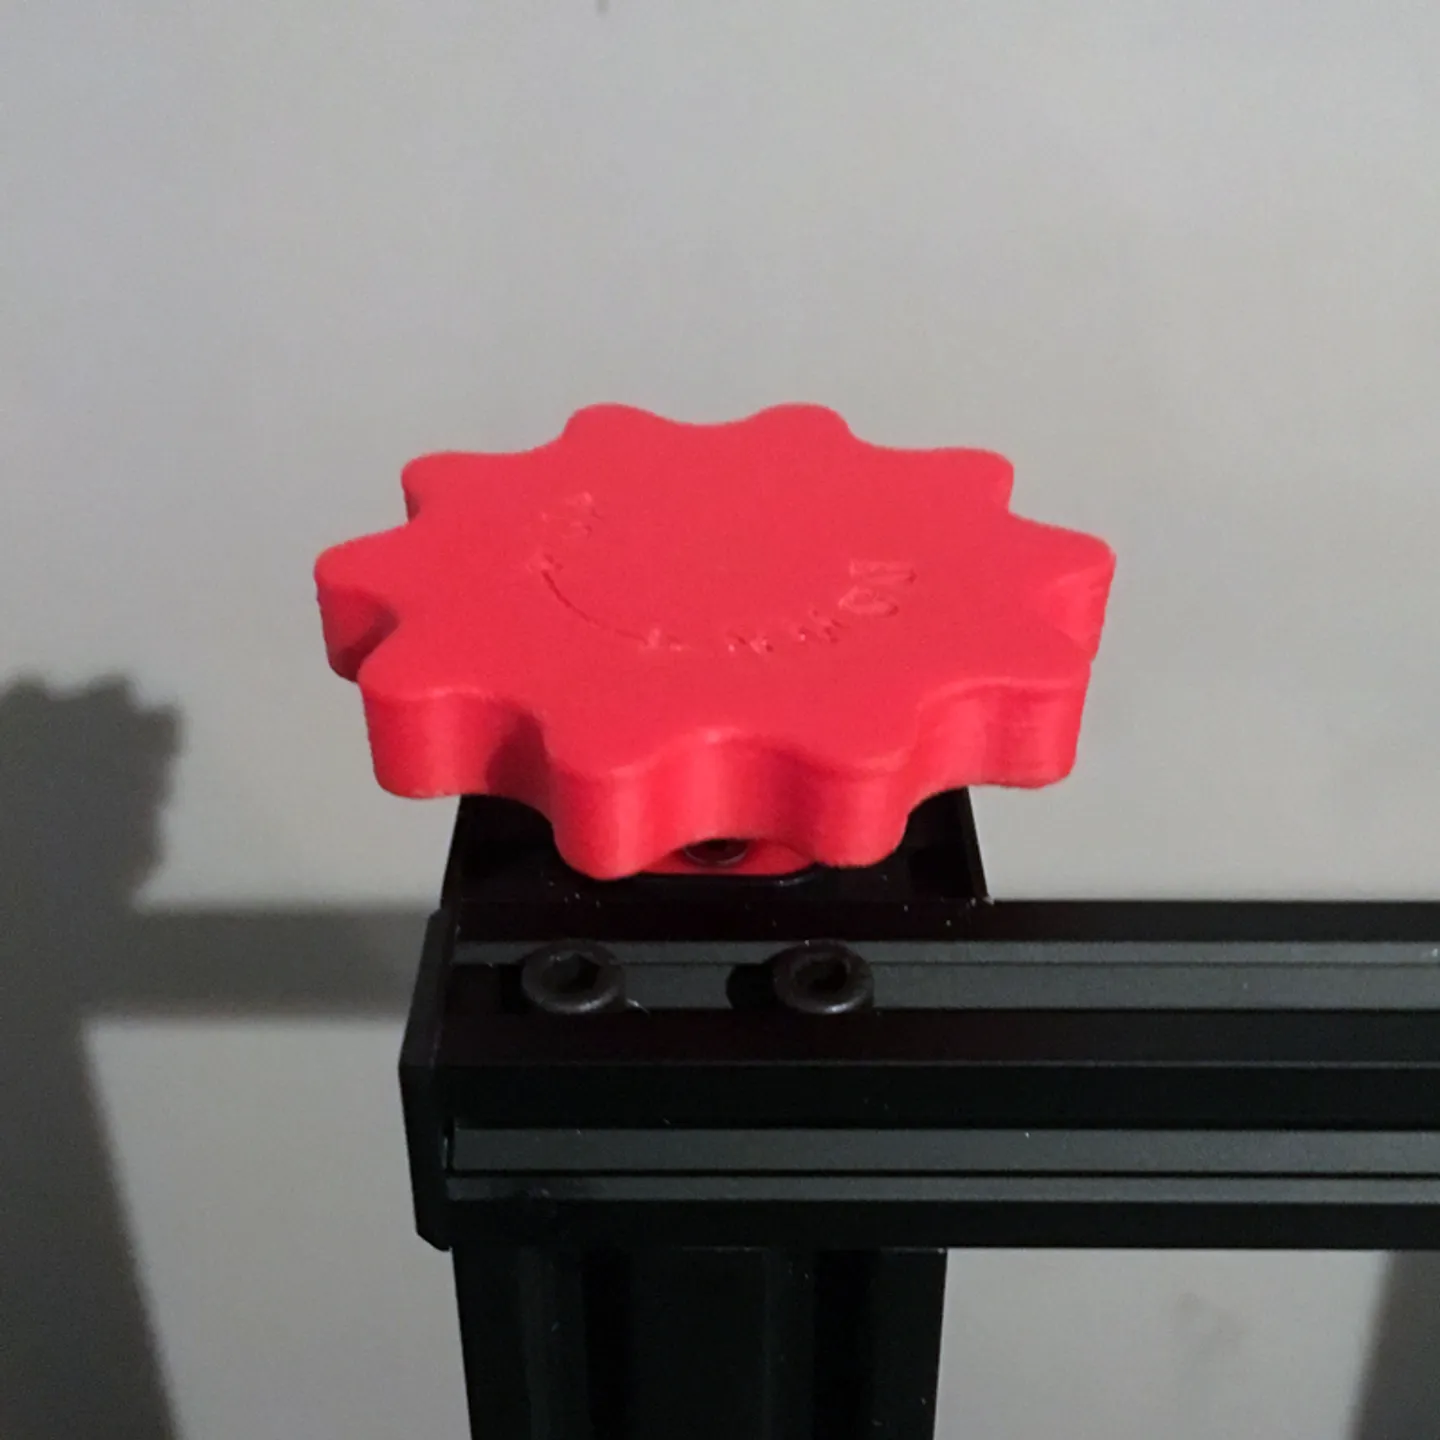
I have now also added a bigger version. This way ittakes less spinning to manually up and down the hotend. Easily fluently movable with just one finger. (09-15-2018)
VIDEOS
A simple quick and dirty demonstration by me of how the knob works:
And a more professional video by Chuck Hellebuyck on how to install the knob (and some other useful CR-10 (mini) mods) onFilament Friday: https://www.youtube.com/watch?v=qDG\_C5y-psU&t=3m23s (3 minnutes and 23 seconds in).
UPDATES & HELPFUL COMMENTS.
01/24/2019
If you want to use the ZKNOB on theEnder 3, you don't need the cover plate, as the Ender 3 has a loose lead screw. I suggest printing Ben White's stabilizer, which holds a 608 skateboard bearing and secures the top of the lead screw, so you can safely screw up and down without having to be extra cautious.
P.S. A filament guide is necessary to use the knob on the Ender 3.
FIX (02/10/2018)
Thanks to user wonkoderverstaendige I found out there was a tiny (but real) problem with the file of the big version. Basically the knob floated a mere 0.002mm above the stem, which only caused a problem when sliced in particular way, but it had definitely a weak spot. So if yours snapped at any point, this is probably why. You should have no problems with the fixed file anymore. Sorry for the inconvenience if it got you frustrated!
10/28/2017
Pemic:"The knob works also for theTevo Tornado. The stock cover is not necessary. To gain a little space on the upper side of the spindle, you have to pull the Z stepper axle a little it out of the coppler."
10/28/2017
Fort_Design:"I just wanted to let you know that this design willnot fit theAnet E10. Mainly because the housing of the upper bearing on the E10 is closed on top. One would have to redesign these housings. Diameter of the spindle on Anet E10 is 8mm."
Print Settings
Printer:
Creality CR-10
Rafts:
No
Supports:
No
Resolution:
0.2 mm
Infill:
30%
Notes:
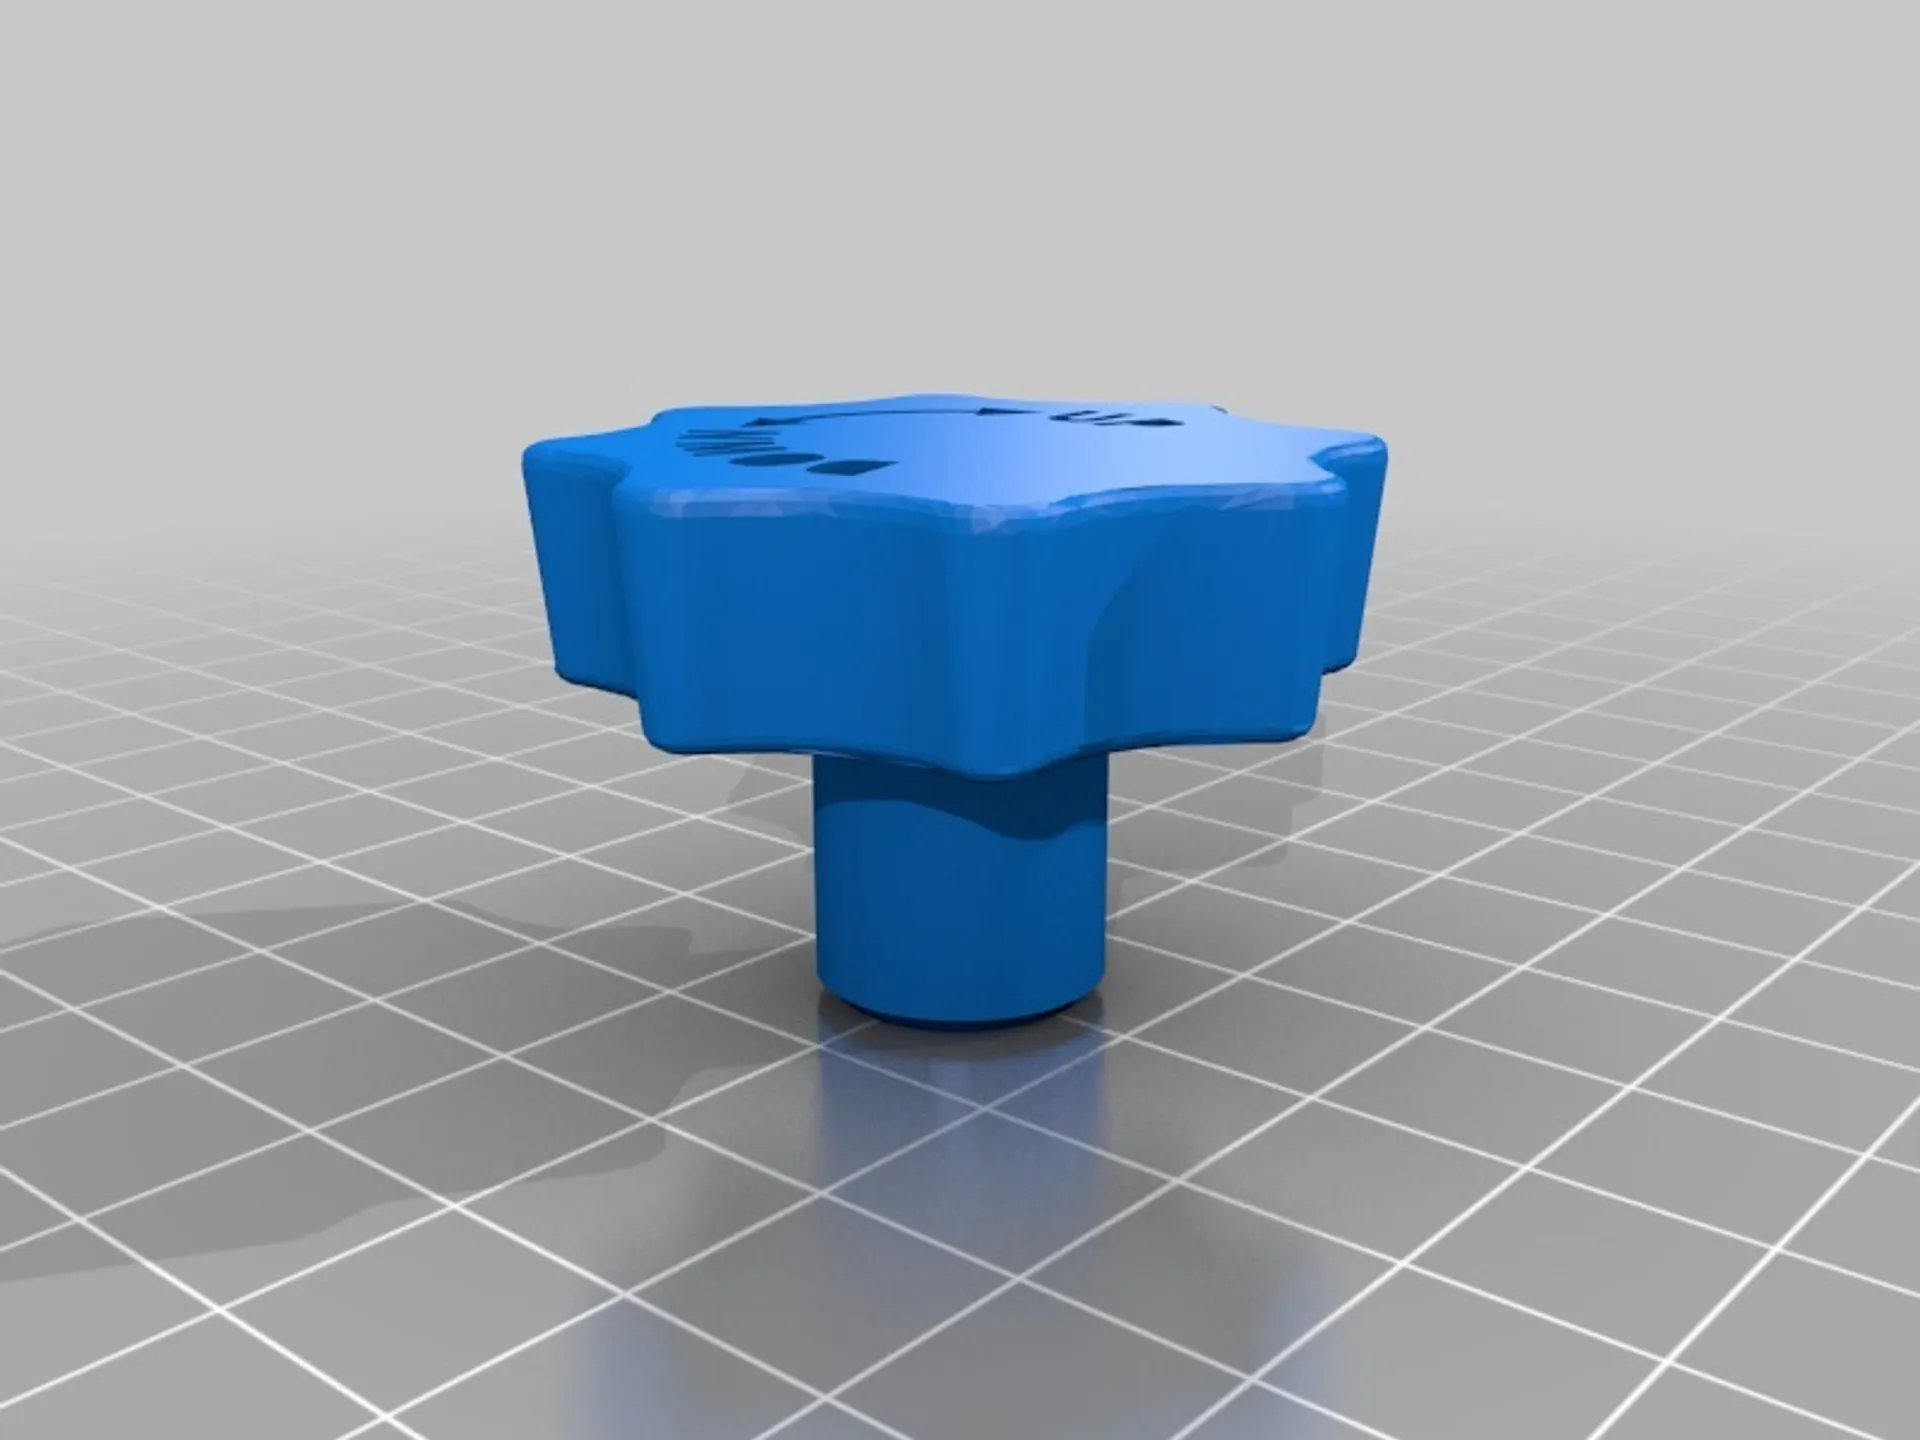
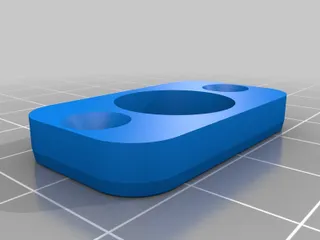
Print the knobupside down. No supports needed.
I used 3 perimiters and a 30% infill, but you could go higher for extra strength. I've been using mine on a daily basis for months now and I haven't had any problems yet.
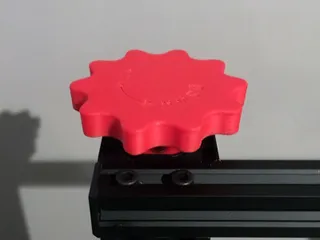
Pictured parts are printed in Das Filament PLA at 210°C/50°C on the Creality CR-10.
Post-Printing
Just swap the acrylic stock part with the freshly printed cover plate, using the stock screws. The knob then simply screws onto the lead screw until it's snug enough to let you control both up and down movements with it.
You Can Also Find Me On
Webshop: http://www.lamballbakra.com
Instagram: http://www.instagram.com/baschz
Twitter: http://www.twitter.com/baschz
Facebook: http://www.facebook.com/baschz
YouTube: http://www.youtube.com/user/baschz
Tags
Model origin
The author marked this model as their own original creation. Imported from Thingiverse.