Dremel / Parkside drill press

Description
PDFHi!
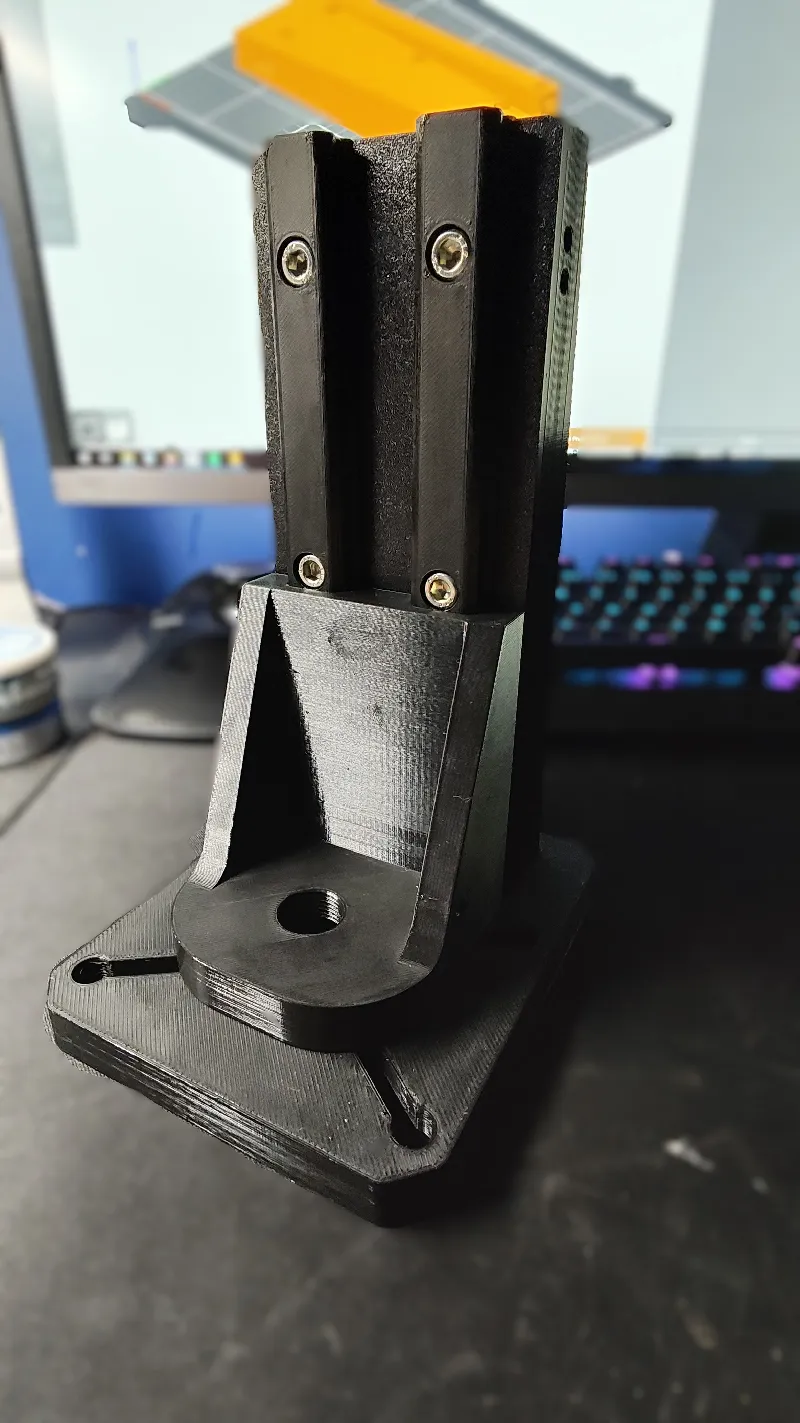
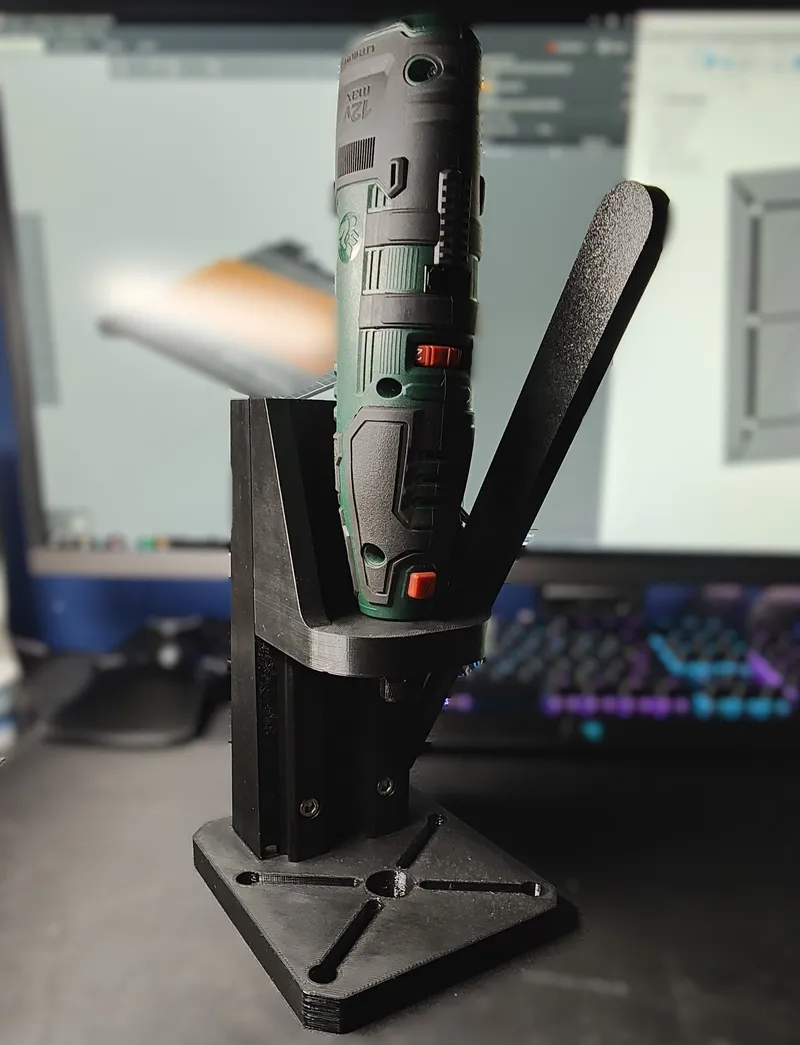
I want to introduce you my drill press for Dremel/Parkside multitools. It's easy to print and assemble - you only need a few screws and nuts to put it together.
IMPORTANT NOTE: Print “Lock_nut_Parkside.stl” and/or “Lock_nut_Dremel.stl” first to check if your multitool is compatibile with this model. If not- you can remix it :)
Tested on my Parkside PFBS 12 B6 - works well.
Print settings
Print with high infill (60-80%), PETG recommended.
All files are oriented in the best way.
“Base” and “Tool holder” require supports.
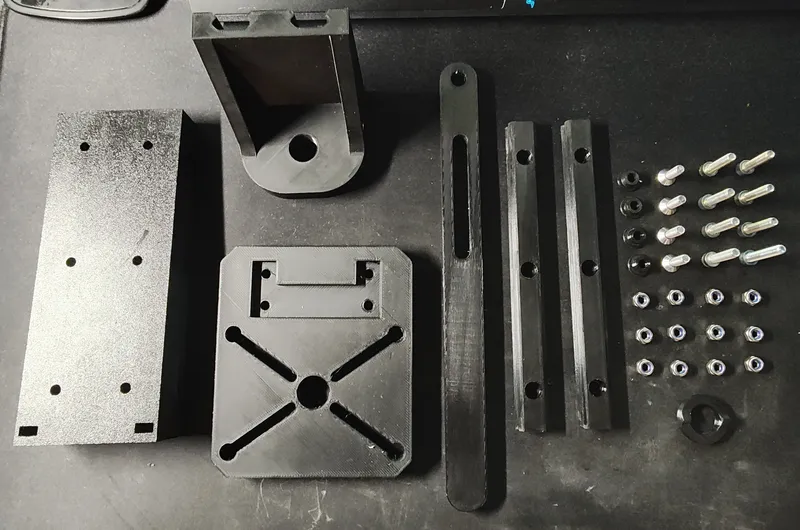
Bill of material
Printed parts:
- 1 x Base
- 1 x Lever
- 4 x Lever sleeve
- 1 x Lock nut - choose the correct one according to your multitool
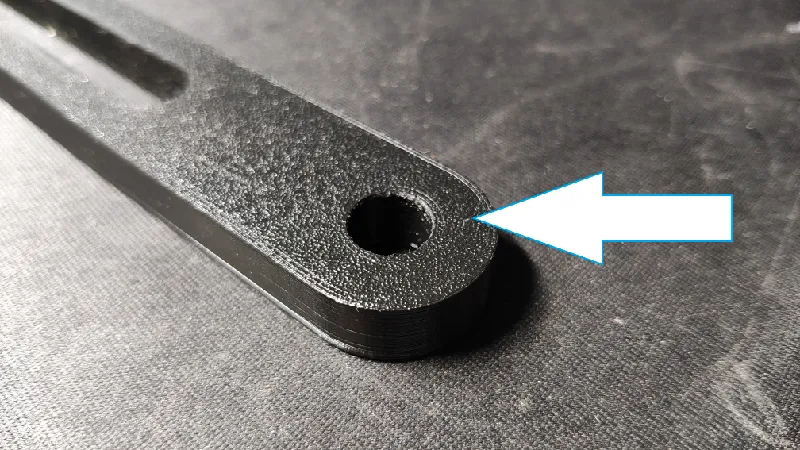
- 1 x Tool holder
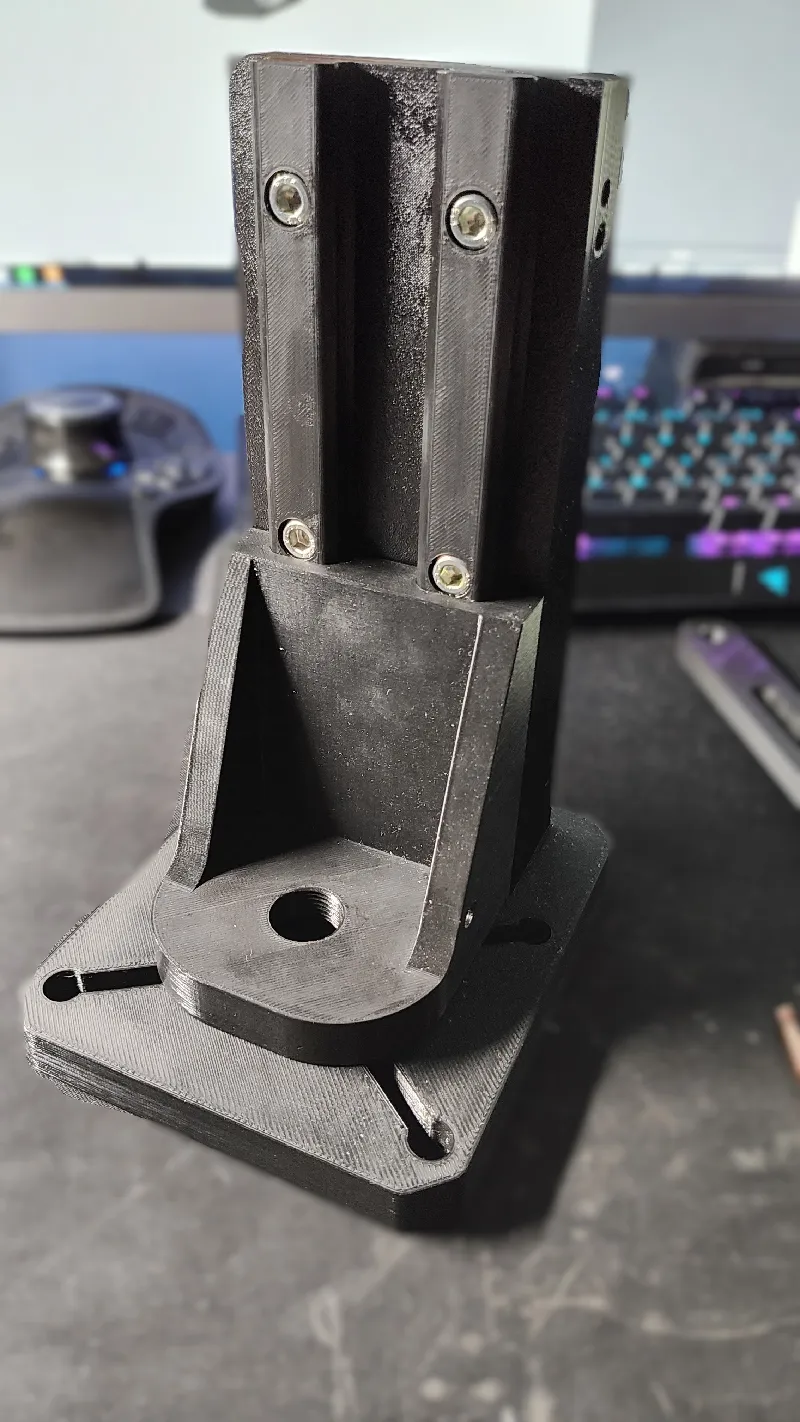
- 1 x Z guide
- 2 x Z rail
Screws & nuts:
- 12 x M6 nuts - Nylock nuts highly recommended
- 4 x M6x20 FHCS
- 7 x M6x25 SHCS
- 1 x M6x30 SHCS
Other:
- Tension spring (50mm), or rubber bands
- Some grease
Assembly manual
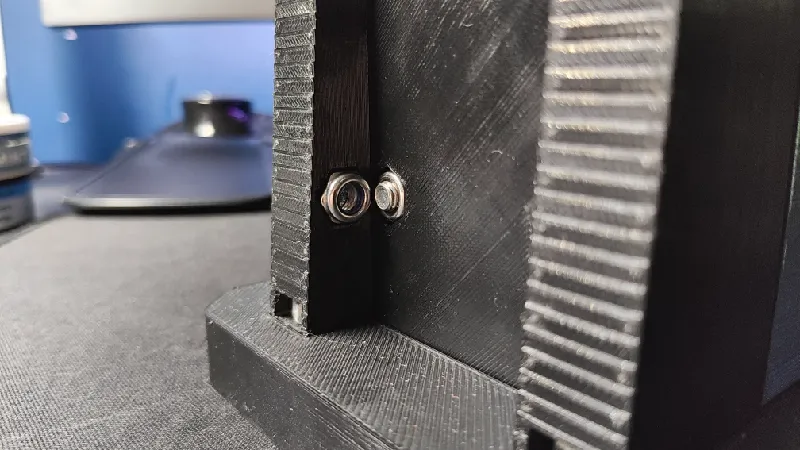
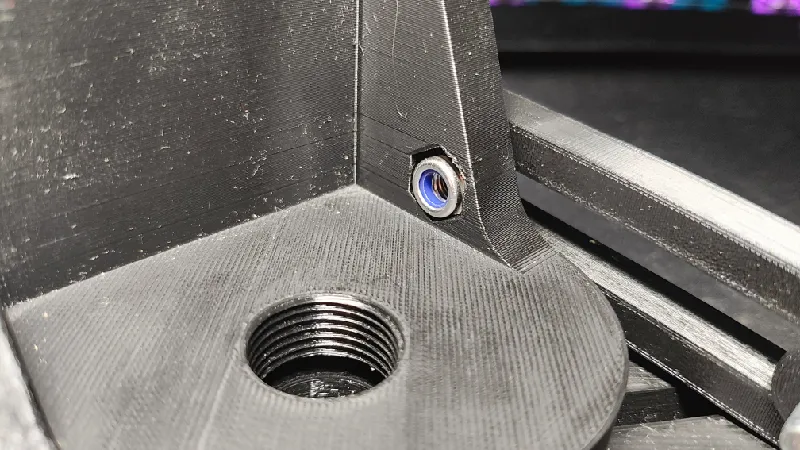
- Put 4 M6 nuts into “Z guide” lower pockets:
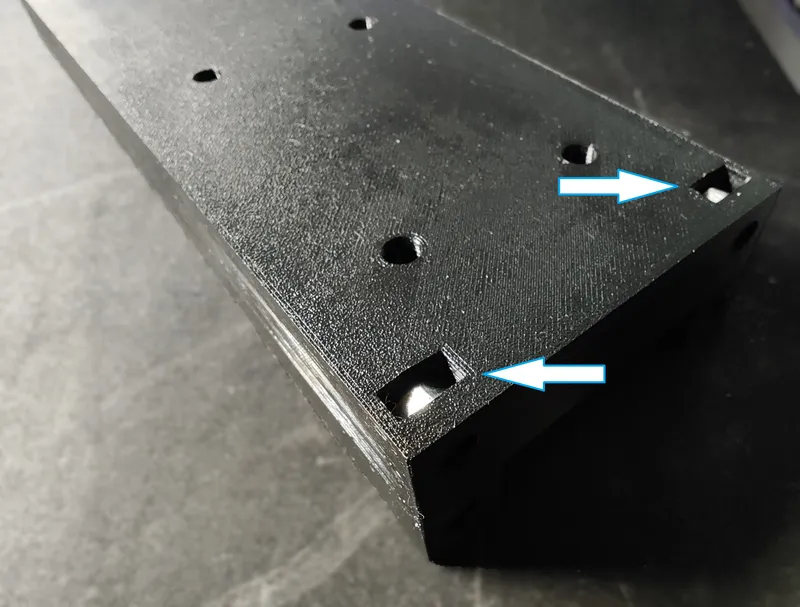
- Put “Z guide” into “Base”:
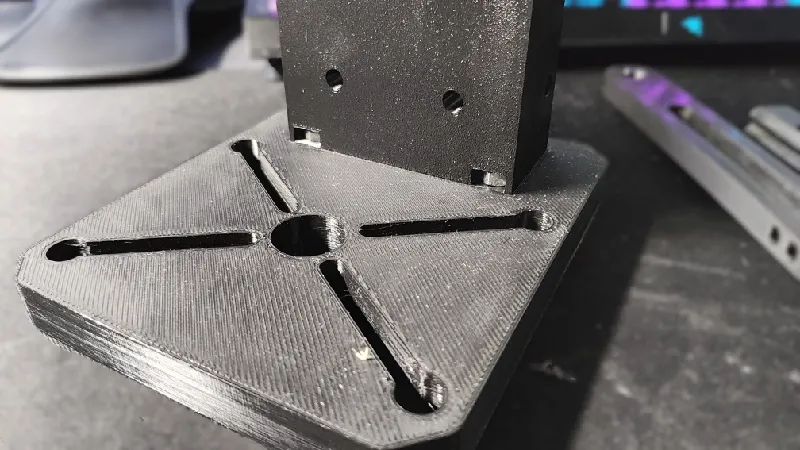
- Screw together using 4 M6x20 FHCS screws:
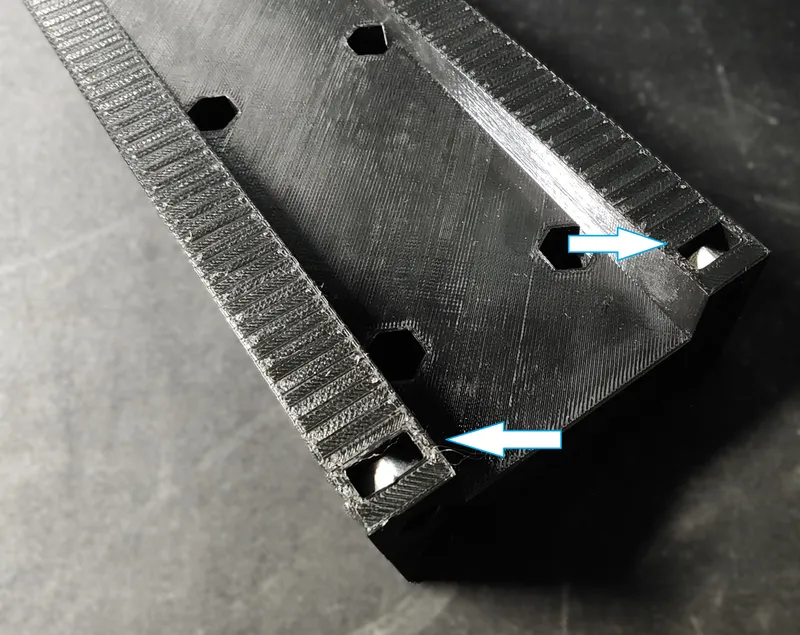
- Place 6 M6 nuts into “Z guide” back pockets:
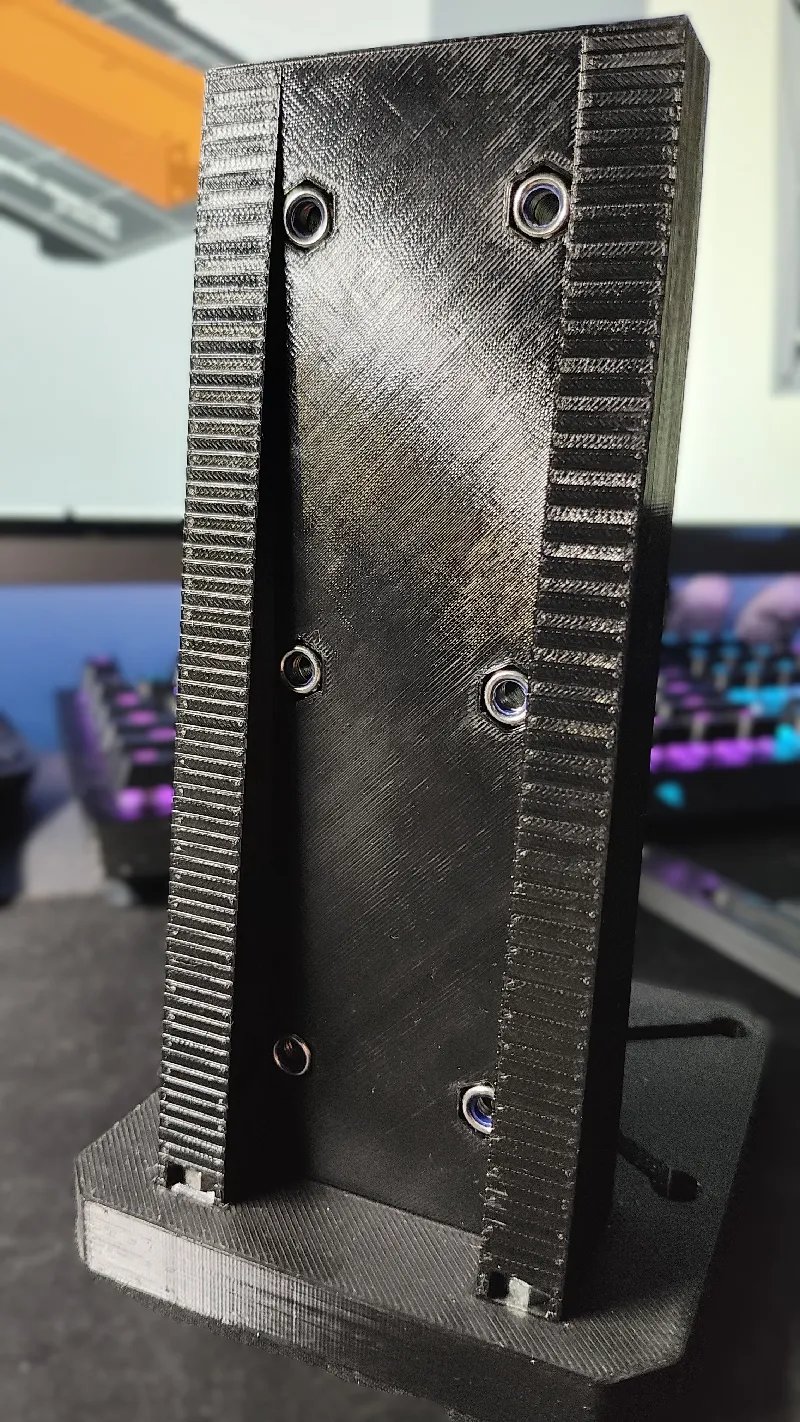
- Screw “Z rails” to “Z guide” using 6 M6x 25 SHCS screws. Don't tighten it yet!
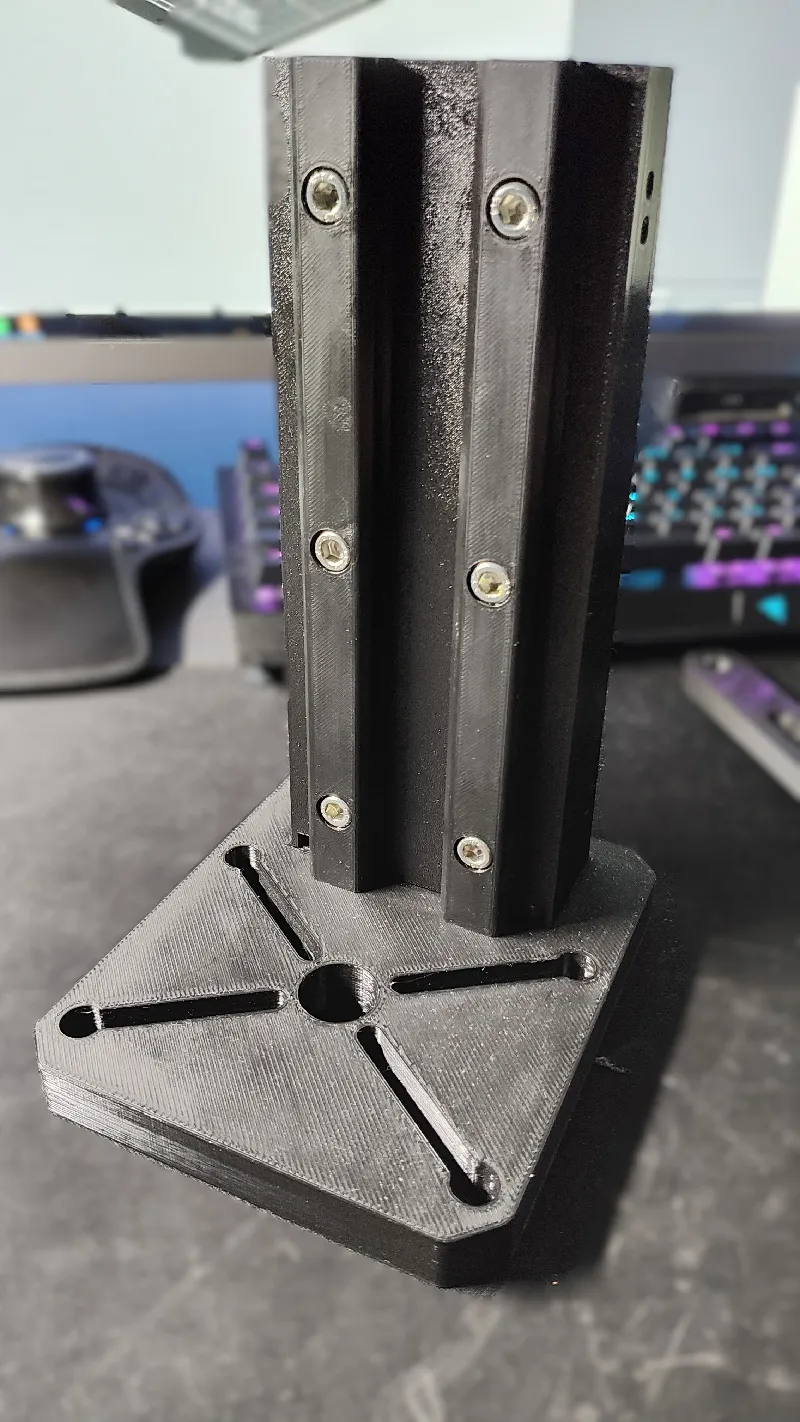
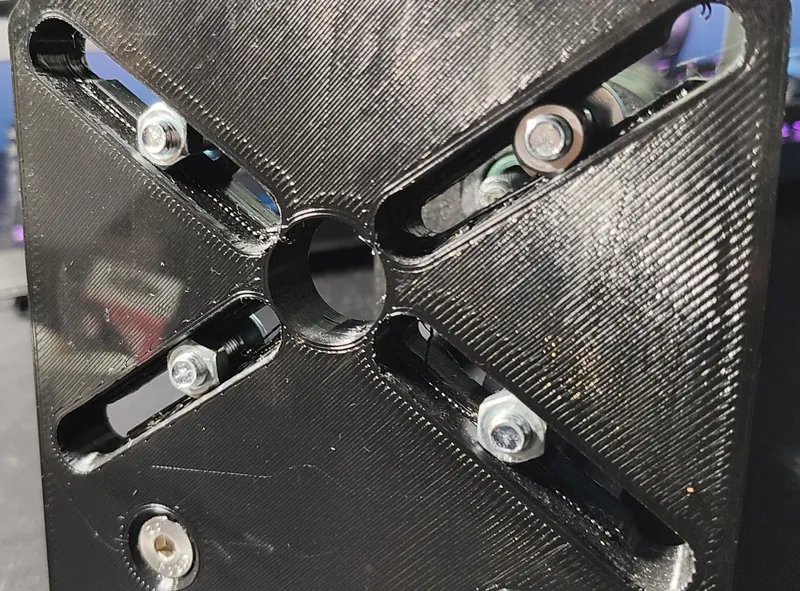
- Use “Tool holder” to align the rails parallel. If holder moves freely along rails you can tighten screws.
- Apply some grease on “Tool holder” grooves:
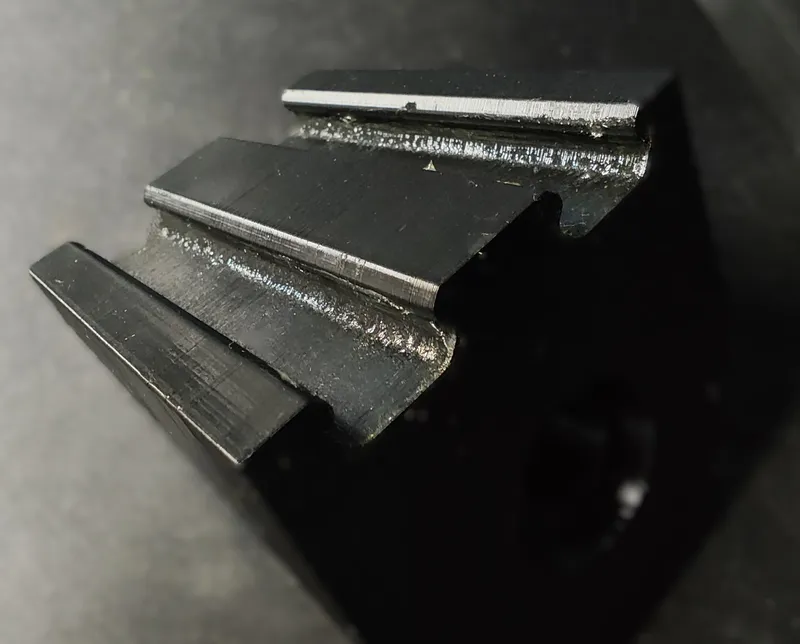
- Put “Tool holder” back on the rails. Double check that everything works fine - if not, align the rails again.
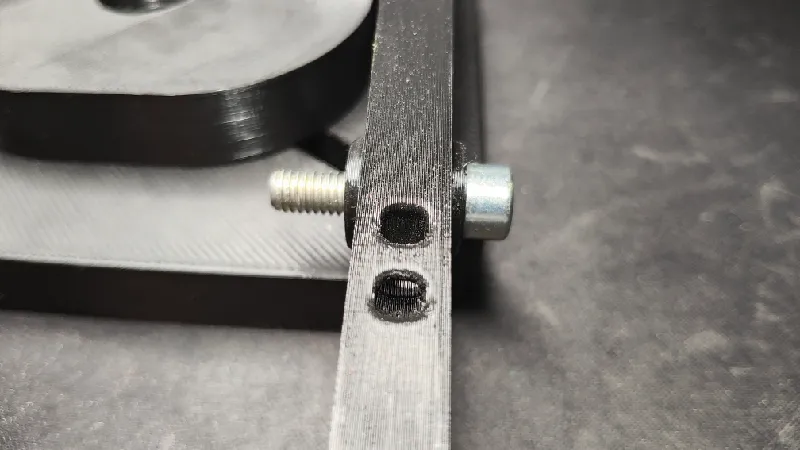
- Place the M6 nut into “Z guide” rear pocket:
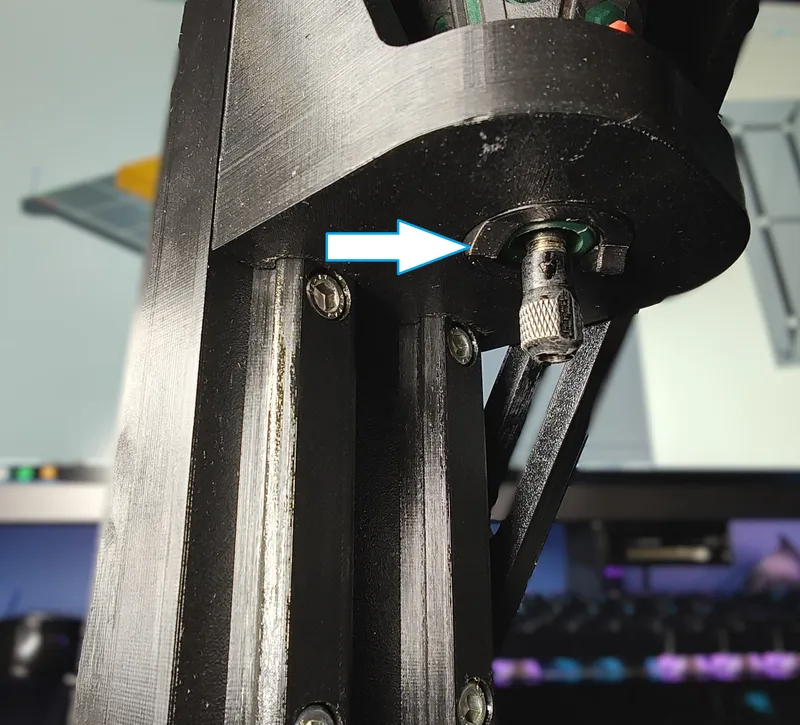
- Apply some grease to the lever hole:
- Put M6x30 SHCS with 2 lever sleeves into lever hole:
- Screw lever to the “Z guide”. Mind the proper orientation of the lever. The lever must move freely - don't tighten screw too much.
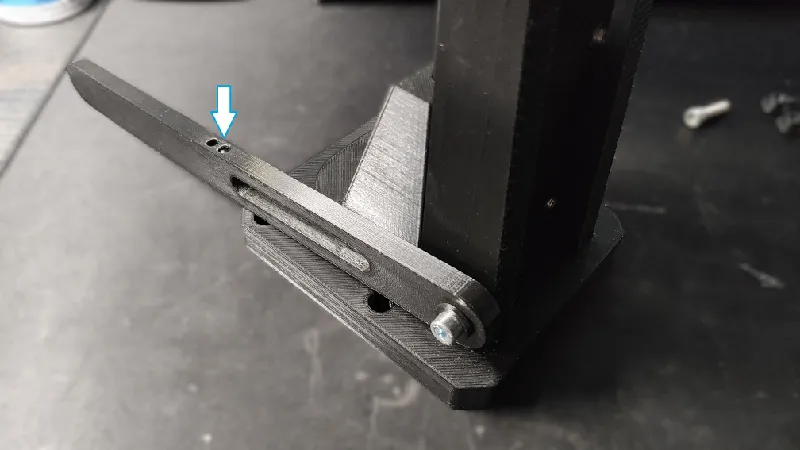
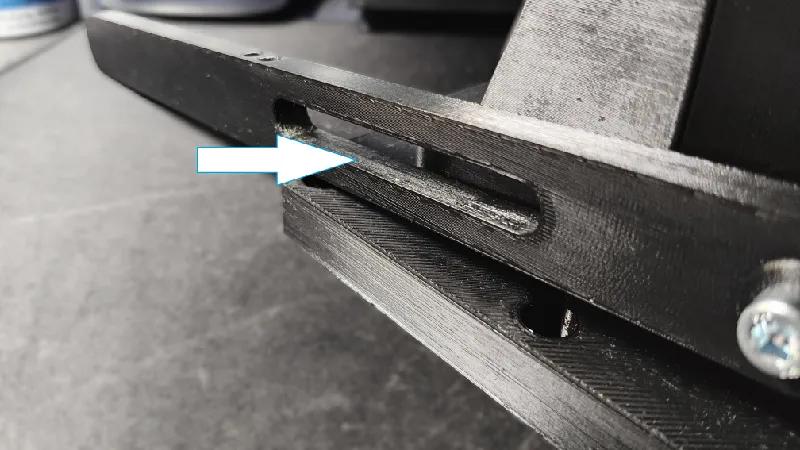
- Apply some grease to the elongated hole in the lever:
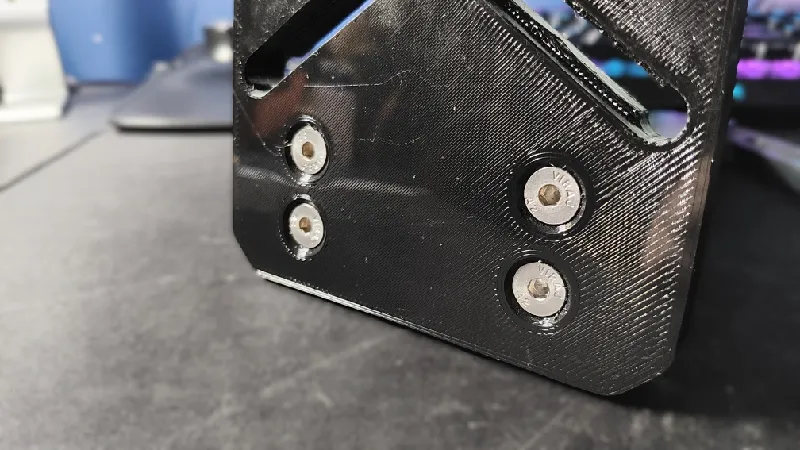
- Put the M6 nut to the pocket in the “Tool holder”:
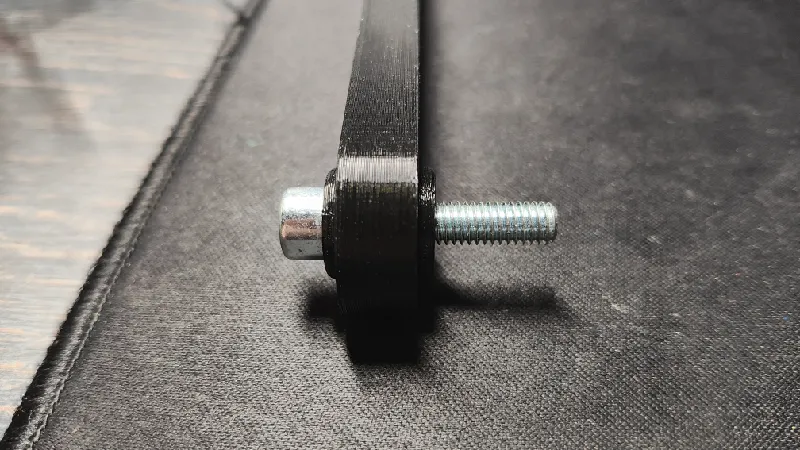
- Put M6x25 SHCS with 2 lever sleeves into lever elongated hole. Screw together with “Tool holder”:
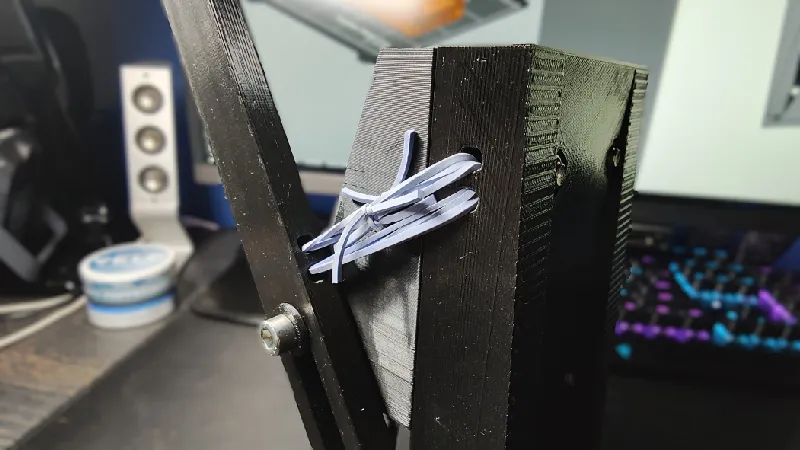
- Place tension spring between lever and “Z guide”. Alternatively, you can use some rubber bands - just like me.
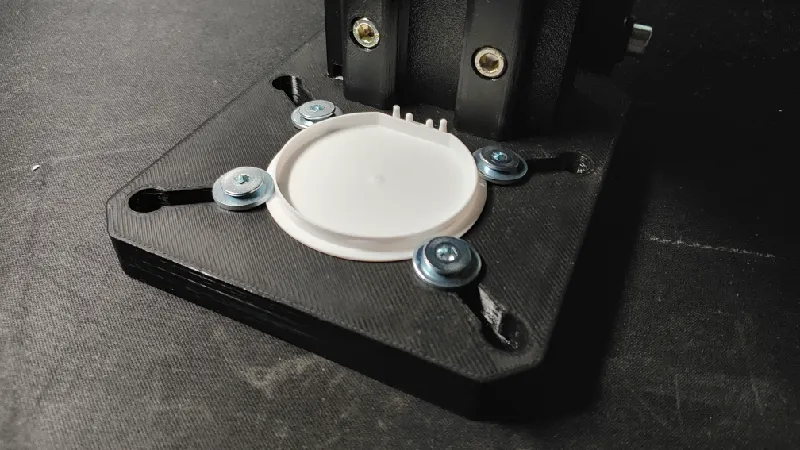
- Put multitool into “Tool holder” and secure using proper “Lock nut”:
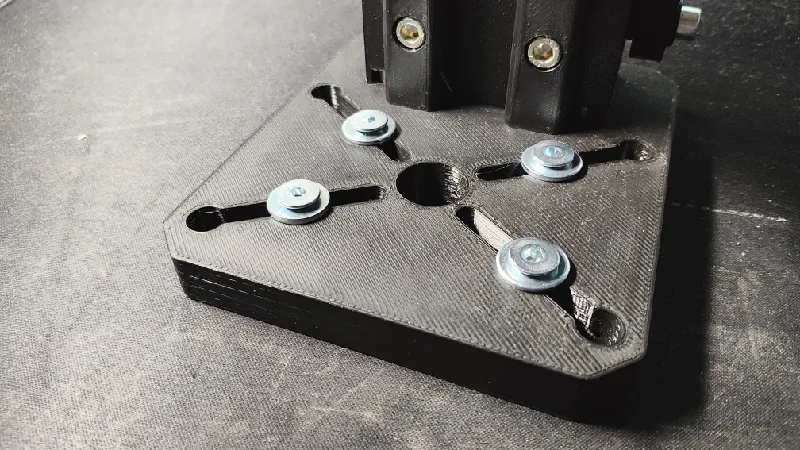
- Optionaly you can use 4 M6 screws with nuts to hold drilled object or to mount some accessories:
Tags
Model origin
The author marked this model as their own original creation.