Infinity Fidget Cube Ultra

My take on the very popular fidget infinity cube
606
1859
20
11 k
updated February 27, 2025
Description
PDFHere is my take on the very popular "Infinity Cube" with a twist !
Features
- Easy to print in single or multiple colors
- Model can be printed in one or more colors with or without a MMU
- Easy to assemble
- Templates are provided for easy assembly
- Follows you everywhere
- Box allows storage and transport
Be advised, this model is not that « easy » to print
- Consider this model as a torture test for you printer, filament profile and your skills
- This model can be “Print-In-Place” with a MMU
- Everything must be very fine tuned to be printed successfully
- Please, try to print the “mmu_test” first
- Everything must be very fine tuned to be printed successfully
- The tolerances between parts are very tight
- You may need to resize the links to make them snap into place
- This model can be “Print-In-Place” with a MMU
Print instructions
- Filament
- PLA (recommended)
- Print settings
- Default Prusa Slicer 0.20mm STRUCTURAL
- Supports : None
- Fidget parts
- Perimeters : 2
- Infill : 100% Rectilinear (the heavier the fidget, the better the feeling)
- Seam position : Rear (recommended)
- Paint-on-seam (for aesthetic reasons)
- Make sure the seams are on the edge of the fidget parts
- Paint-on-seam (for aesthetic reasons)
- Fidget Links
- Be advised
- Not all 3D Printers and print profiles produce the same results
- You may need to resize the links to make them snap into place
- Please, post a make to let us know
- Infill : 25% Grid ~ Zig Zag
- Perimeters : 3
- Be advised
- Fidget Templates & Box
- Infill : 15% Grid ~ Zig Zag
- Perimeters : 2~3
Change Log
- 2024-12-17 Split the MMU Plate into two
- One plate for the fidget and one plate for the test
Assembly
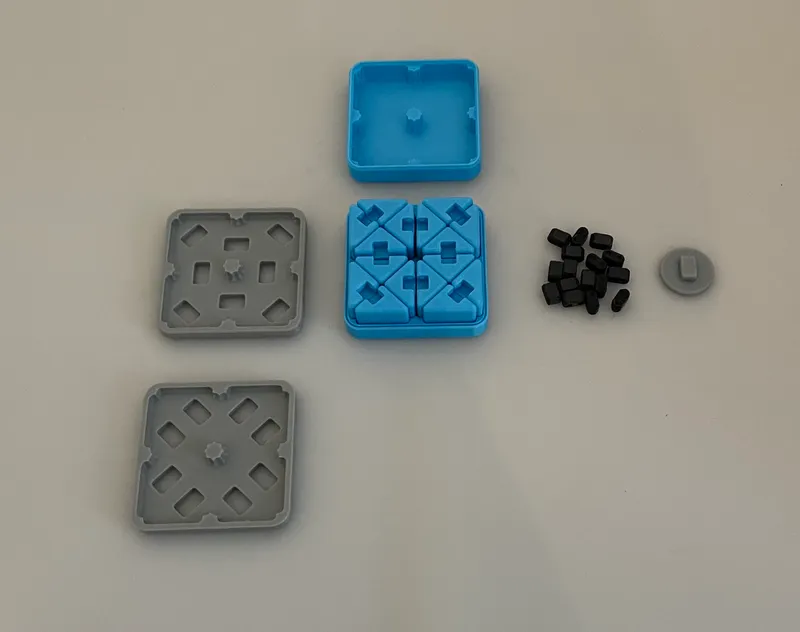
- Place the fidget parts in the storage box and make sure the top parts are aligned correctly
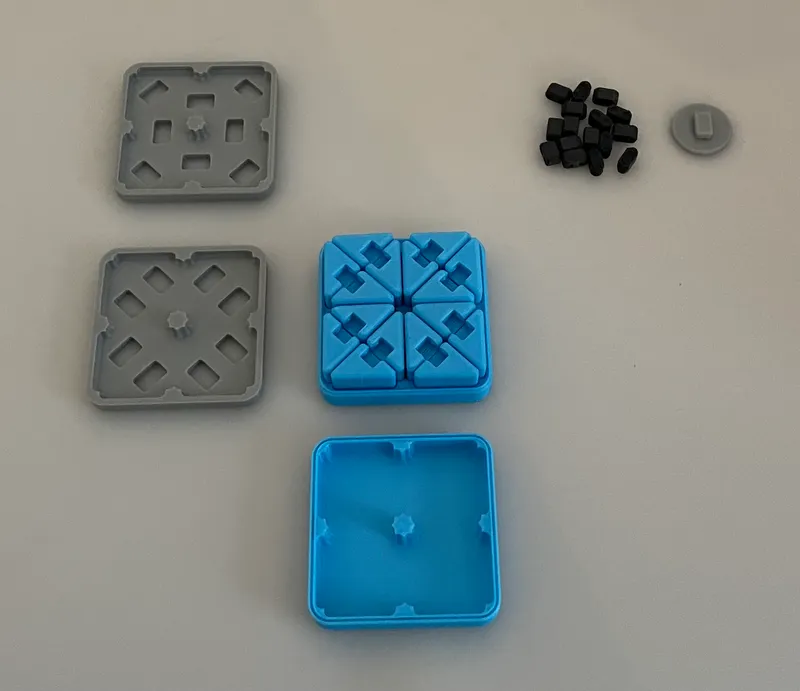
- Flip the box and make sure the bottom parts are also aligned correctly
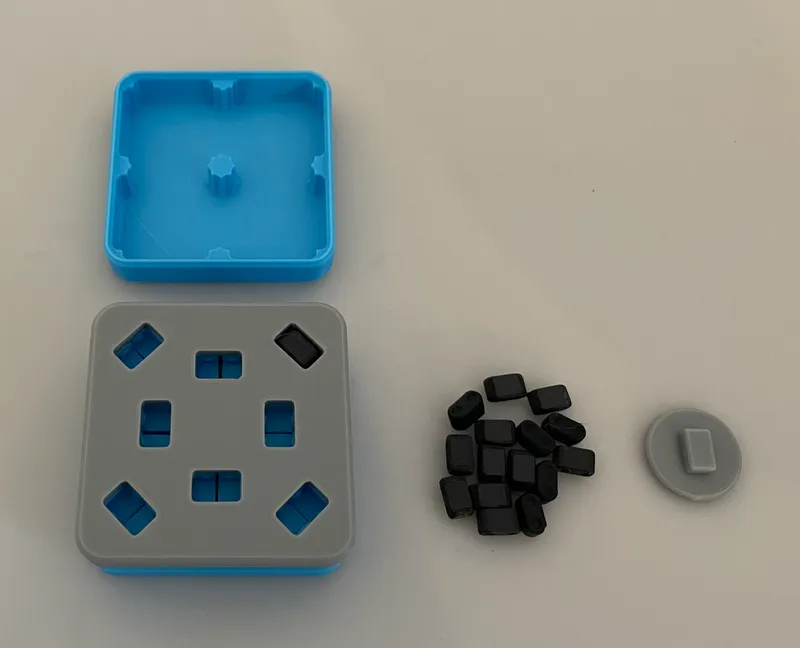
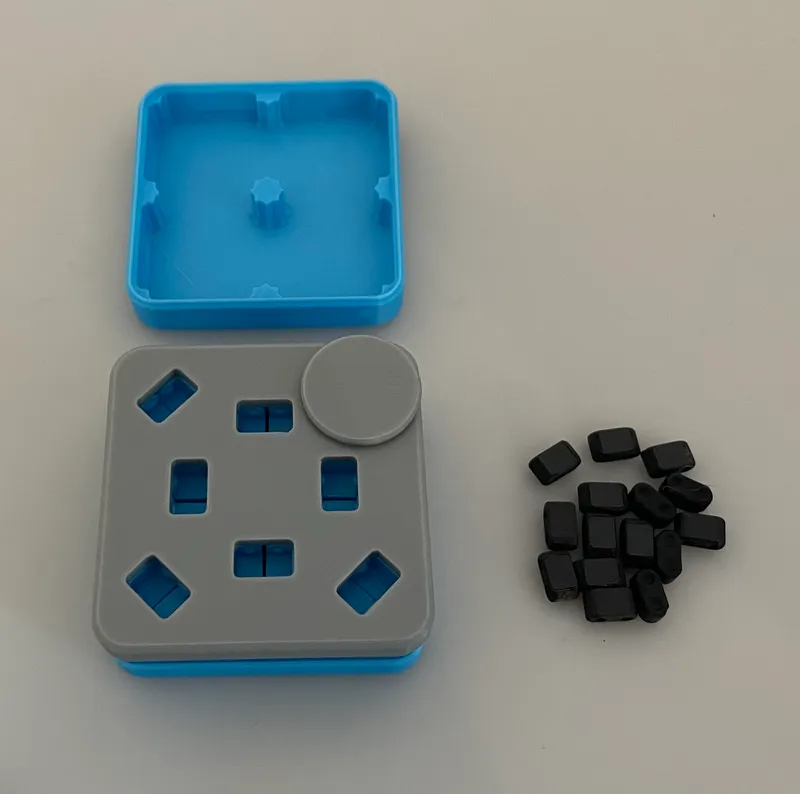
- Place the template on top of the parts
- Place the links into the slots
- Press all the links into place
- If the links are to hard to press in by hand, use a small hammer ;-)
- Flip and repeat
Tags
Model origin
The author marked this model as their own original creation.