Raspberry Pi 4 Model B case

Description
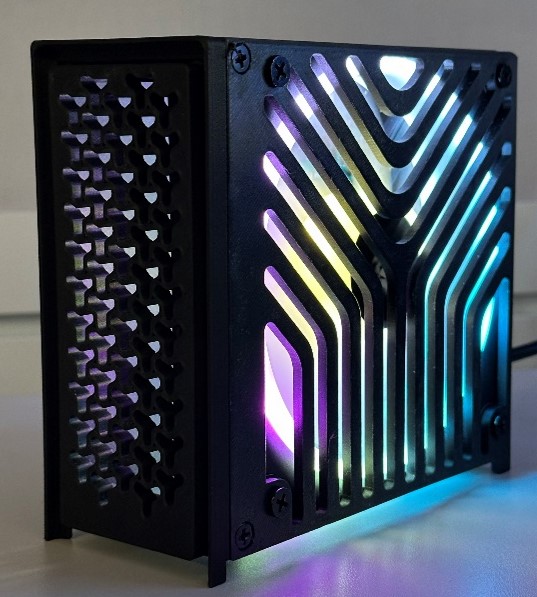
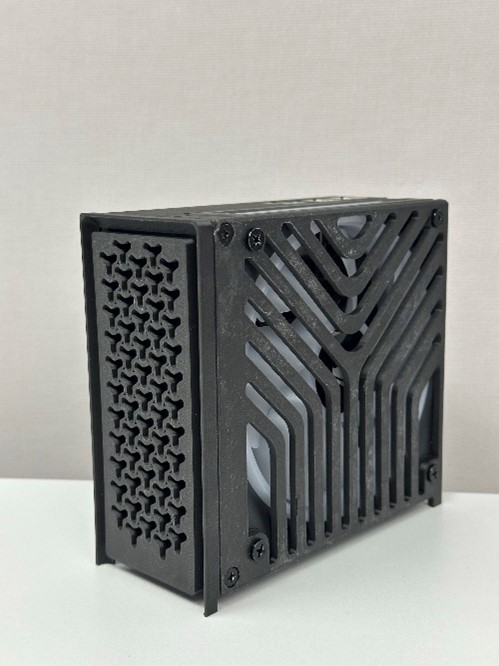
PDFThis 3D-printed case is designed for a Raspberry Pi 4 Model B and makes use of any spare 120mm fan you might have lying around.
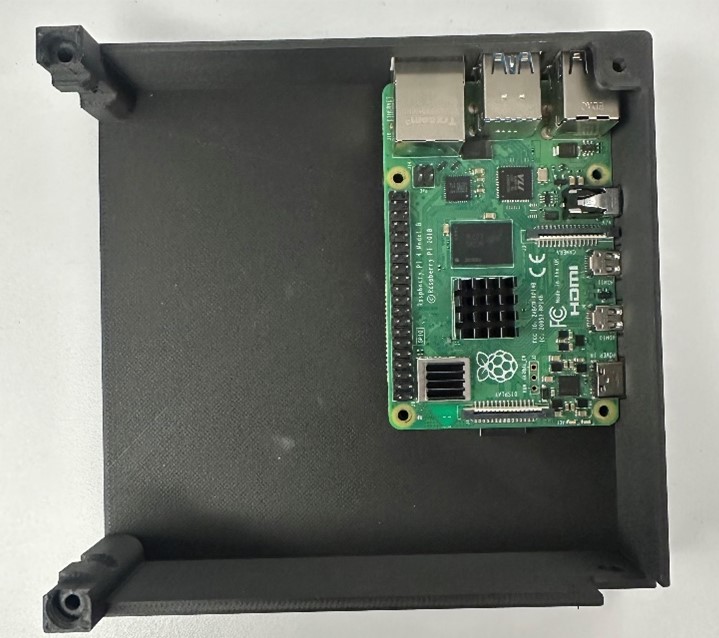
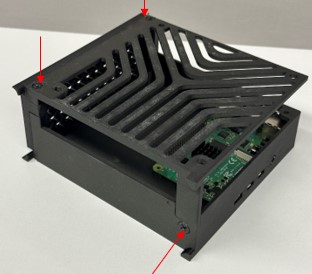
Place the Raspberry Pi into the bottom panel, making sure that the I/O ports slot into the cutouts. Use 4 M2.5 screws to screw into the bottom panel.
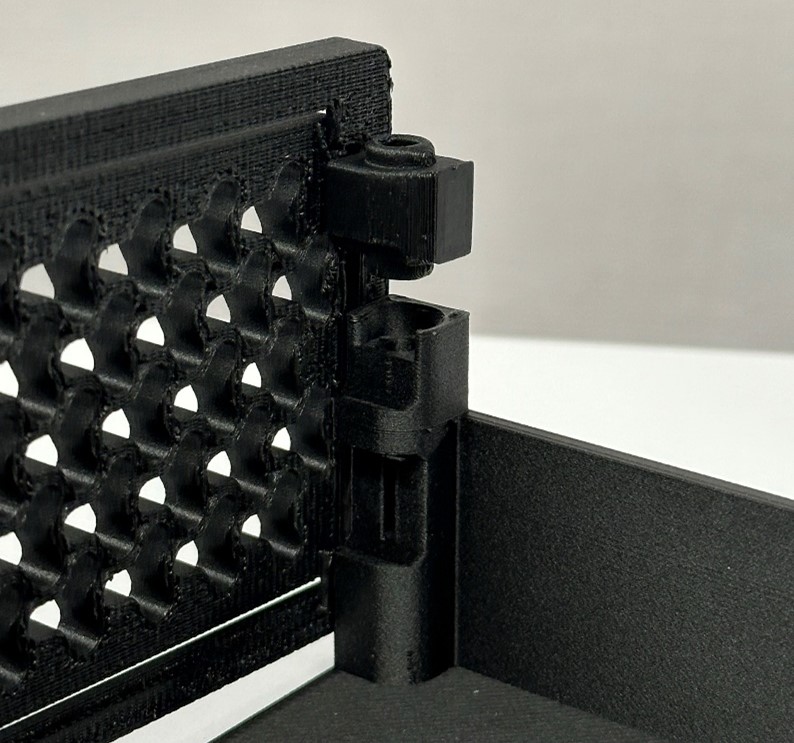
Insert the front panel into the bottom panel. The pegs and holes can be used to align the two parts together.
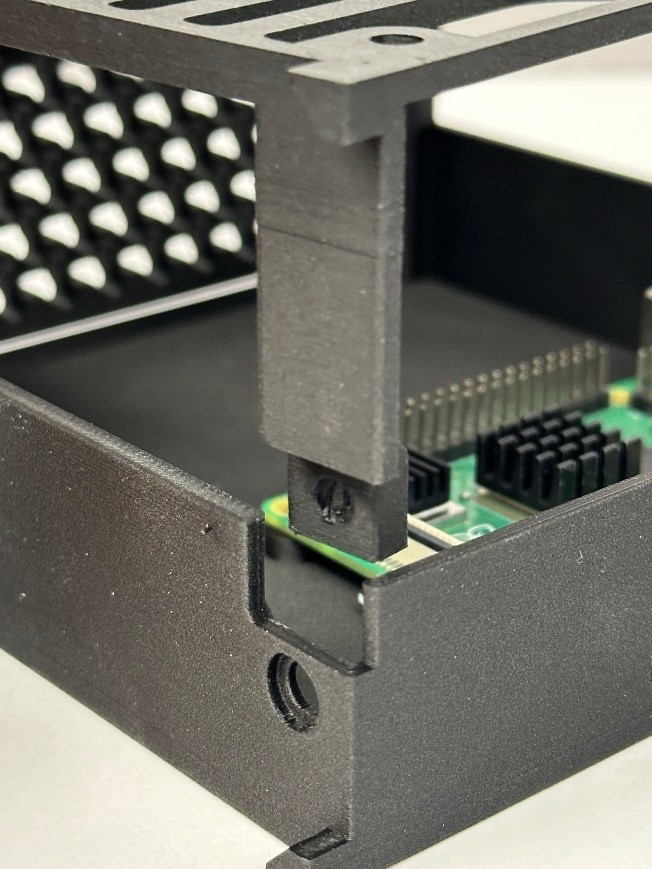
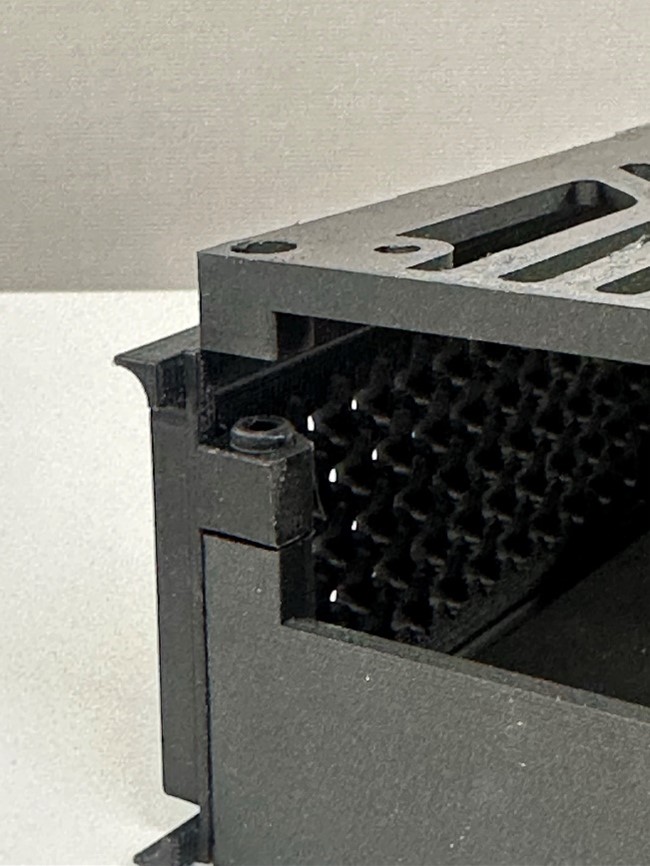
Assemble the top panel onto the rest of the system. Ensure that the step is inserted into the bottom panel, and that the peg is inserted onto the front panel.
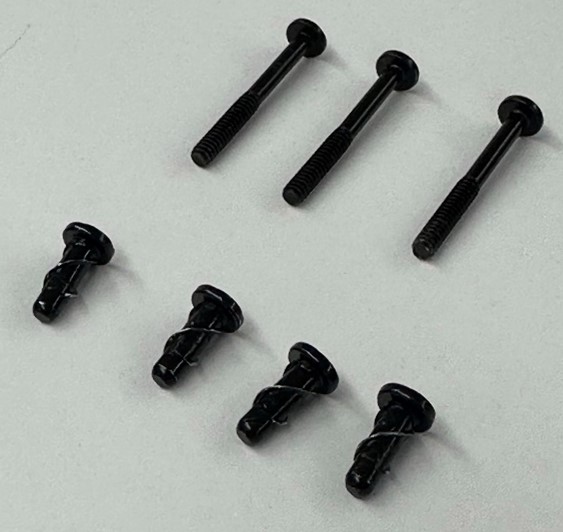
You will need 3x radiator long screws and 4x fan screws to assemble the system. Corsair Quikturn screws work great for 3D-printed parts!
Take one fan screw and insert it into the bottom of the case. Then, use two radiator long screws to screw through the front panel.

Slide a 120mm fan of your choice into the system.
Finally, use 1x radiator long screw and screw into the top right hole. Fasten the rest of the fan using the fan screws.
Tags
Model origin
The author marked this model as their own original creation.


