Christmas Tealight Lantern with Swappable Light Panels

Description
PDFDescription
This is a lantern model with interchangeable side panels featuring various Christmas motifs. The lantern is made exclusively for LED tealights. Do not use regular tealights!
The project is very simple and consists of the main body, a base to prevent led tealights from sliding inside the lantern, a roof, and a decorative hook for the top of the lantern.
The package includes 8 different designs of side panels with various motifs that look beautiful whether the tealights are on or off.
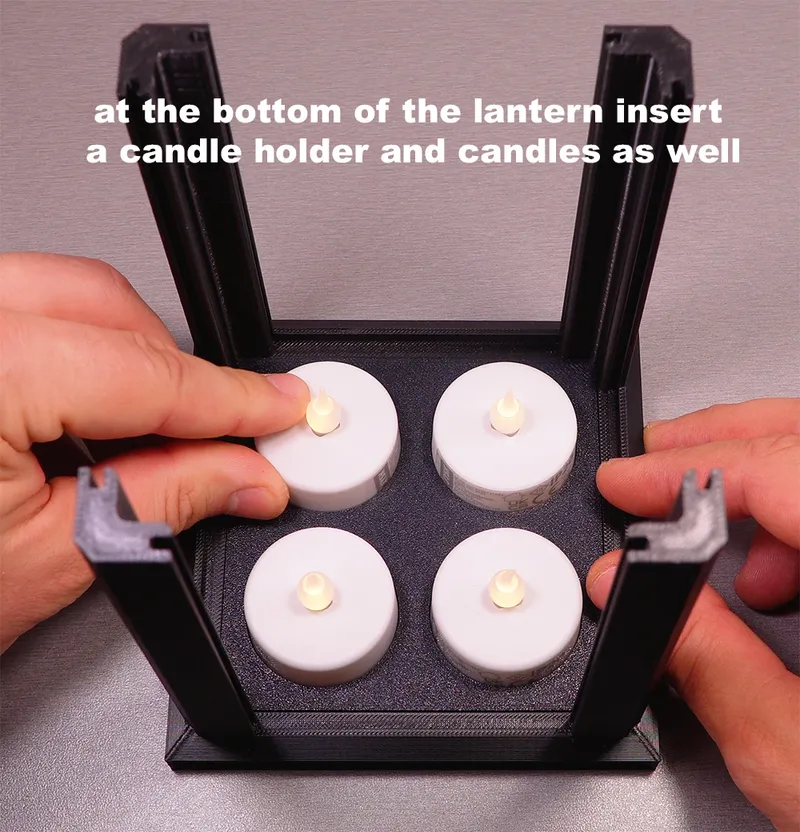
I used standard (38mm) led tealights that I bought at Jysk for just a few euros. To achieve a satisfactory effect and light intensity, I placed four of them in the corresponding holder at the bottom of the lantern to prevent them from sliding around when carrying the lantern.
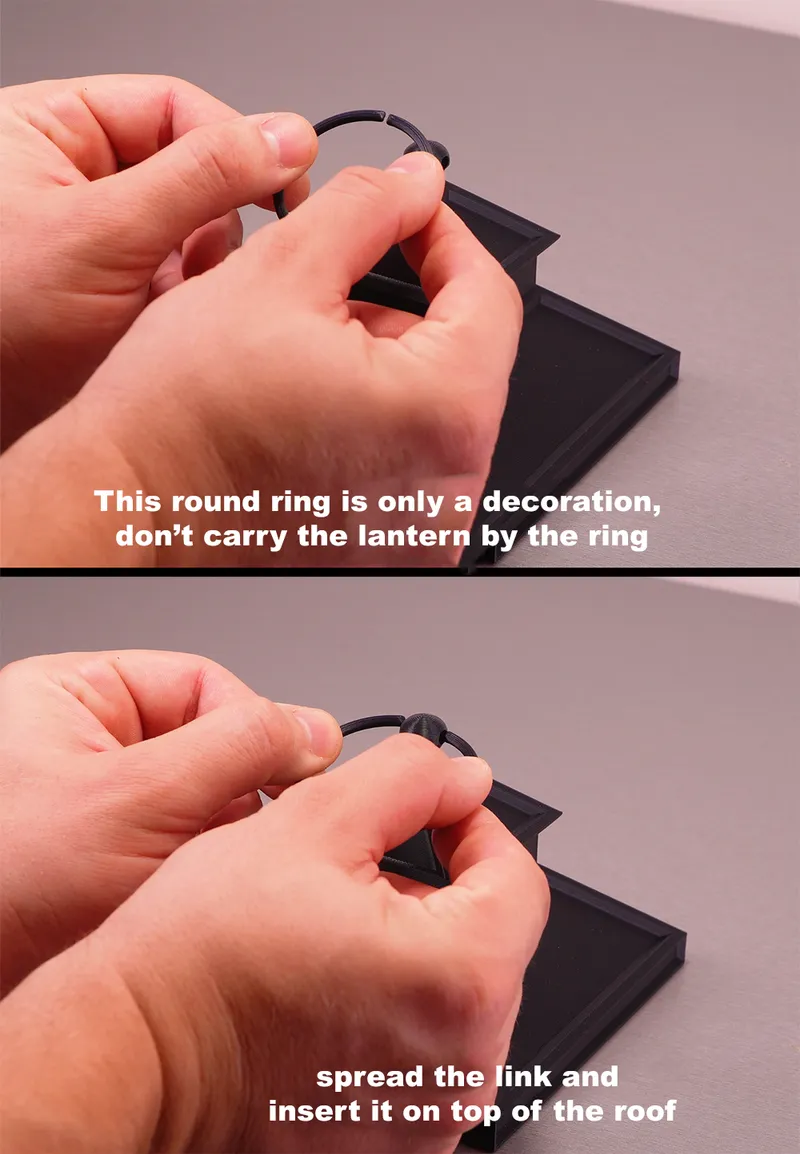
The hook designed for the top of the lantern is purely decorative, so the lantern should be carried by the main body. The roof is designed with a tolerance to make it easy to open and close if you need to replace the side panels or change the batteries in the tealights.
Print Settings:
Main Body:
- Layer height: 0.2 mm, Infill: 15%, 2 walls
- No supports needed for any part of this project
- I personally printed this in both PLA and PETG on my standard settings, which I'll provide below.
Out walls: 150mm/s
Inner walls: 150mm/s
All the infill: 250mm/s
Top surface: 150mm/s
I like my prints to “be a bit slower” on the walls so i am 100% sure everything will turn out great.
Support is not needed because the bridge of the faces is close. Even on the longer side of the bridge, the next layer closes it perfectly. Cleaning supports would be a bit tricky, so this method is cleaner. I printed 3 whole lanterns, and everything works great.
Side Panels:
- Layer height: 0.2 mm, Infill: 100%
- Set a pause at layer 3 (0.60mm height) during slicing
- Start the print with white filament, and after the pause, switch to black filament
If you like this project or have ideas for additional side panel motifs, write in the comments and I'll make them and upload them as soon as possible.
Assembly:
- Place the LED tealight bottom holder in the main body.
2. Insert the LED tealights.
3.Place the decorative ring on top of the roof.
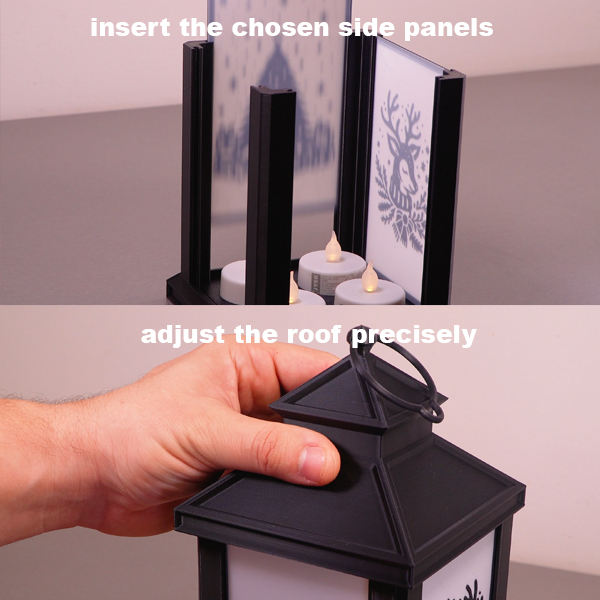
4. Insert the chosen side panels.
5. Carefully cover the lantern with the printed roof.
Do not carry the lantern by the roof or the decorative ring. The roof is designed with a tolerance in the face offset to allow easy opening for changing side panels or replacing batteries in the LED tealights.
Enjoy!
Tags
Model origin
The author marked this model as their own original creation.


