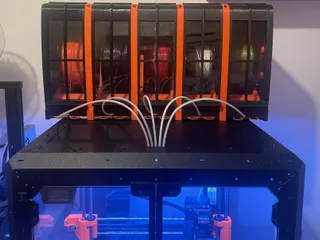
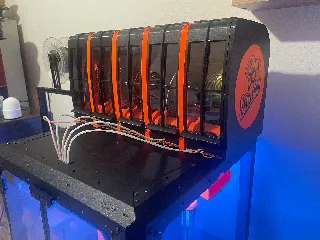
"Spoolerati" Filament storage for multi material printers


Description
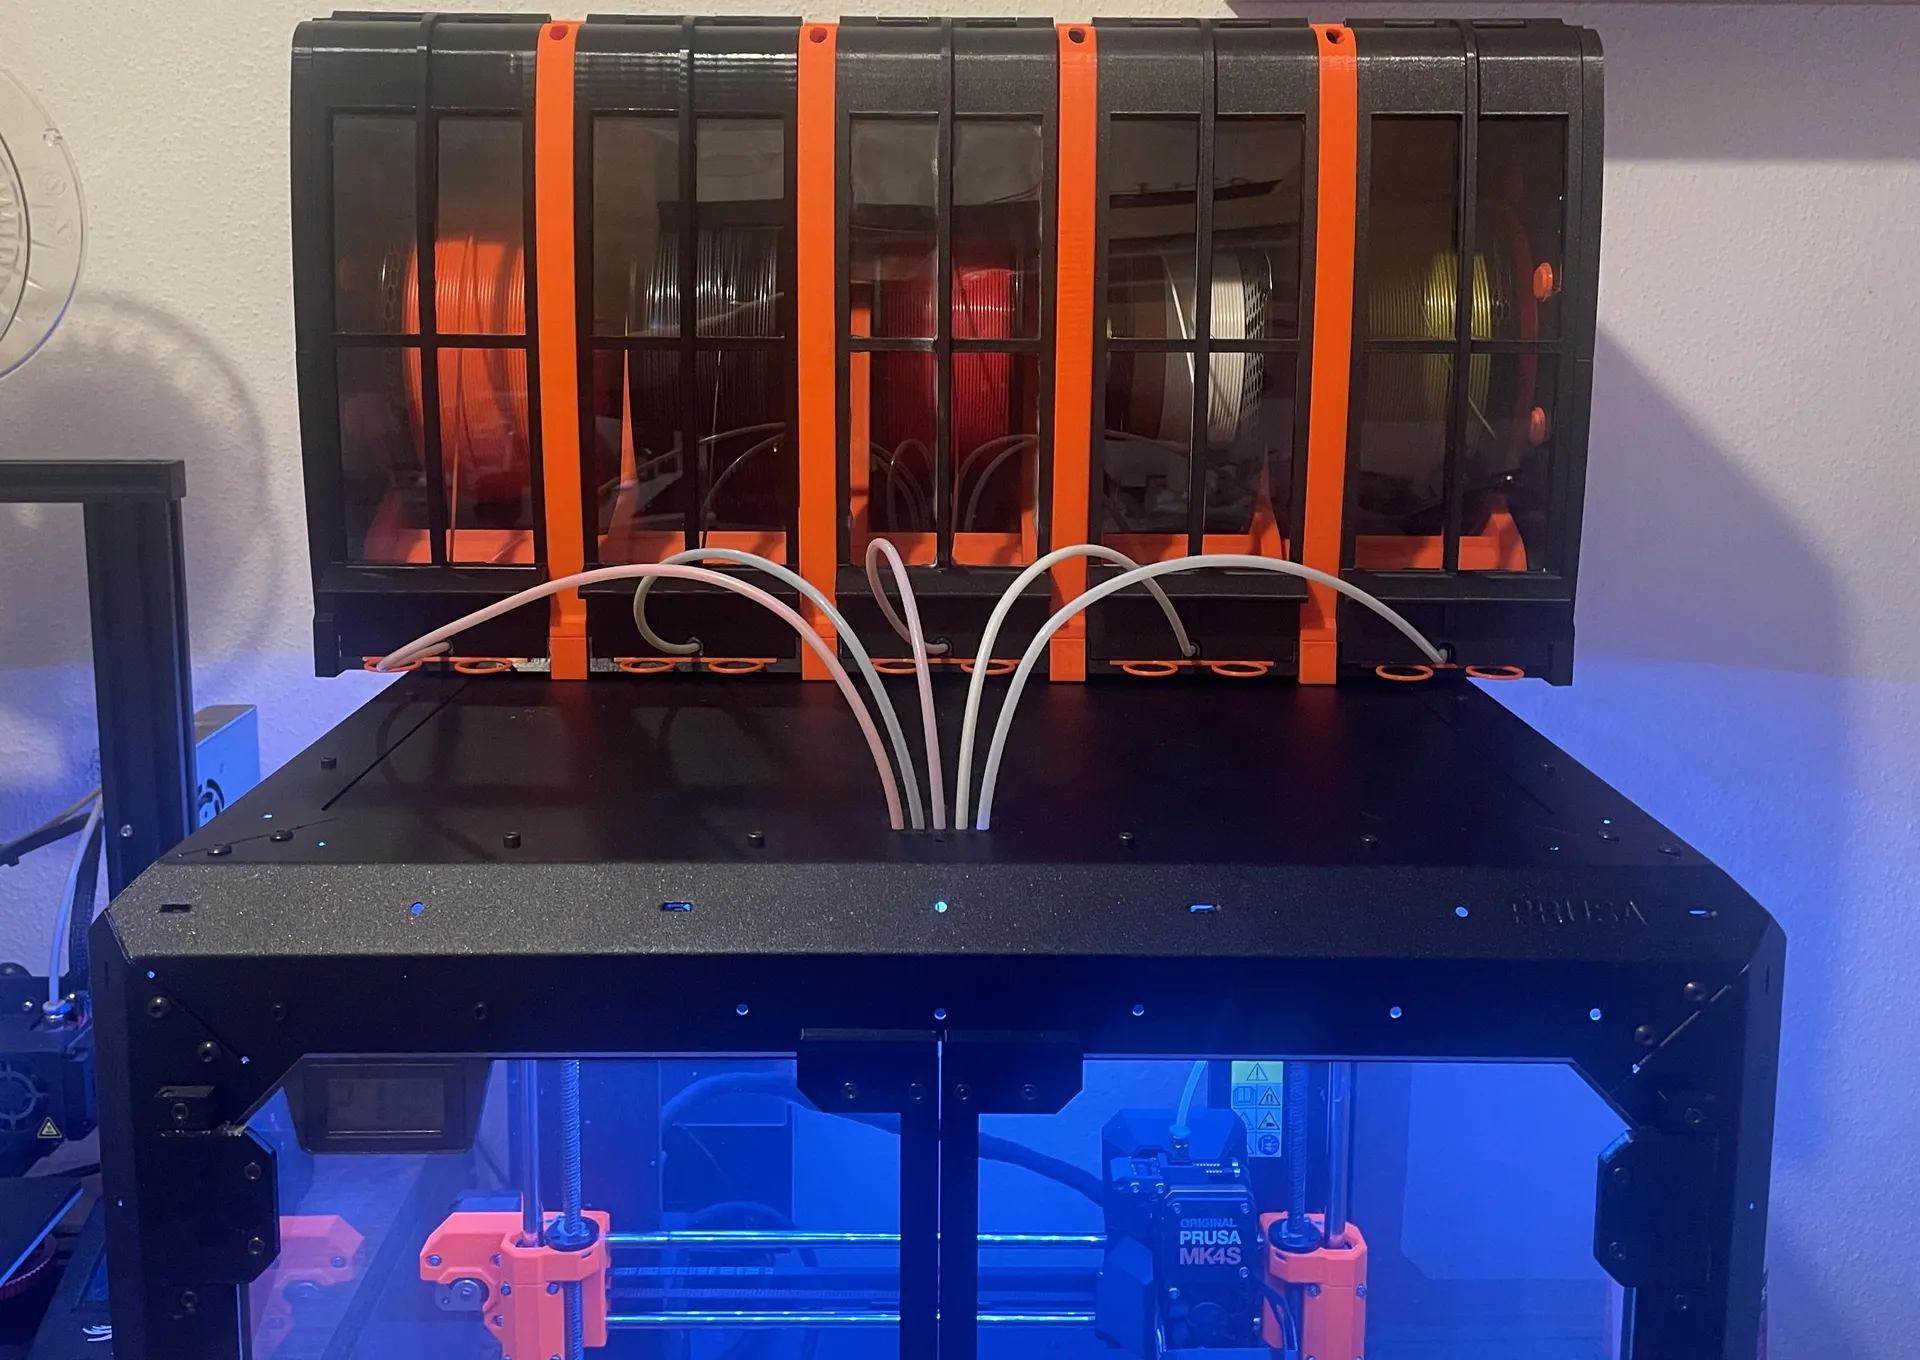
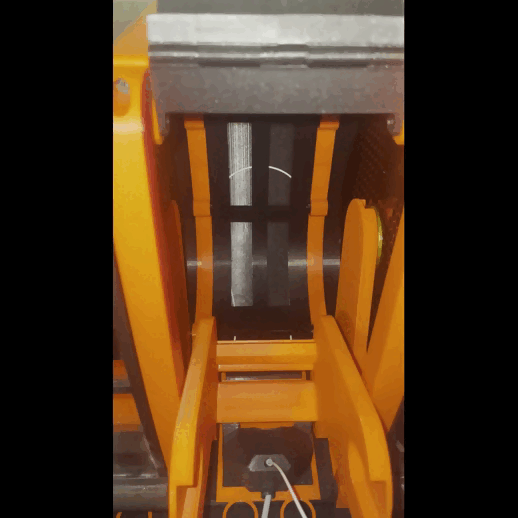
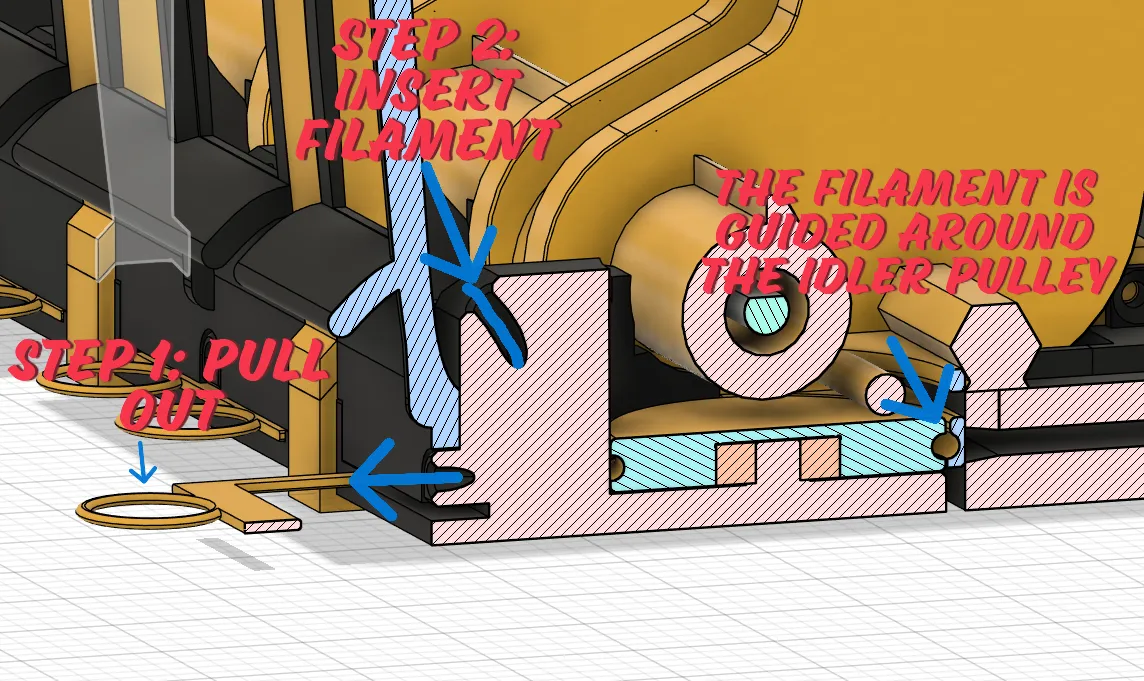
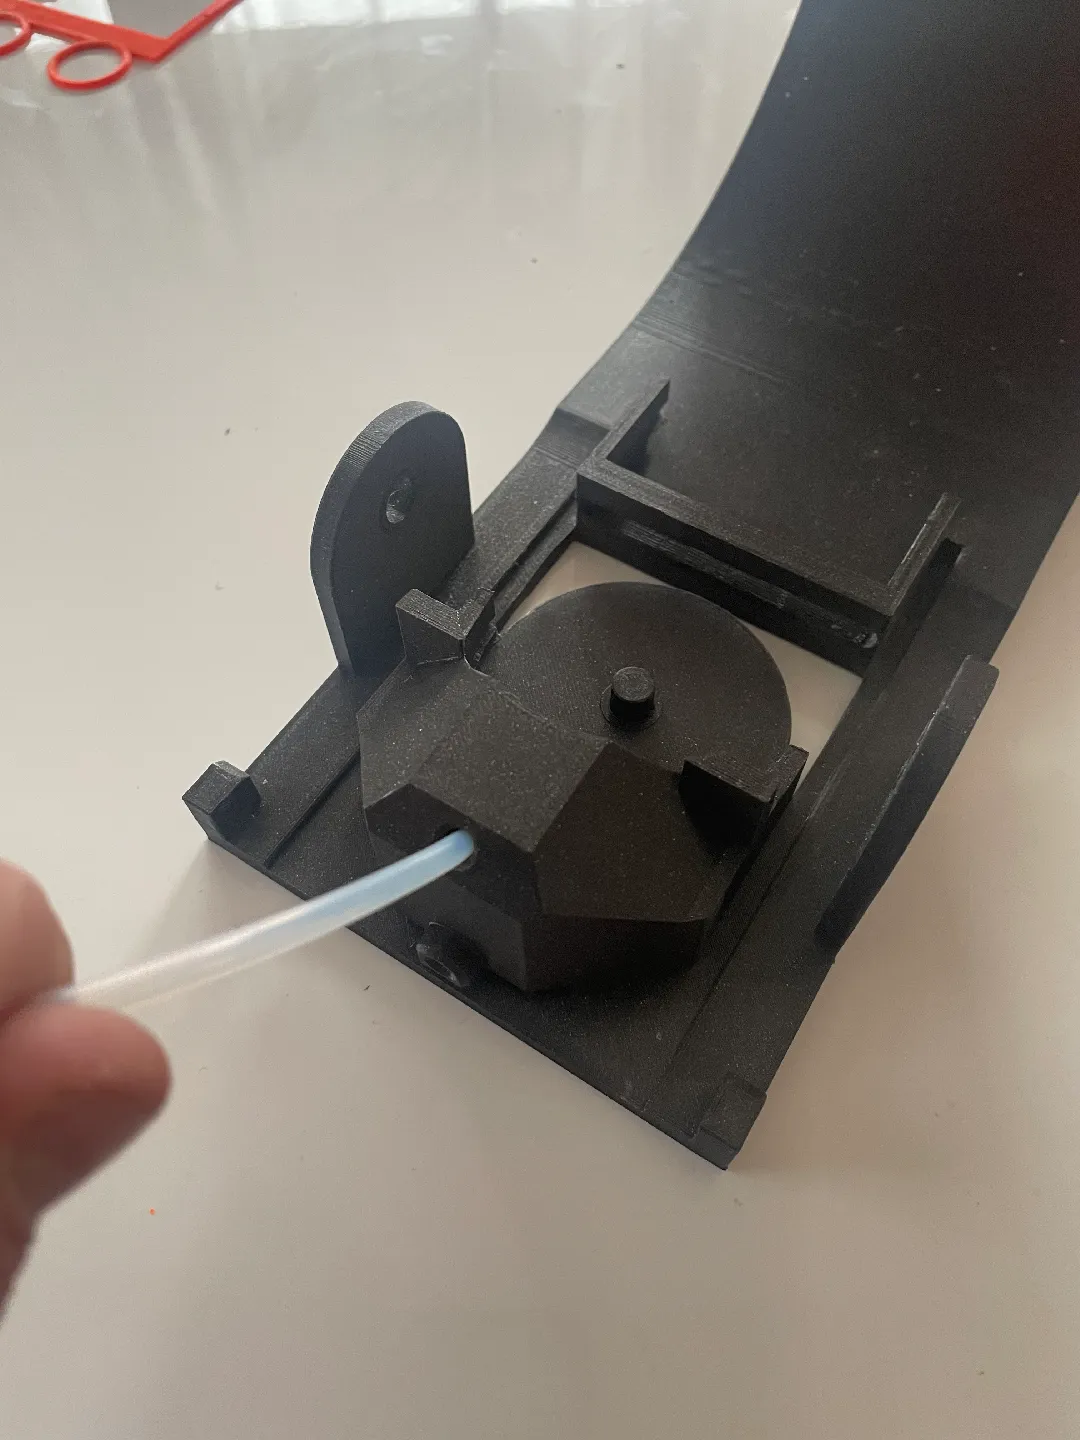
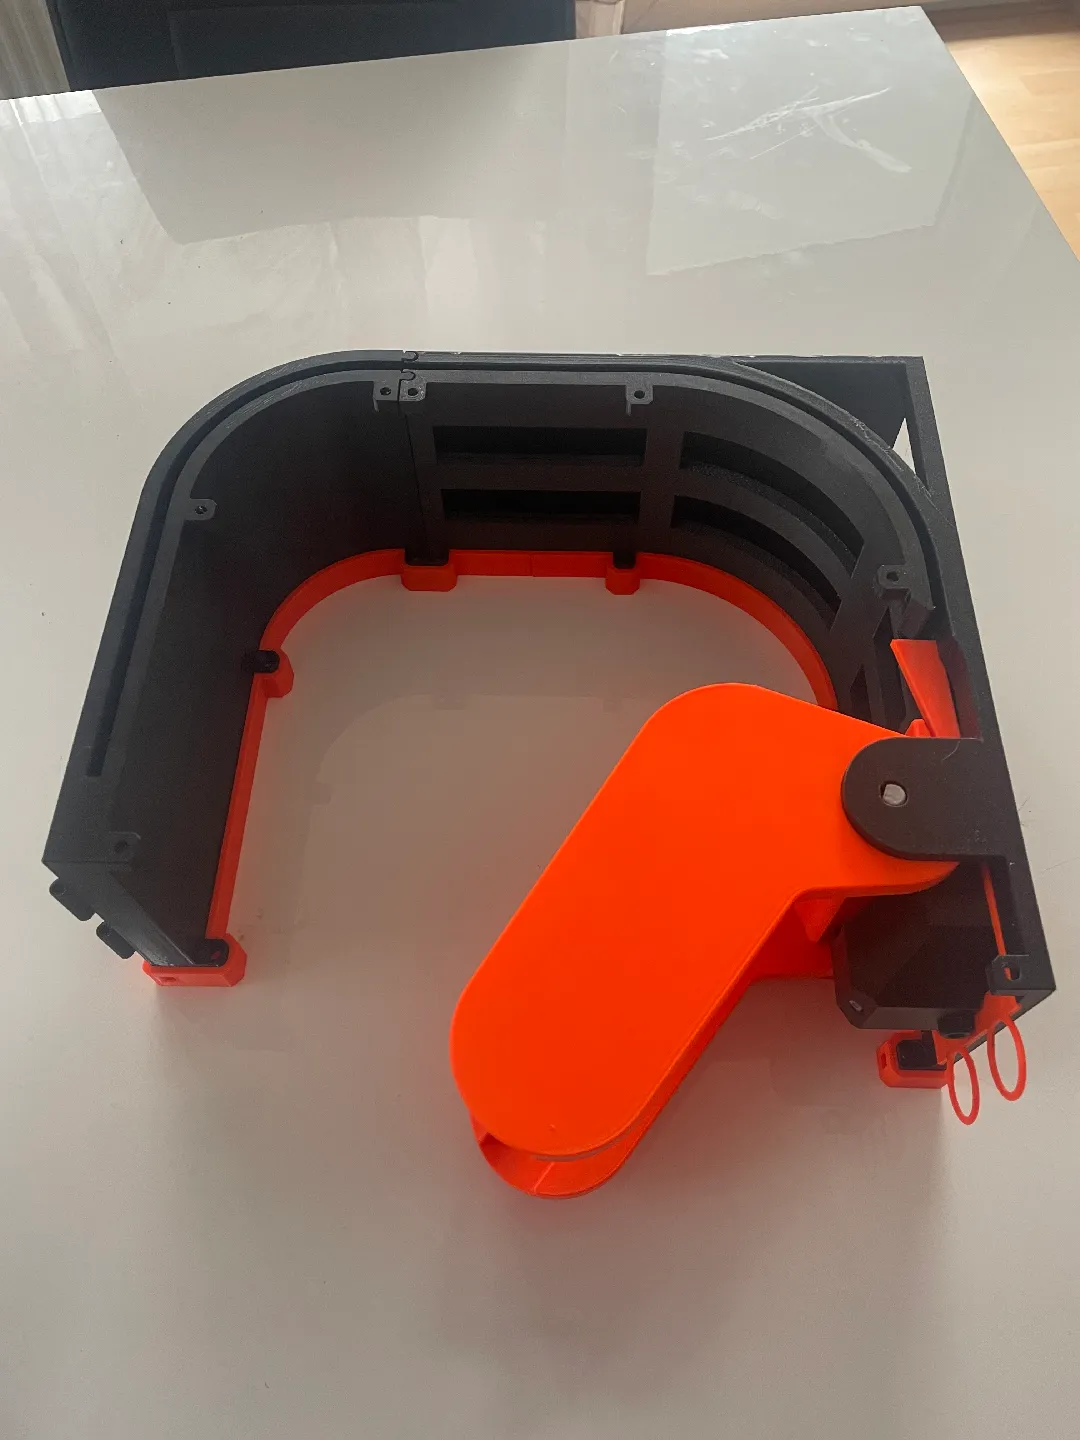
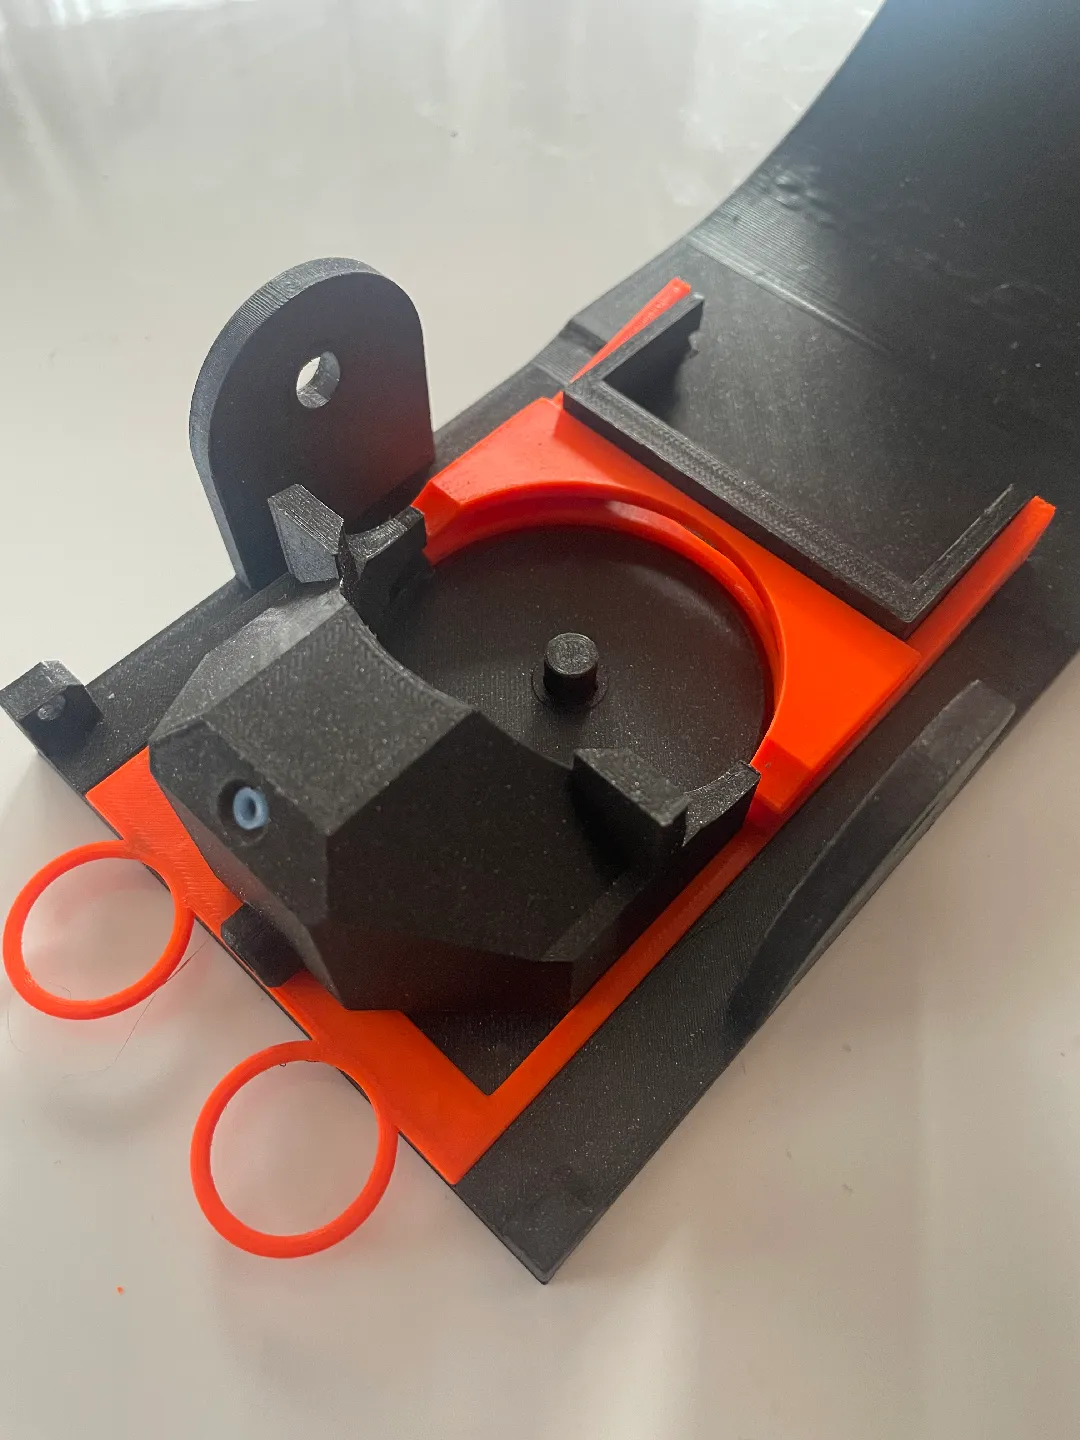
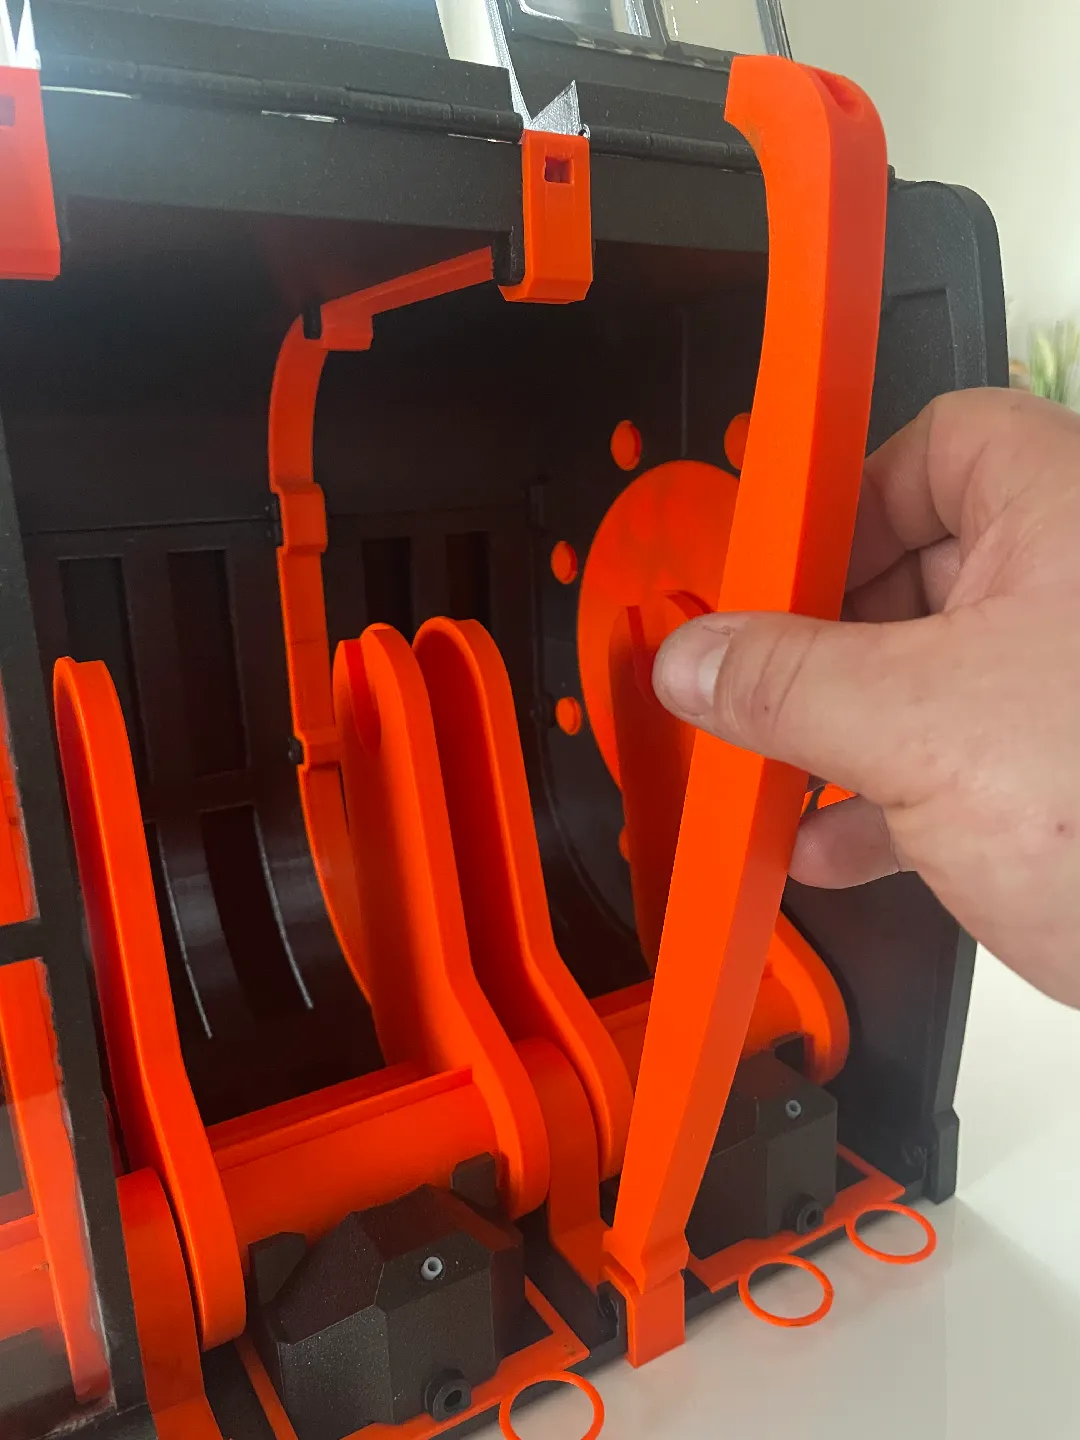
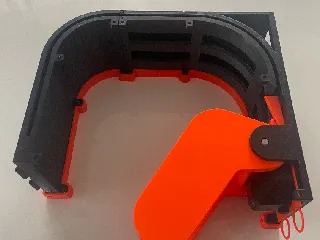
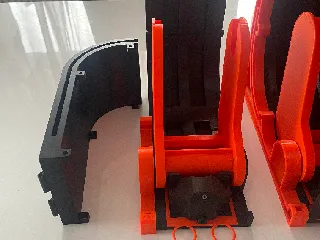
PDFSpoolerati was designed for the MMU3 from Prusa. Every time the MMU changes the material, the retraction is simply pushed into the housing without unwinding the spool. I have tested and optimised 2 modules for 2 months and I have to say that this thing is awesome.
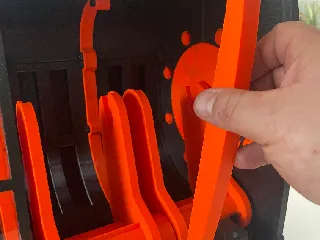
Take a look at the function using a small short:
Printed with Prusa MK4S
Minimum dimensions: 250 x 210 x 220 mm
Material: PETG/PLA
Layer height: 0.1mm for the following parts:
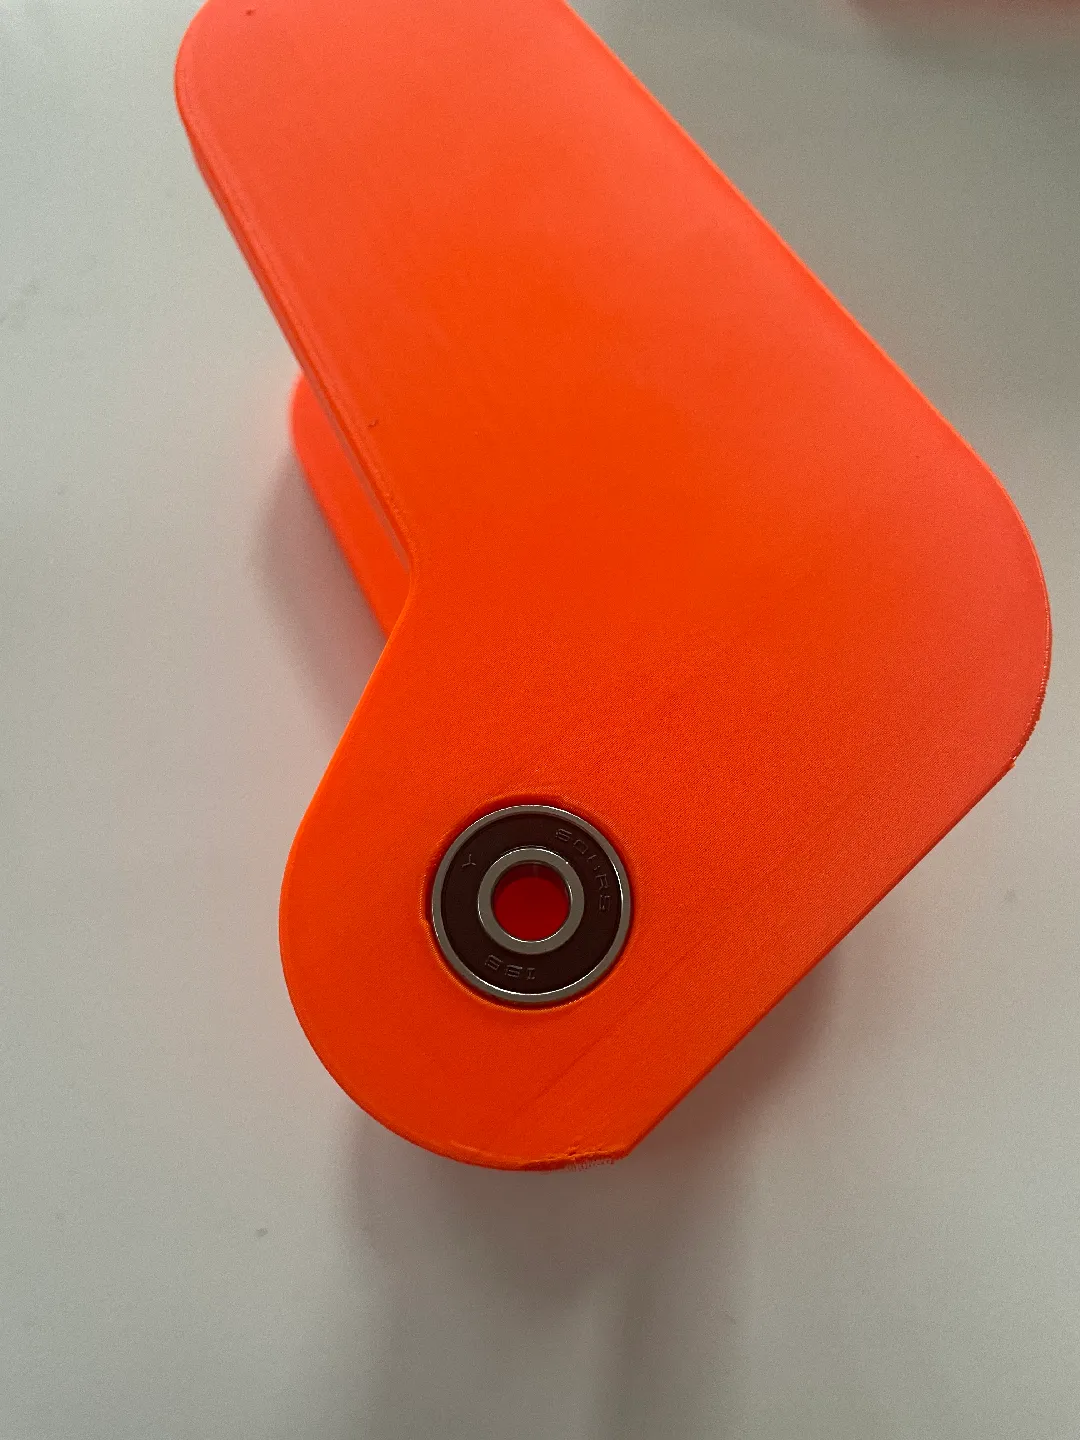
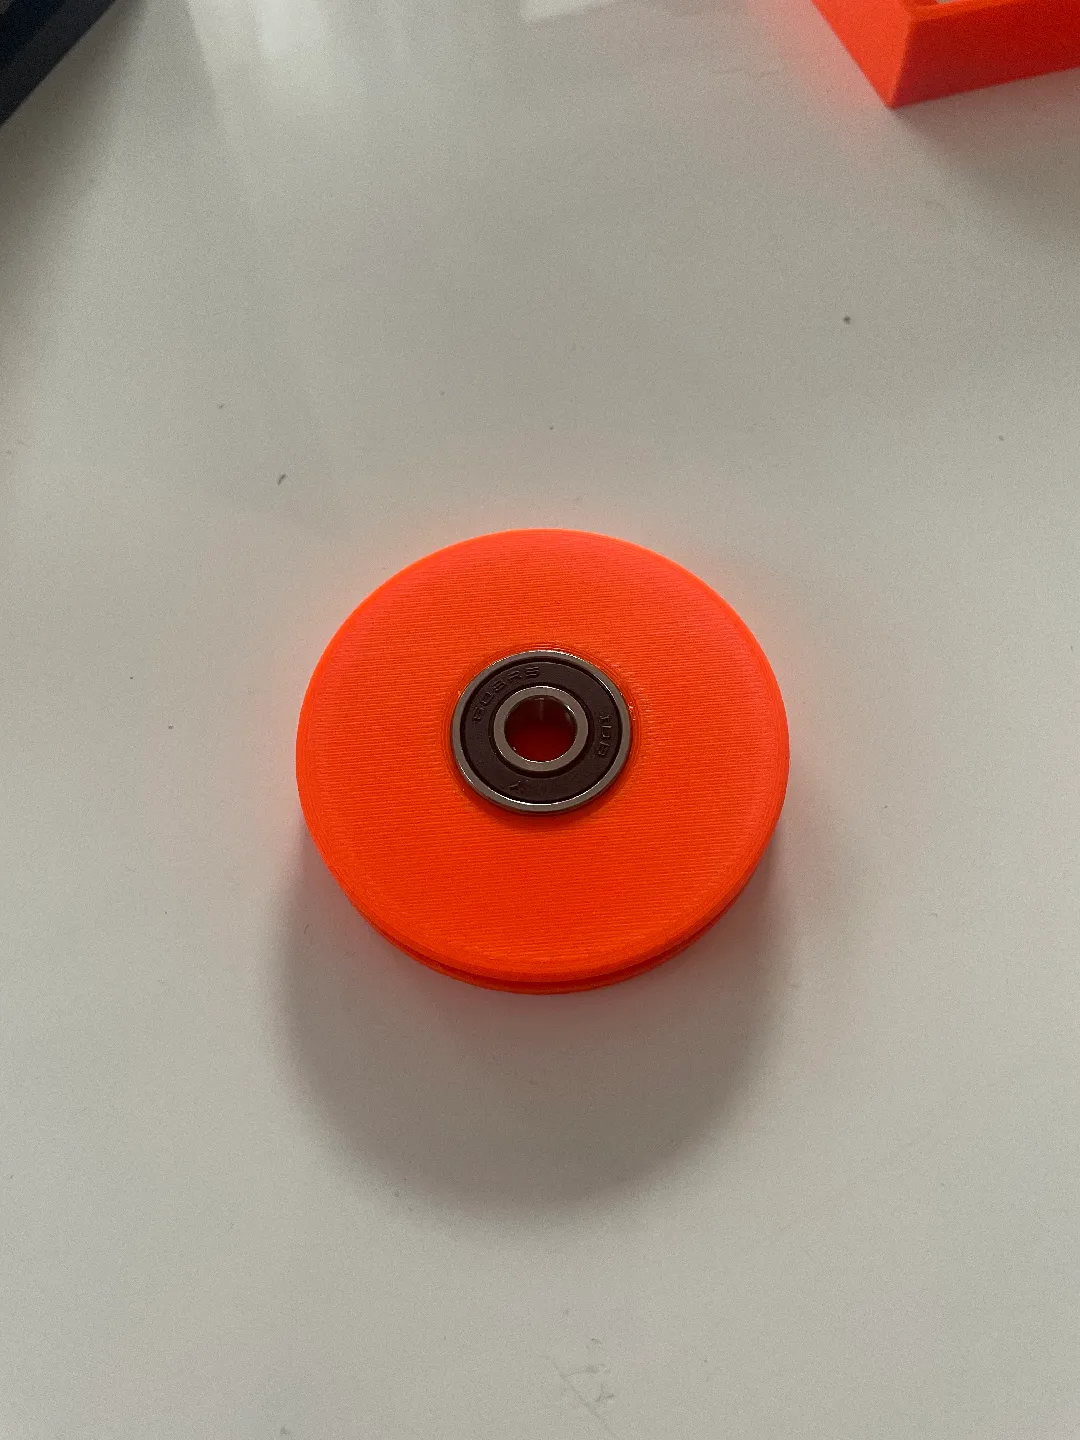
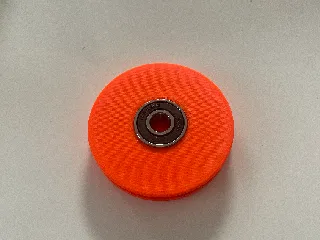
- idler pulley
- lifter
- threading aid
Layer height: 0.2mm for all other parts
__________________________________________________________________________________________________________________
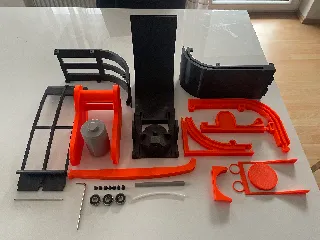
To print a Spoolerati with 5 modules, you will need the following parts:
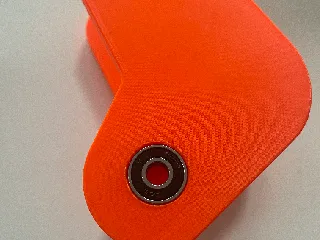
- 15 ball bearings 608RS https://amzn.eu/d/fiQQf6q
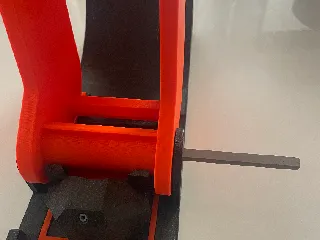
- 5 axles: diameter 3mm, shortened to 97mm https://amzn.eu/d/5GOCs1n
- 74 countersunk screw M4X10mm
- Acrylic plates for the front cover https://amzn.eu/d/049IoDC
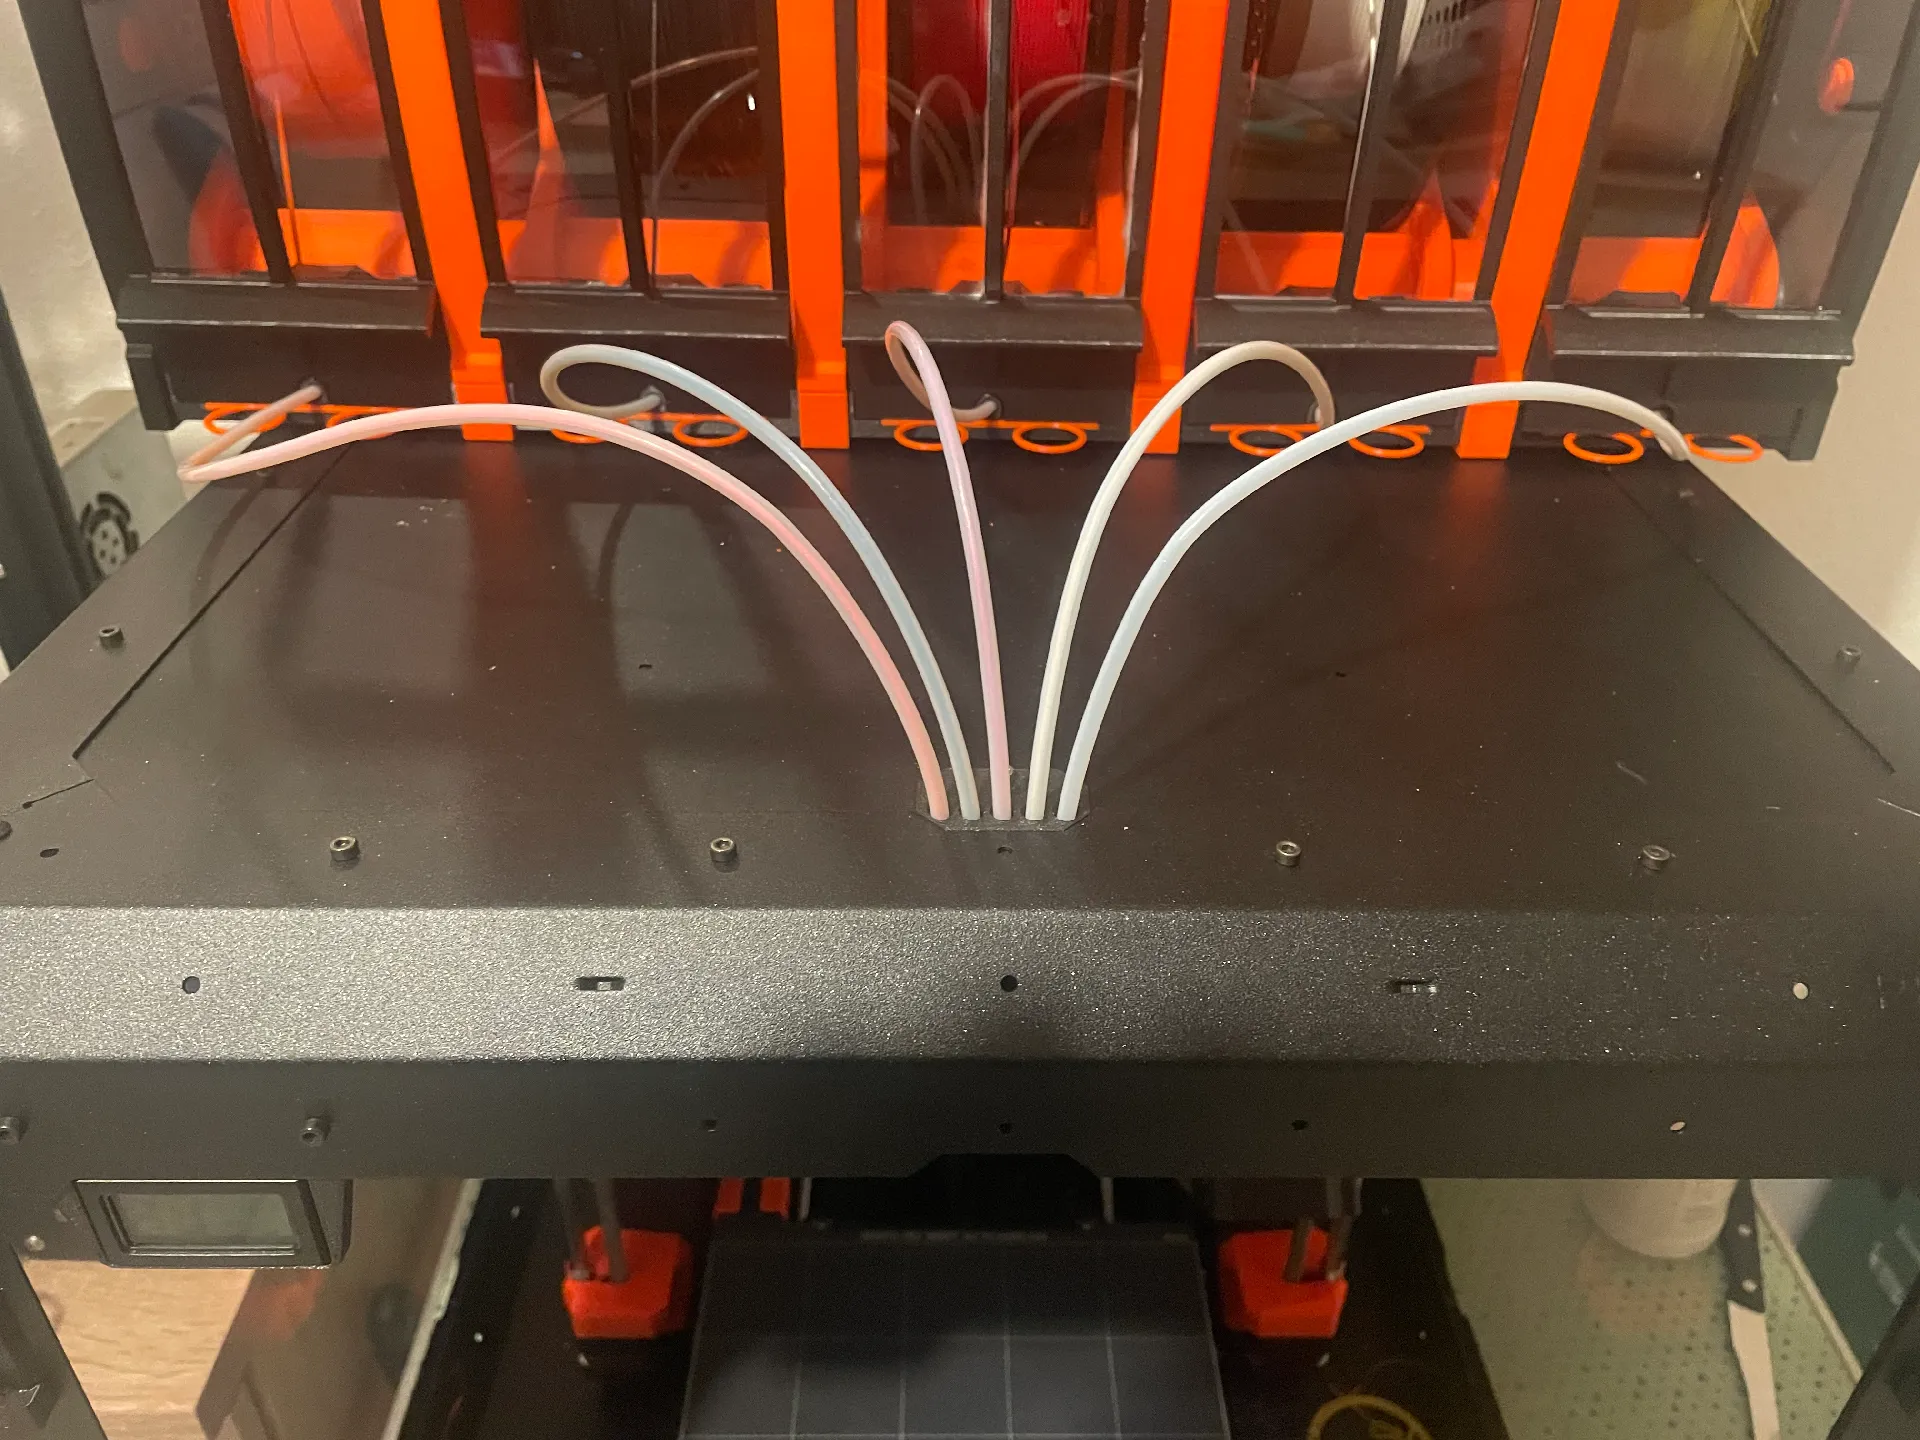
- A lot of PTFE tube (4X2,5mm) https://amzn.eu/d/2eqb5La
Printing instructions:
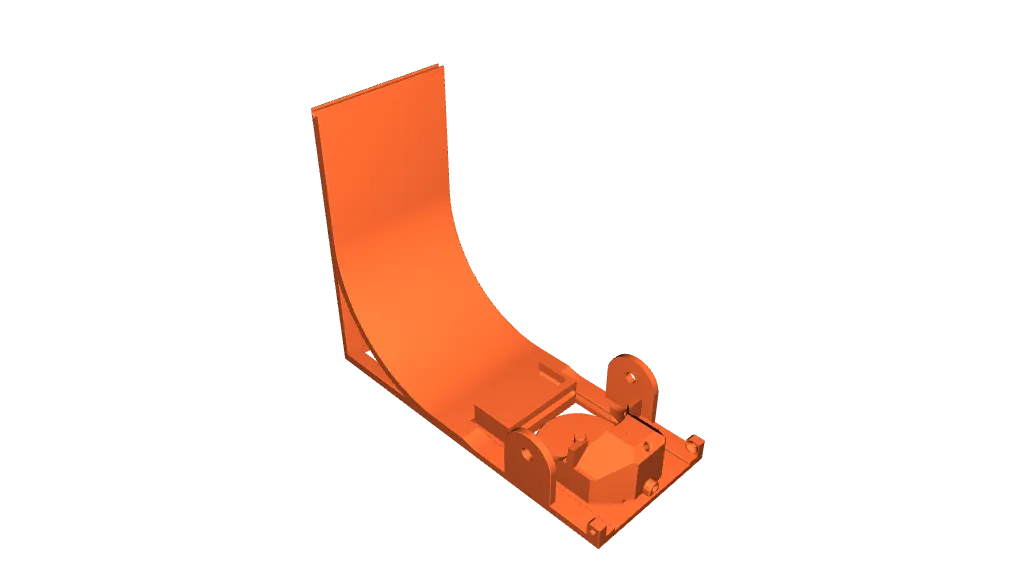
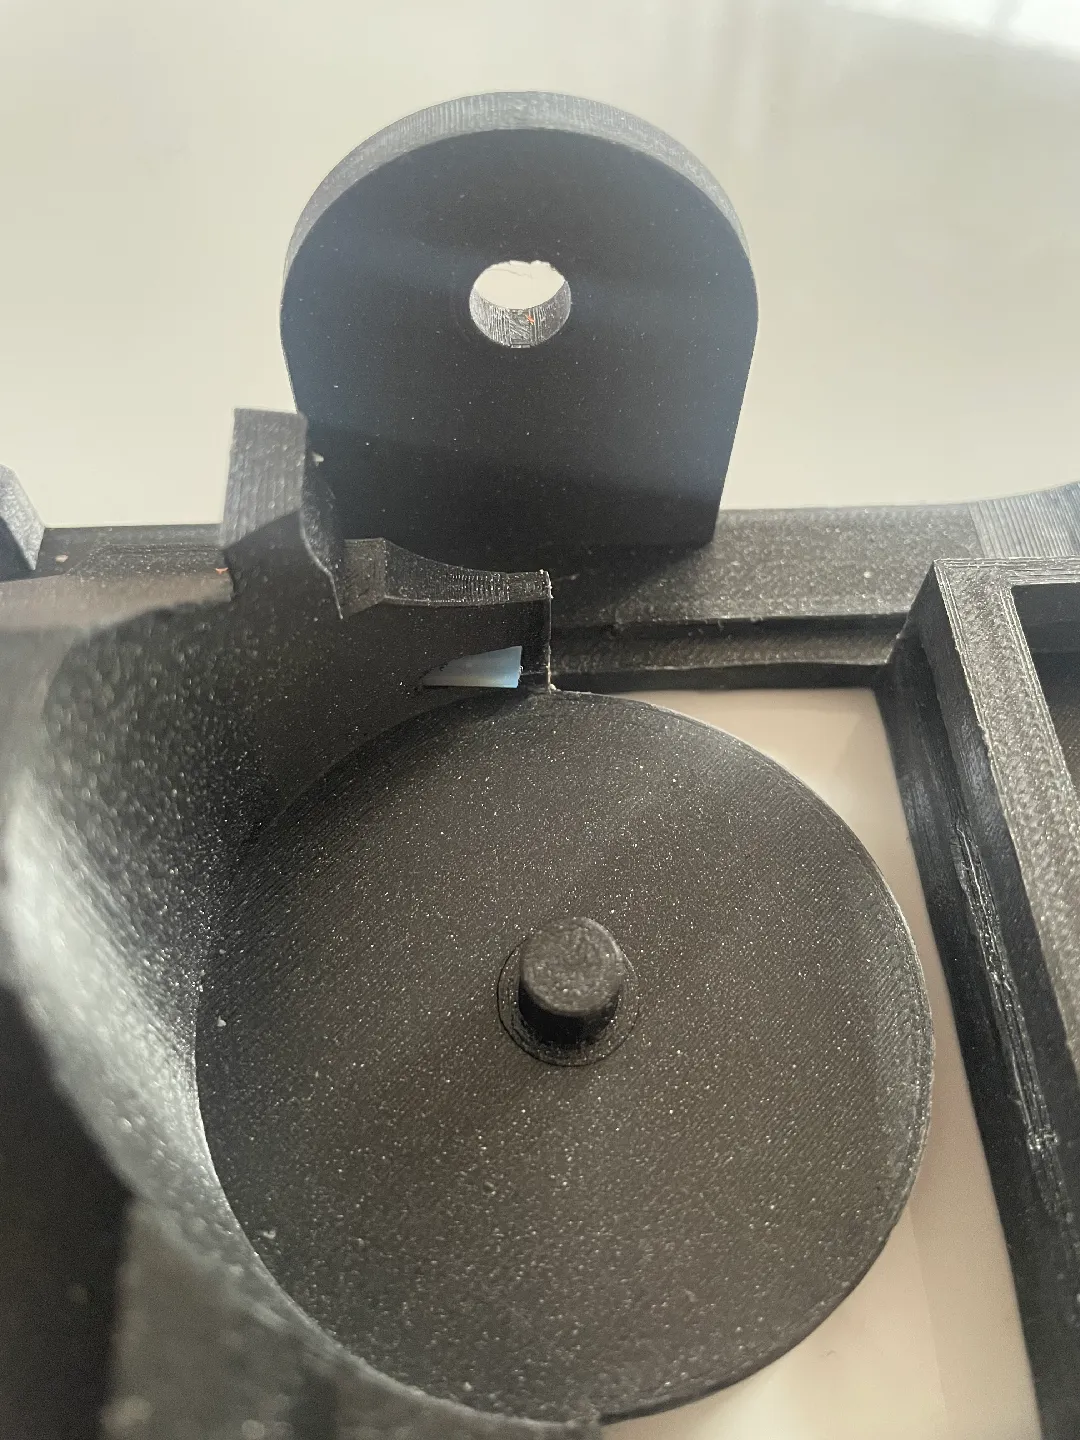
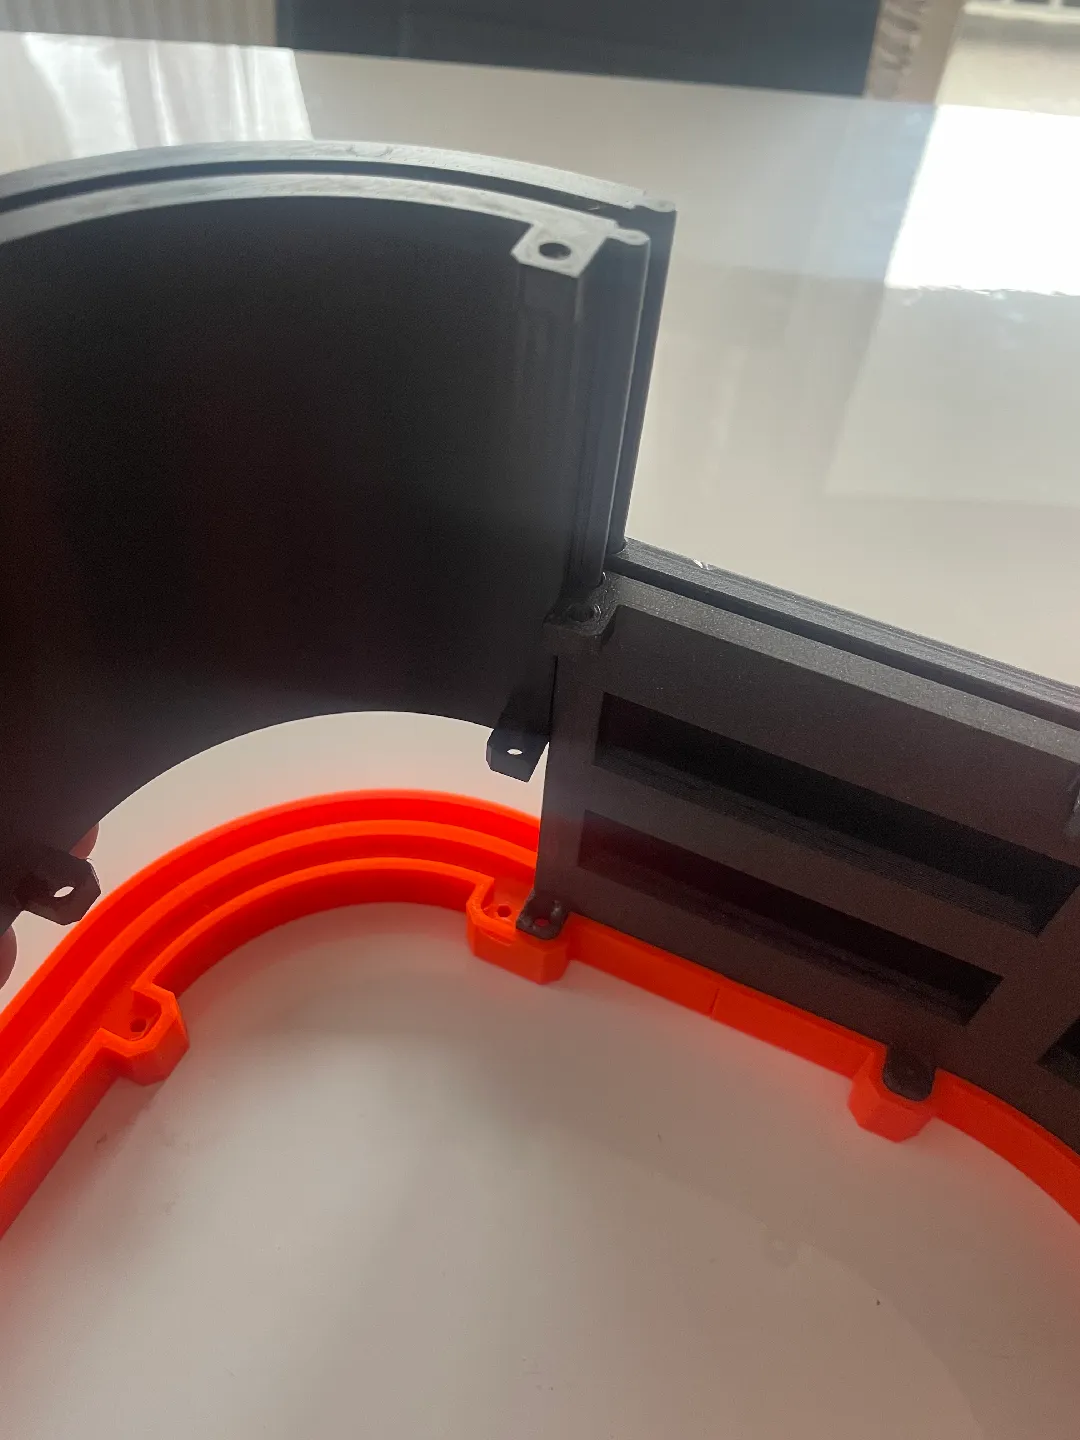
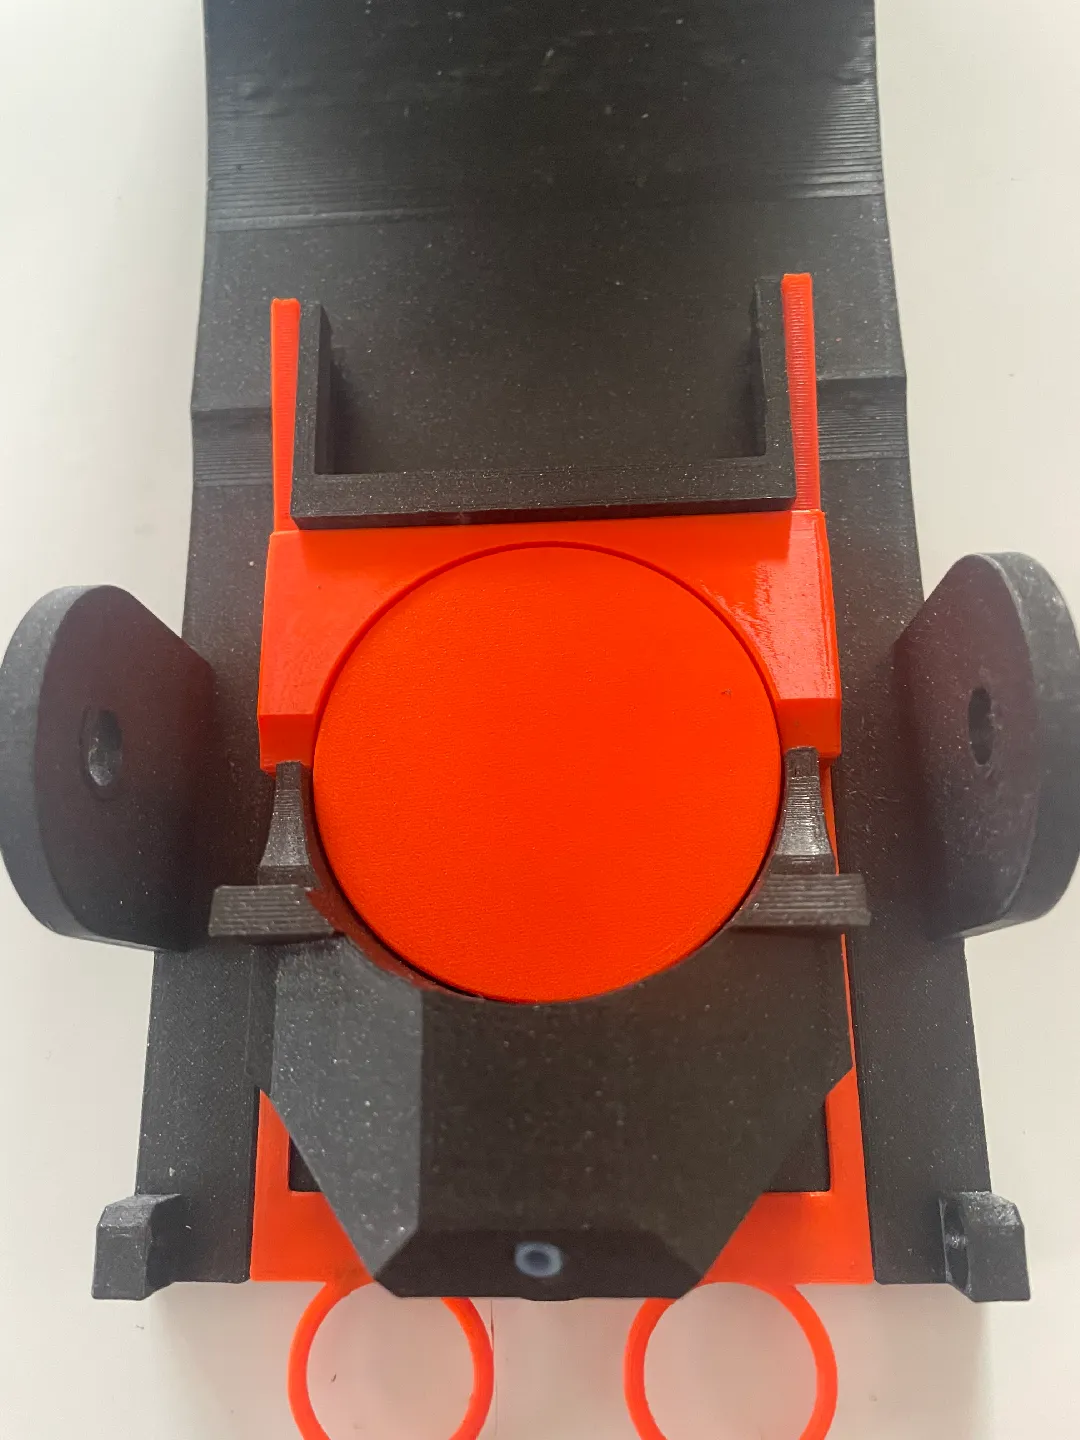
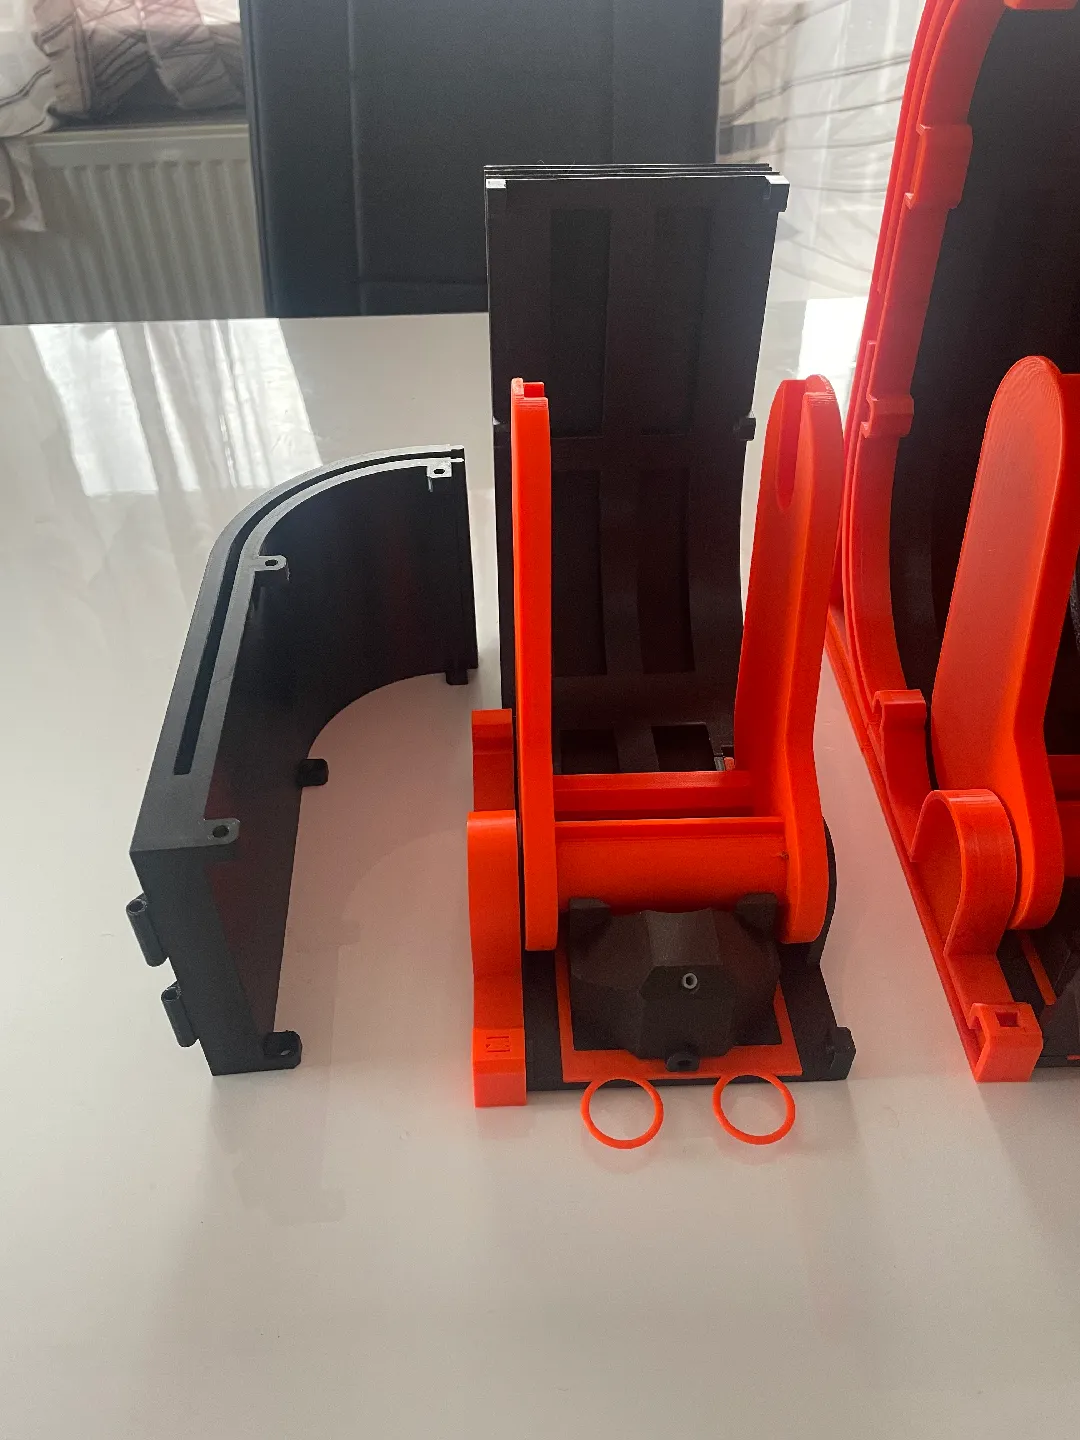
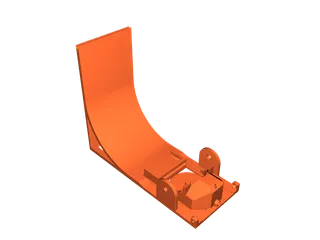
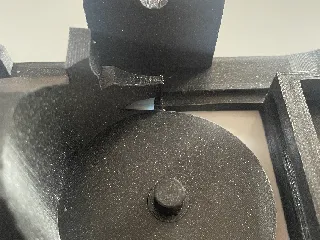
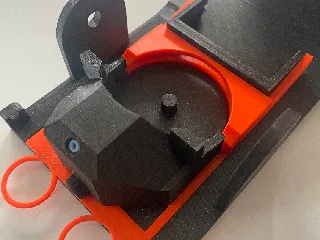
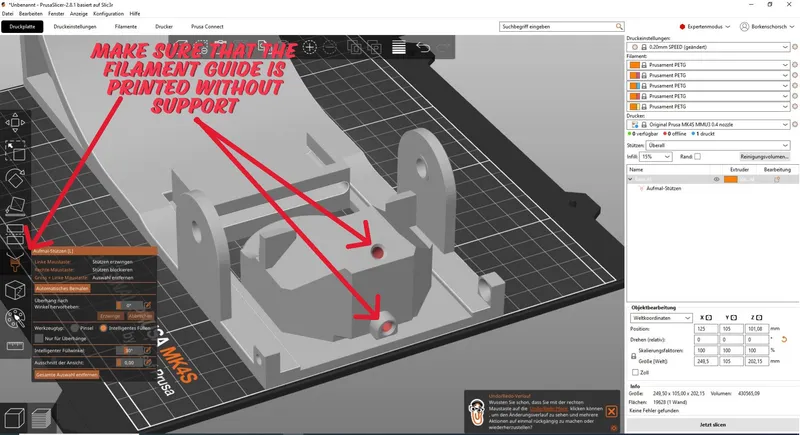
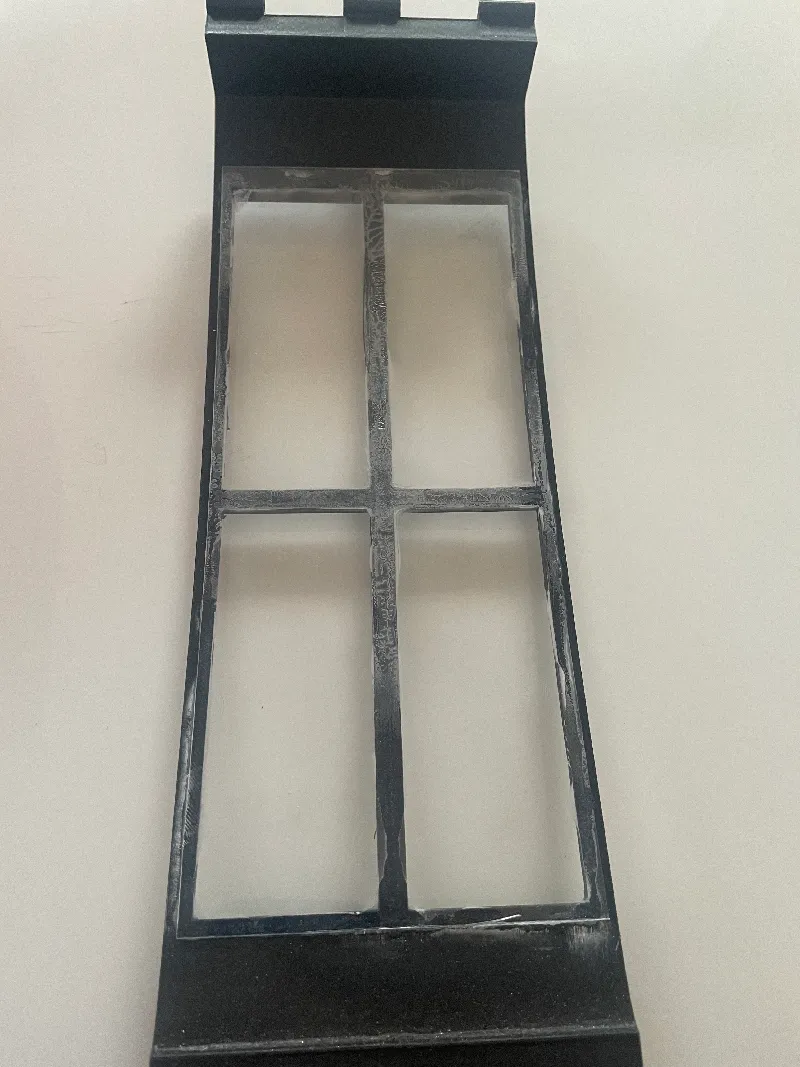
- the base body is printed upright. When slicing, make sure that the filament guides are printed without support (see picture), otherwise you can throw the whole thing in the bin.
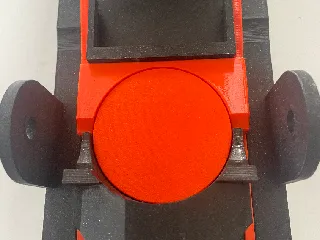
- the lever is printed upright to ensure accuracy between the suspensions.
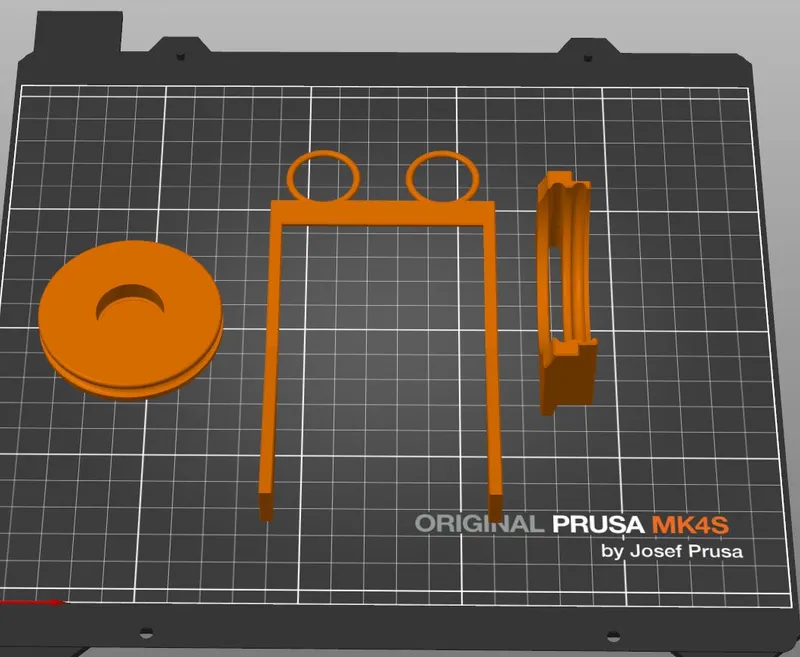
- the moving parts are printed as follows: (0,1mm layer height!!!)
- everything else was printed lying on its side
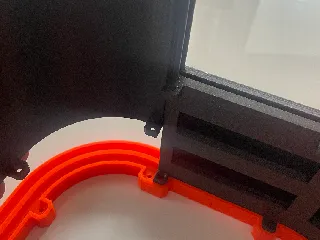
- The four wall sections were only uploaded as the right-hand version. For the left wall, please mirror the files in your slicer
Building instructions:
When you have printed everything and are ready to assemble, please watch the video at the end.
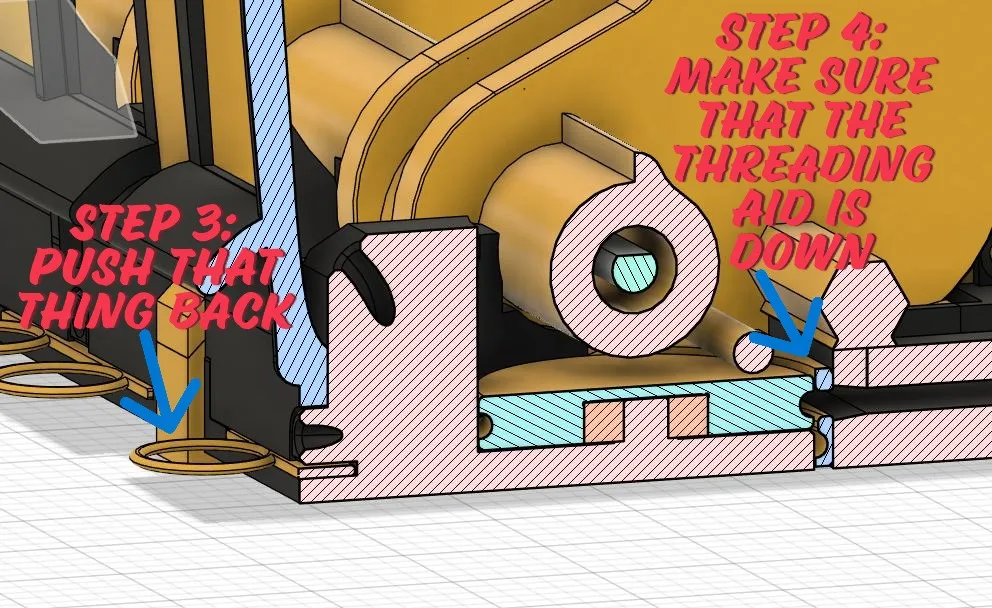
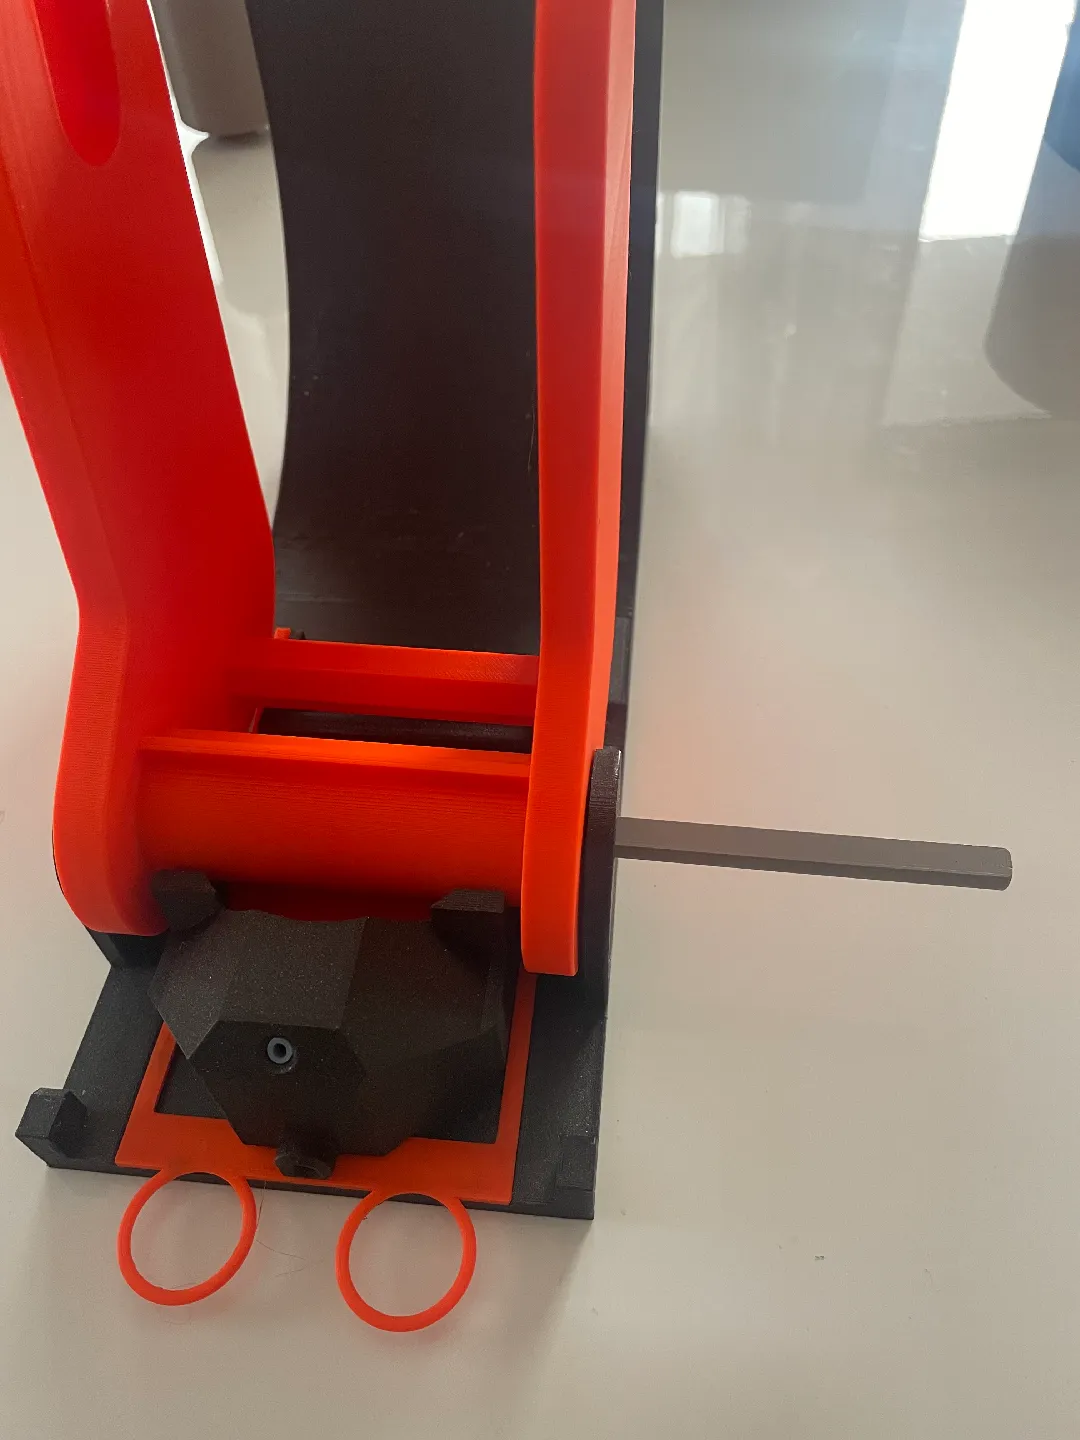
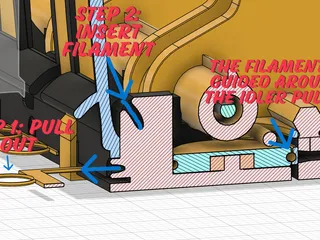
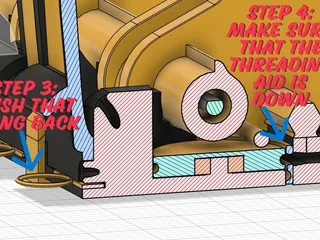
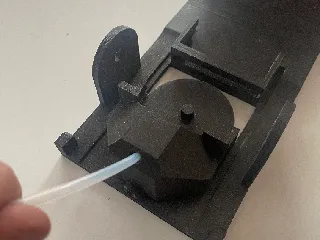
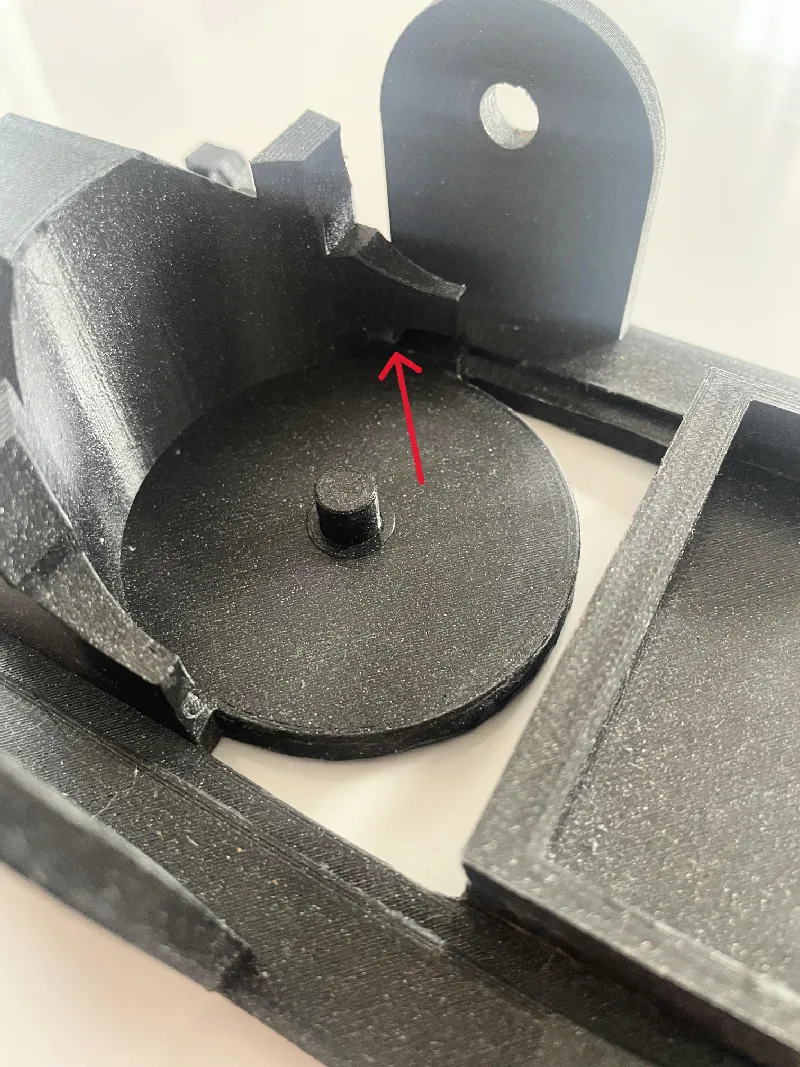
- First you have to make sure that the threading aid, the lifter and the pulley run smoothly. There must be no rubbing anywhere, otherwise it will be difficult to thread the filament later.
If anything is stiff, machine the surfaces and edges with a small milling cutter or sandpaper.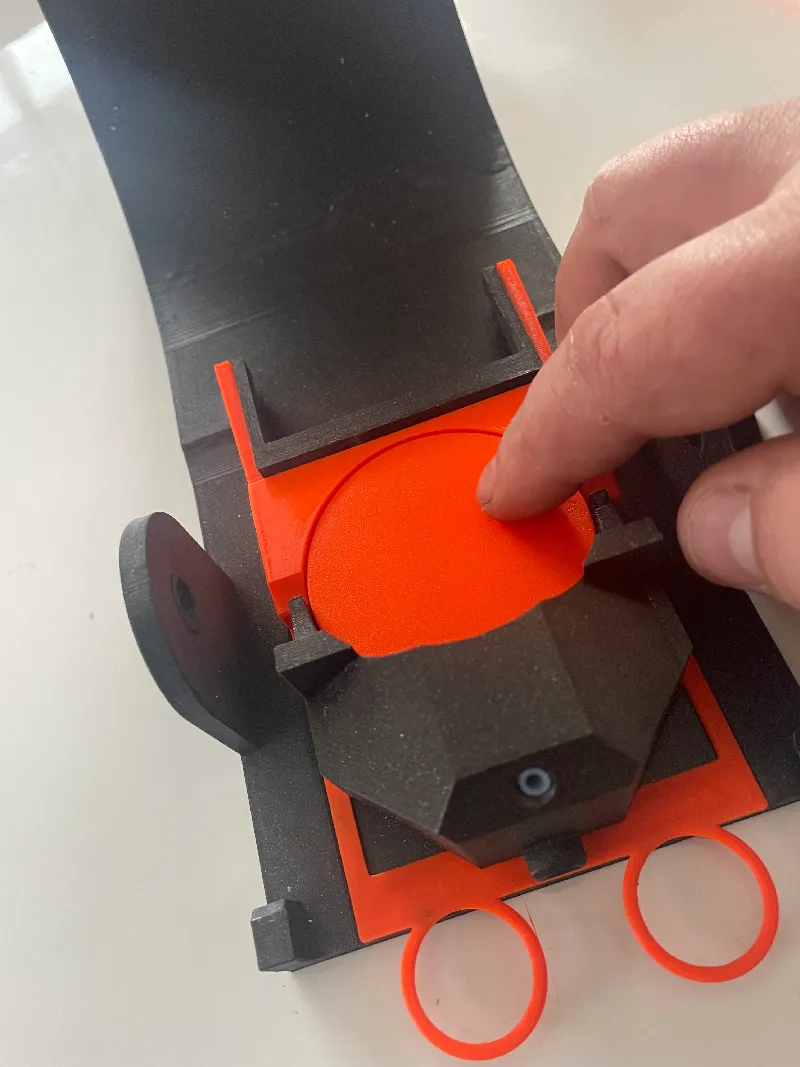
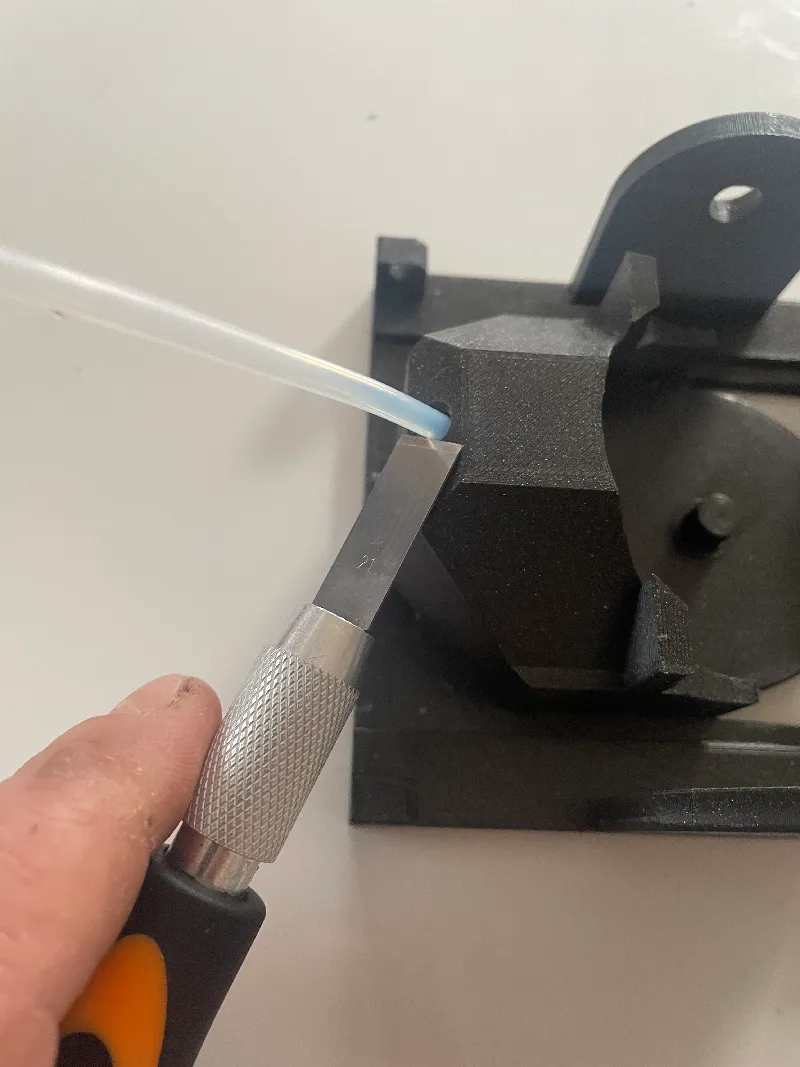
- Next step: Insert the PTFE tube. Make sure that the hose does not come out at the bottom and possibly block the idler pulley.
- Then simply cut off the protruding piece.
- Finally, glue an acrylic glass pane into the front cover. I hope you are more skilled at gluing than I am :)
Than start with the actual assembly as shown in the video.
Tags
Model origin
The author marked this model as their own original creation.


