Autorewind Prusa Drybox for MMU (no more buffer required)
Description
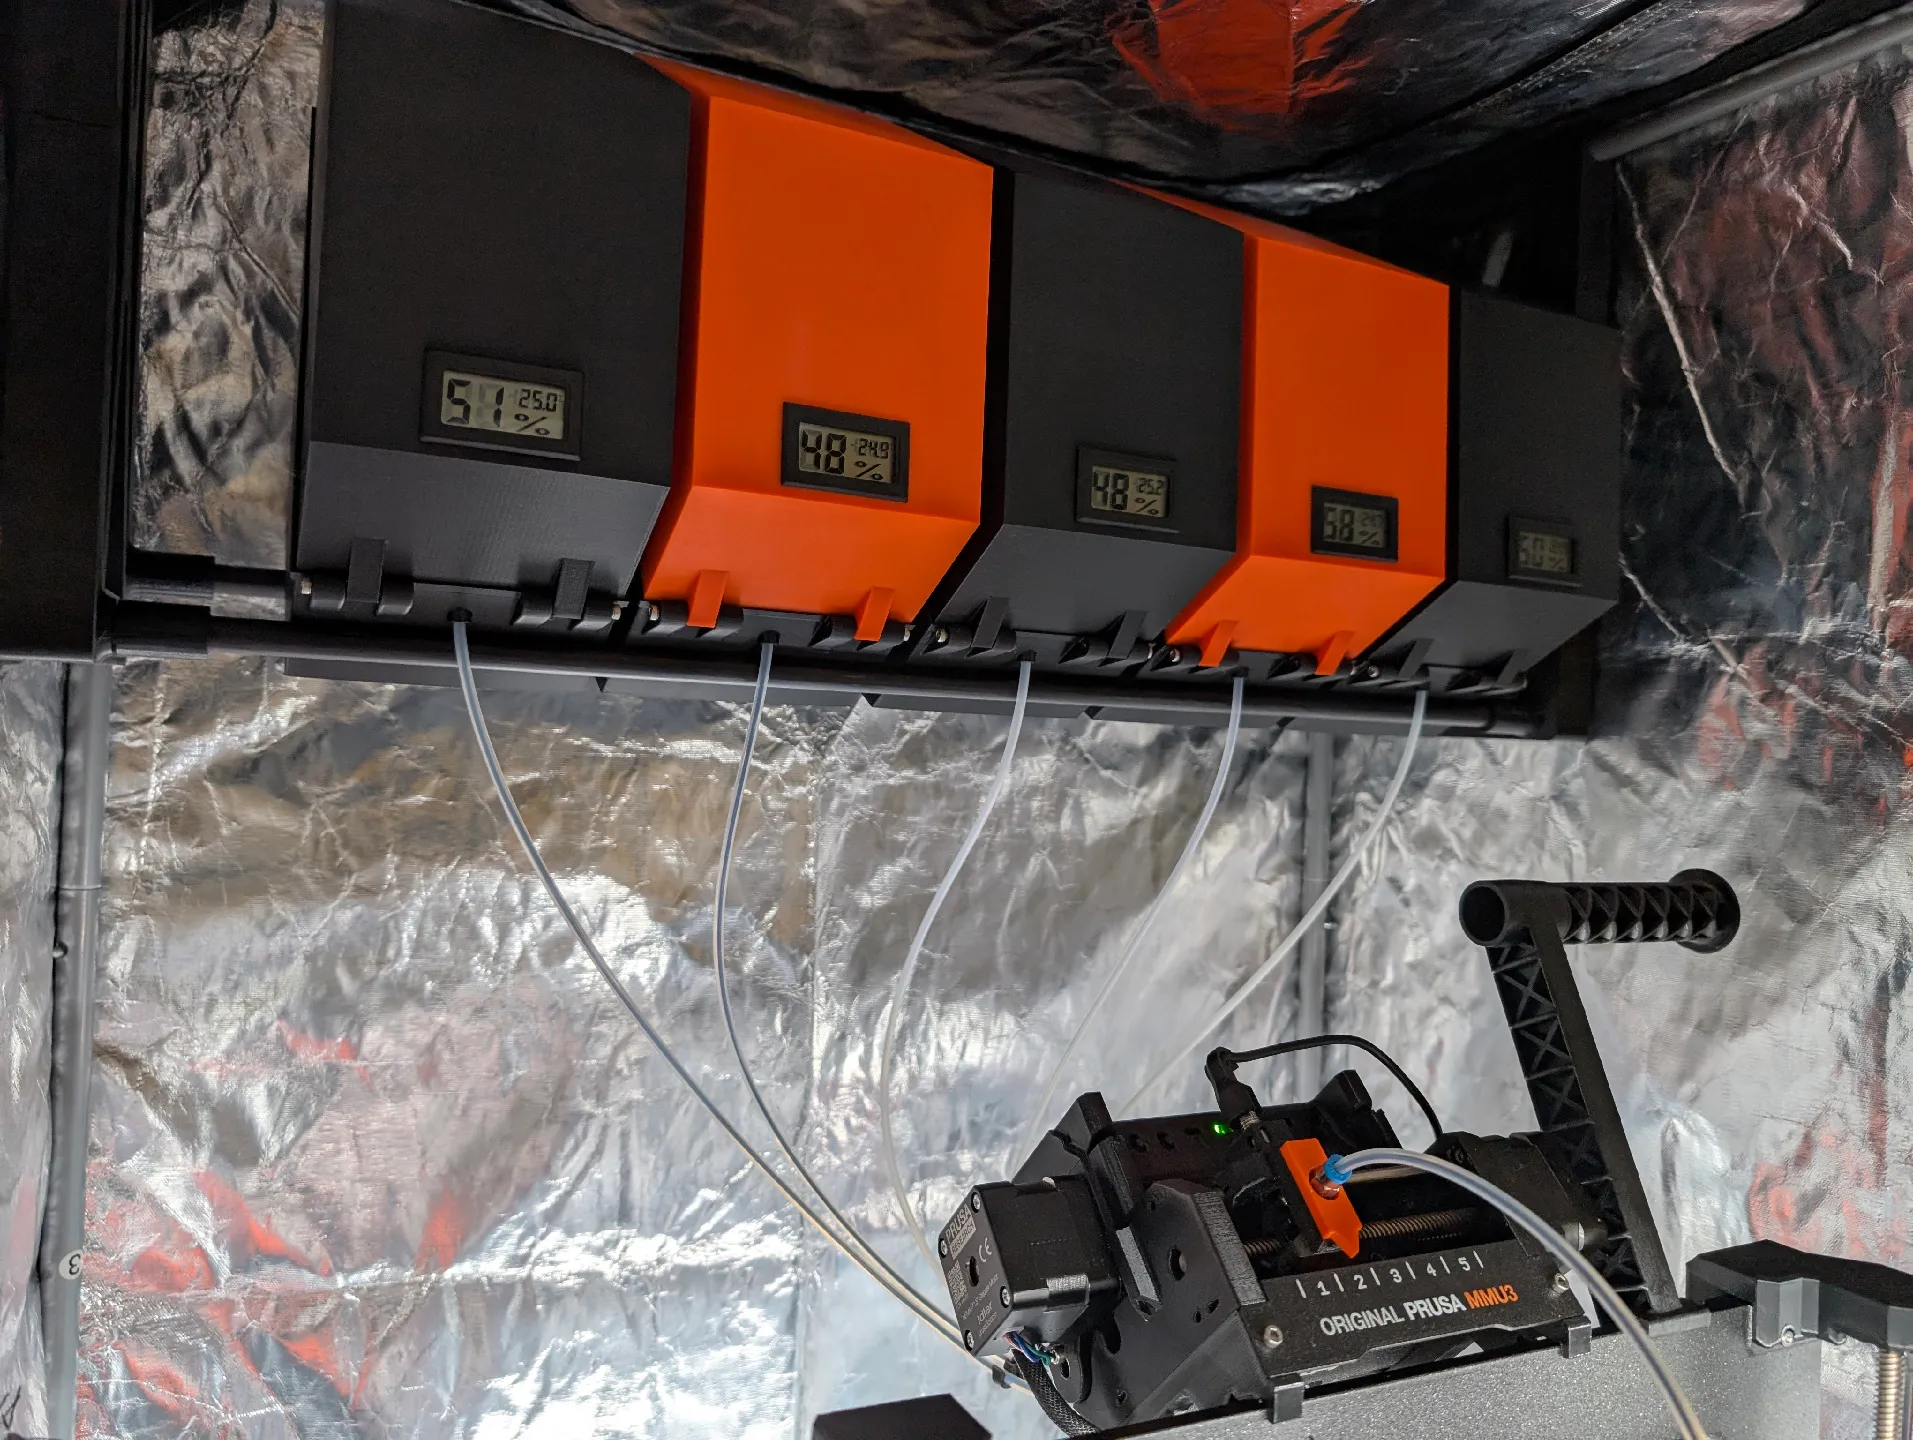
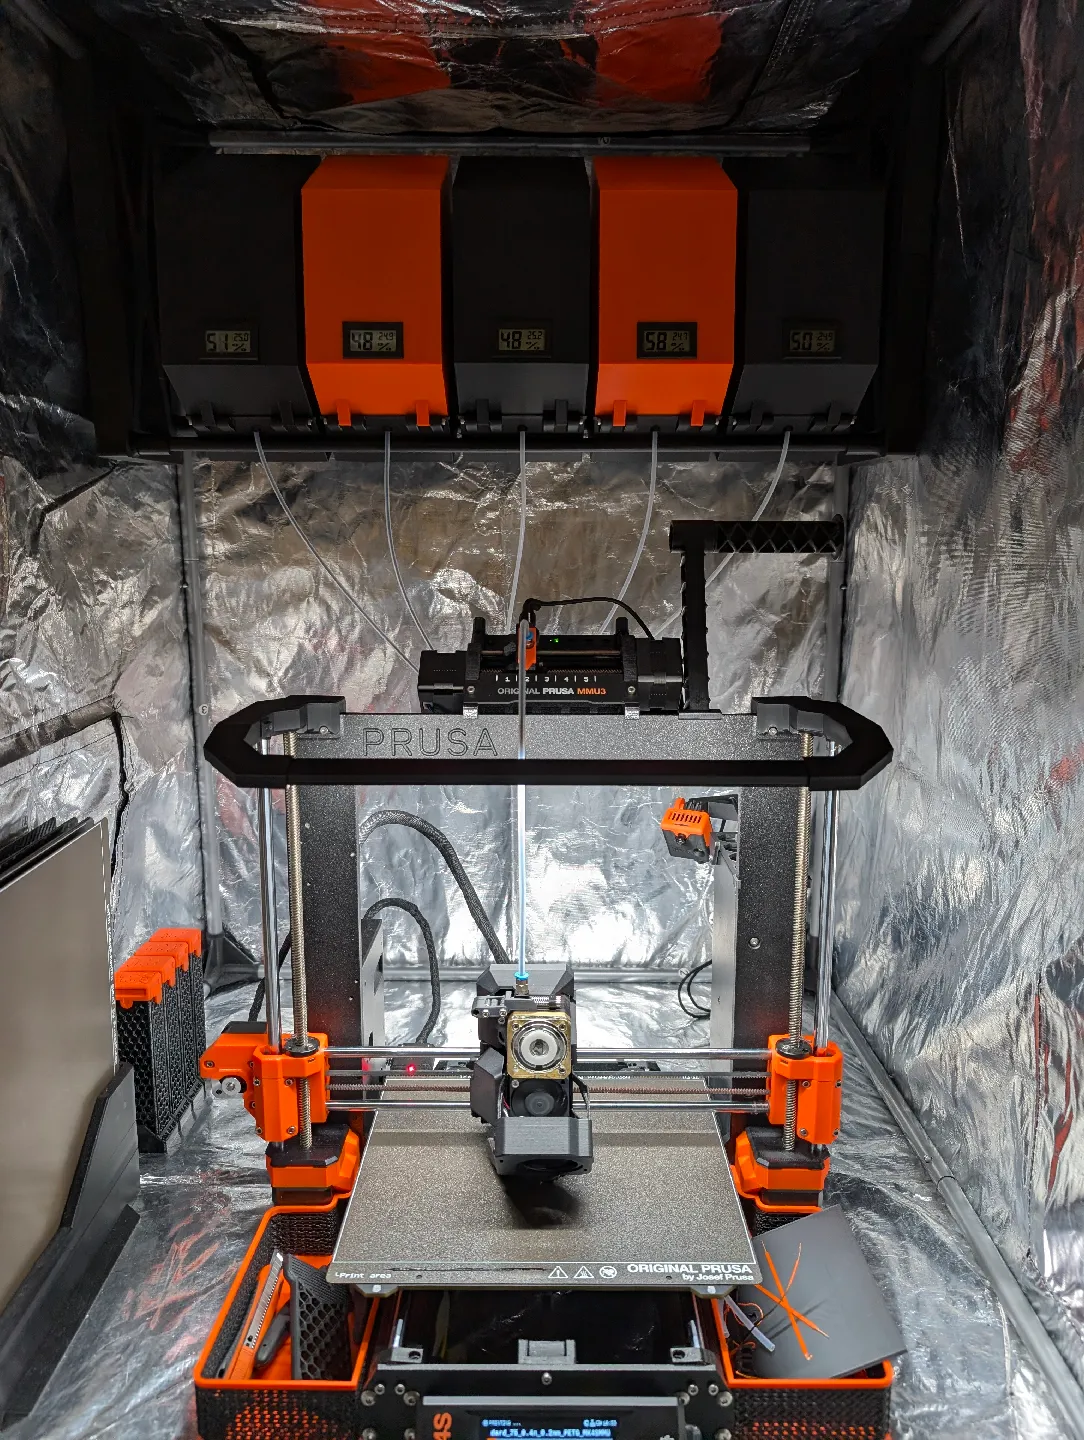
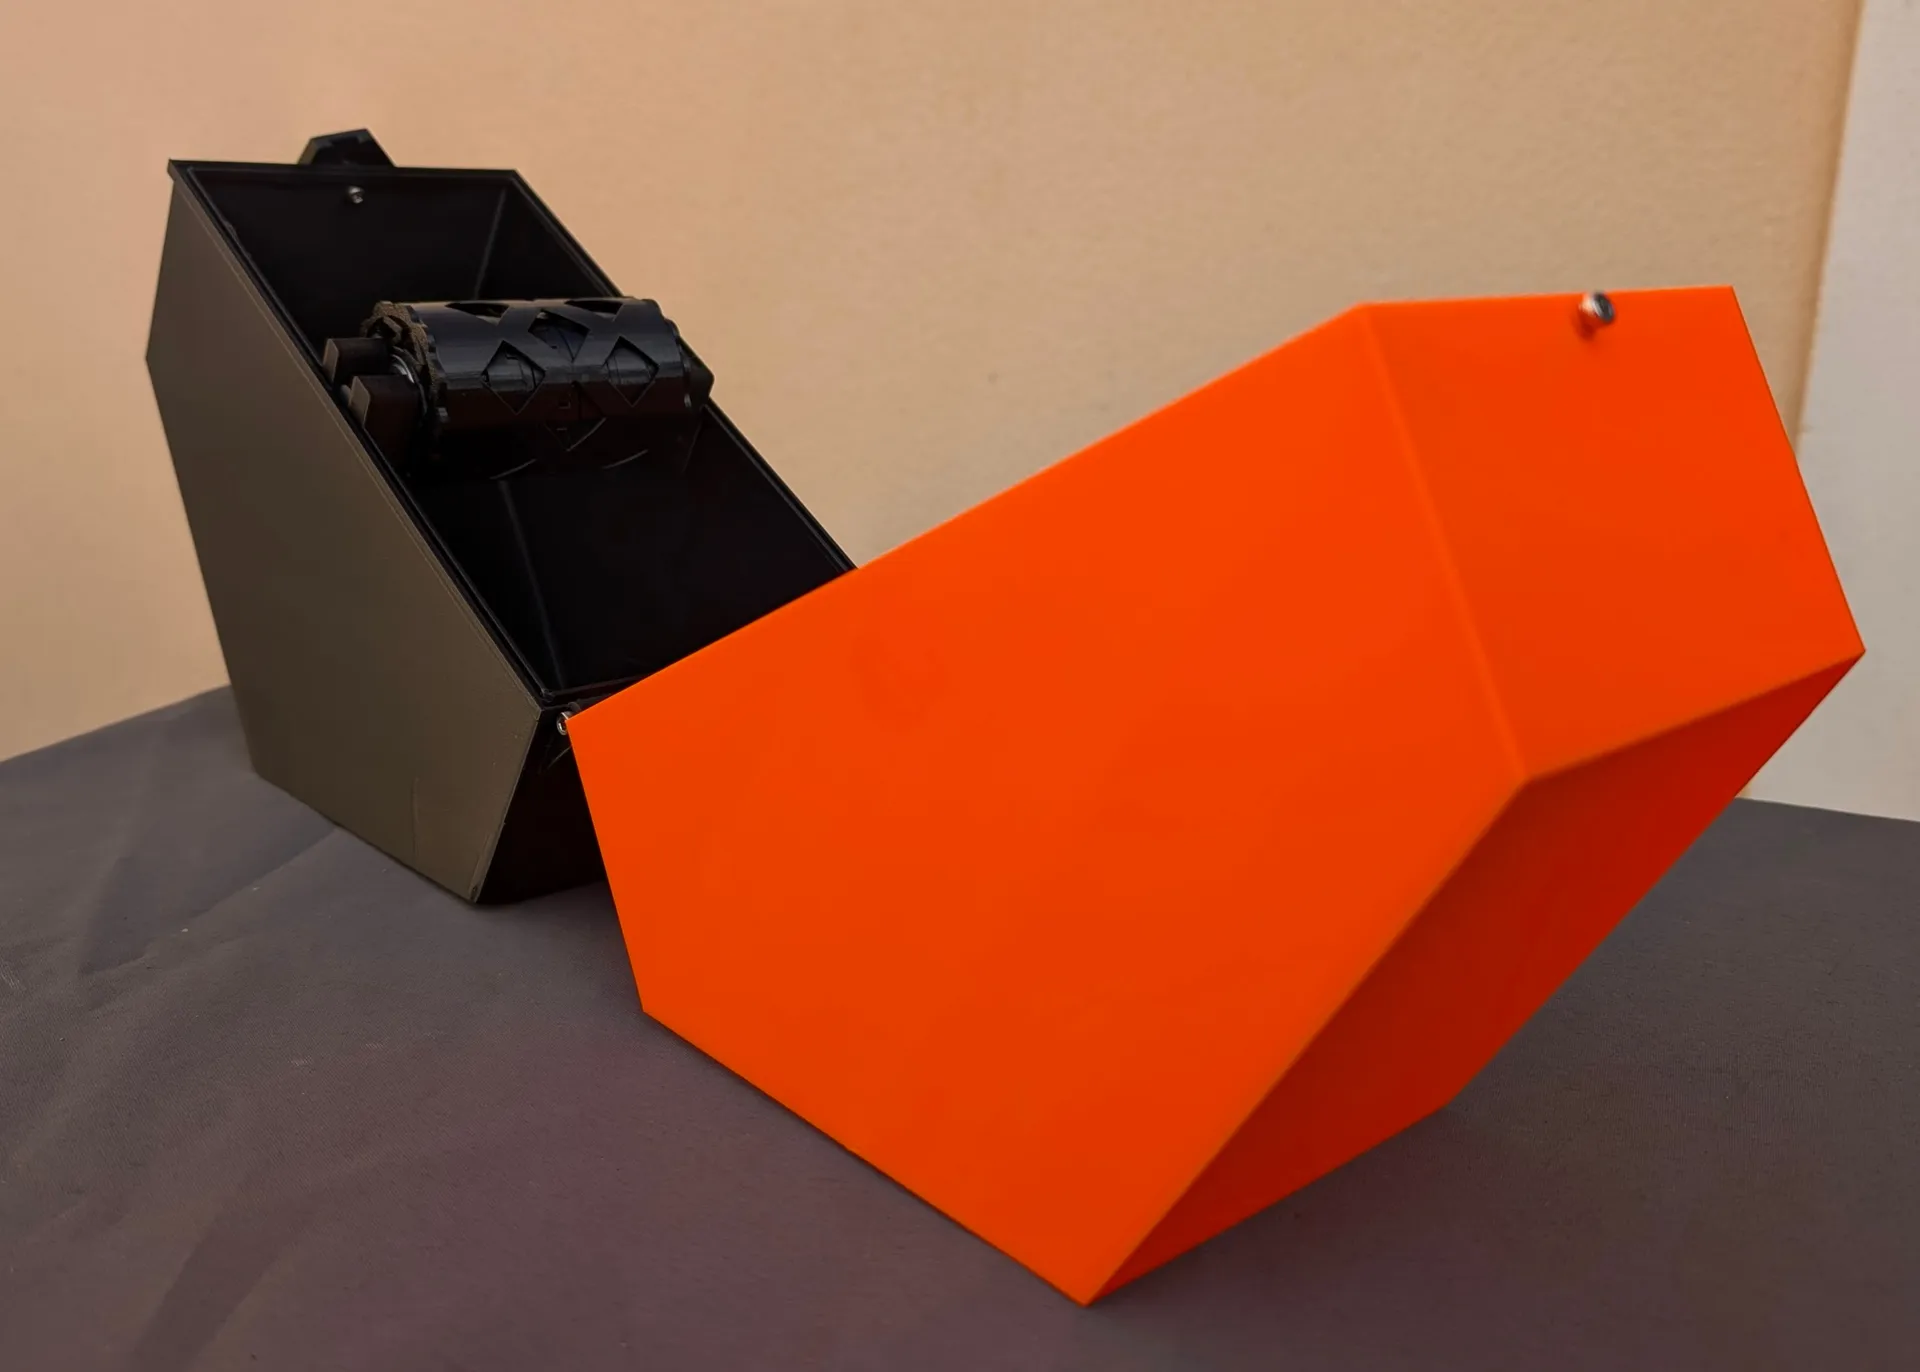
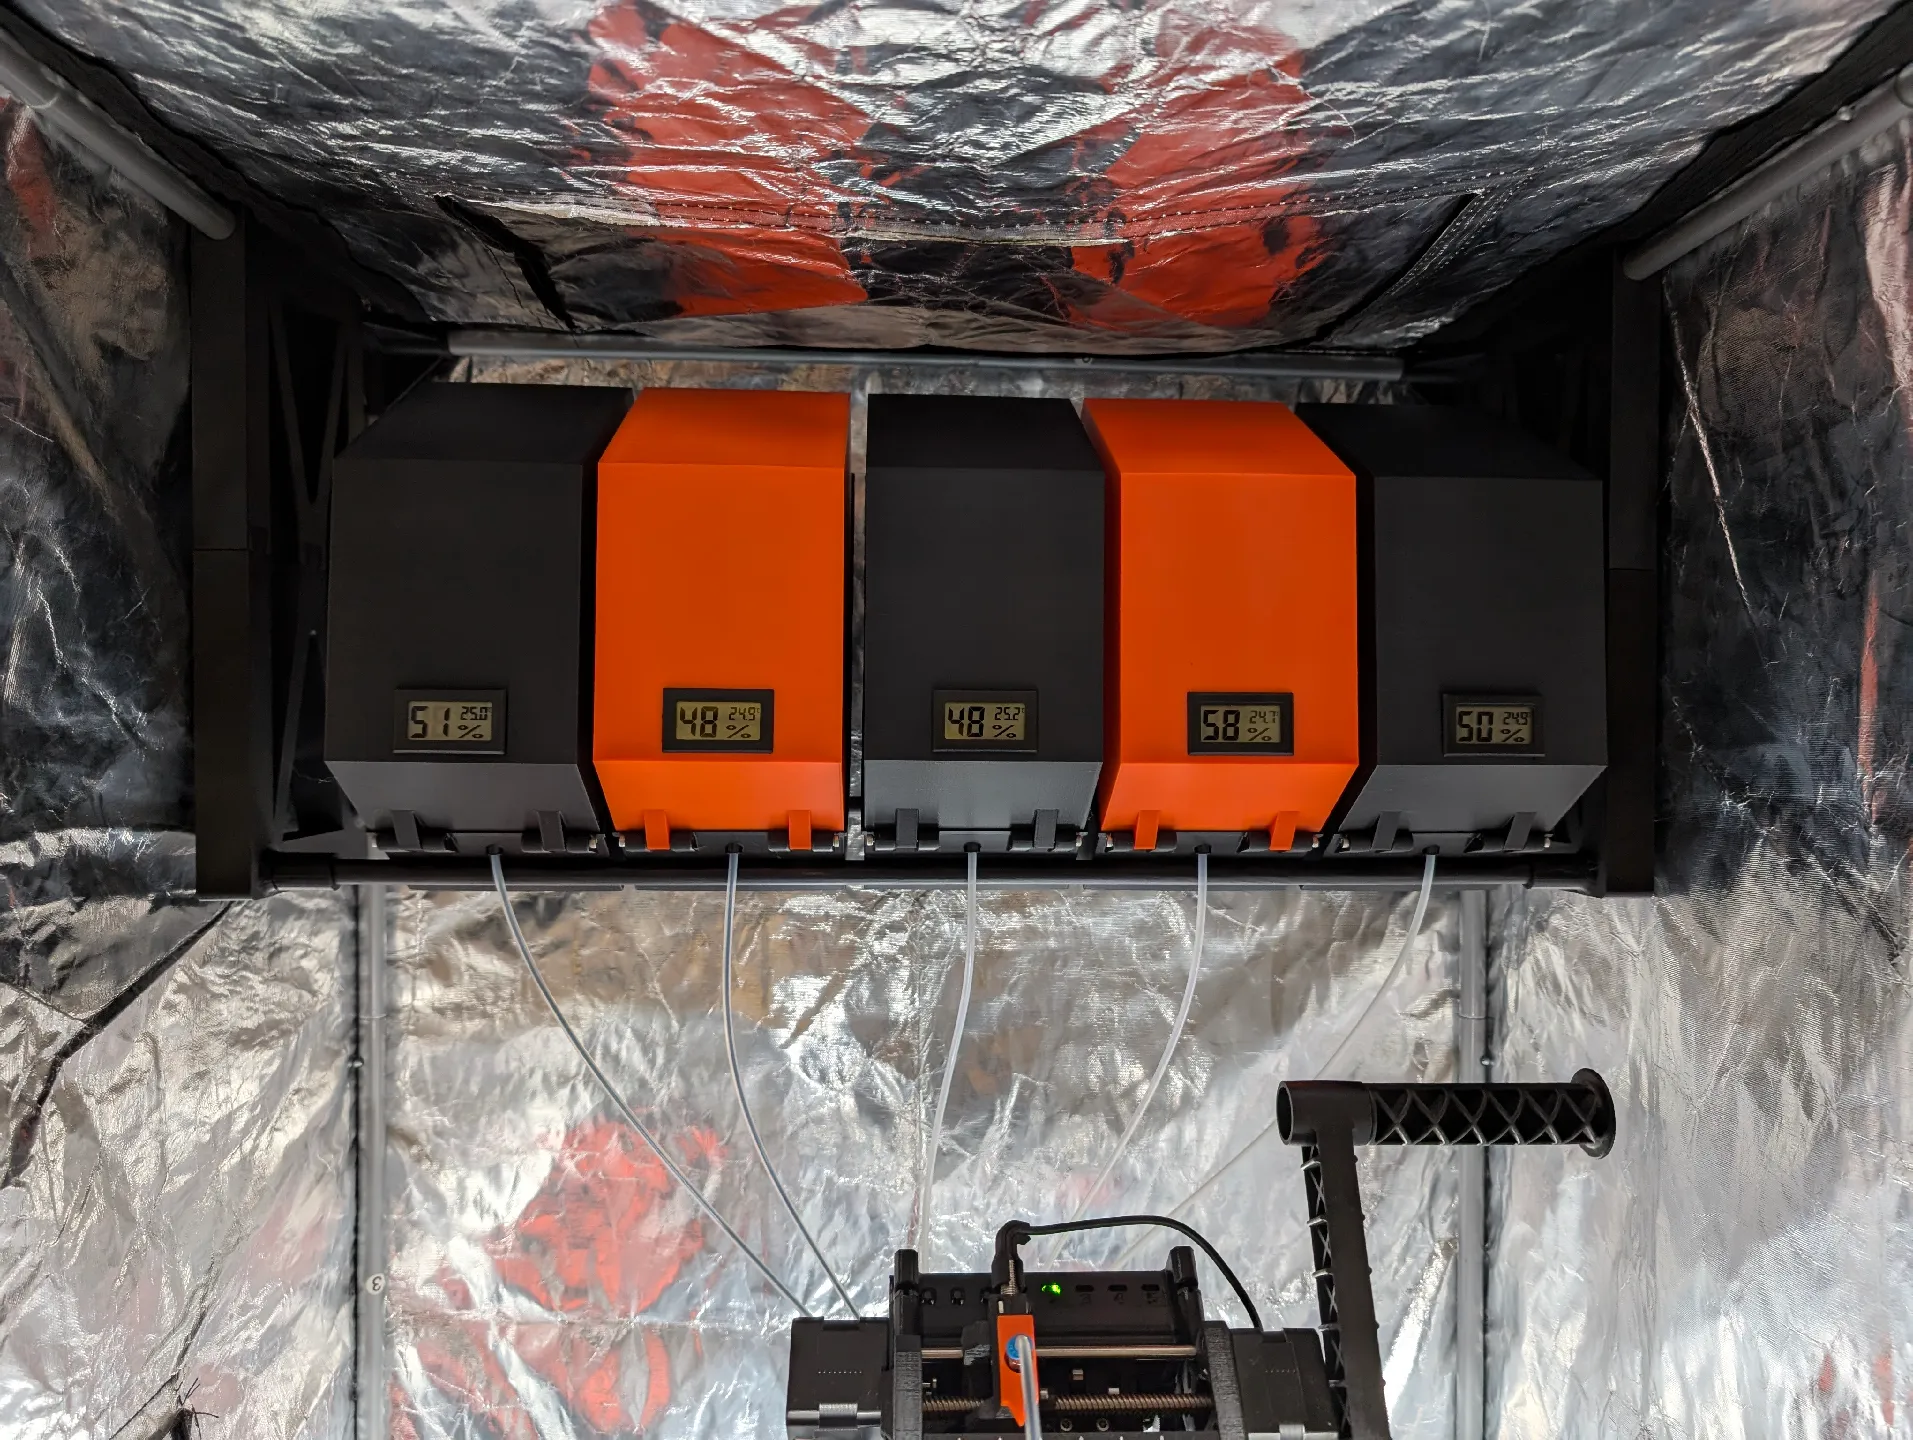
PDFThis remix offers an improved version of the standalone Drybox with support for the auto-rewind system, eliminating the need for the bulky buffer that comes with the Prusa MMU module.
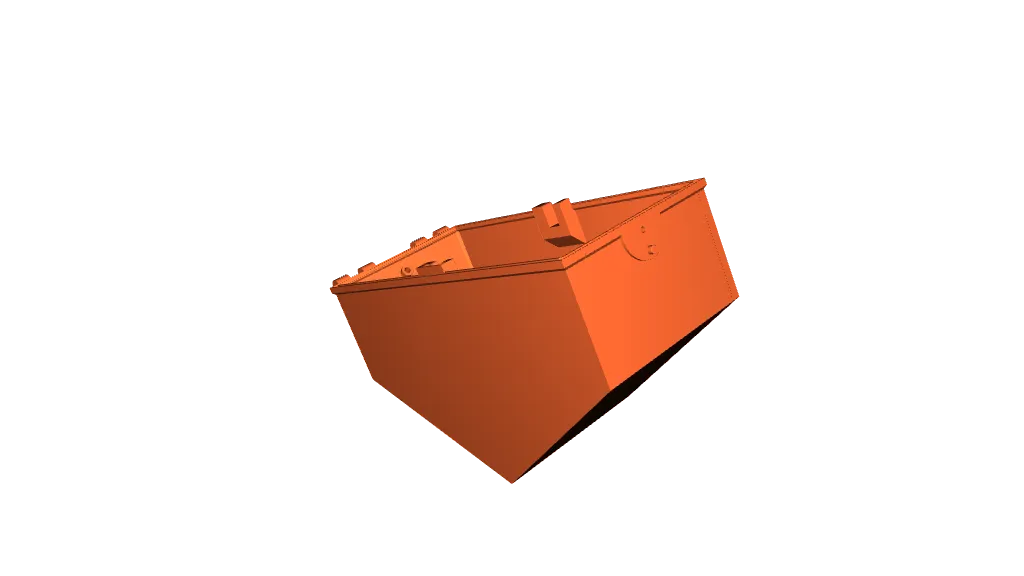
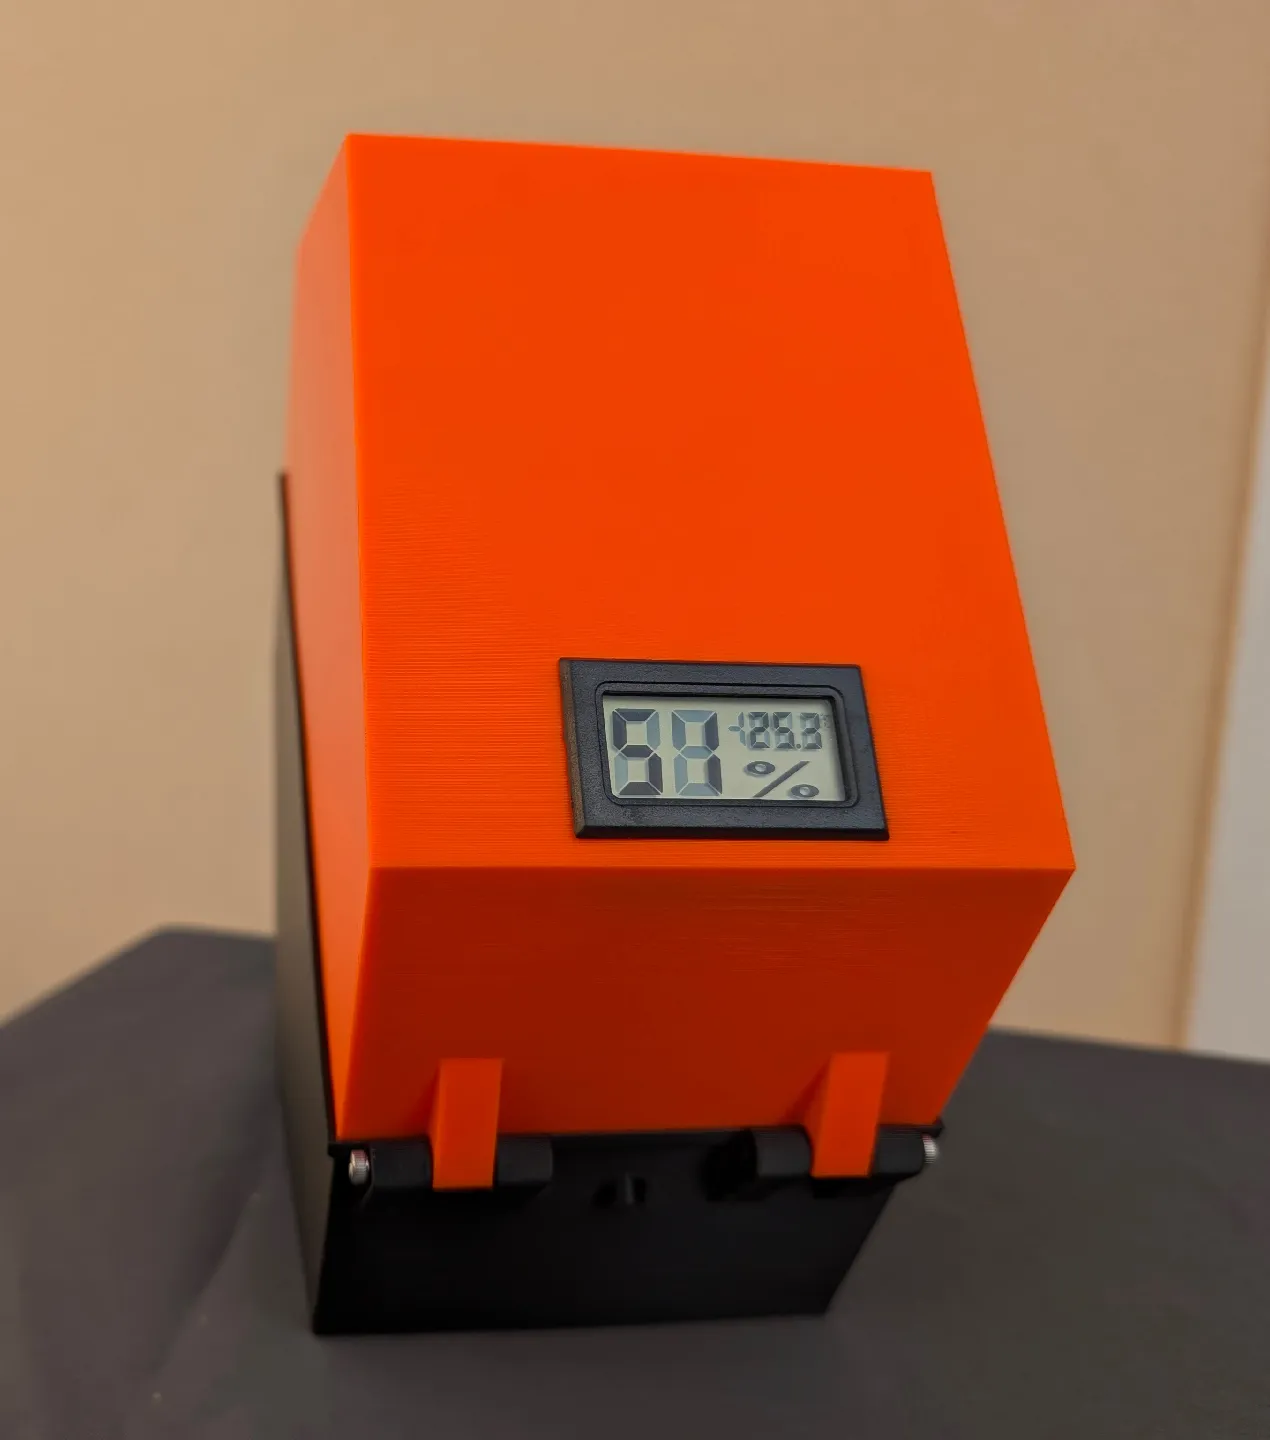
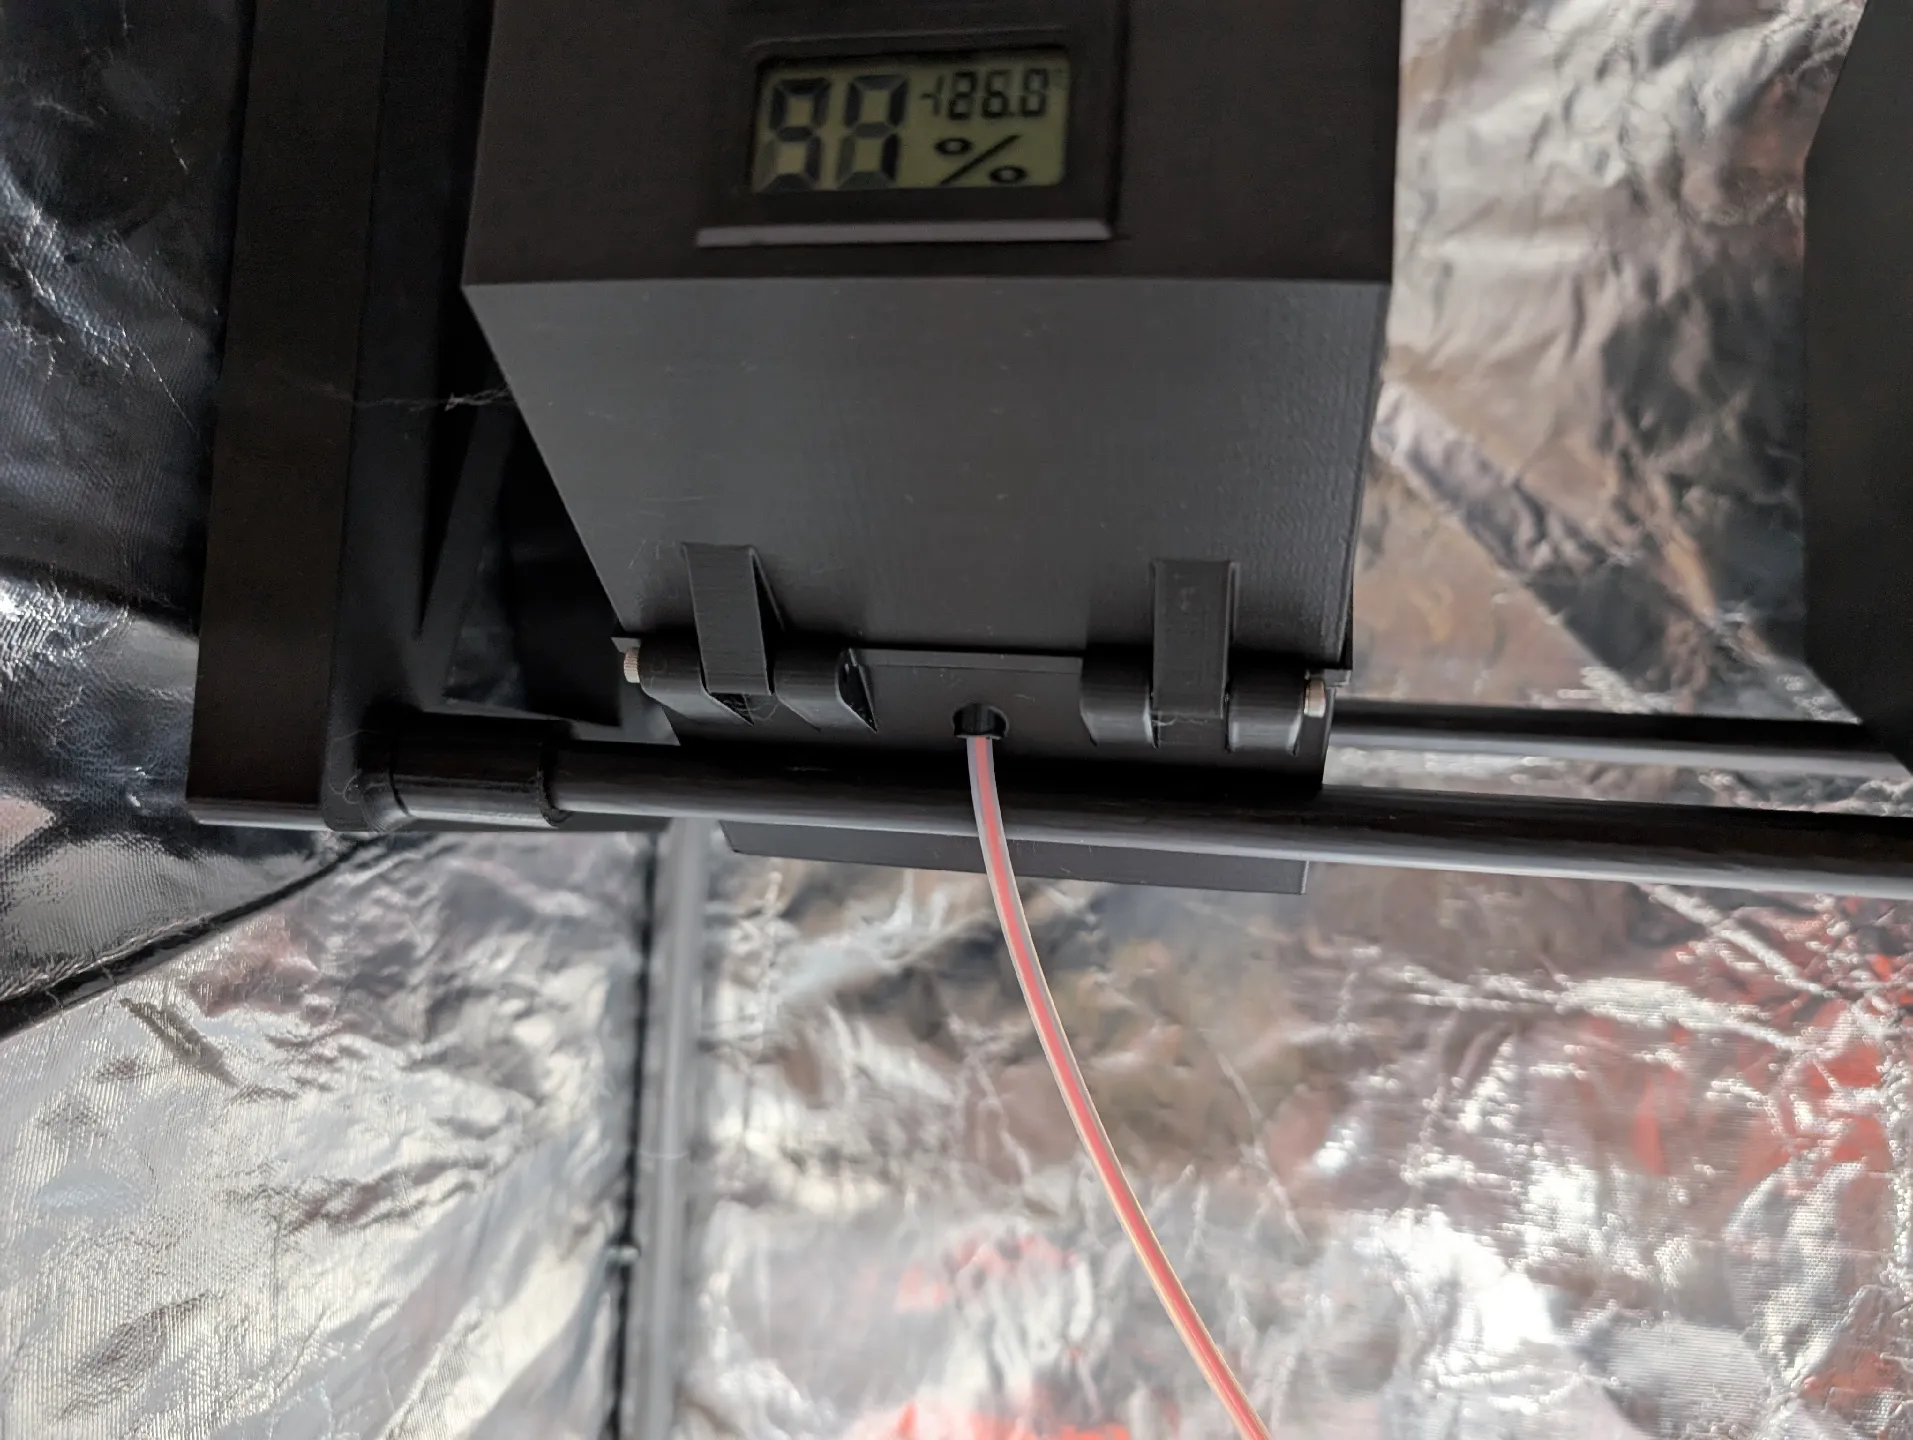
The modifications focus on simplifying the process of adding and removing the auto-rewind system while ensuring stability and robustness. I also adjusted the hole size for the LCD screen to provide better support and added an extra hole for the PTFE tube, allowing it to be easily removed for maintenance of the printer and/or MMU.
Key changes include:
- Simplified design for quickly adding and removing the auto-rewind system, with improved stability.
- Adjusted the hole for the humidity sensor for better support.
- A hole for the PTFE tube was added to facilitate easier maintenance.
- Bigger silica gel support (coming soon)
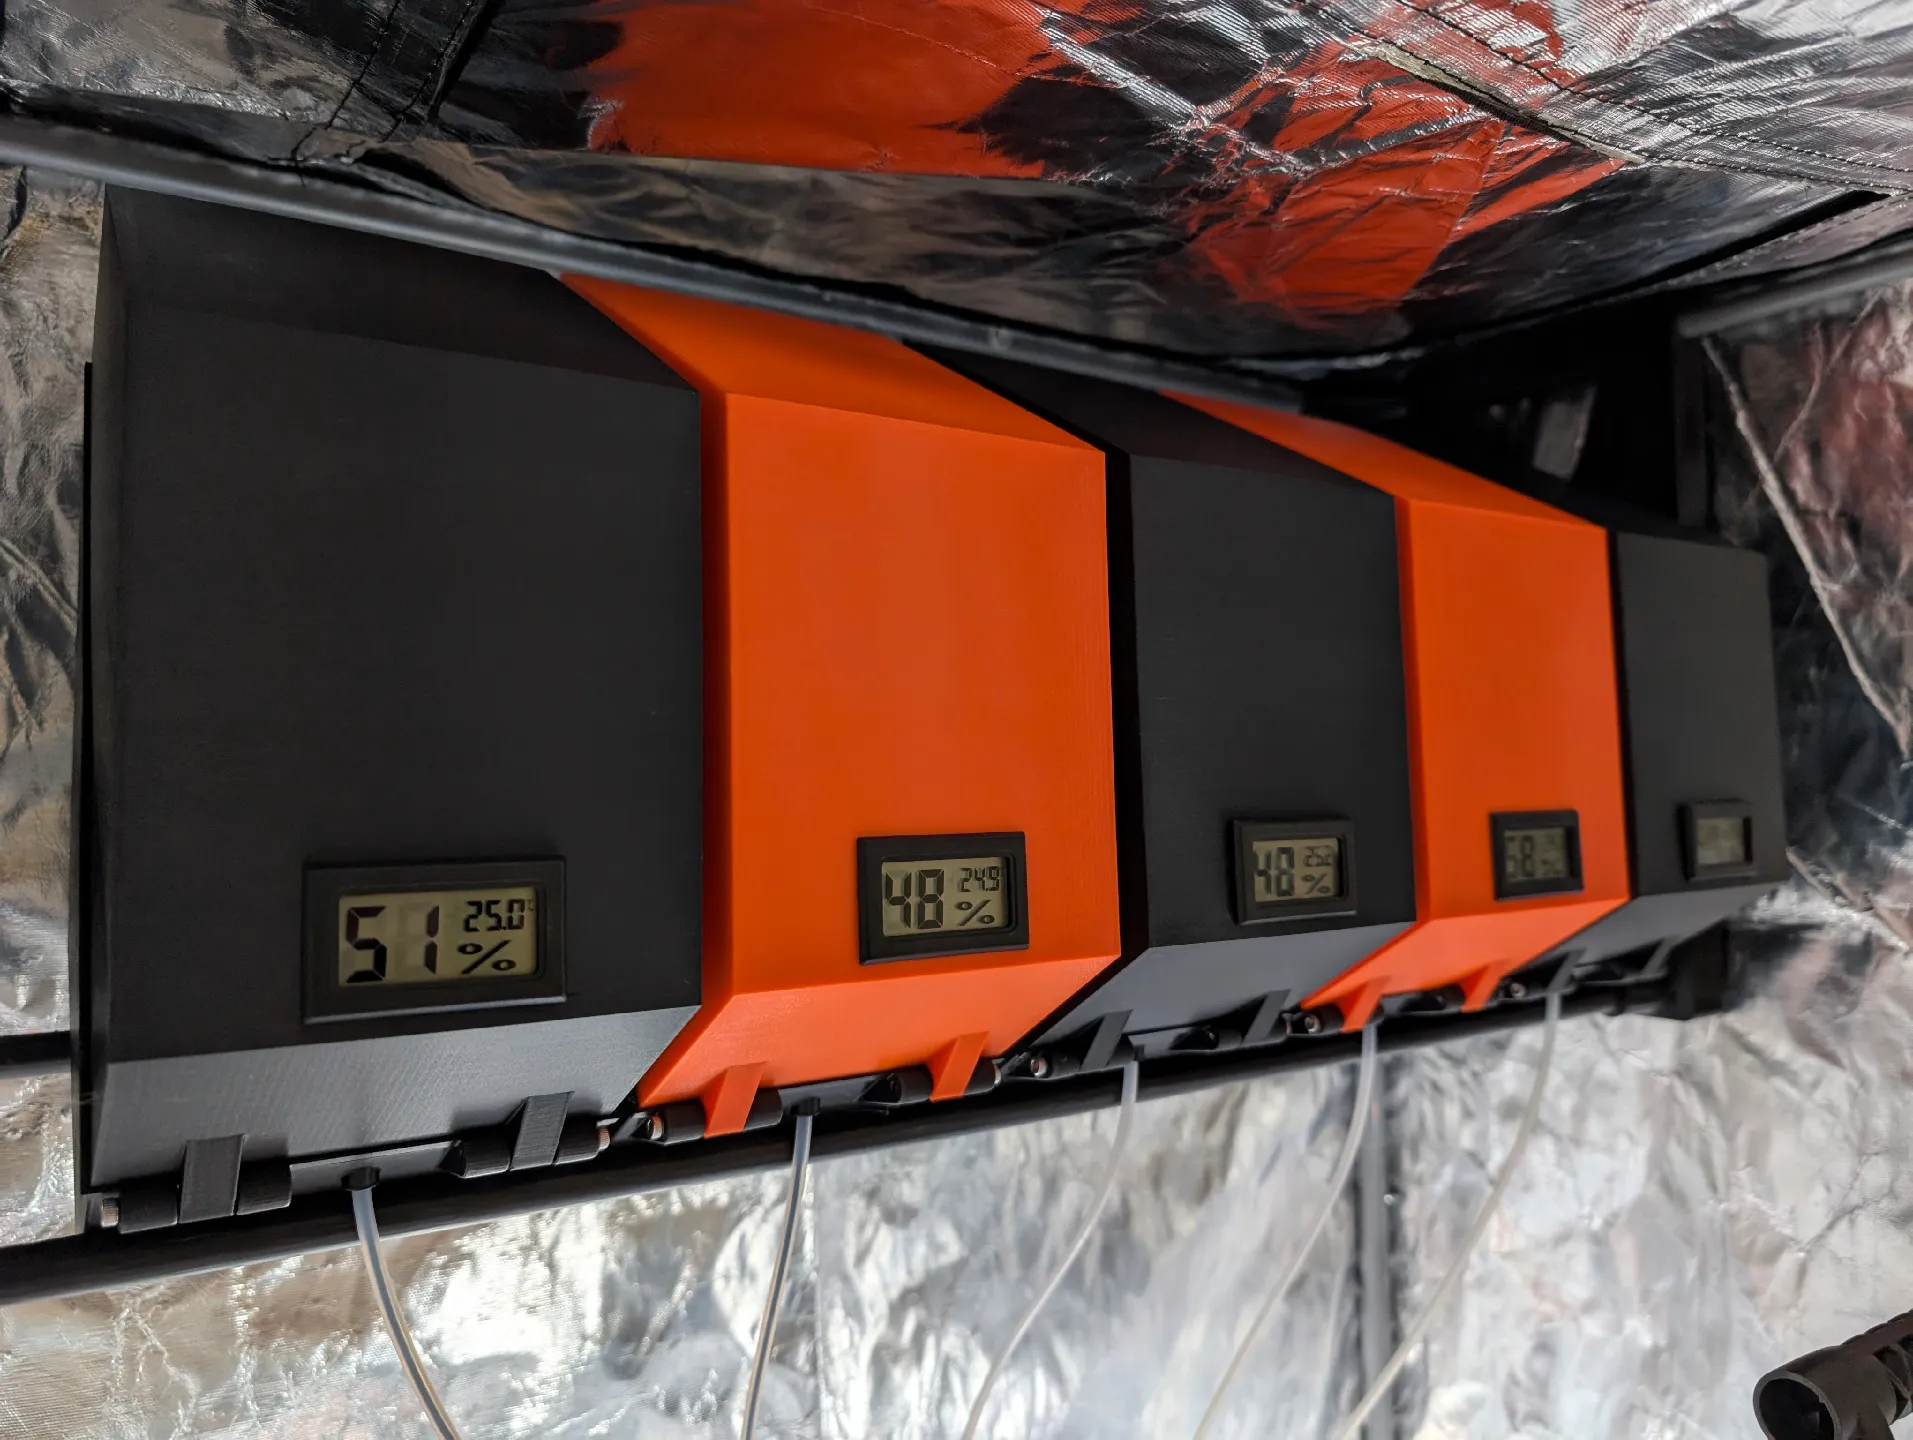
With this remix, you can streamline your setup, keep your filament dry, and make maintenance more efficient, all while getting rid of the Prusa MMU buffer.
Usage:
- Place the autorewinder inside the filament spool, ensuring the arrows on the autorewinder point in the direction of filament loading.
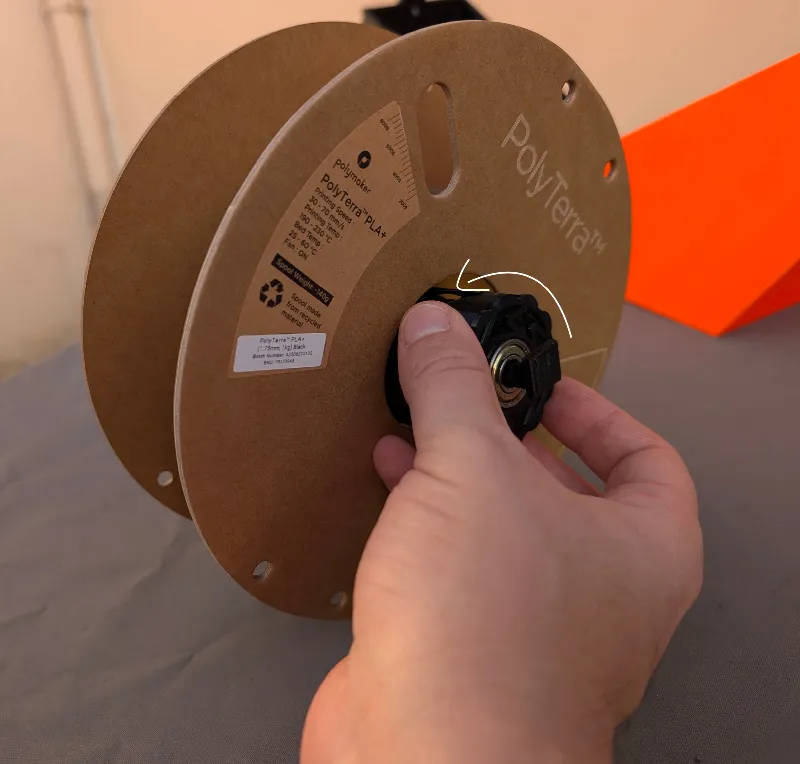
2. Insert the filament spool into the dry box, aligning it with the arrow orientation on the shaft.
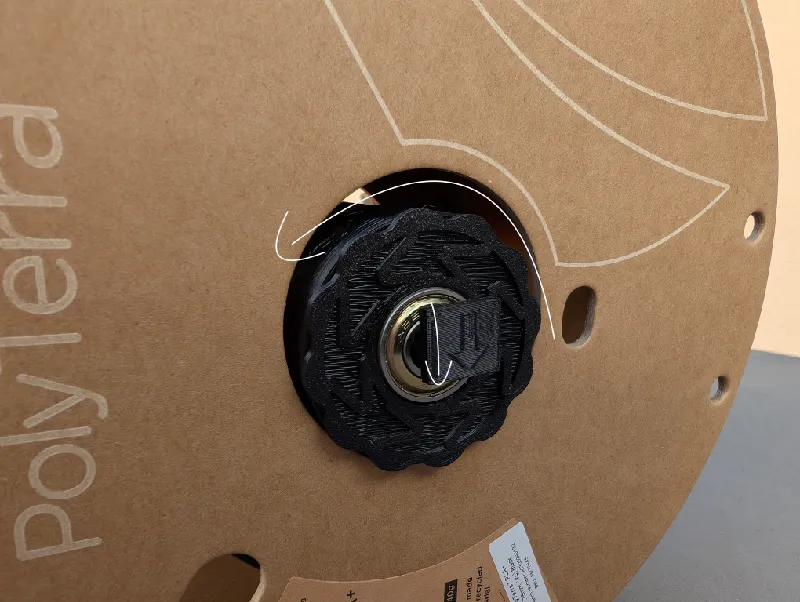
3. Add the filament and the autorewinder into the dry box
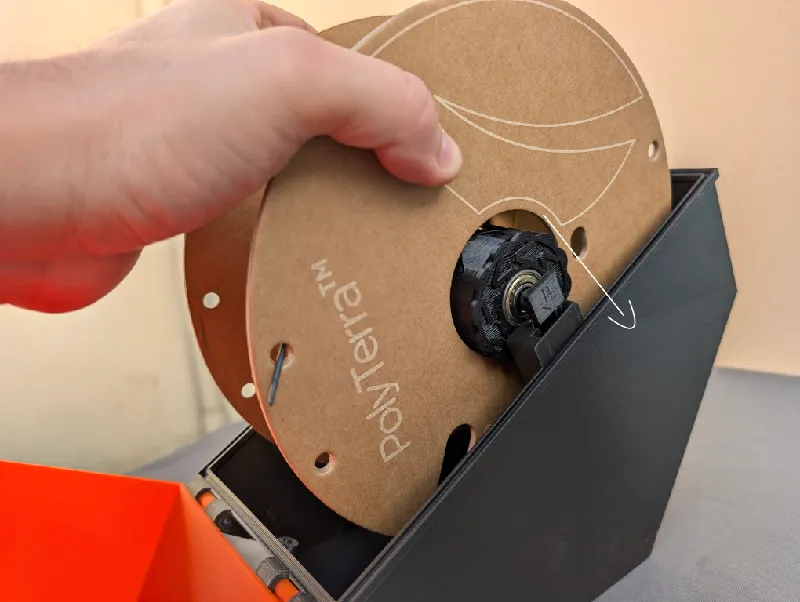
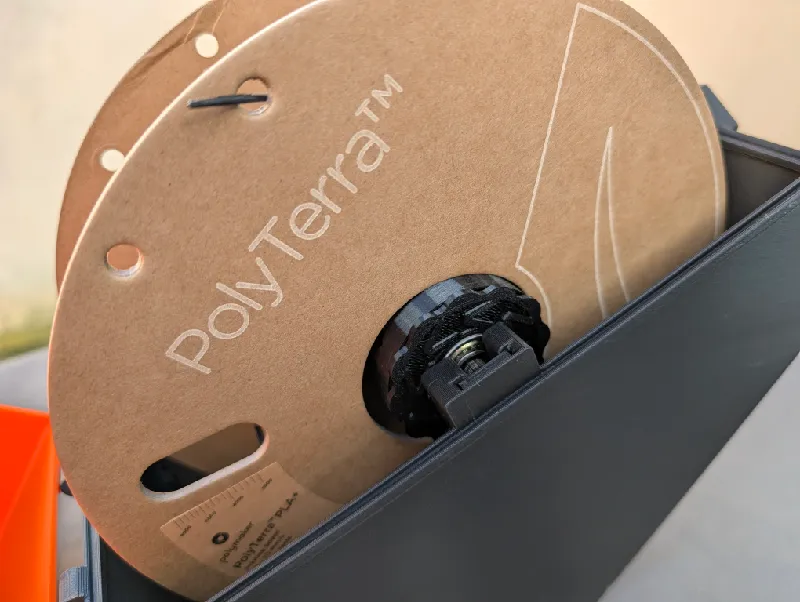
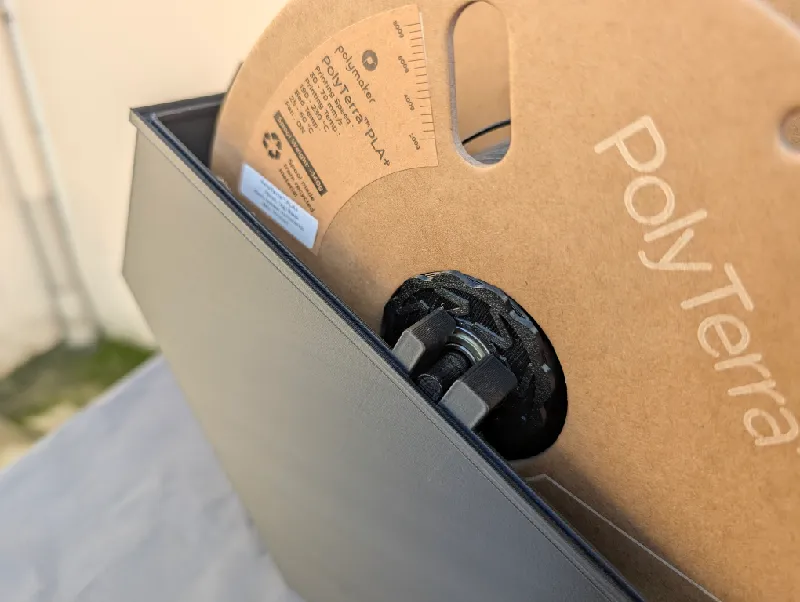
4. Feed the filament up to the MMU into the PTFE tube and load it as usual from the printer
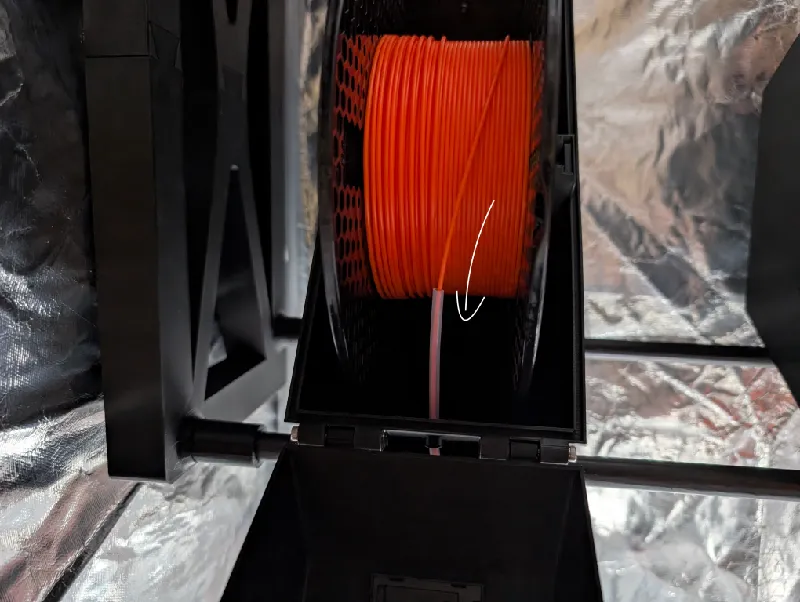
5. Turn with the finger the autorewinder 7 to 8 times to enable autorewind . If this message still appears, try turning it fewer times. If this step is not 100% clear, you can take a look at this video using the same autorewinder:
Print instructions:
- Drybox: can be printed in PLA or PETG, 15% infill
- Autorewinder: PETG
- No support required
Required hardware (per Dry box):
- Humidity sensors (dry box)
- 2x M3x30 screw (dry box)
- 1x M3x8 screw (dry box)
- 1x M3x6 screw (dry box)
- PTFE tubes provided with MMU (dry box)
- 2x 608RS bearings (autorewinder)
Mount instructions:
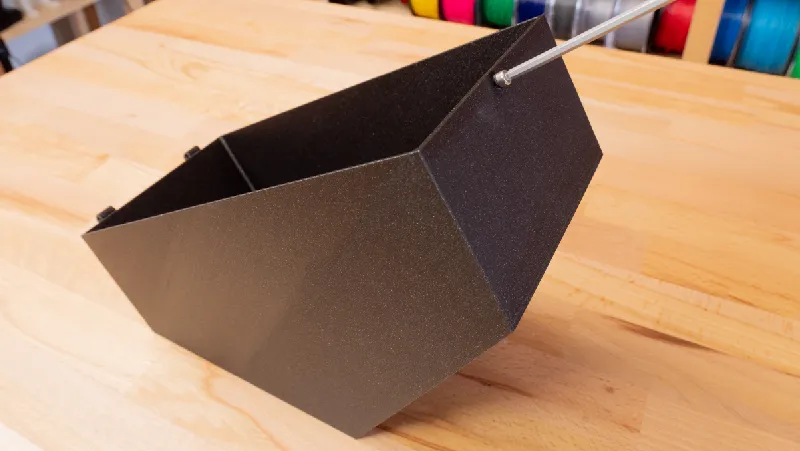
On the top part of the dry box, insert the M3x6 screw on the external side:
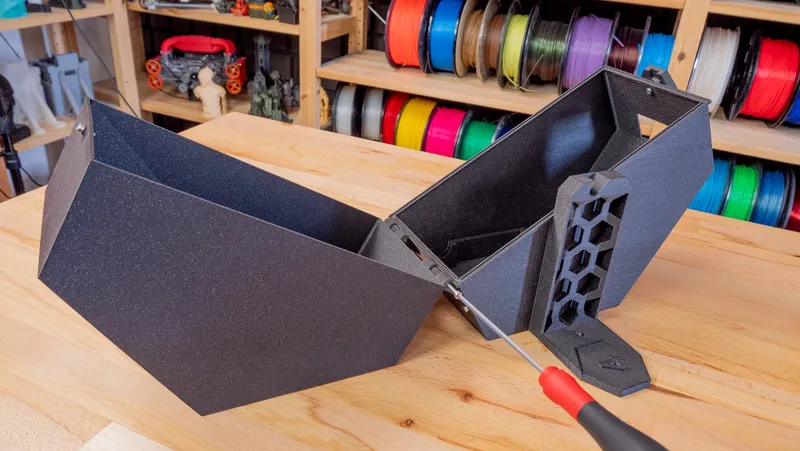
Join the bottom and top of the dry box with M3x30:
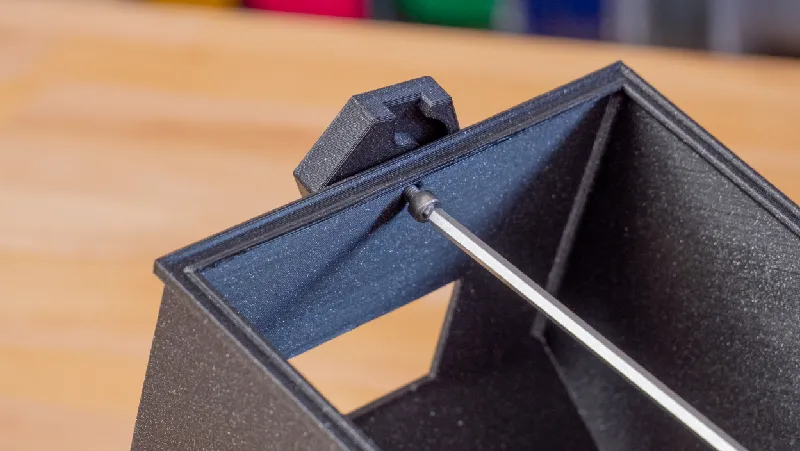
Insert the lock with the M3x8:
Add the PTFE tube in the Drybox hole.
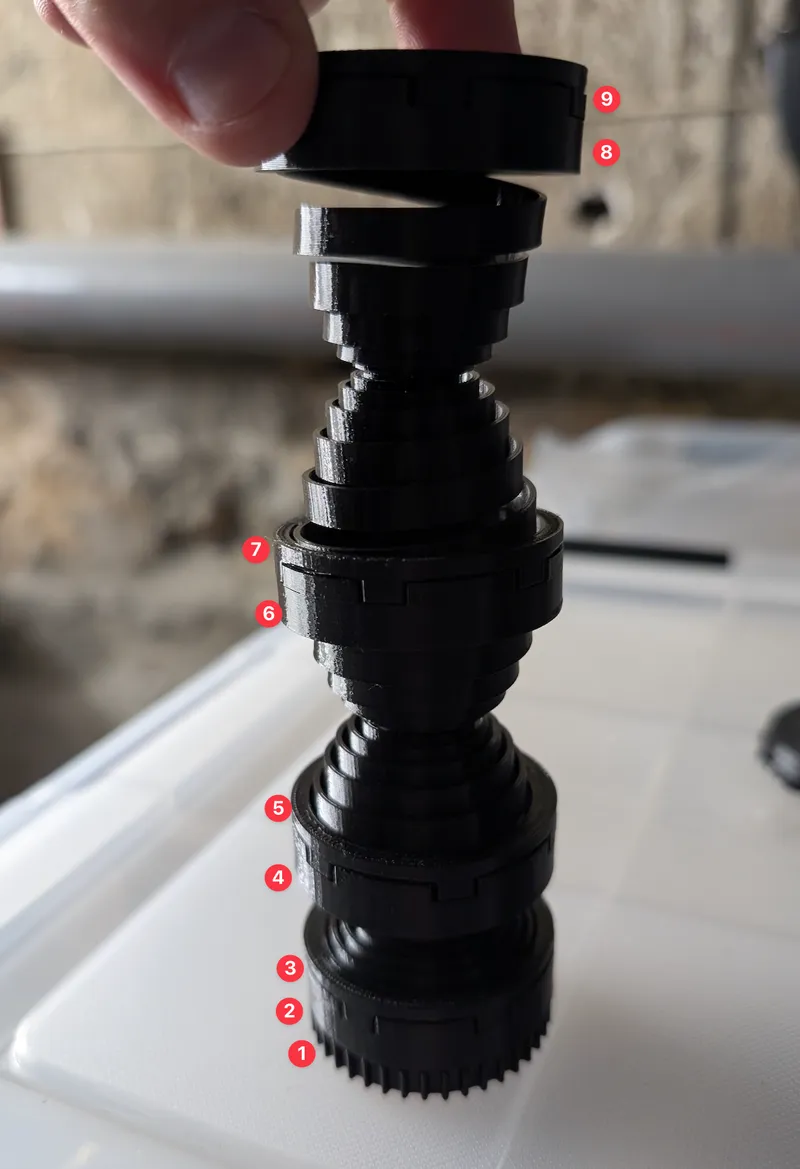
Now assemble the auto-rewinder as shown on the image:
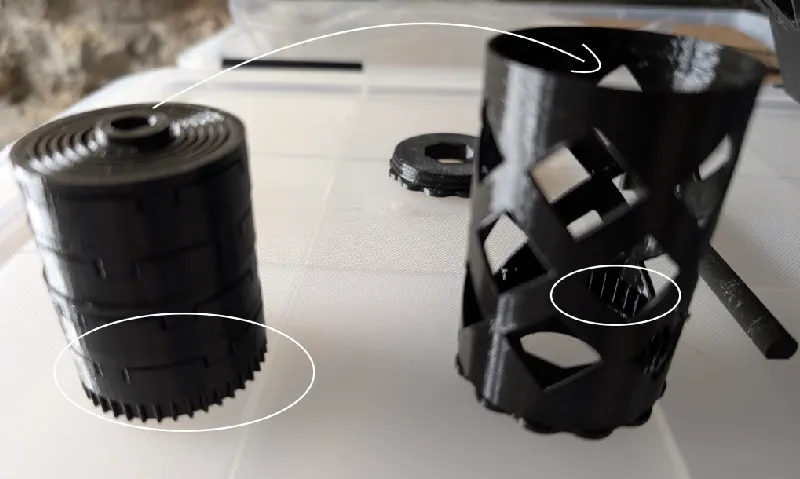
Add it to the cylinder:
And close it with the last element:
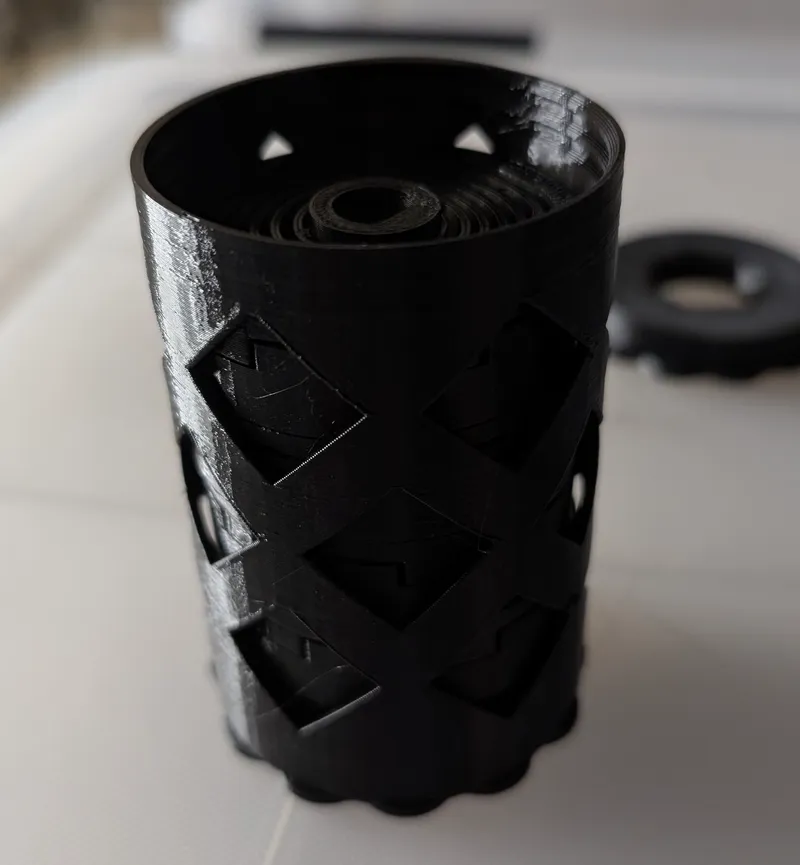
Add the shaft and you're now ready to print :)
Thanks to:
- Prusa: for their original dry box and pictures I took from
- Vincent Groenhui: for the parametric auto-rewind
Tags
Model origin
The author remixed this model.
Differences of the remix compared to the original
The modifications focus on simplifying the process of adding and removing the auto-rewind system while ensuring stability and robustness. I also adjusted the hole size for the LCD screen to provide better support, and added an extra hole for the PTFE tube, allowing it to be easily removed for maintenance of the printer and/or MMU.
