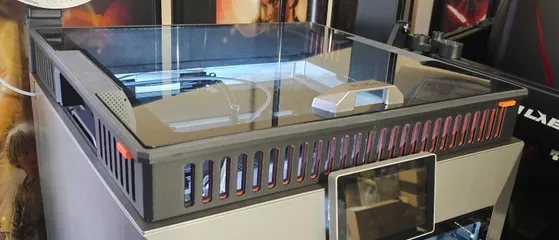
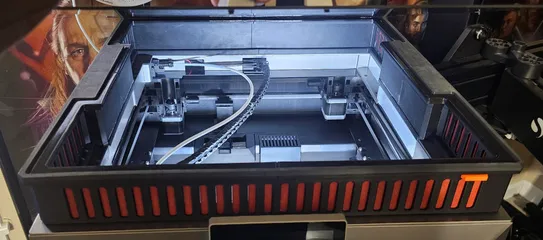
Looks like a very promising add on to the PLUS 4. How is this thing performing with active chamber heating? Does the chamber still heat effectivly to 65°C with the added volume on top, or does the heating suffer noticeably?
Qidi Plus 4 Closeable Ventilated Riser
Makes
Comments
@HappyPaddy_769201 It heats up just fine and in the same timeframe as the stock configuration. There are no issues with the heater overexerting itself.
Since the 1.6 firmware update the heater takes a bit longer to heat up the chamber, but that has nothing to do with this riser.
Looks great I will buy it in a bit... But one thing I'd like incorporated on here is a ridge of say 45° or something around the inside so I can add some led strip lights. Is it possible to incorporate?
@brendanhaug_1654129 Hi Brendan, thanks for your interest in this design!
I no longer have plans on adding a chamfer or other 45⁰ surface for mounting any extra LEDstrips.
After having used the printer for about 3 months now, I haven't needed any extra lights. Although I initially also bought a 24V COB LEDstrip for that purpose, I have not found the need for it after my almost daily use of the printer.
Where would you place this extra LED? I can easily make a fitting 45⁰ beam for you, which you can glue to the back part of the riser. Let me know if you are interested!
Absolute PERFECTION! Everything fit together like a glove. Vents open and closed with little to no effort. First print is in PETG Pro. Second print is going to be in PETG-CF for tighter fit.
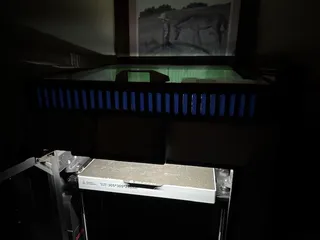
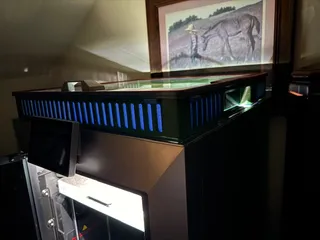
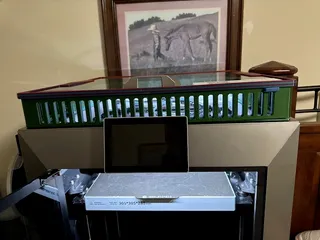
Printed in ABS-GF grey and ABS-GF black. Overall a really good print and looking forward to printing pla with glass on,
Vents open and abs vents closed :)
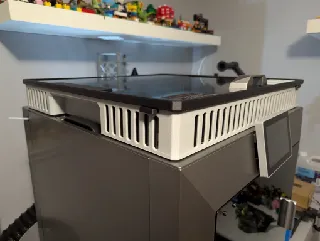
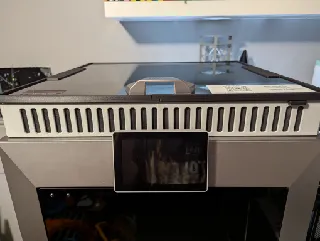
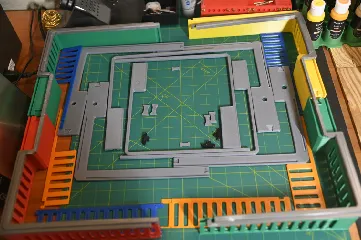
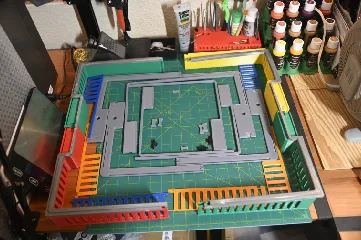
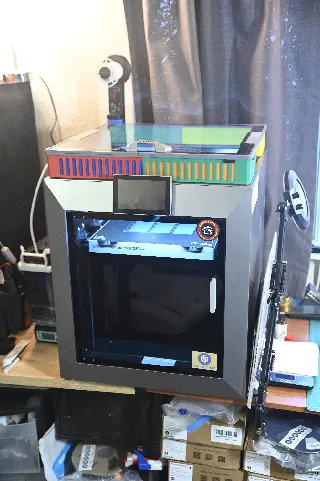
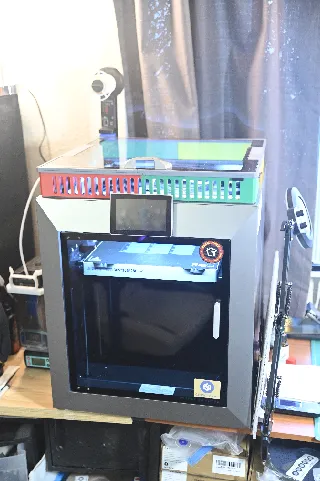
First off, very good job!!.. This was a very educational project for me. I'm new to the 3D world, I learned a quite a bit doing this. everything was spot on dimensionally once the filament was dialed in. I found using a left- and right-handed deburring tool to remove the burrs in the lower track to work very efficient at getting rid of them, then drag the file through it. take yer time with the prints. I look forward to more from you master creator. the color scheme is from the 4Th Dr. Who, my machine choked while making the main risers and I didn't have enough of one color to finish so this is an homage to his scarf. (edited)
