Project IGOR - open-source, offline, loyal, cheerful, focus assistant


Description
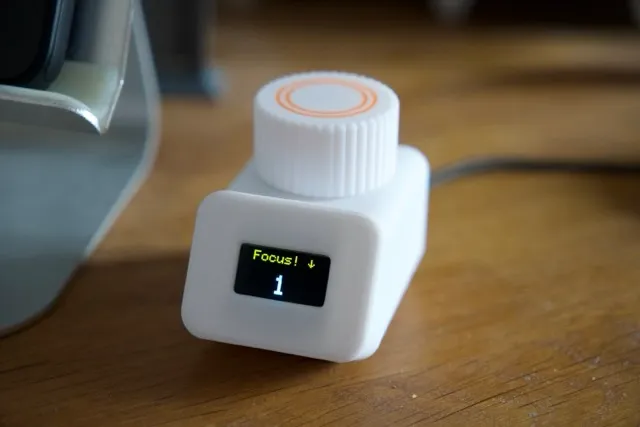
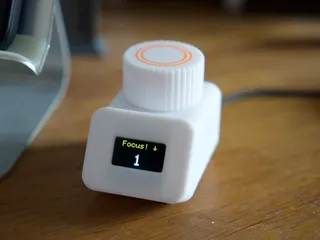
PDFThis project is designed to help you stay on track with your focus sessions, using a simple and intuitive interface via a rotary encoder and an OLED display. Whether you need to time focused work, breaks or other worthy pursuits, this simple cheerful timer is a perfect tool to support your productivity.
Bonus: it's cheap to put together and highly hackable. I wrote the code in a modular way and you can add your own functions to it easily. Just make sure you share that back so that we can all enjoy your ideas in action!!
Its simple features (v1)
- Up and Down Counting Modes: Select either count up or count down mode. Both are in minutes based on millies (seconds seem way too distracting - you want to slow down and dive in).
- Rotary Encoder Control: Use the encoder to navigate the menu and adjust timer values. Rotate to move up and down, click to confirm. Easy.
- OLED Display: Provides real-time feedback on timer status and focus session duration, as well as your beautiful Flow total minutes acculturated since your last reset.
- IDLE Mode: Automatically enters IDLE mode after 3 minutes of inactivity (and shows up a question to prompt you to come back into action), turns off the display after 30 minutes to conserve energy.
- Success Animation: Displays a short animation at the end of each session (positive reinforcement gains!).
- Manual Timer Reset: Reset your total focus time using a simple menu option so you can start afresh. Unplugging the device also achieves this - nothing is permanent, we have to keep performing!
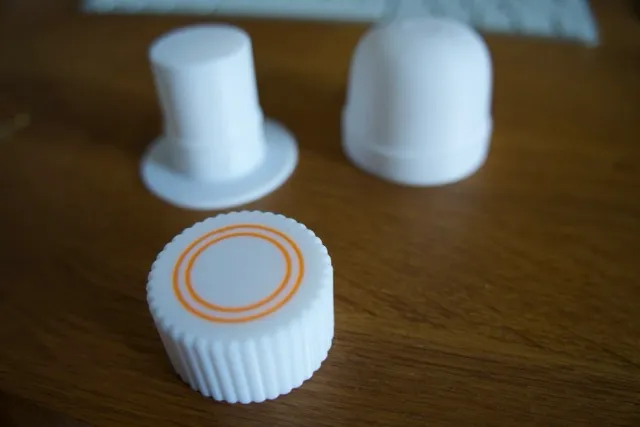
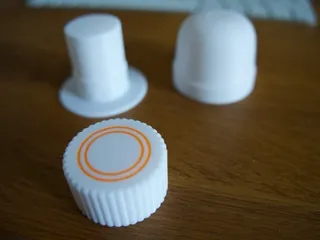
- Cute hats that you can swap: Design your own rotary encoder knobs, ney - hats, or download some that I made. Add some personality to your assistant, be it a British butler, a French concierge, or Italian enforcer, etc. have some fun with this. And make sure you give it a name.
BOM
- Adafruit SSD1306 OLED Display (128x64)
- KY-040 rotary encoder
- D1 mini board (any Arduino board will do, but you will have to adjust the sketch)
- 3D printer for the shell - all pressure fit, no screws, no glue, nothing else required
Affiliate Links to grab the components (if you want to use them):
- Rotary Encoder (x5): https://amzn.to/4h4bjCB
- OLED Display (x5): https://amzn.to/4apCANs
- Microcontroller (USB-C D1 Mini x6): https://amzn.to/4h2zQYO
(unit cost at the time of writing: just under $7. I'd recommend buying the components in sets - they're great for many projects, and the sets drives the unit cost down)
Pinout
| Component | Pin |
|---|---|
| OLED SDA | D2 |
| OLED SCL | D1 |
| Rotary Encoder CLK | D6 |
| Rotary Encoder DT | D7 |
| Rotary Encoder SW | D4 |
(If you found this useful and would like to support my work: https://buymeacoffee.com/urbancircles)
Microcontroller firmware
One sketch file, using the IDE of your choice (e.g. the main Arduino IDE works well with the added modules for D1 mini + libraries - that's what I use). Please check everything is working before soldering and squeezing everything into the 3D printed shell.
Link to GitHub: https://github.com/UrbanCircles/igor
(please contribute with your code ideas!!)
Assembly
There are only 3 components to this:
- The shell - the D1 mini fits snuggly in there, and the rotary encoder screws on the top.
- The faceplate - the OLED slides in (make sure the display is nicely squared - the slide should allow some wiggle room, as the tolerances on these displays are quite bad but hey, it's really cheap).
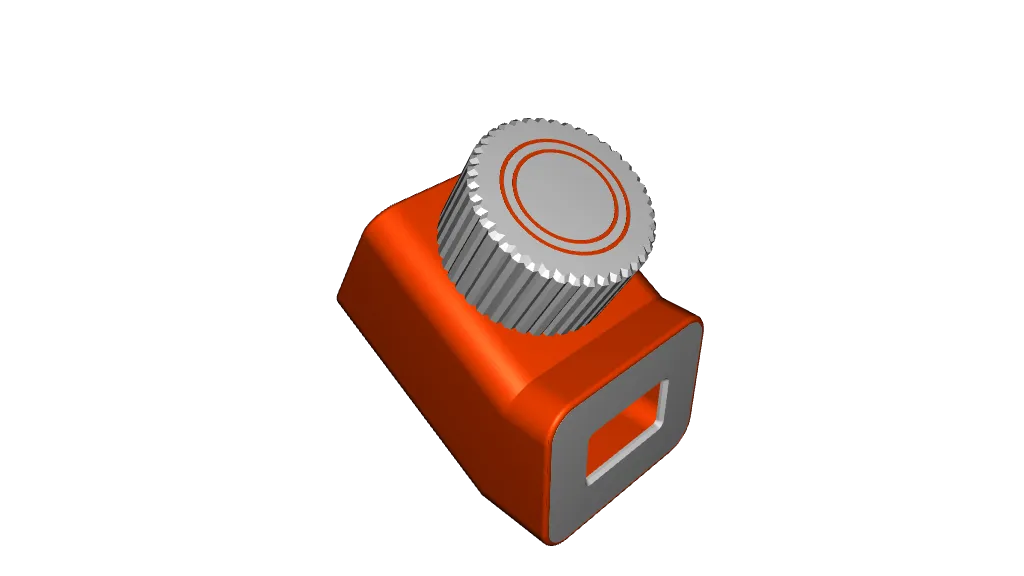
- The hat - this is the knob to rotate and press on. It fits on top of the rotary encoder, with the key as a guide.
The orientation of parts on the printer's bed matters - only some hats will need internal supports because of the interface with the rotary encoder. All else prints easily with normal PLA (but you can get more exotic - people share your creations!).
Do play with the dimensions - tolerances (around 0.2-0.3mm) work very well for our printers and achieve a satisfying fit, but they require some adjustment/scaling for your setup.
The order of the assembly I found to work best is:
- First, wire everything together, write the firmware to the board, fire it up, rotate, click, play - make sure everything works well. Do not use headers for the D1 mini, check the length of your wires and the orientation of components - it's a tight but precise fit.
- Second, the OLED panel should be attached to the faceplate.
- Third, the rotary encoder and the D1 mini (which only goes in one way) should be attached to the shell.
- Lastly, you can snap everything together.
Note on hats: I encourage you to make this your own by designing and printing (and hopefully sharing) a custom hat. The dimensions to fit the encoder are openly available online and it's really simple to put something together. I have made available several iteration that I found funny or relevant as I was dressing up my assistant - you only need one.
Tags
Model origin
The author marked this model as their own original creation.