Giant Articulated Minecraft Skeleton Action Figure - Three Foot Tall

Description
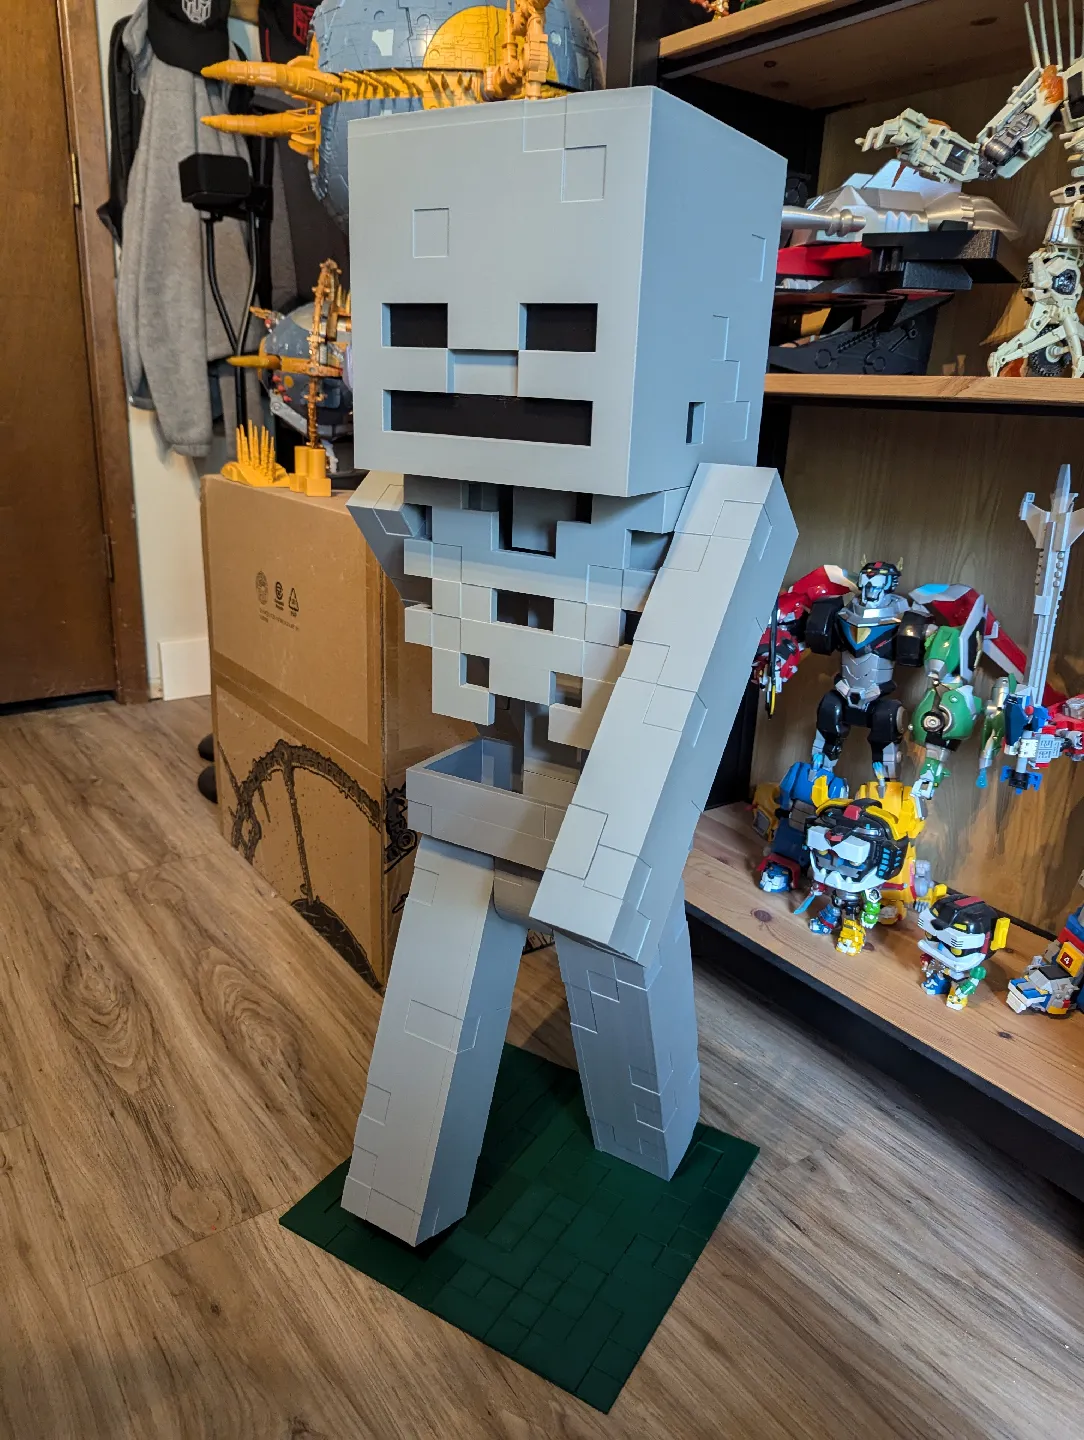
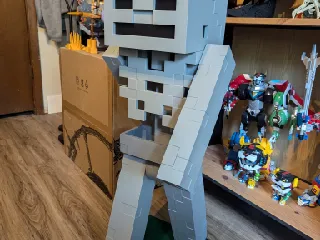
PDFThis is a three foot tall version of the Minecraft Skeleton figure. It's articulated at the shoulders, neck, base of the spine, and hips. There are two arm options. One with cut-out space to hold a weapon, and another completely solid.
UPDATE 11-3-2024: I've included new “Rounded” Arms. These have the shoulders rounded like the legs, so you can move the arms with the head rotated at the same time. Regular Arms look more authentic to the game, but less posable.
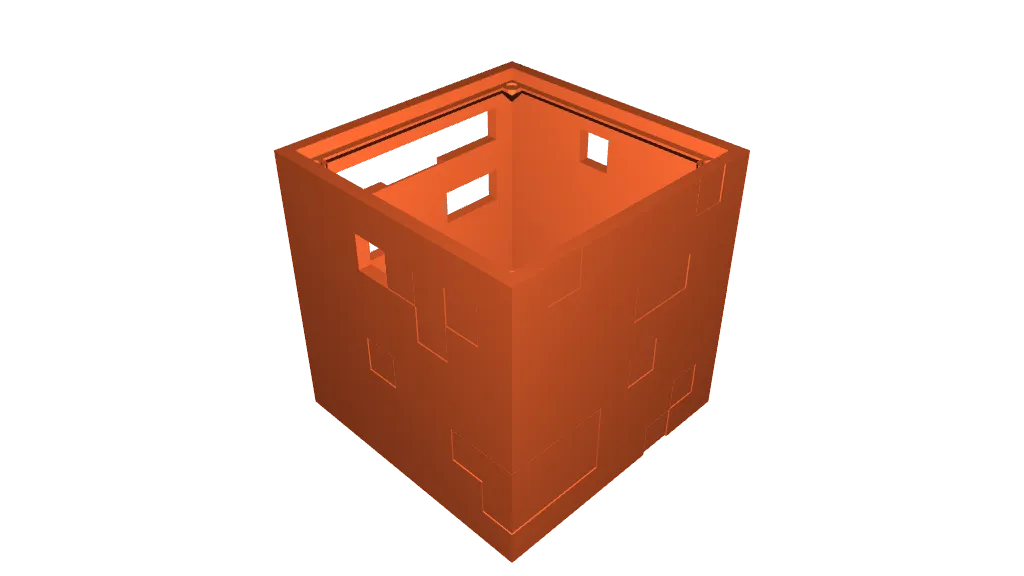
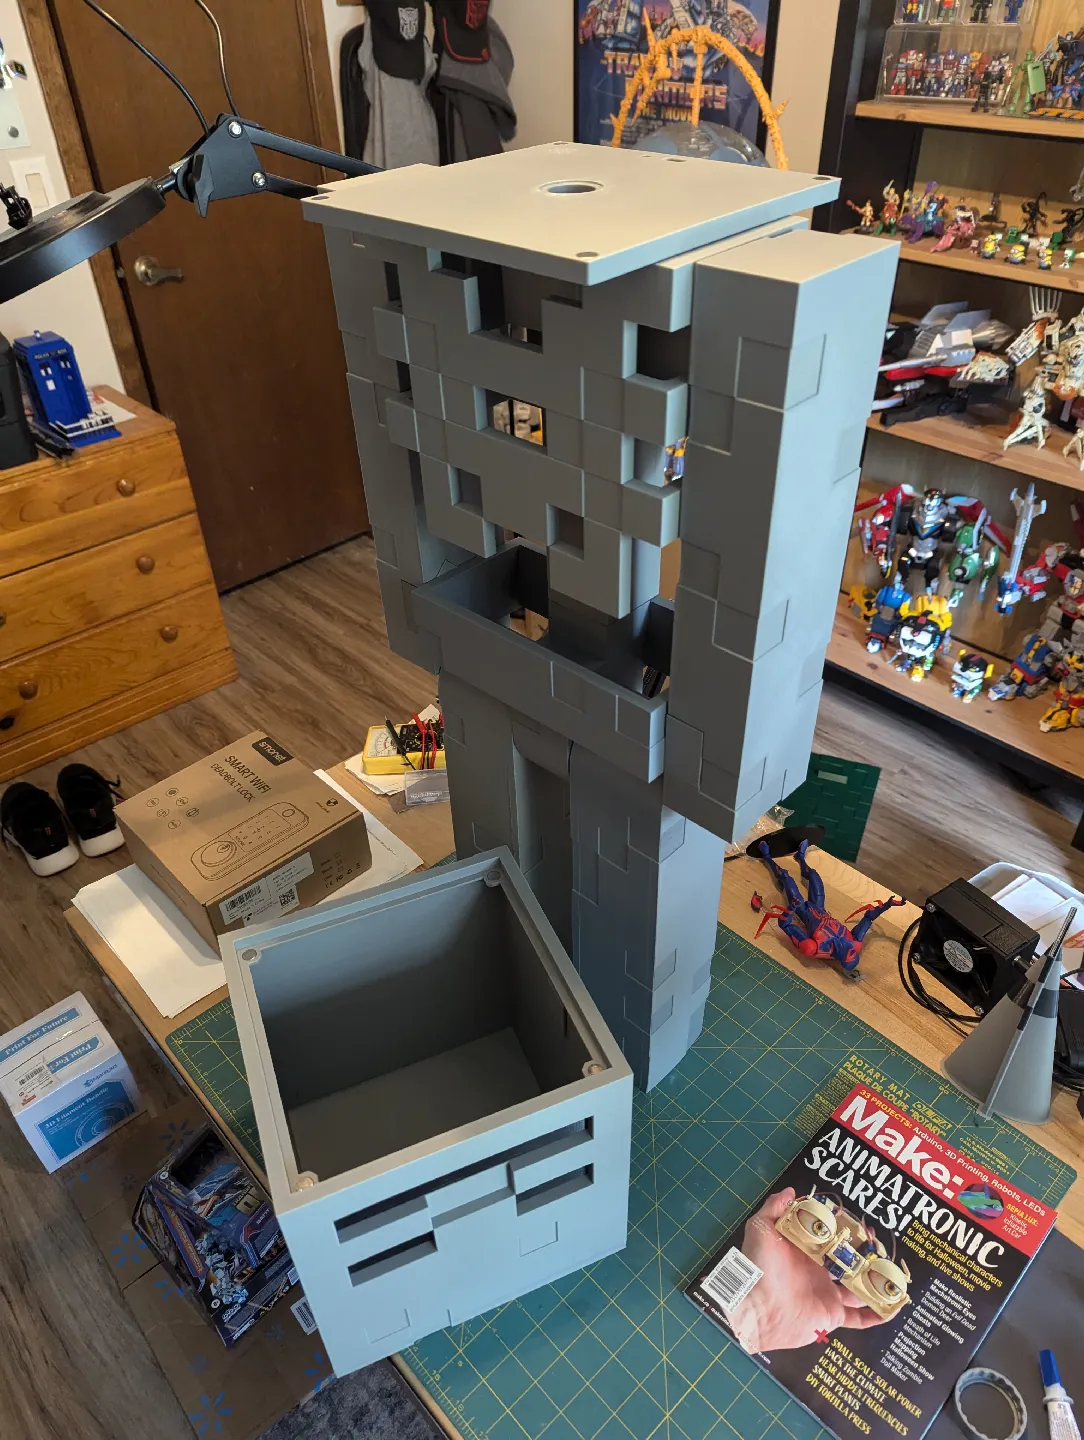
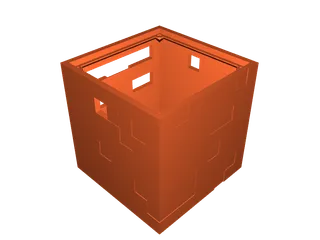
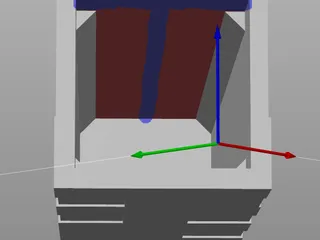
The head is mostly hollow, with 10mm x 2mm rare earth magnets in both the base and the head to allow it to be opened easily. One of the bases has holes for an on/off switch, a momentary push button, and speaker holes.
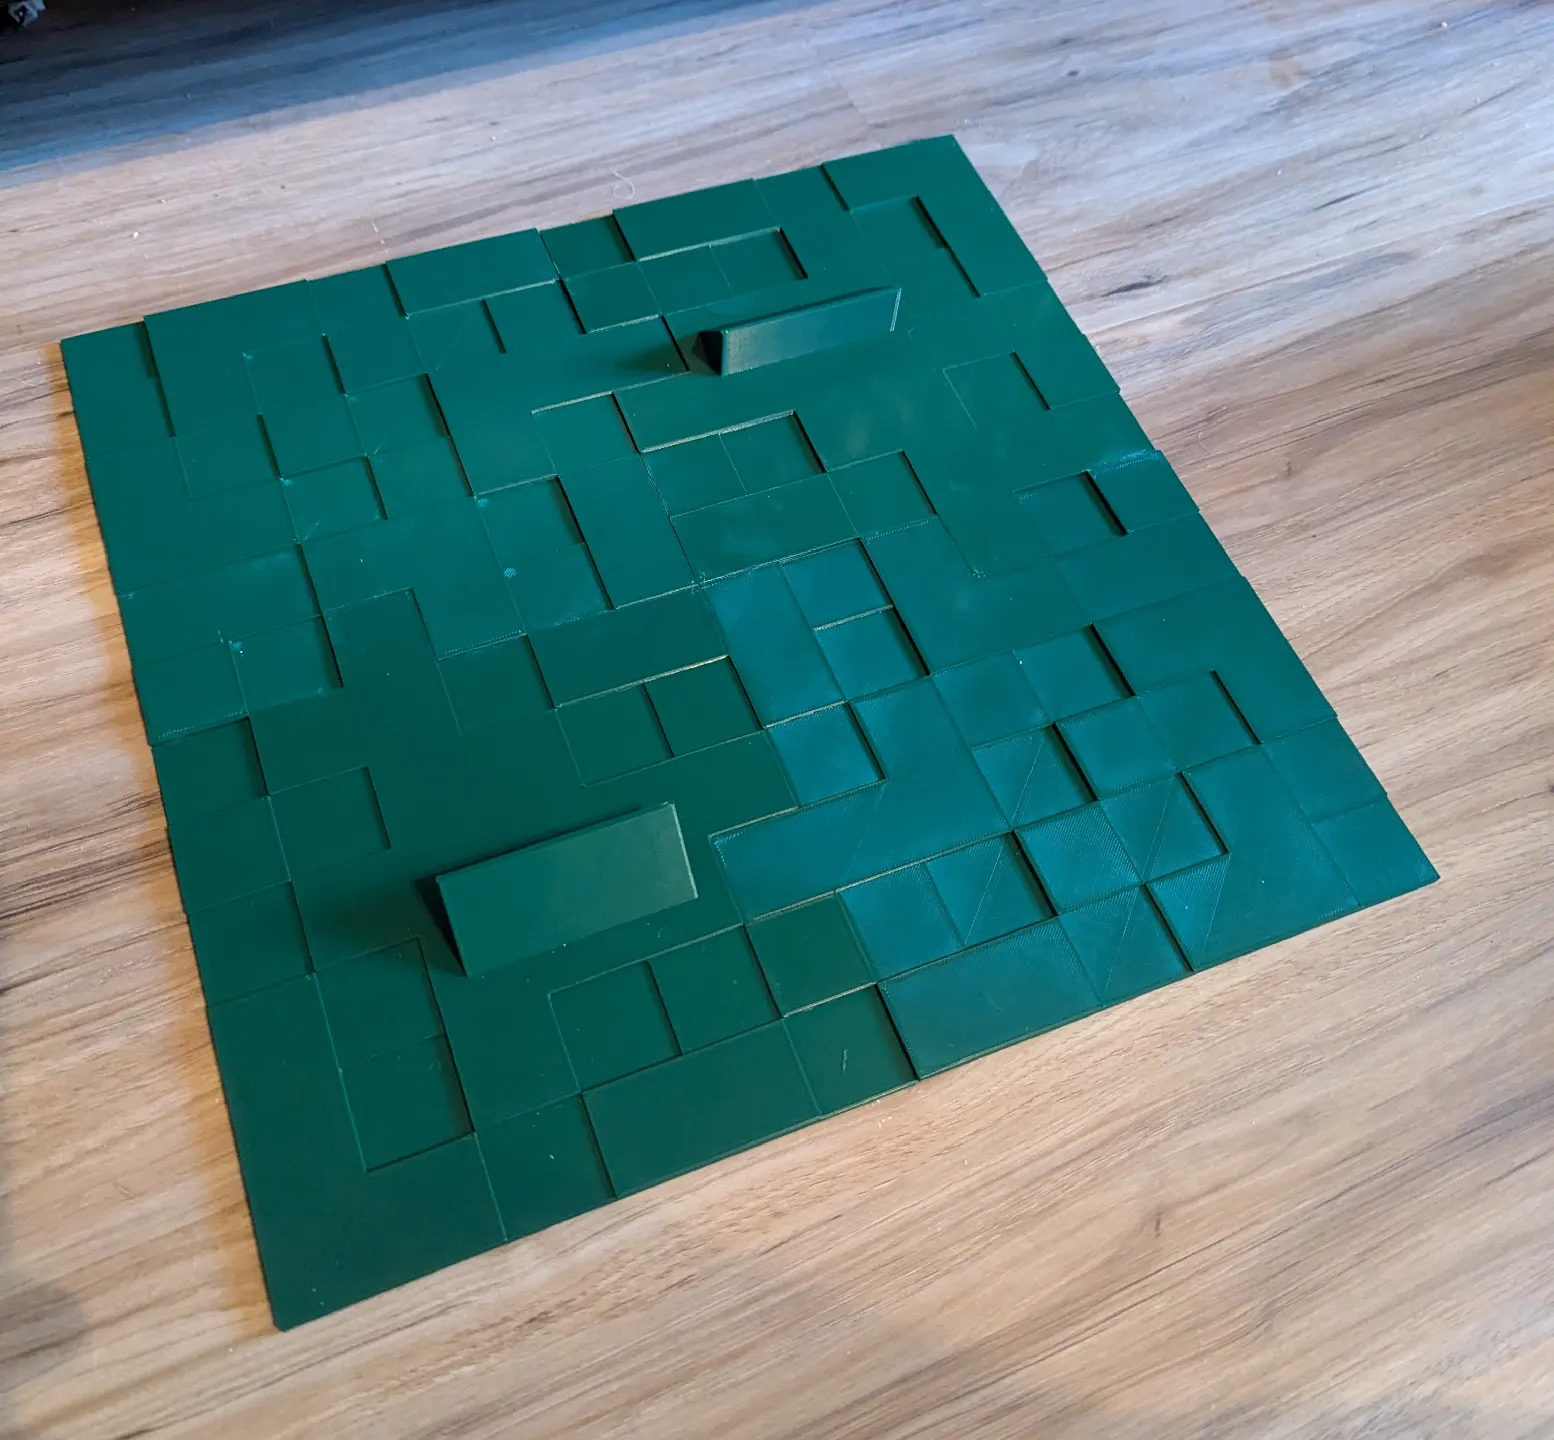
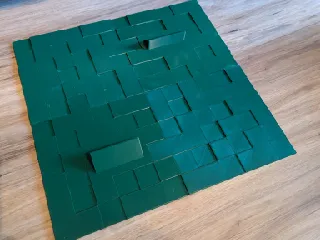
The “Grass” base plate is optional. The figure should be able to stand upright without it, but it allows more of an action pose if used. Print two of each piece and glue together to make the final base.
Printing Notes:
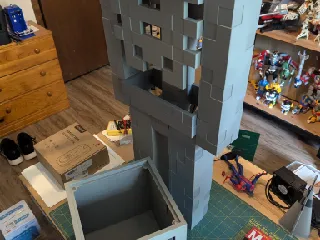
The head and legs require a large format printer to print in one piece. The head is 224mm square, and the legs are 322mm long. The legs can be angled on a print bed, but still required most of the space available on my Prusa XL.
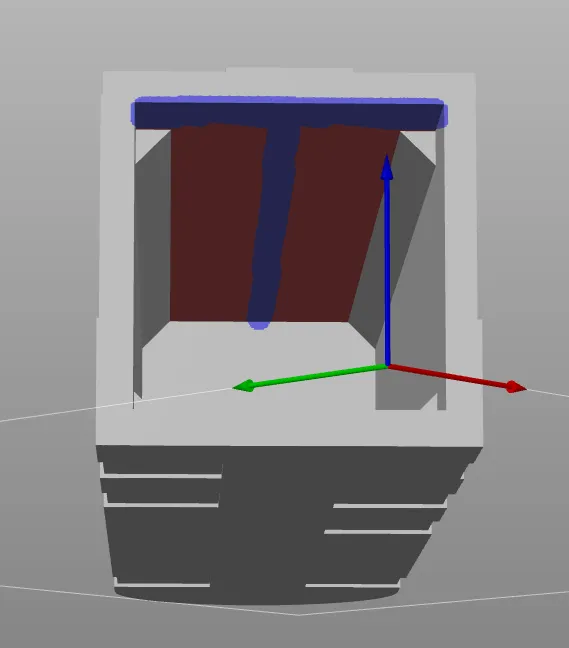
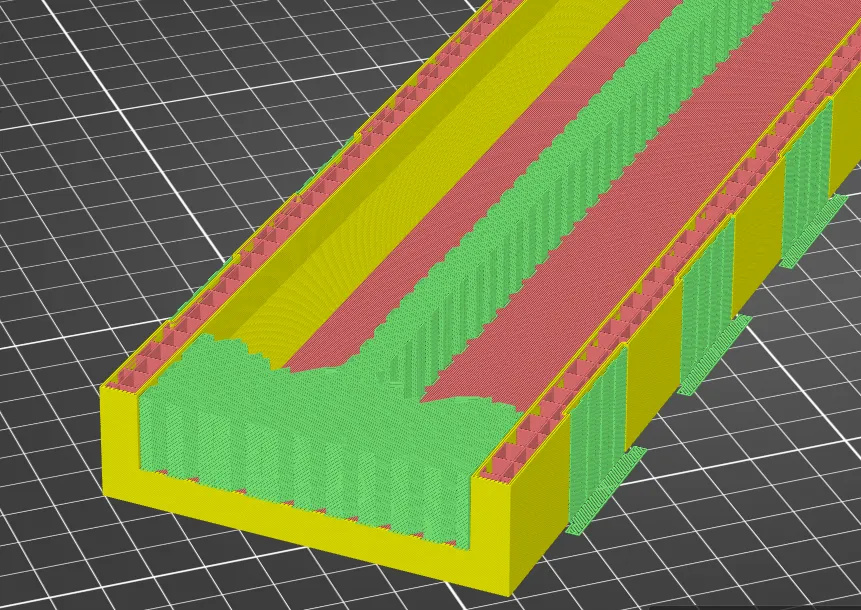
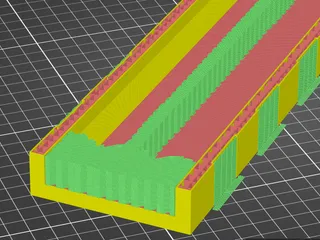
The legs are hollow with openings at the bottom. That allows them to fit over the posts in the “Grass” square to pose as if it's walking. I've included images showing how I added manual support enforcers in PrusaSlicer to save filament and still allow bridging inside the leg. It just takes a little effort to remove the support material after printing.
All parts should be printed with supports, even the arms and legs. Supports ensure the indented squares still look clean after the print finishes. Everything is oriented in what I found was the best way to print them.
To keep the print lighter, especially the arms that need to hold poses, I suggest printing at a 5% or 10% infill amount. If you print with higher infill, or plan to have the figure hold a weapon, I suggest using the stronger Leg ratchets for the shoulders.
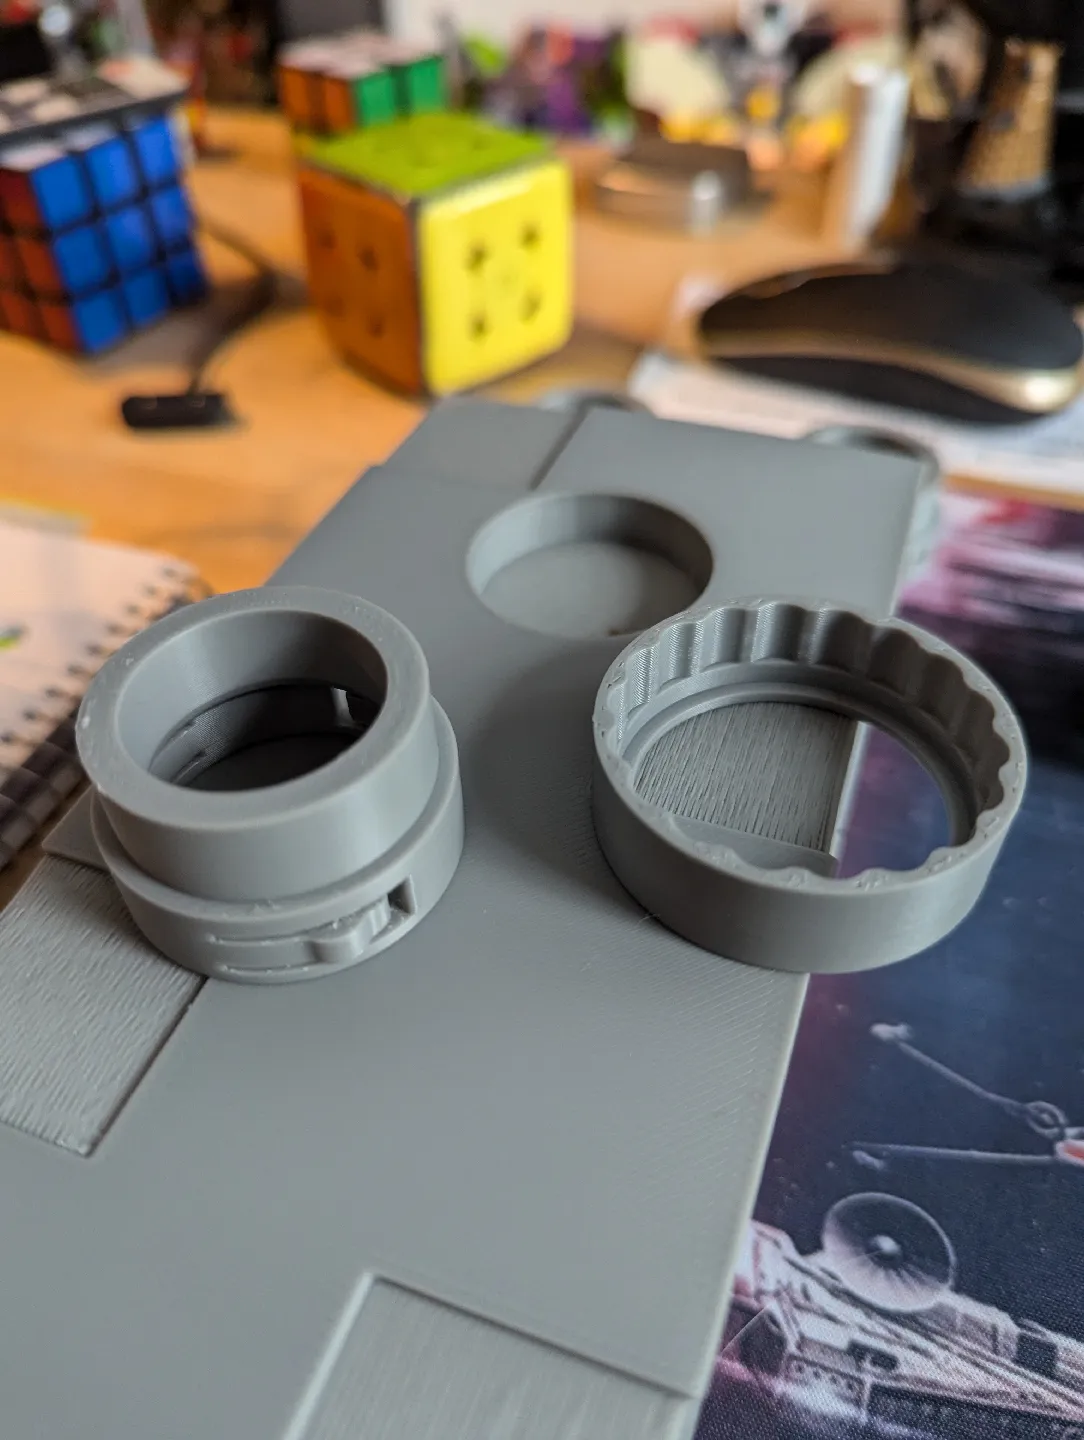
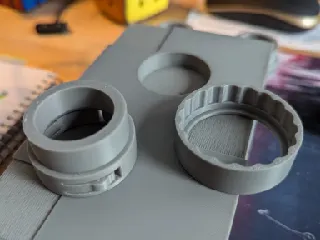
Ratchet Joints:
All articulated joints have holes to insert ratchets that are printed separately. They're based on testing with Elegoo PLA Plus filament, so I'd suggest testing with your filament to see how they perform. I'd avoid normal PLA, as it gets brittle over time and the ratchet pieces could eventually break apart. PETG is probably the best long-term material for the “Inside” ratchet pieces, but I didn't test that.
I created three different stiffness levels. The neck and spine are the least stiff. The shoulders are the medium stiffness, which work fine for arms that won't be holding heavier weapons. The hips/legs are the stiffest ones, since they need to support the weight of the rest of the figure above it. It's perfectly fine to use the Hip/Leg ratchets on the shoulders, they just require a bit more force to move.
The two ratchet parts slip together after printing. You should be able to move the head/spine ratchets by hand. Glue one end of the assembled ratchet into a slot in one of the body parts. Be careful to not get glue into the ratchet mechanism itself! Once one side is dry, glue the other end into the opposite body part. The pieces might need some light sanding or feel loose, depending on the orientation of the hole when printed.
Tags
Model origin
The author marked this model as their own original creation.


