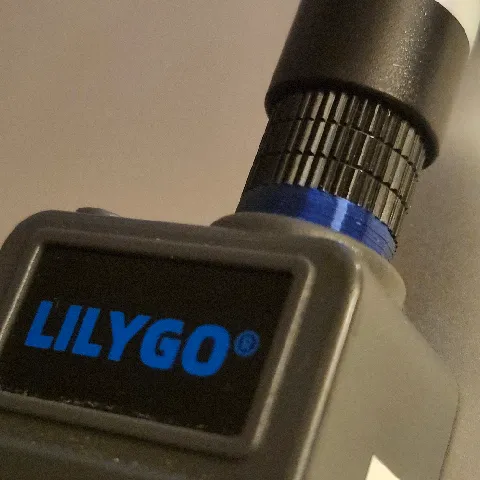
Basic Arduino Case with Only 2 Screws

The most basic Arduino case we could design in Tinkercad. It only takes two screws to lock the board in place but the…
7
28
0
133
updated September 8, 2024
Description
PDFThe most basic Arduino case we could design in Tinkercad
It only takes two screws to lock the board in place but the case is snug enough and you likely won't have to.This is the first of a series of educational projects and will be the base building block for all to follow. While to most here this is likely simple and easy to design, to us it was a lesson and test to craft our first truly useful project.In the coming days and months we are going to load more STEM projects that will use this base to please stay tuned and follow us on your favorite social media channels.AndysTechGarage is everywhere and if we can do it, you can do it too and likely much better. Thank you, Happy Making
Print Settings
Printer Brand:
Prusa
Printer:
i3 MK3
**Rafts:**
No
Supports:
No
**Resolution:**
0.15 mm
Infill:
15%
**Filament:** GreenGate3D PETG Transparent
Notes:
We printed this on three separate printers with Prusa delivering the best quality and definition.rnNo brim, no supports.rnTemp settings, Nozzle 230, Bed 85rnSpeed 100%
How I Designed This ===================
Designed in Tinkercad
Used basic shapes to create this. Third try and everything seems to fit like a glove.rnIncredibly satisfied novices!
Category: Electronics
Tags
Model origin
The author marked this model as their own original creation. Imported from Thingiverse.